
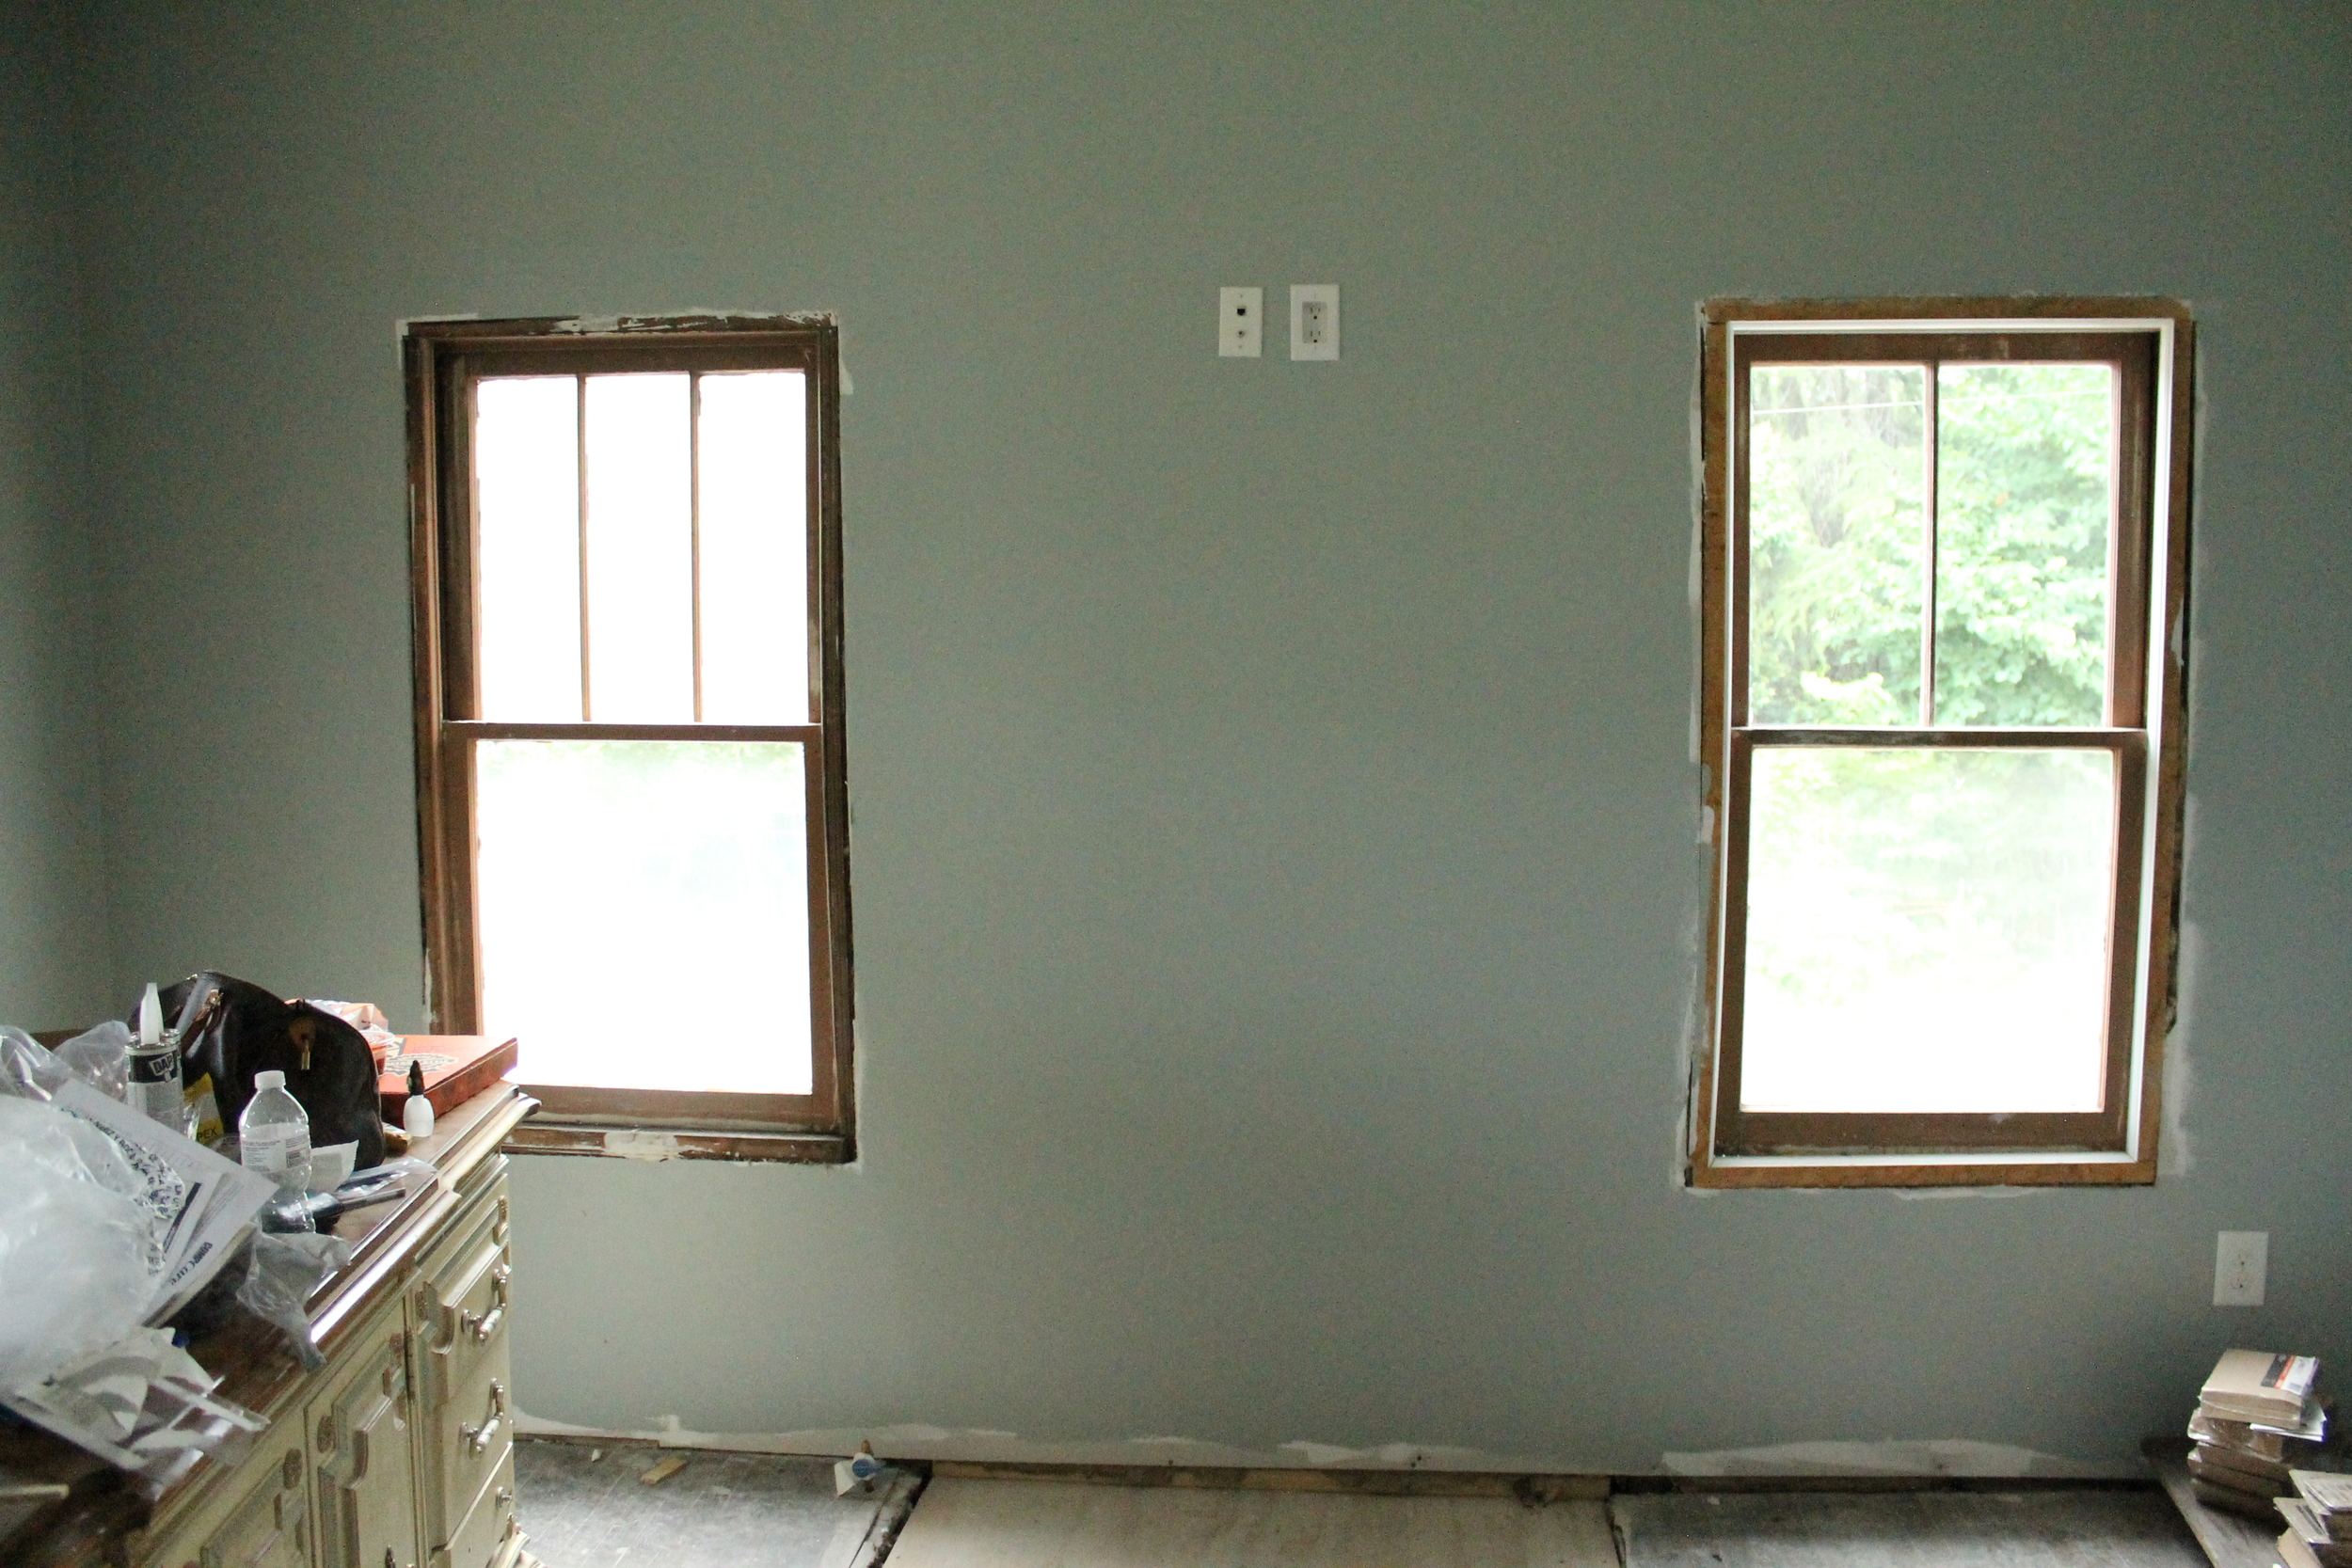
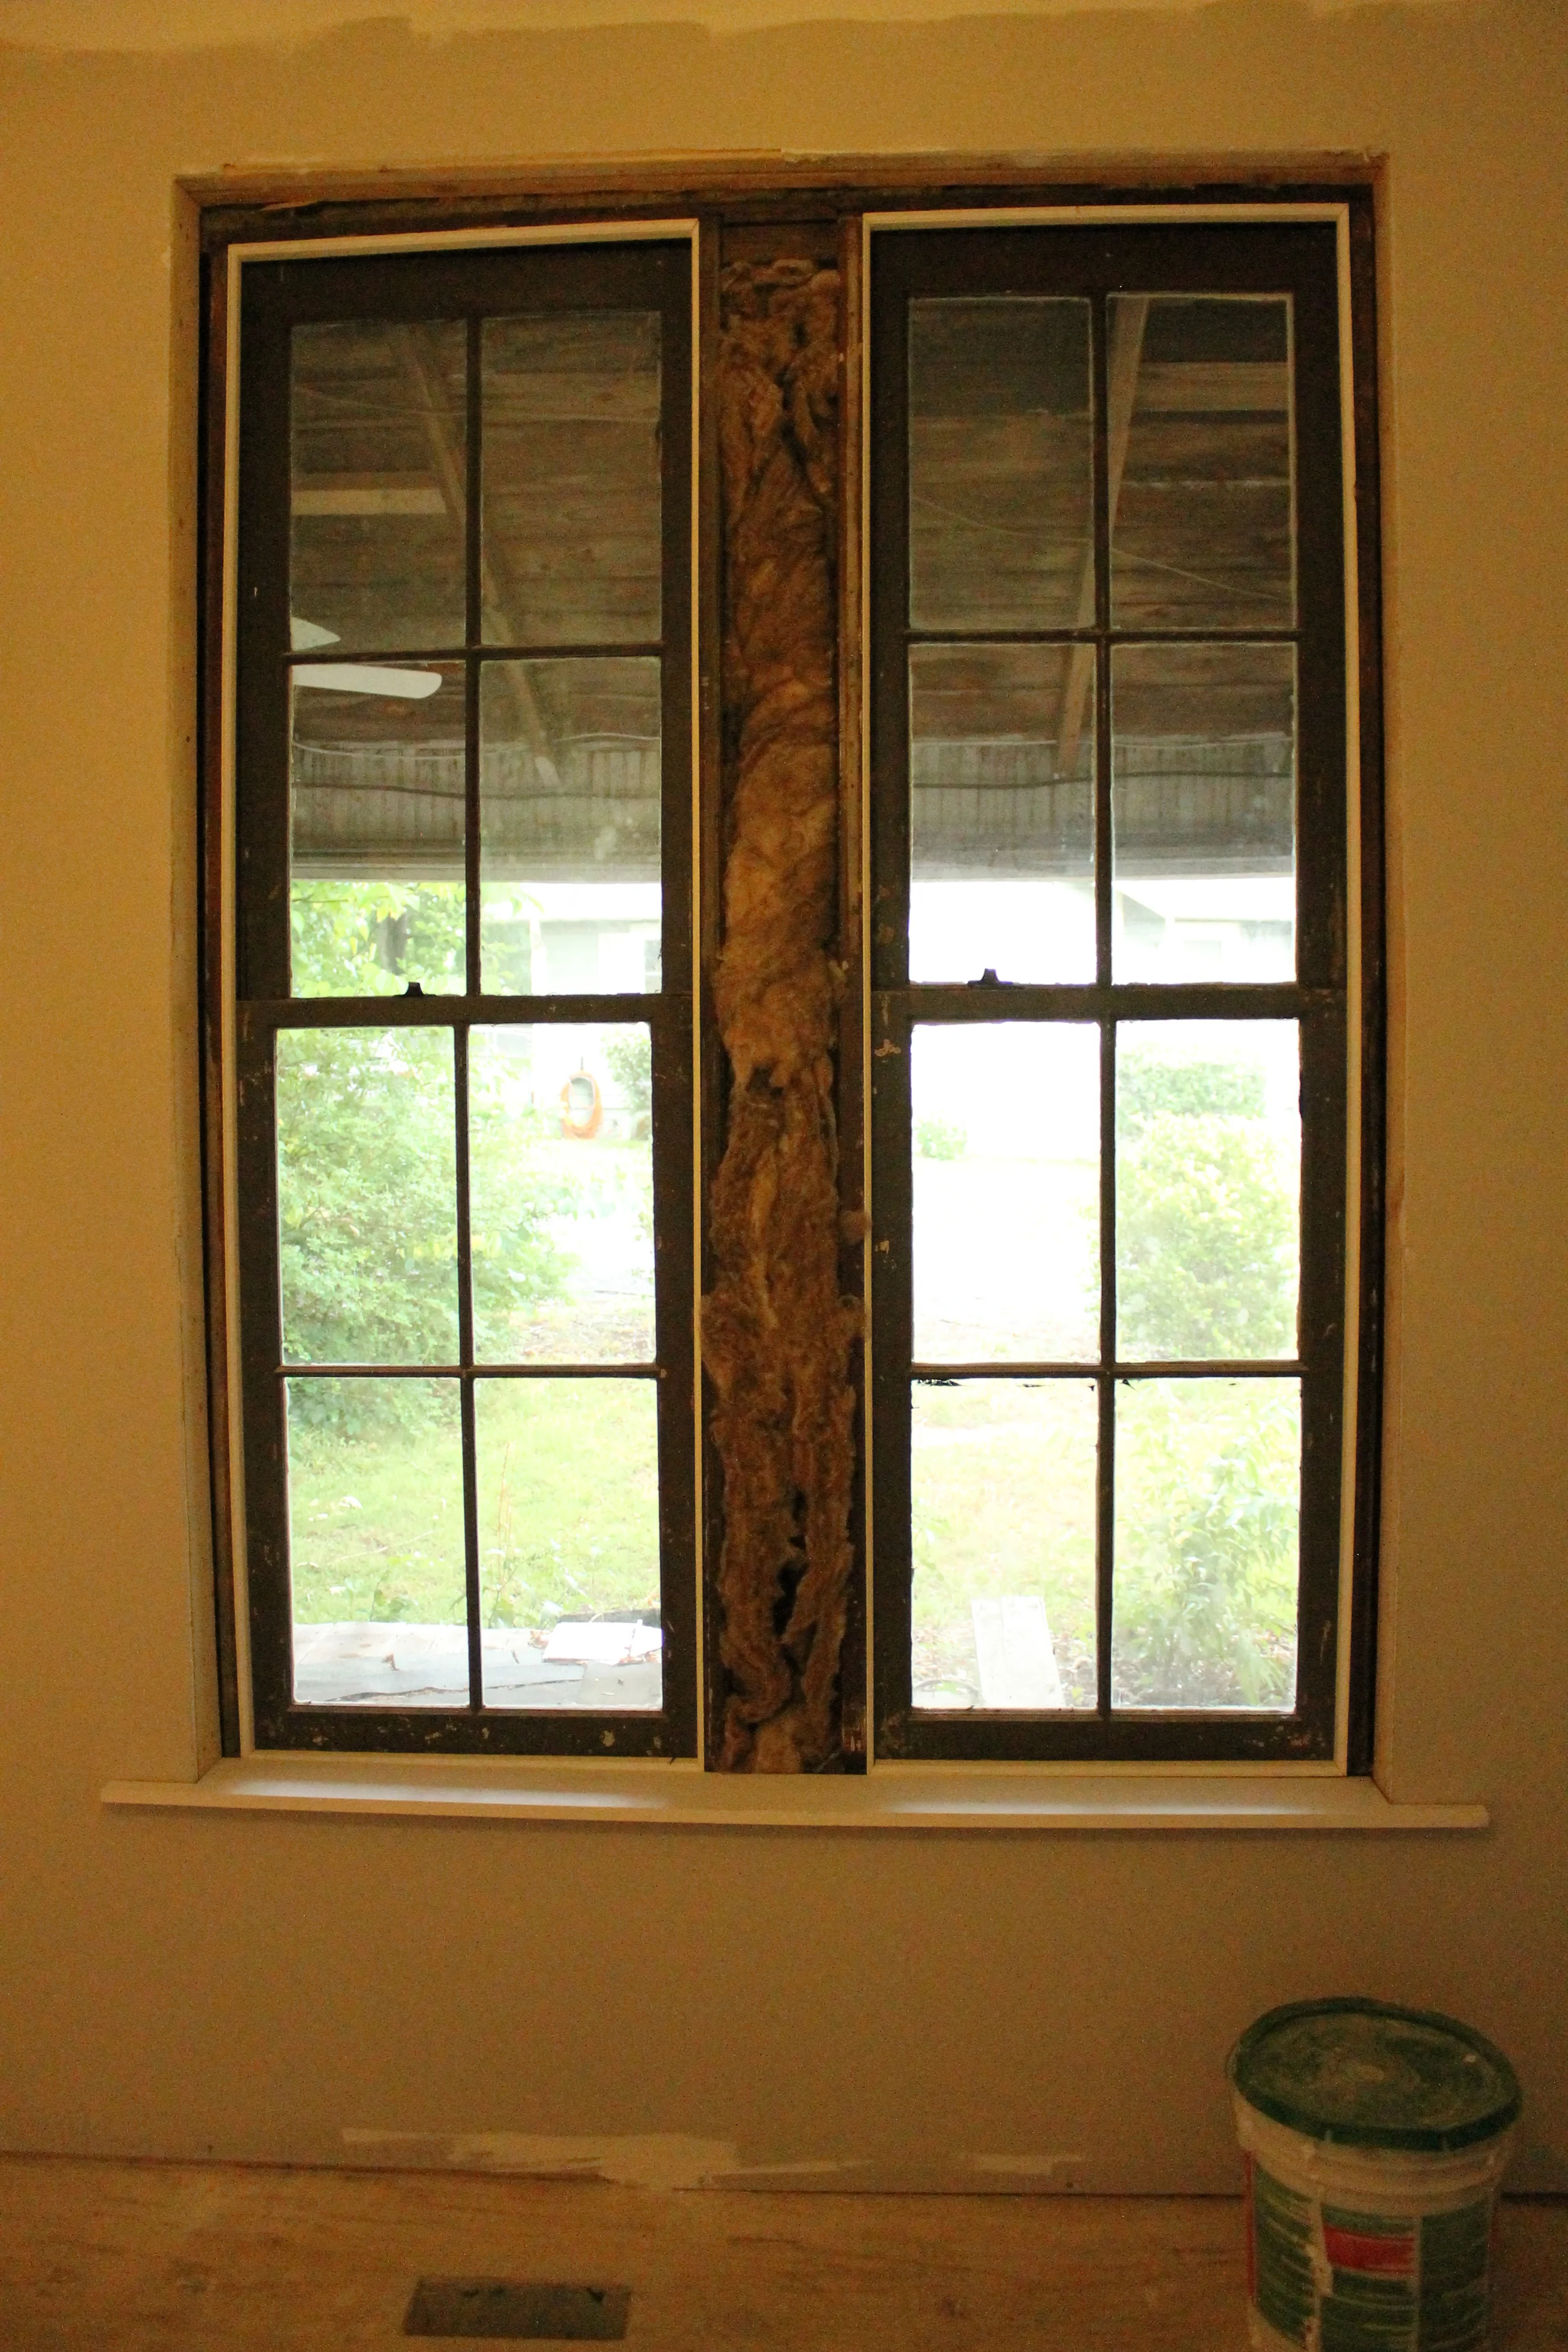
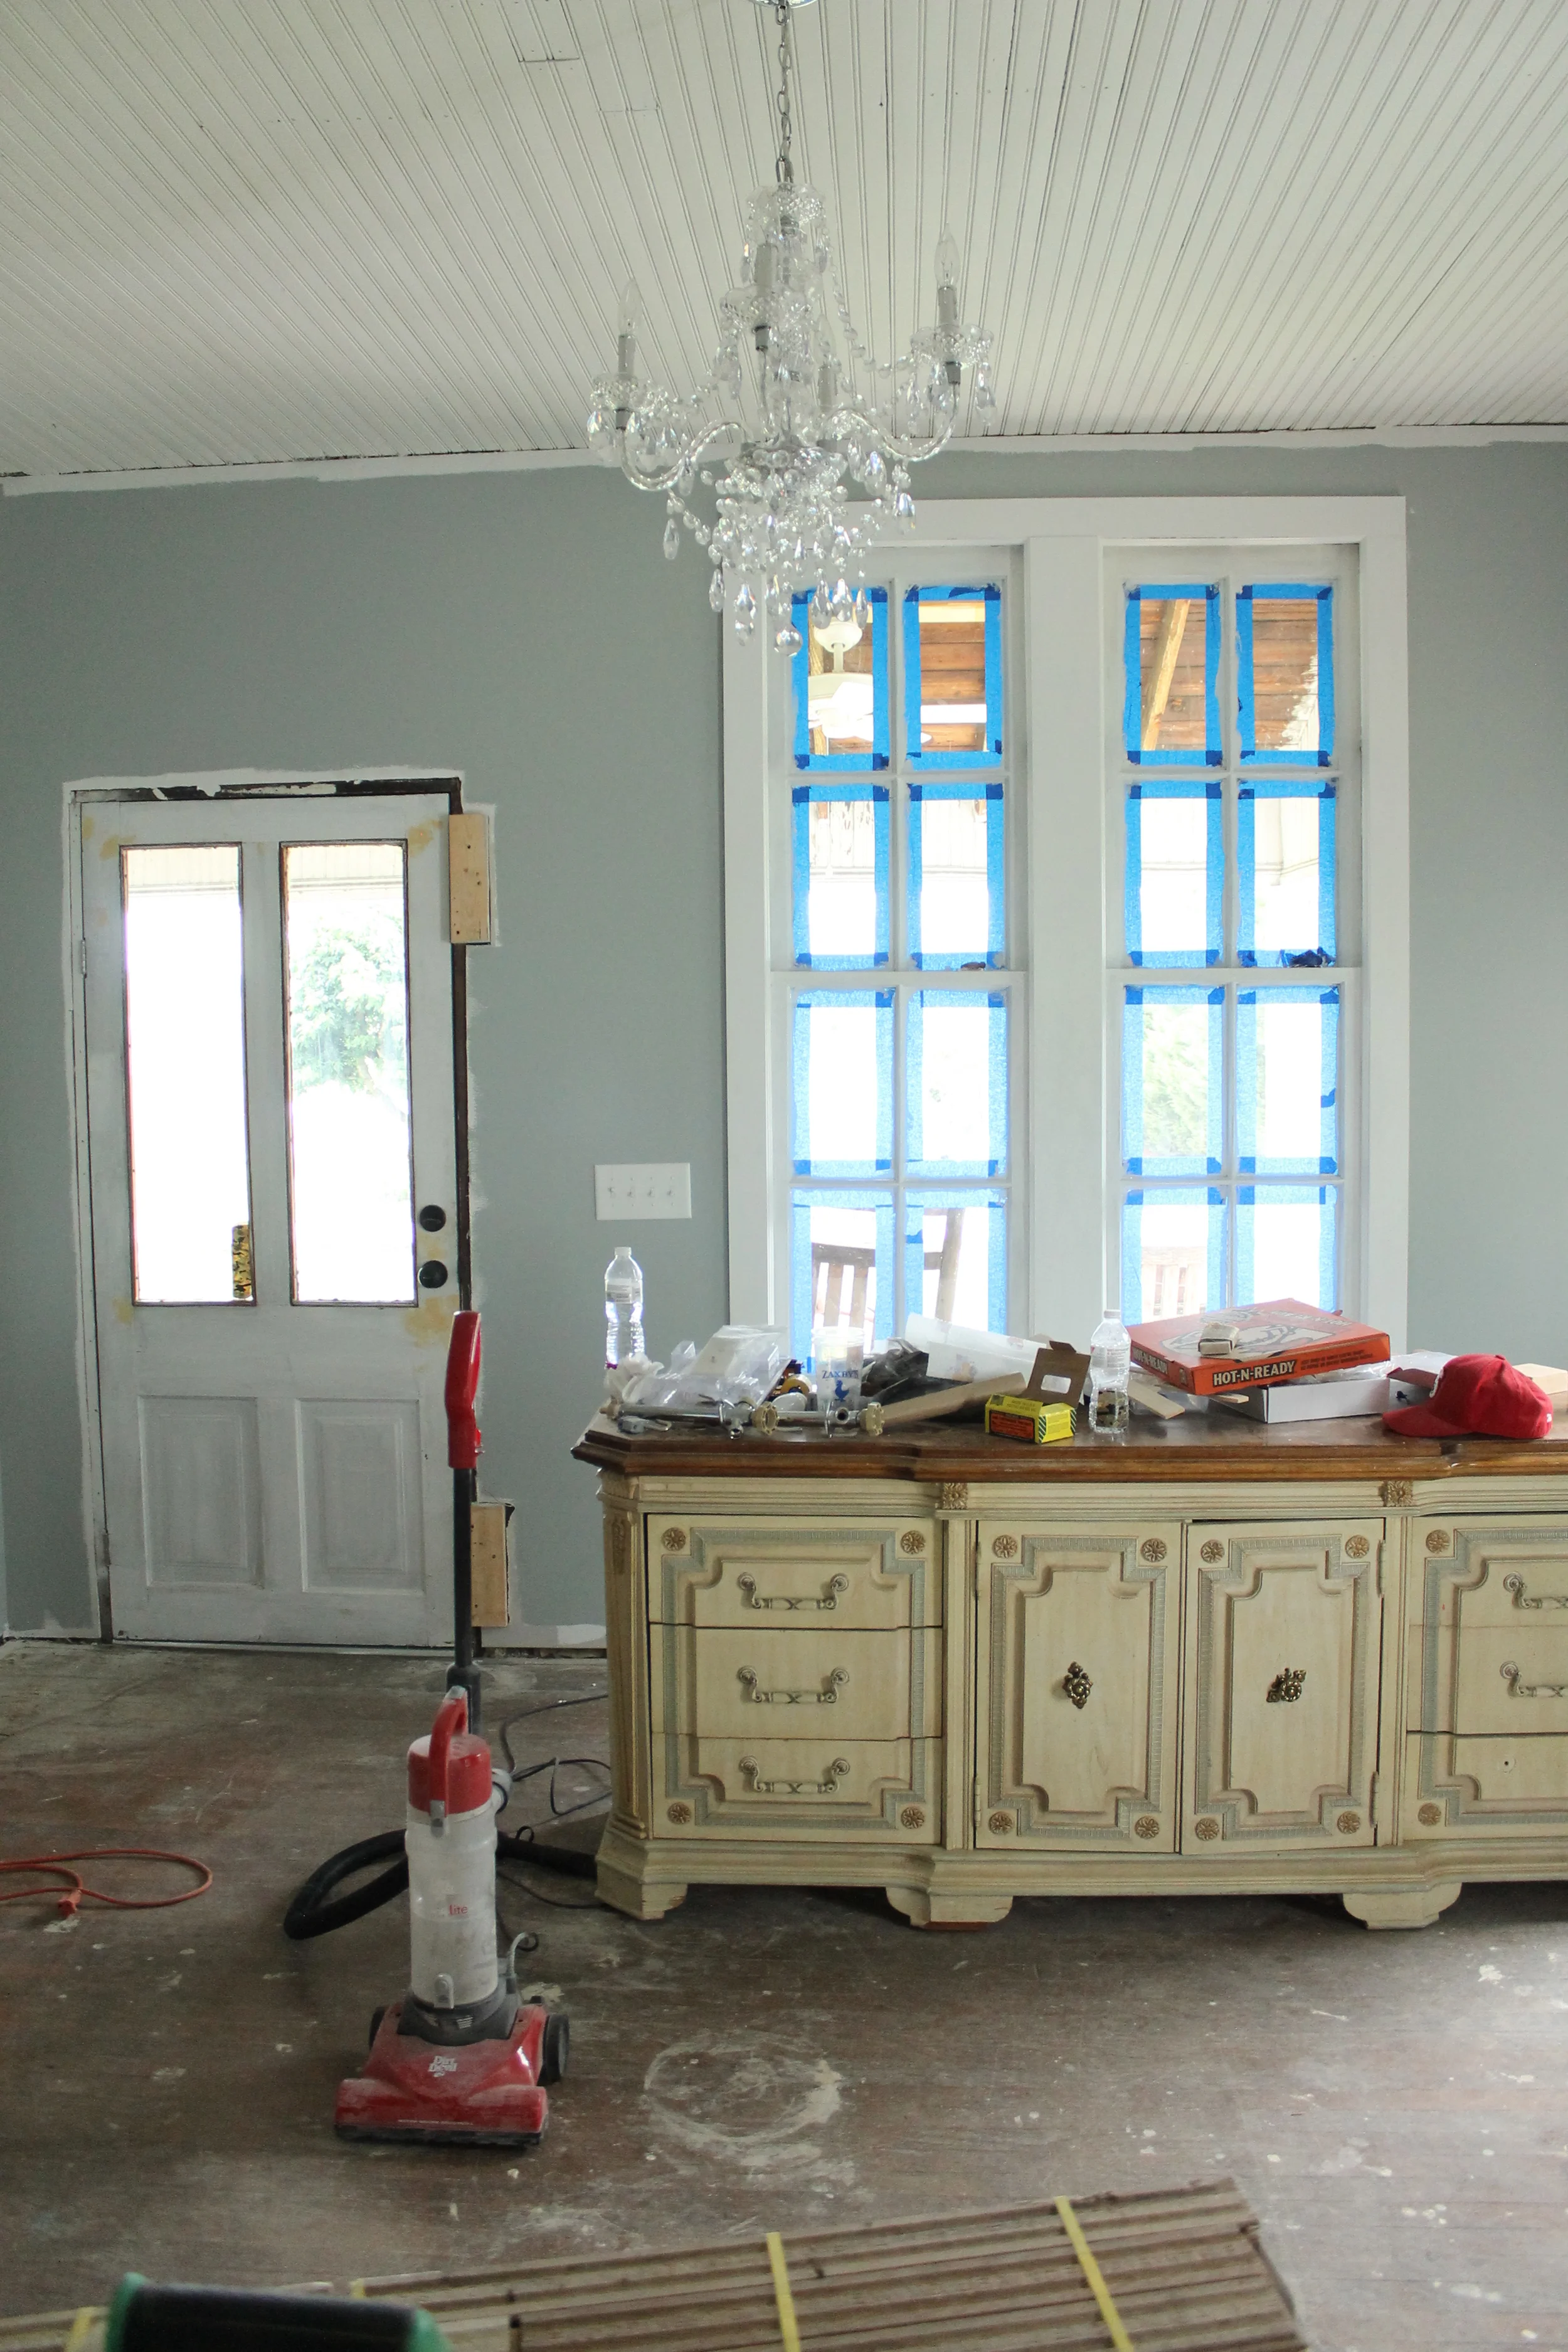
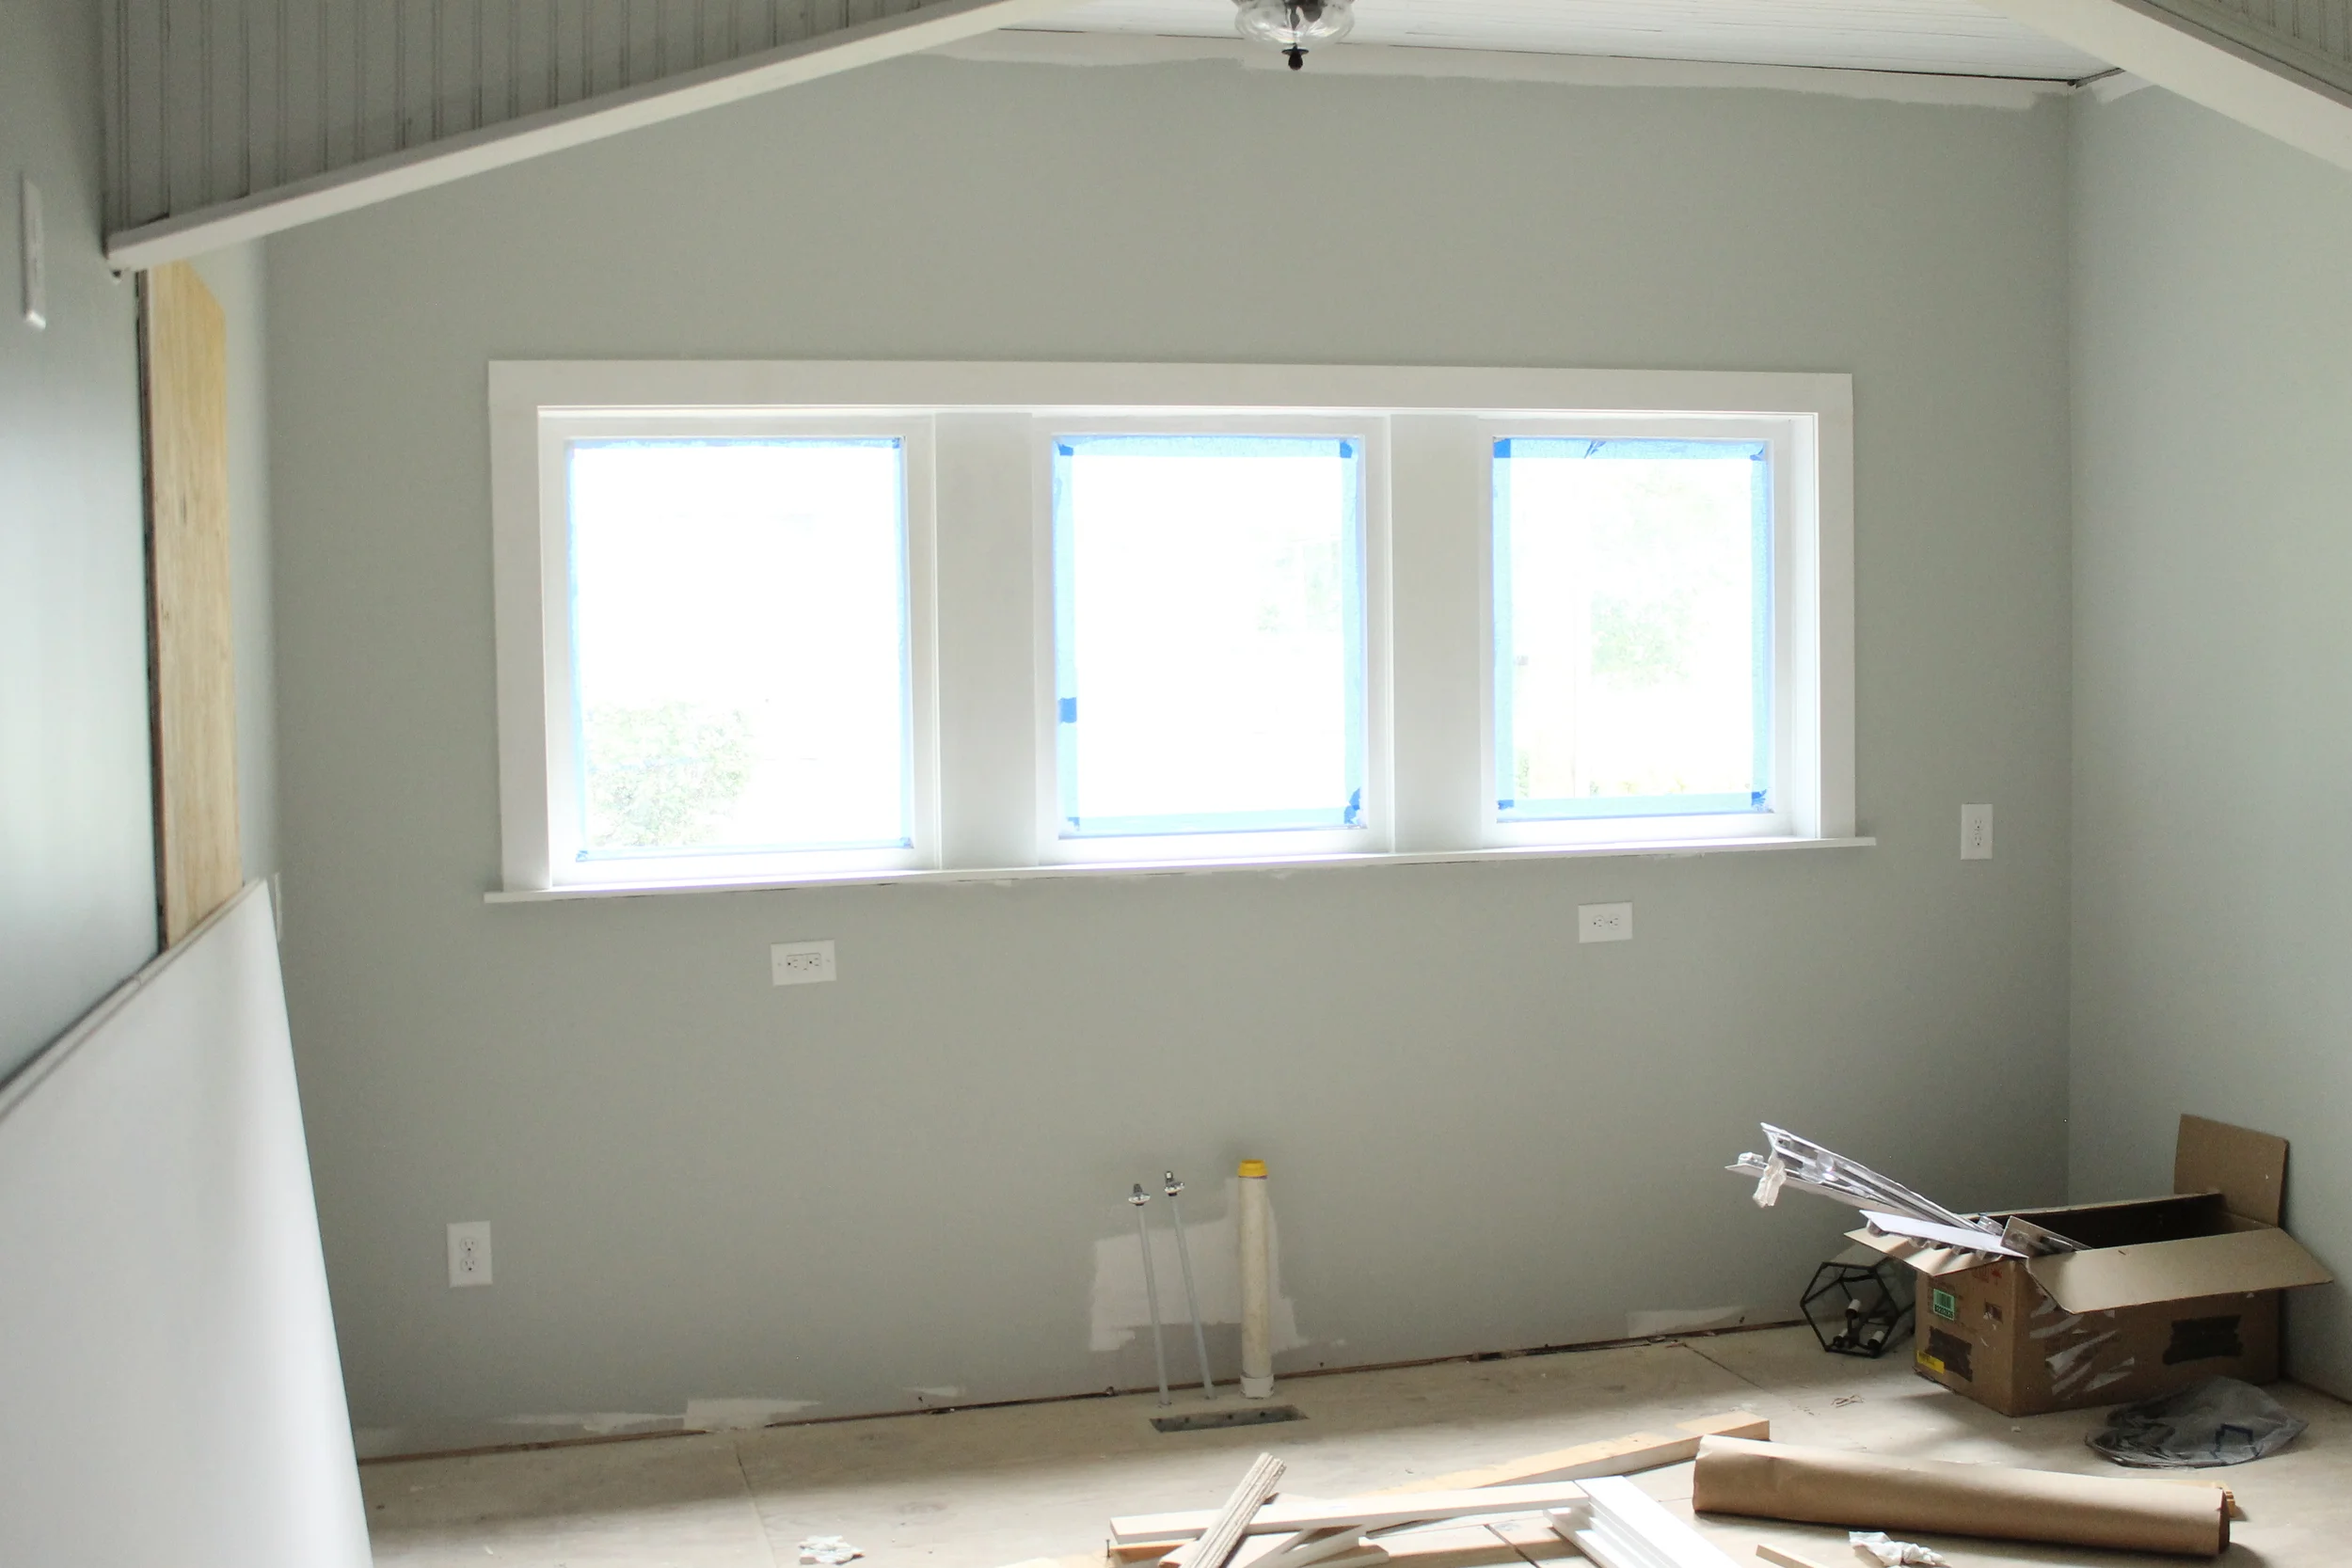
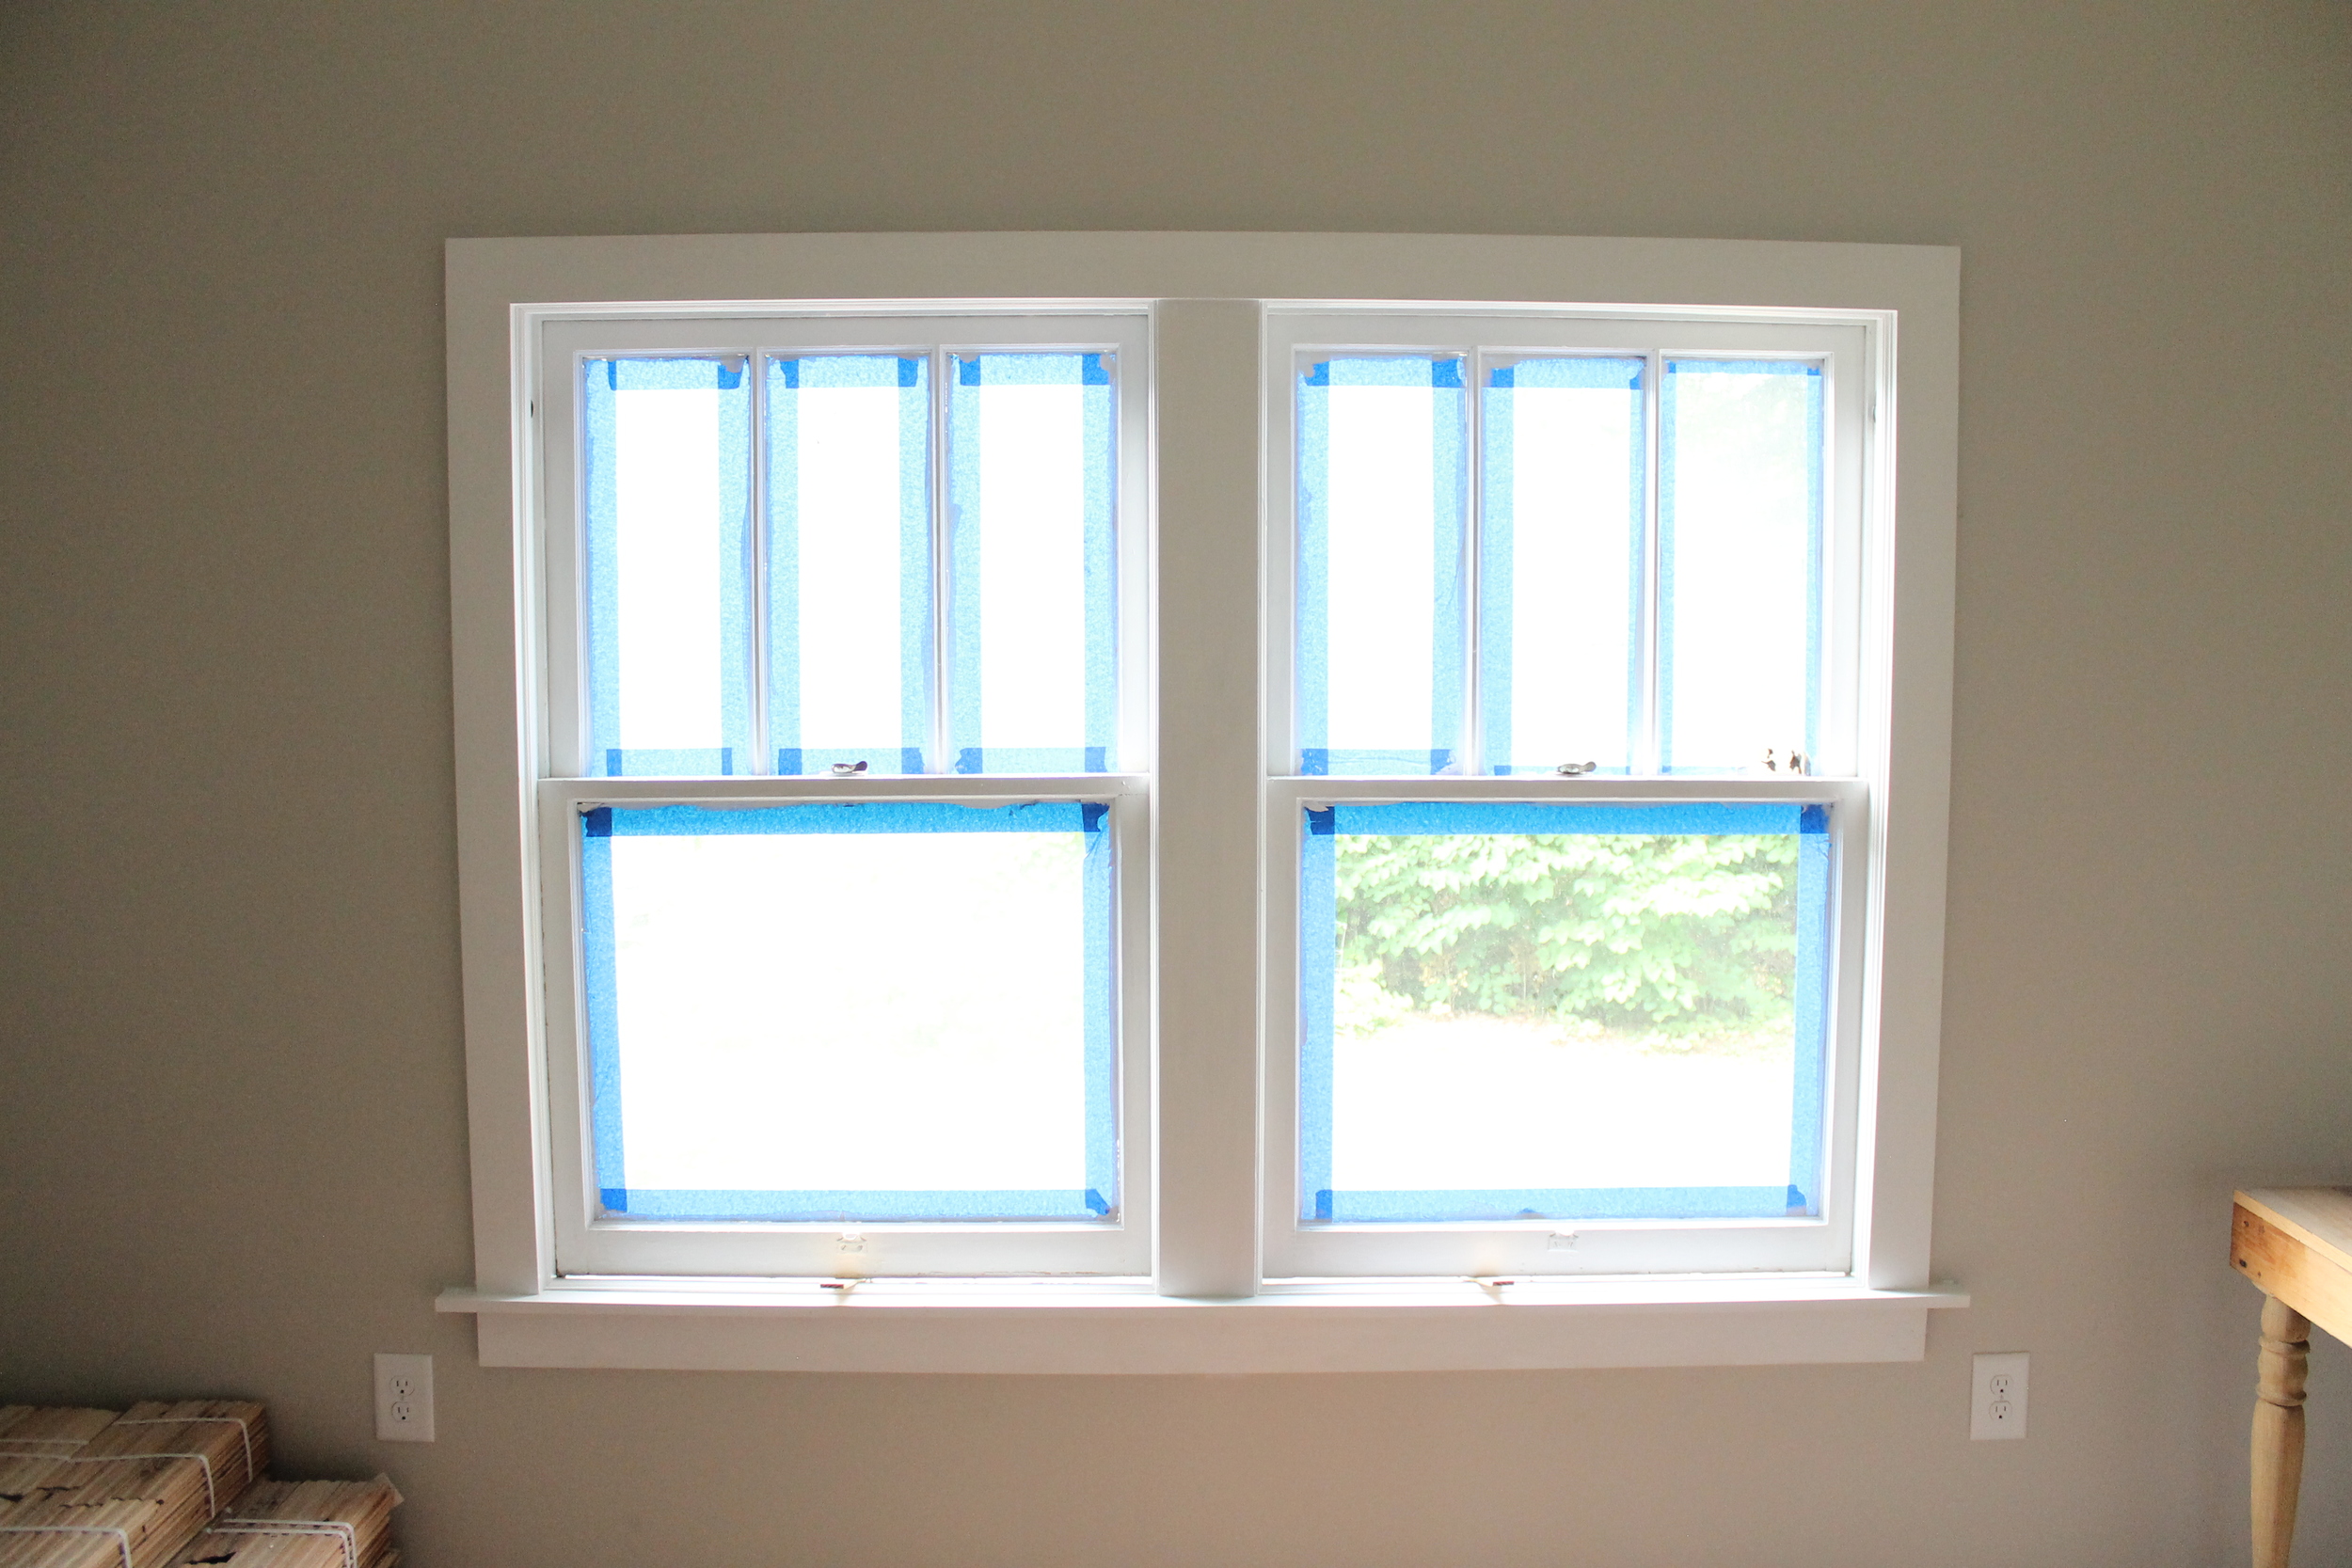
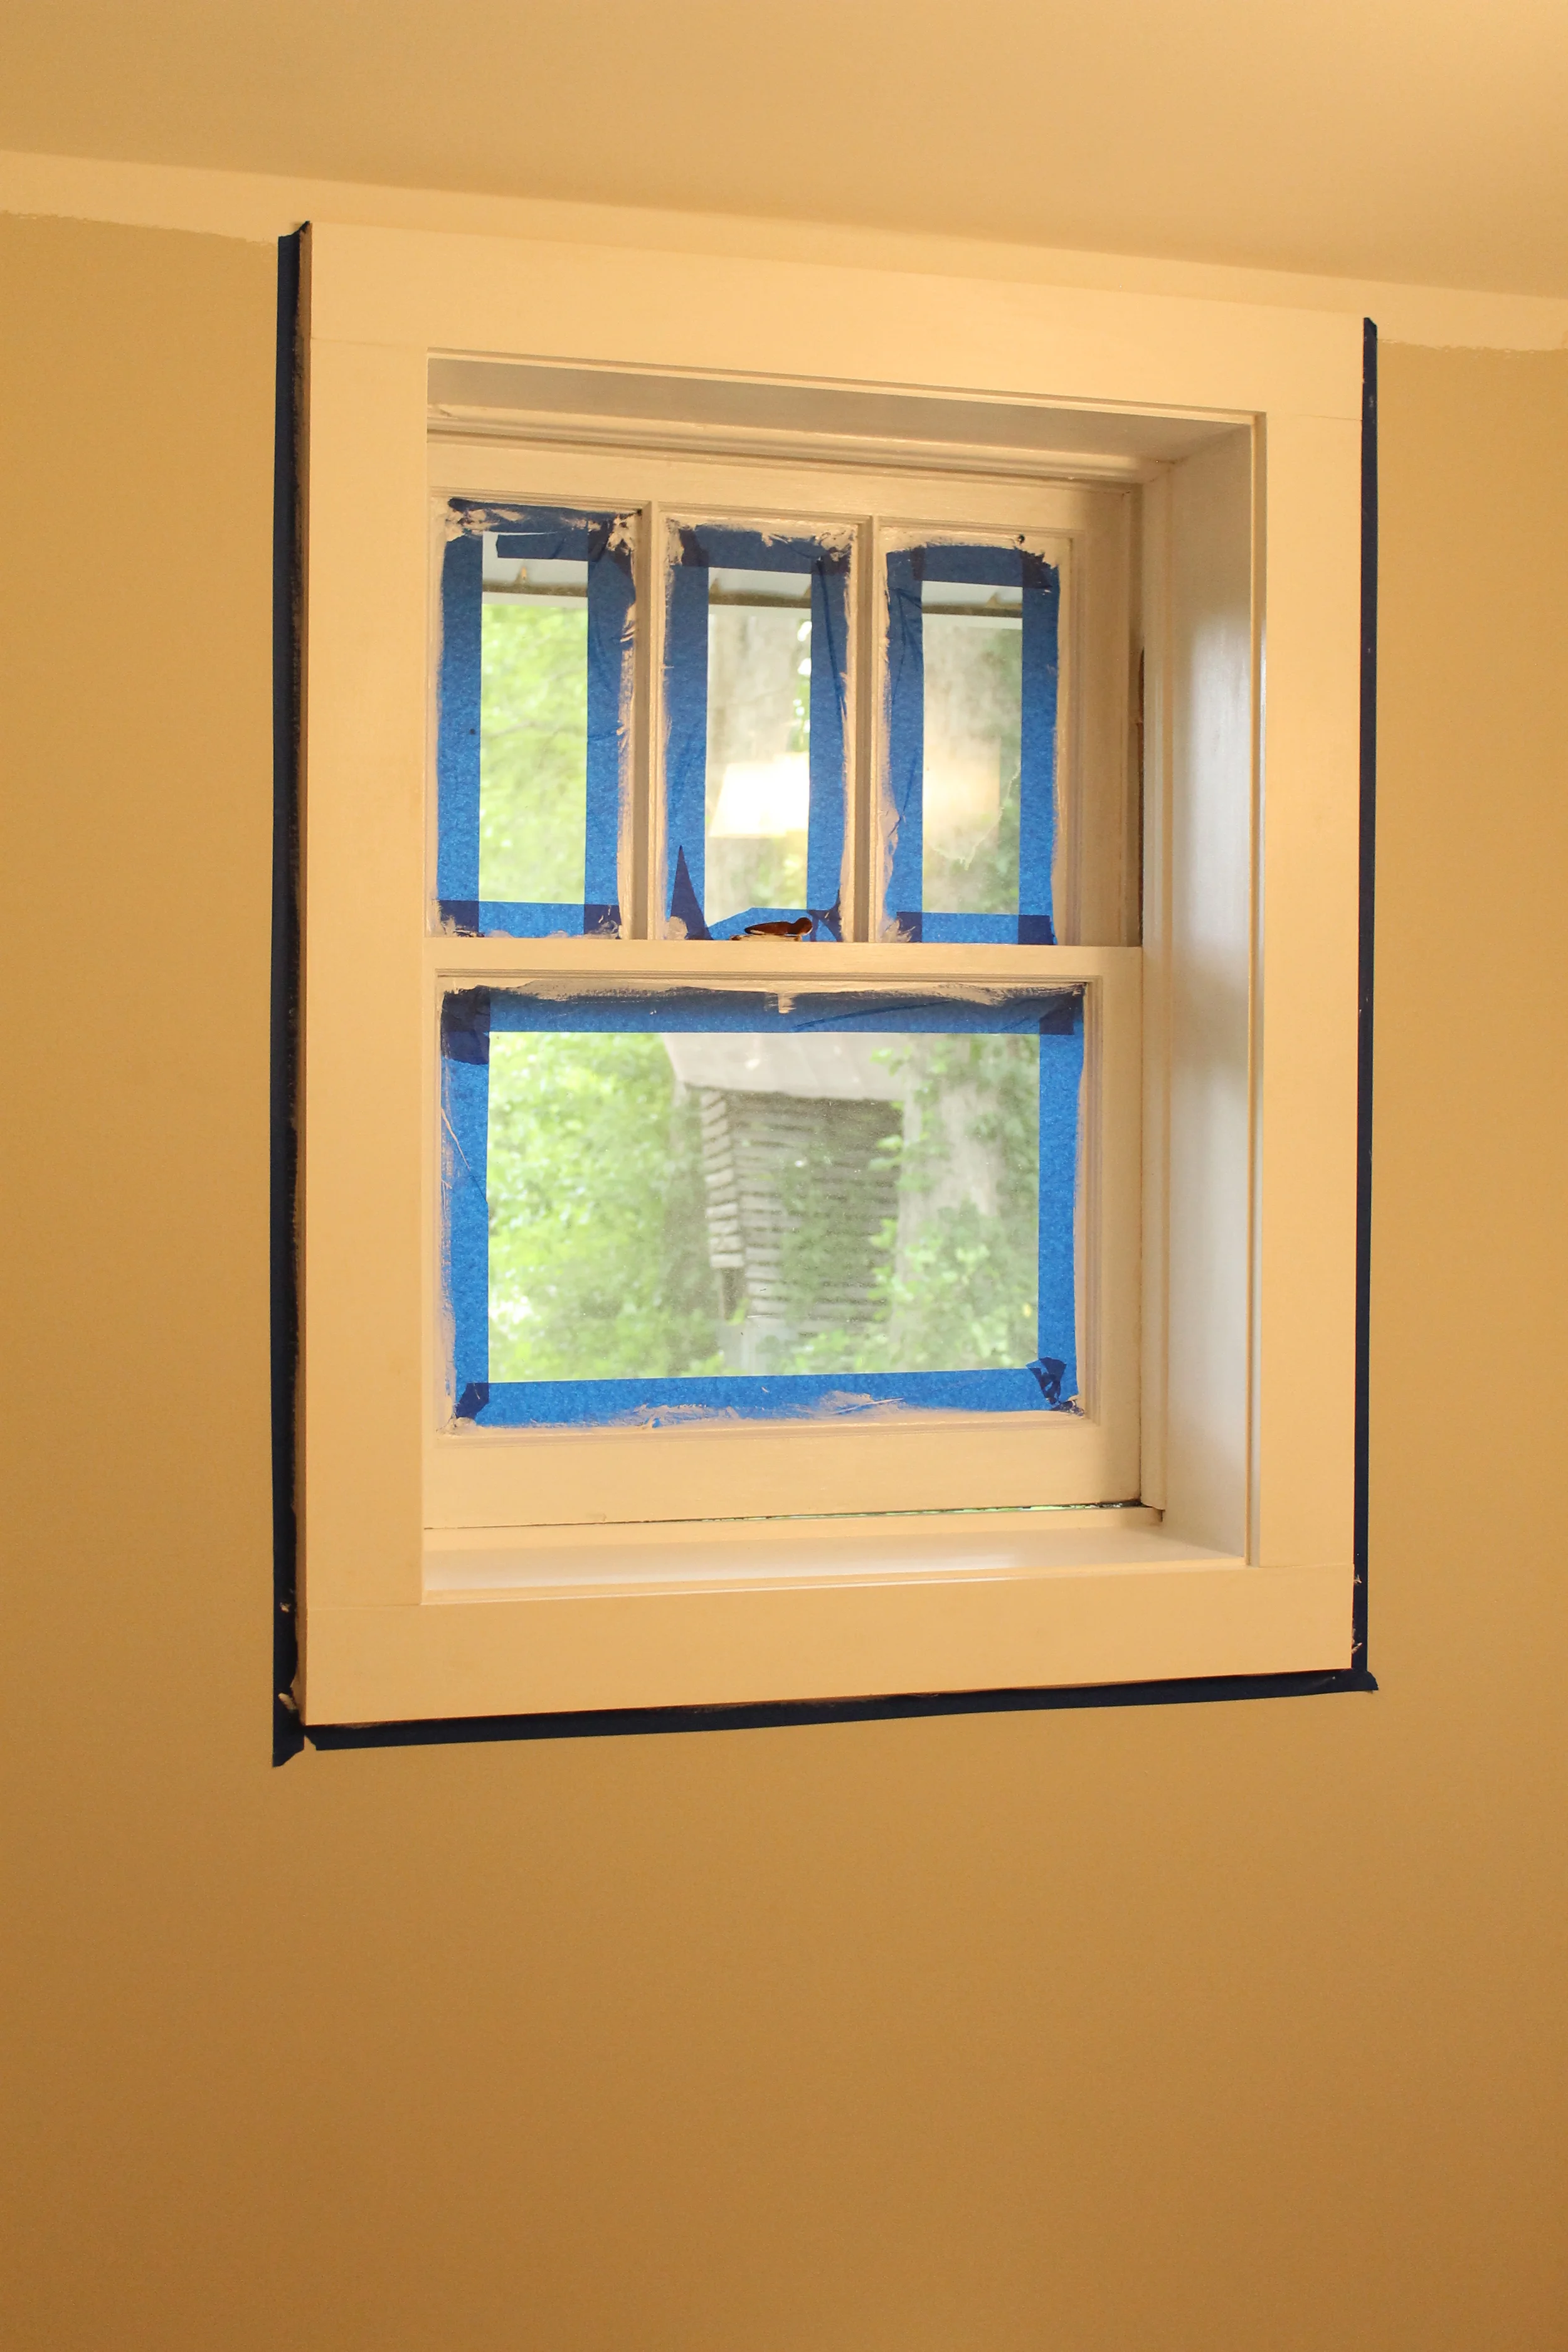
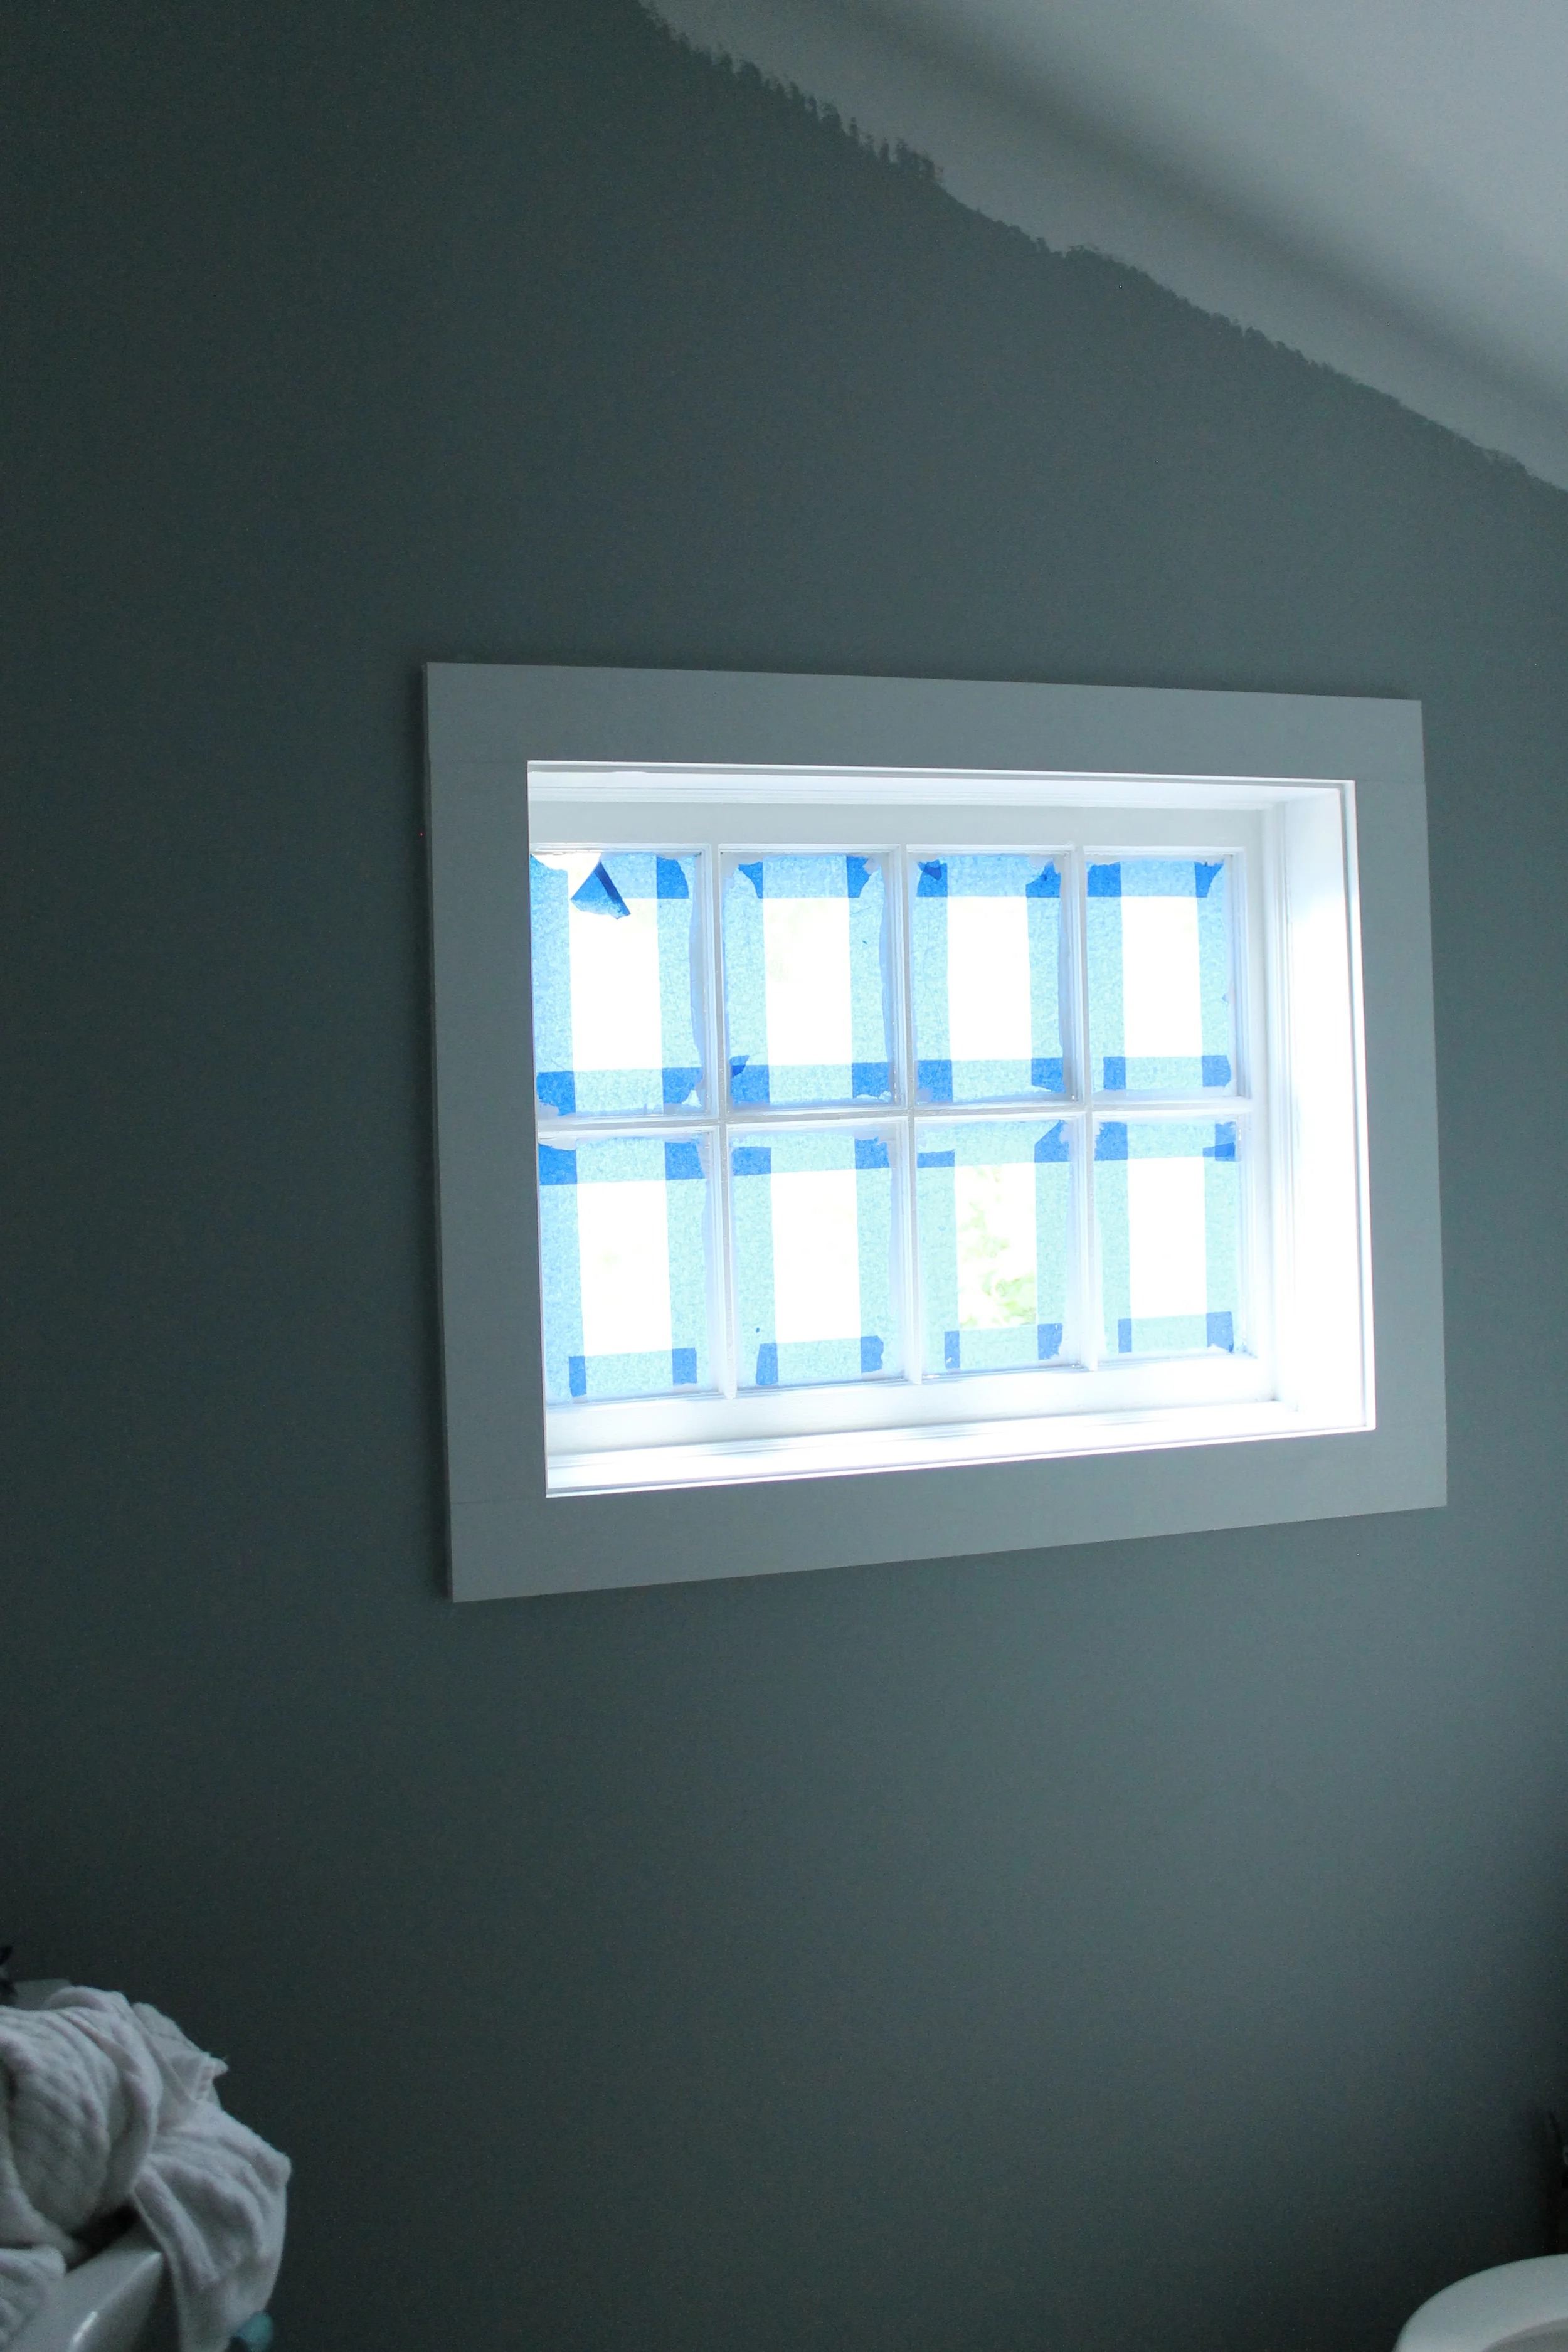
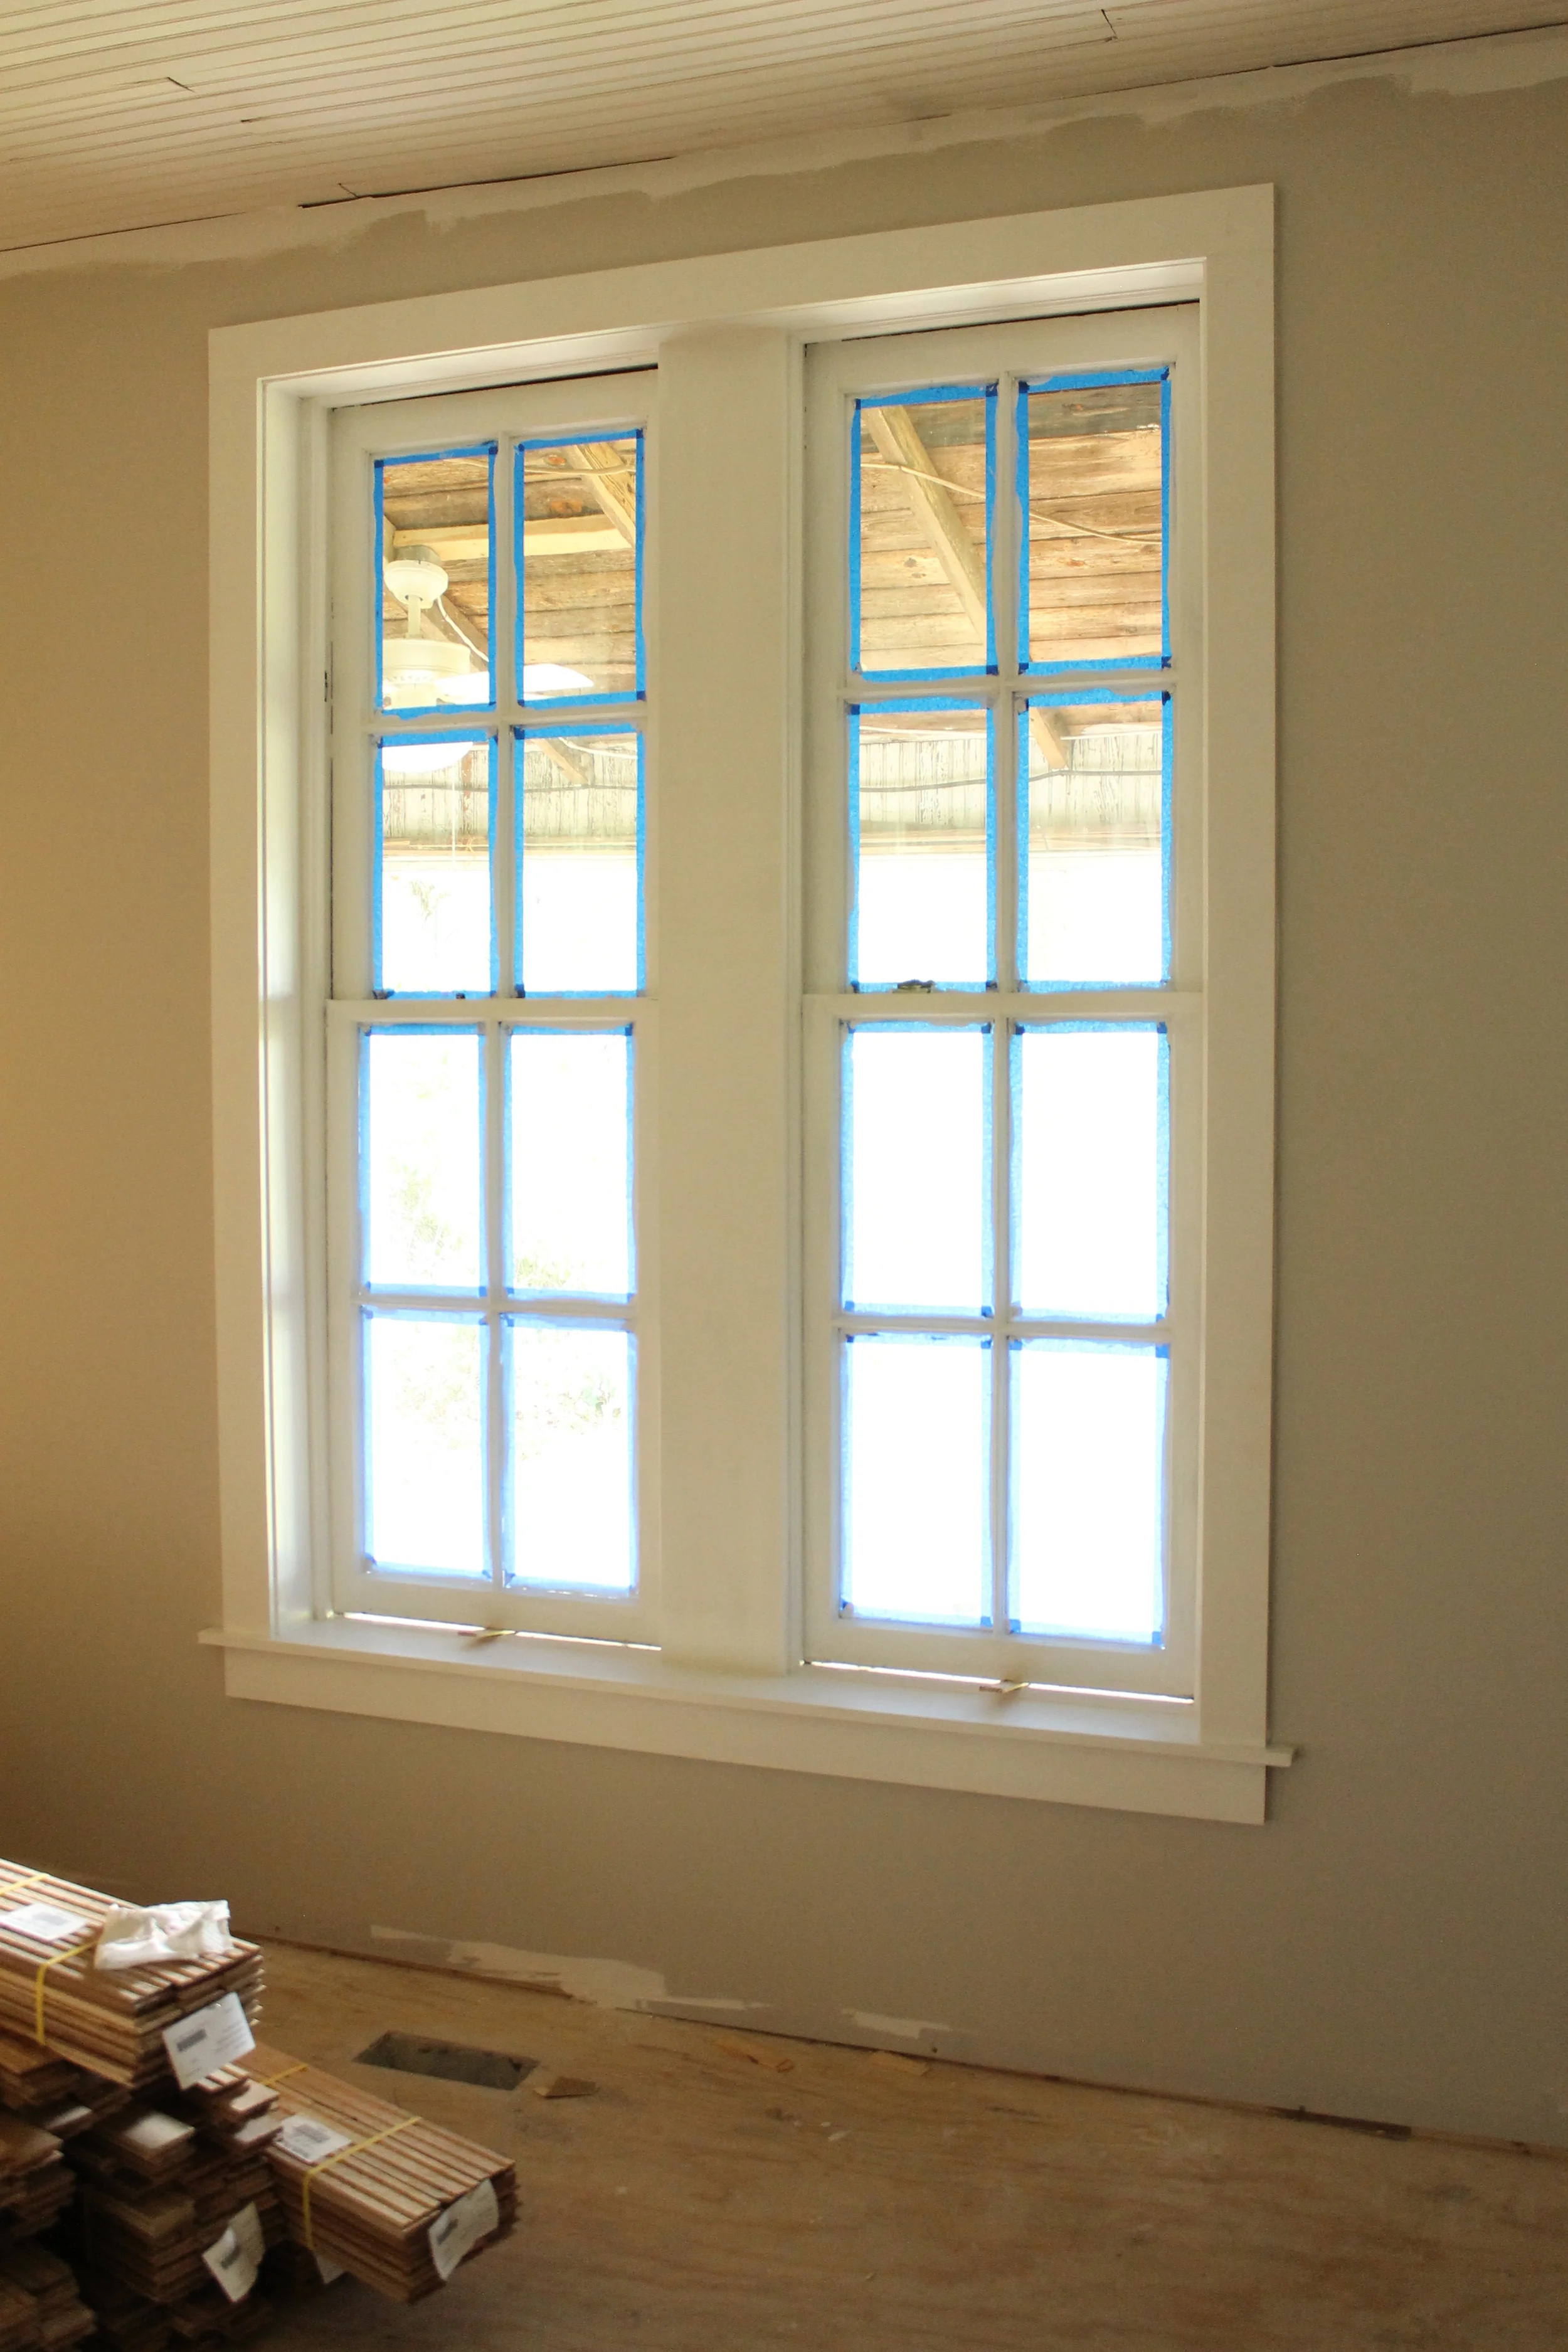
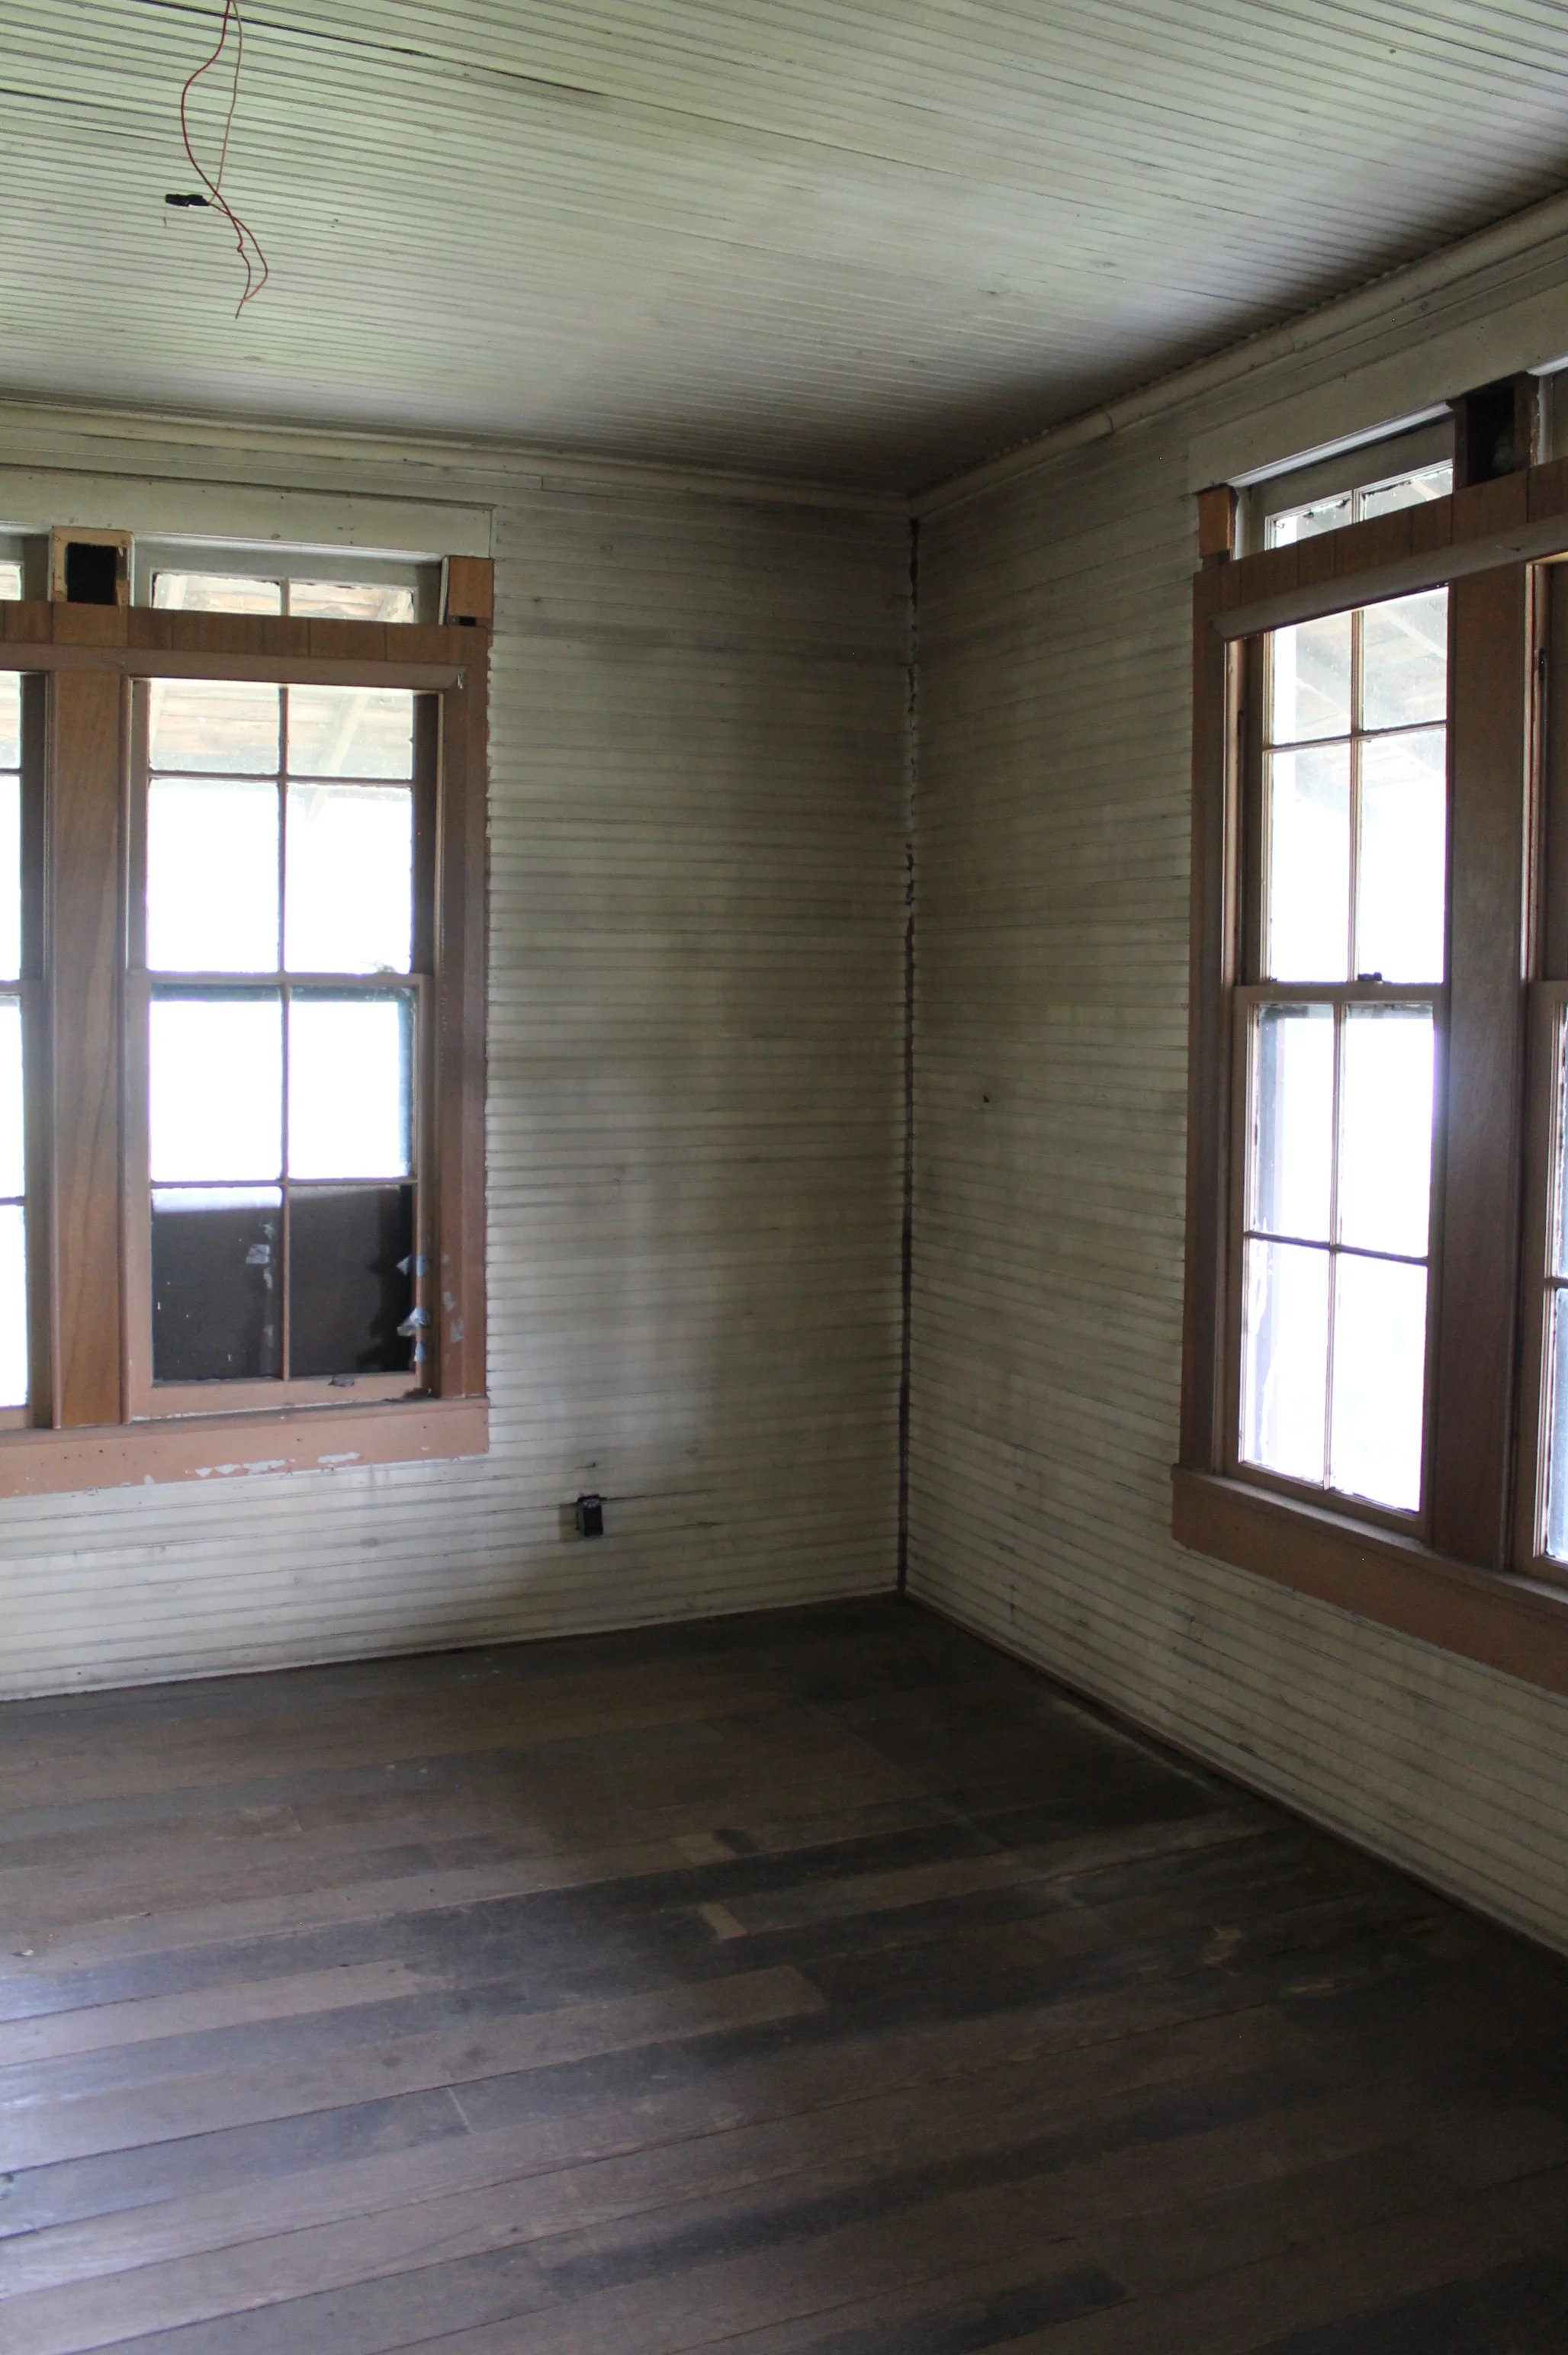
Since the hardwoods didn't arrive in time to properly acclimate to the house, we turned our attention to the windows for our week of work on the Myrtle House. I totally underestimated this project! It took Brian, myself, and my sister six straight days to frame, prime, and paint all 12 of the windows. While I underestimated the work, I also underestimated what a difference this project would make in how the house feels. Here are the before and afters of our old windows. Please excuse the painters' tape - still another coat left to do!


Hardwood Floors | Myrtle House
I get a little sick to my stomach when I think of the beautiful, century-old wood floors in the Myrtle House that we were forced to rip out due to termite damage. The wide-plank pine floors were gorgeous to the eyes, but underneath, they looked like corrugated cardboard. Have I mentioned how much I hate termites?
Due to a job change, I have the Fourth of July week off, so Brian and I have decided to tackle the hardwood floors. We are going to have to put in new flooring in all but two rooms (about 1000 square feet total).
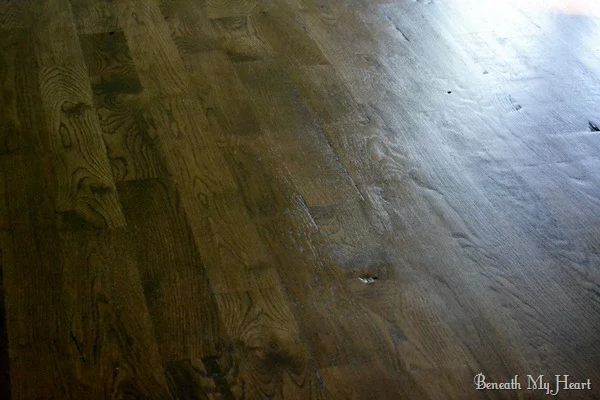
Since the floors that are left are "rustic" to put it nicely, we have decided to try out the Utility Grade Oak Flooring by Lumber Liquidators. Our contractor had a good experience with it, and with it being so economical $.89 a square foot (on sale now!), it seems to be our best option. Beneath My Heart has a great outline of her experience installing this floor.
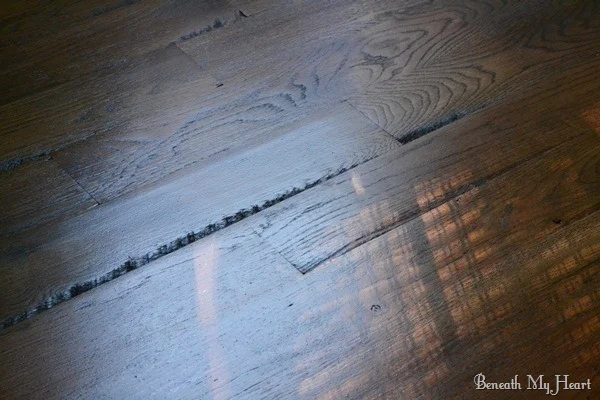
You can really see the imperfections in the wood above. I think the knots and grooves add so much character to the floor. Look at how lovely her floors look!
It may be a little quiet around these parts as we tackle this daunting project and I transition into my new position. I hope y'alls summer is off to a great start!
Knock, Knock | Myrtle House
Please excuse my sad attempt at a clever blog post title. I am running on fumes at this point in the day and may or may not be eating a bowl of ice cream as I write this (gotta treat yo'self). We spent yet another busy two days working on the Myrtle House this past weekend. It was the last trip for a while, so I am glad we got a few things checked off of the to-do list.
We were able to grout the master bath tile, which is quite a TERRIFYING process. Right after you get done putting up your squeaky clean white tile, you get to slather it with what is essentially black mud that hardens quickly. Luckily, we did get it all cleaned up and it looks pretty good. Last step in that process is sealer, and then we will be able to shower!
Another item on the checklist was re-installing the original front door. While I have thoroughly enjoyed the "custom wood door" that our contractor made for us, I was ready to get it out of there. Brian had mentioned that it makes our house look like a crack house, and I had to agree with him.


Clearly, it still needs some work. The original glass pane is cracked and held together by scotch tape, so that needs to be remedied. I do LOVE how the new outdoor lights coordinate with the door hardware. So fancy. I can't wait to paint the windows black and really tie it all in.
The hardest part of this door was not installing it, like I had anticipated. What took the longest was sanding this darned thing. I put in a solid five hours of intense sanding to get it in paintable shape. You should see my biceps now. ;)

SAND

PRIME

PAINT
While the door is solid wood and potentially could be stained, there were so many holes from various door knobs and patch jobs that we had to fill quite a bit of it with Bond-O, so we painted it instead. You can see the terrible shape it was in, and why it took so... much... sanding.


In case you haven't noticed, a minty blue door is kind of my thing. :)
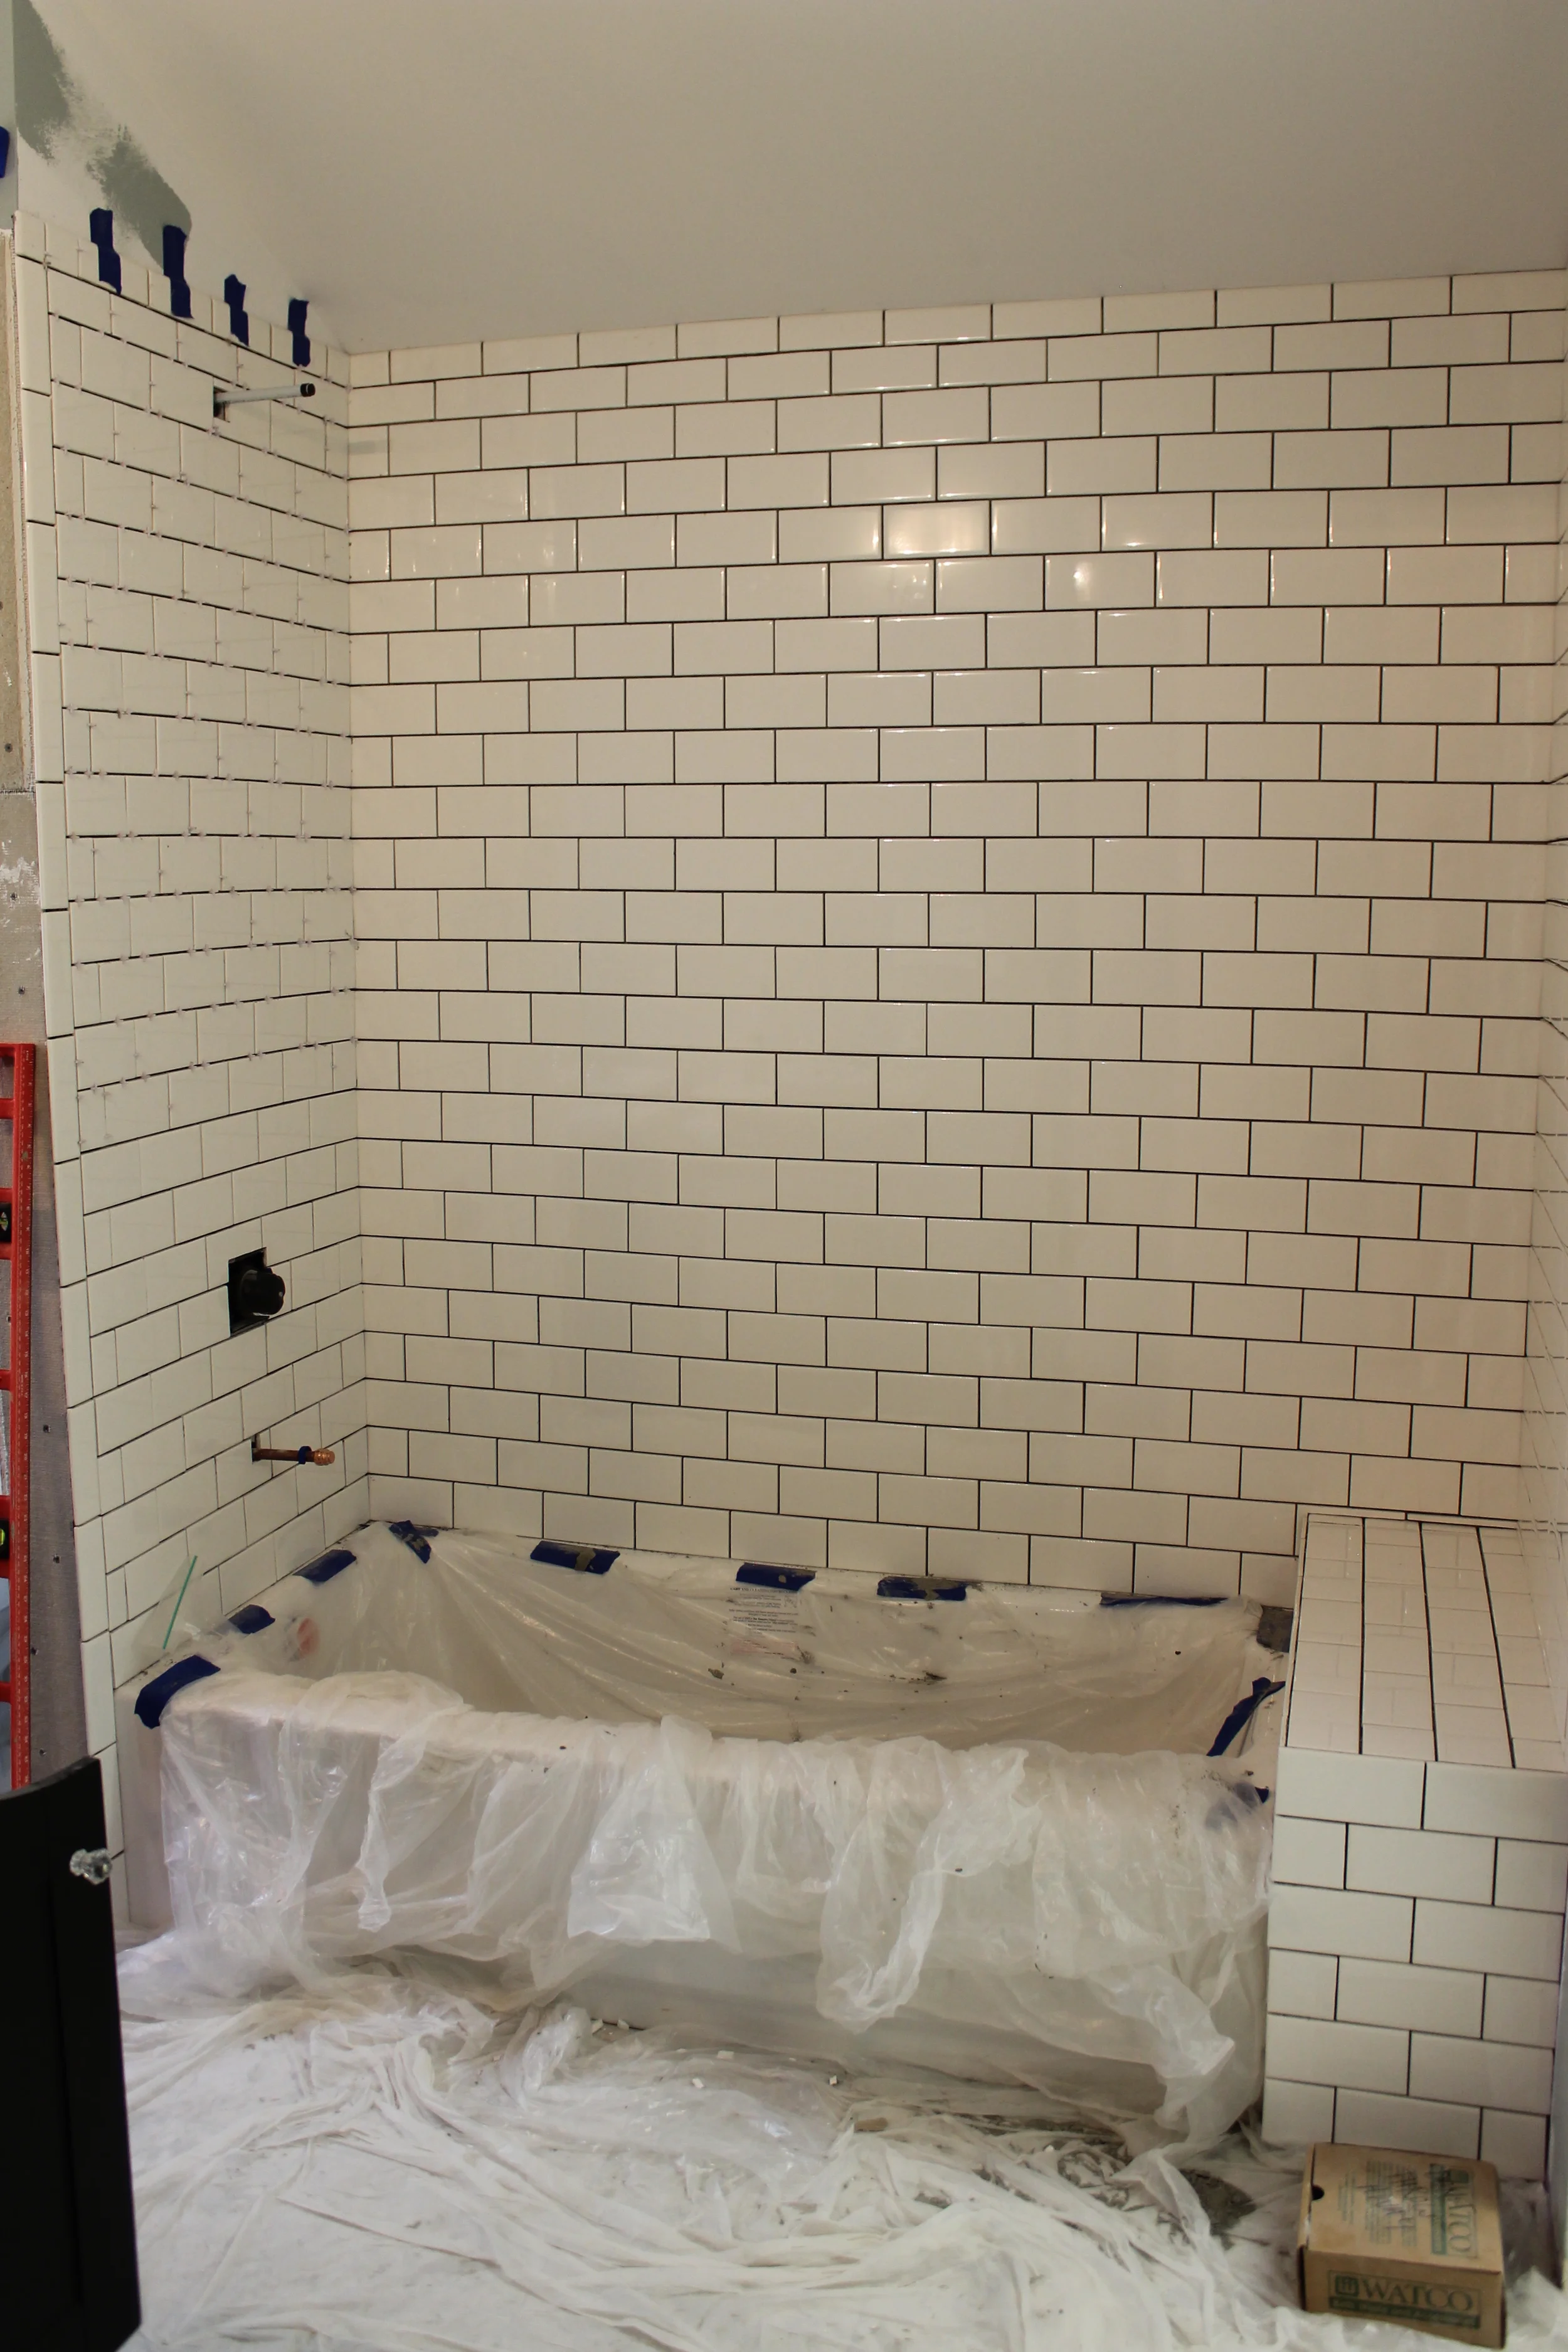
Subway Tile | Myrtle House
We just got back from tiling the master bath at the Myrtle House (doesn't everyone spend their three-day weekends doing things like this?) and I wanted to give a quick recap. Since there are so many great tutorials on how to tile (like this post), I won't bore you with the nitty gritty details, but here are a few takeaway points from our experience.
I thought, rather naively, that tiling would be a pretty simple job. We weren't doing a crazy pattern and just had to install a tub surround with basic subway tile. You see people tiling on HGTV and it is usually depicted as a quick, last-minute thing (I'm looking at you, Joanna Gaines). Do not be deceived, tiling is actually quite time-consuming. In all honesty, it is not that difficult once you get the hang of it, but it took two of us 30 straight hours to just LAY the tile. Grout and sealer are still coming.
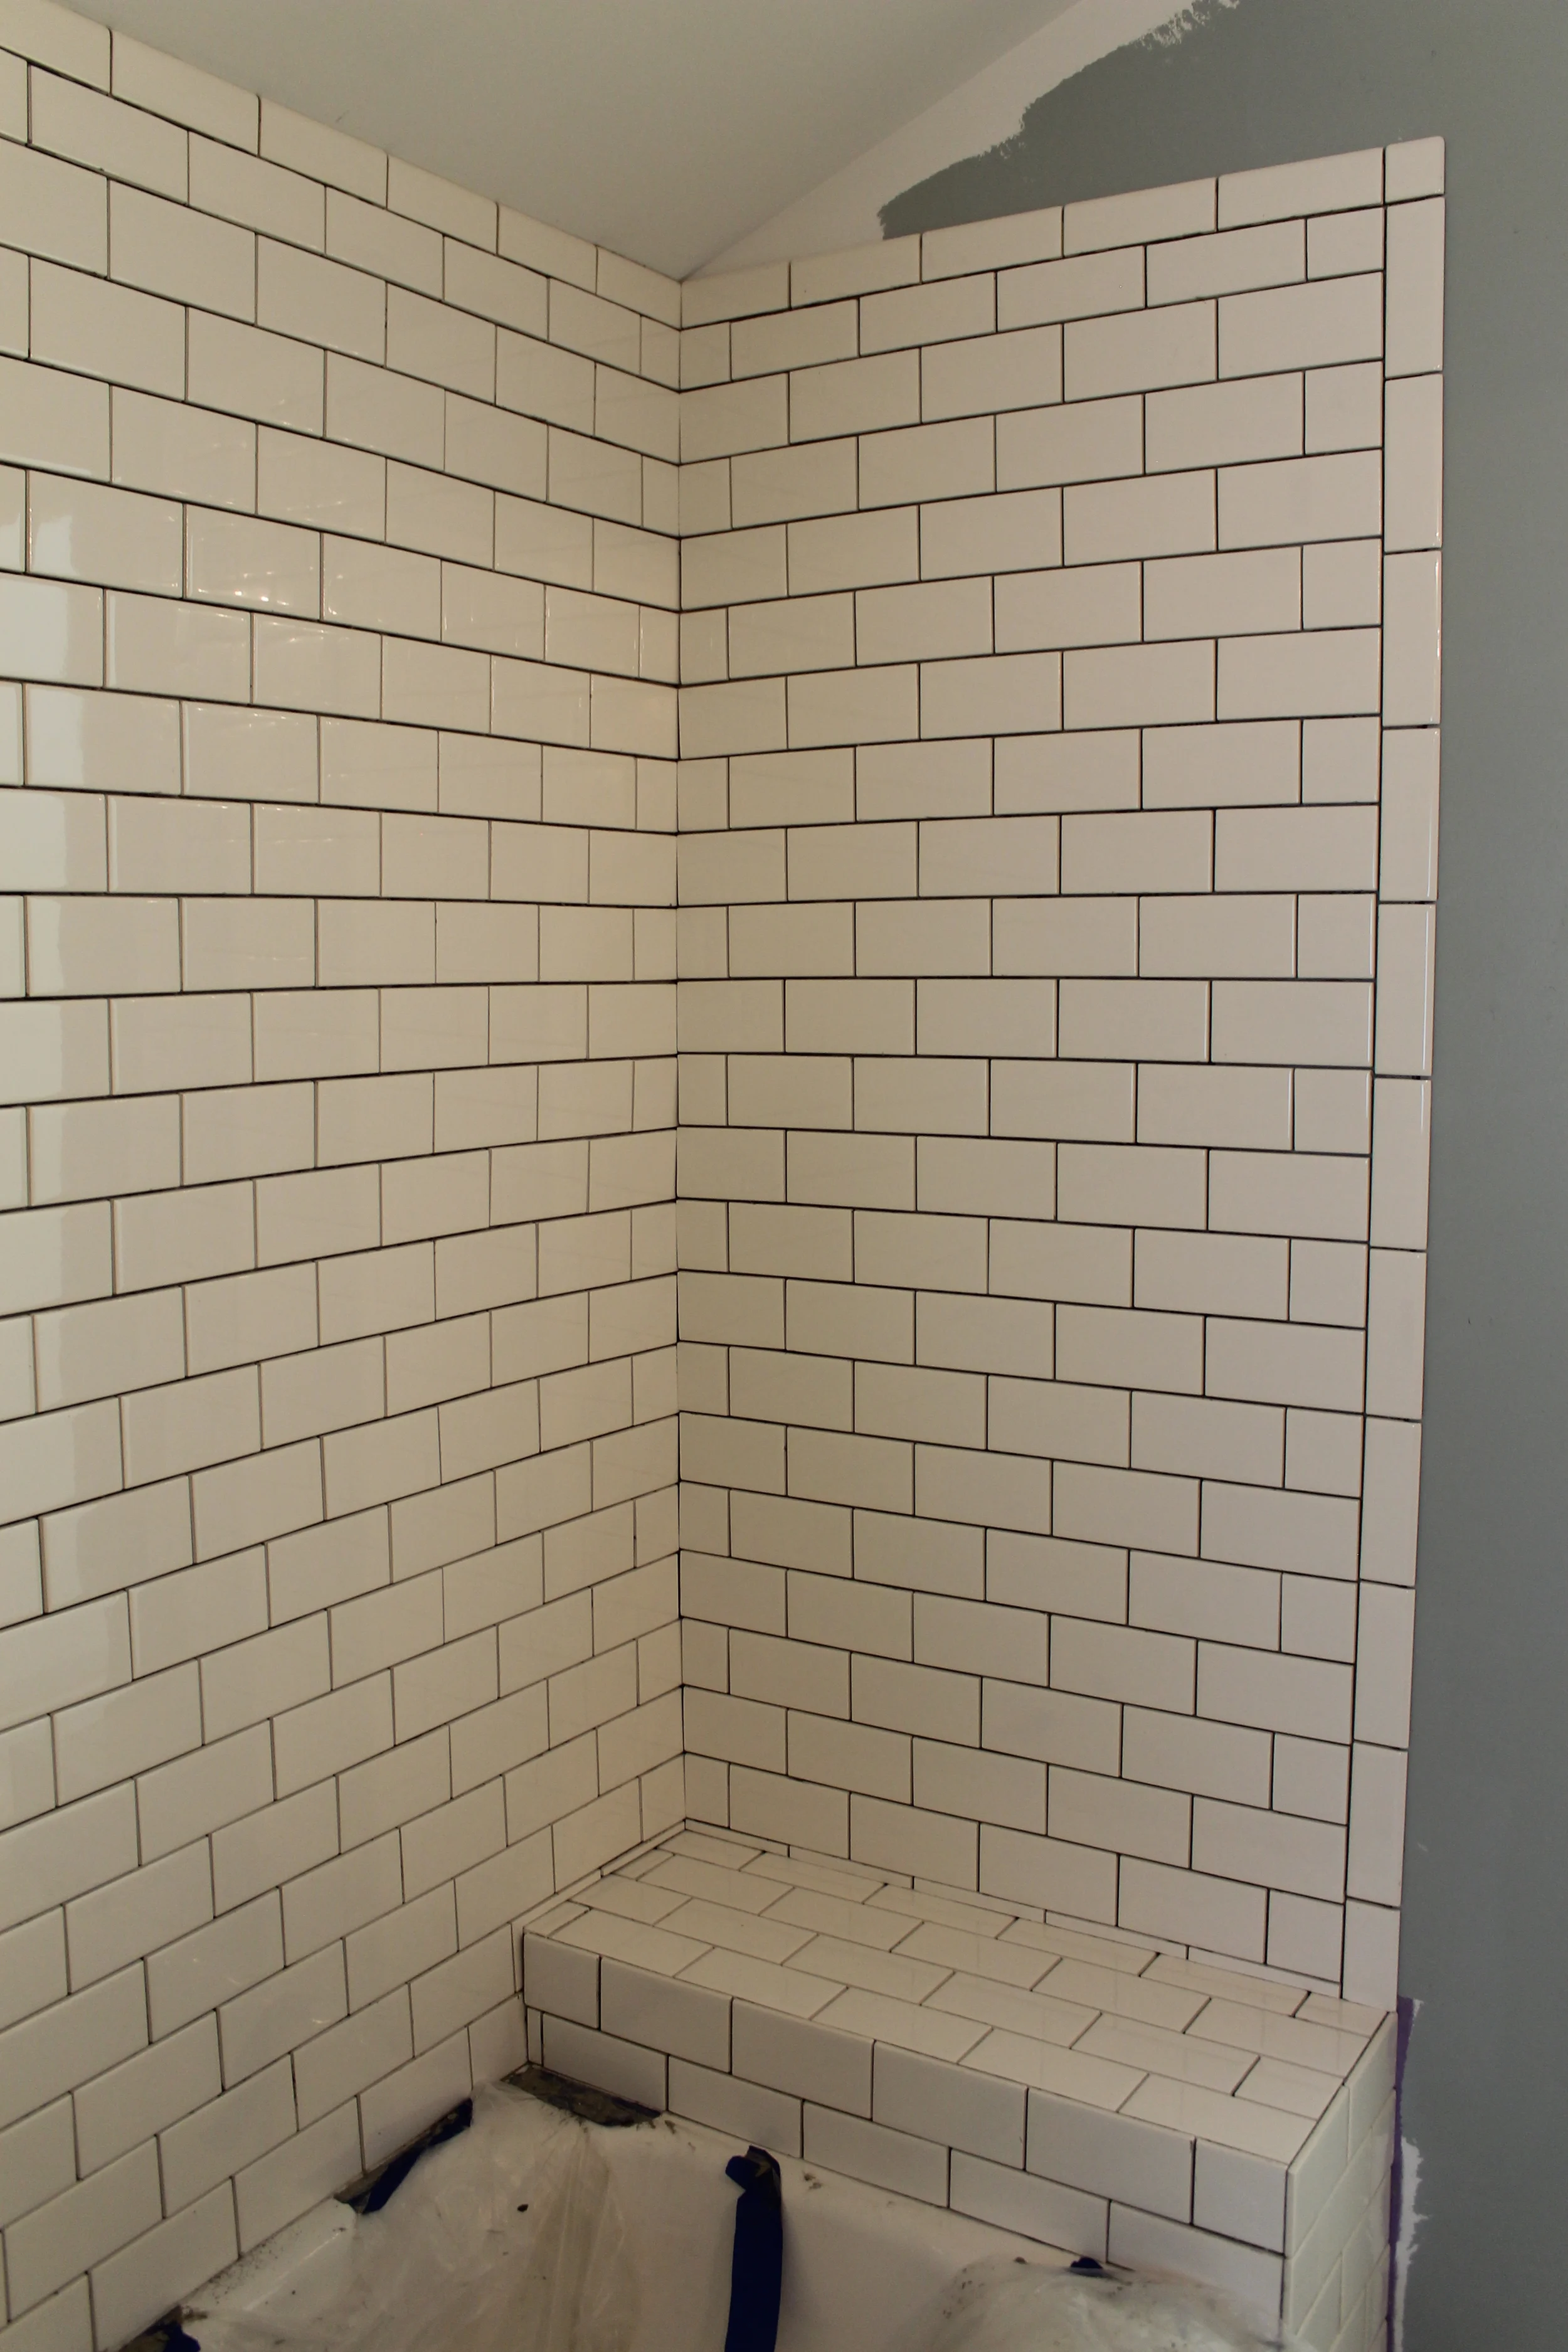
Is it perfect? Heck no. You will see our crooked lines and large gaps. But since we were first-timers, I think we did okay.
You can't extend the longevity of mortar by adding water
In theory this makes sense, but if you try to add water to drying mortar, it will loose it's adhesion. Just save yourself the headache of re-doing tiles (like we had to) and mix a fresh batch. Better safe than sorry.
Plan out the pattern in detail before tiling
You know the phrase "measure twice, cut once"? This theory is totally appropriate for tiling, but I think tiling is more of a puzzle. You have to figure out how the pattern will look on both ends (you don't want to end up with a tiny sliver of tile). Really take your time to plan before getting started.
Buy the wet saw instead of the sliding tile cutter
We went with the cheap little cutter, and it was terrible. The cut edges were jagged and it looked like I had tried to break it with my hands. Luckily, our contractor had let us borrow his wet saw as a back-up and thank goodness he did. The wet saw made such clean lines. We are going to cowboy up and buy the wet saw for our other tiling projects down the road.
Make sure cement board screws are flat and flush with the board
If you are working with cement board, make sure the surface is completely flat. If you have a screw that isn't flush, make sure to screw it in or else the tile will slightly jut out.
Keep your mortar covered to prolong the wetness
We just threw a piece of plastic over the top when making cuts to prevent it from drying out too quickly.
Check level multiple times
The last thing you want is your tile to be un-level; it will make the whole project exponentially more difficult. We checked level in the center, but our ends sag a bit on both sides because we didn't check all points. Therefore, we had to droop the ends on either side of the tub to meet the corners.
Clean out mortar tools as soon as they are done
Unless you want to be scraping cement off of your tools, wash these out ASAP once you are done for the day.
Make sure to get out excess mortar between tiles before it dries
Same theory as above - you will find yourself with a screwdriver scraping out mortar once it is dried. A very slow and tedious process. Just wipe it out of the gaps when it is wet with a spacer or your finger to make your life easier.
Be sure to lay down plastic in the tub AND on the floor
By the end of the job, our bathroom looked like an archeological dig. The mortar is SUPER messy, and you don't want this anywhere near your white bathroom fixtures. I would keep the protective barrier down during grouting and sealing too.

All in all, it was not as scary as I thought it would be. As long as you plan extensively and take your time, I am sure you will do great tiling. And just for fun to conclude this post (basically for my own sake), here is a before and after-ish shot of this bathroom. We're finally starting to get there, guys!

Old Cabinets | Myrtle House
There are definitely things you come across while renovating an old house that are worth saving. Solid wood doors, original wide-plank pine floors, and bathtubs are at the top of my list. On the flip side, there are times when you should just cut your losses and replace the item. I really wanted to salvage the Myrtle House Kitchen cabinets. The old flour bins had my heart.

I made our contractor set them on the front porch during demo (sorry Jake and crew) and there they remained until a few weeks ago. Every time I passed the cabinets by, I said to myself "I will fix those!". This eventually turned into "I think I can fix those..." and most recently "There is no way I can fix those." I can just hear Nicole Curtis screaming in my head: "Those are solid wood cabinets! You can save them!" but quite frankly my friends, I don't have the time, energy, or stomach to get these cabinets back in eat-in-kitchen-worthy condition. Plus, since we are completely re-designing the kitchen layout, we would have to find the exact same cabinets in other odd cabinet sizes to complete the design. Never going to happen. So Brian and I had the happy task of trying to get these cabinets to the dump. Ourselves. Cue head-scratching. Luckily, we have a front porch without railings so we were able to pull the truck bed right up and gracefully slide (hah, yeah right) the cabinets onto our poor little truck. Below is the outcome.

I think I gained a few gray hairs during the transport to the dump since we couldn't close up the tail-gate. I had visions of the cabinets sliding right off the bed and crashing into someone's car. Luckily we made it without injuring anyone. Phew.
Have you ever desperately wanted to save an item but realized it was a lost cause?
Paying Off My Car | Debt Free Living
This past week, I sent in my very last payment for my car, and it felt pretty amazing. My five year loan was up in July, but it was driving me crazy to have a couple hundred bucks of debt pending for my little Yaris. I bit the bullet, sent in the balance, and was kind of shocked by just how good it felt!

I remember when I bought my car and where I was in my life. I had graduated the previous December and just landed my first "big girl job" (full-time with benefits and everything!) the following summer. Since it was 2010 and it was so hard for this interior design degree gal to secure a job in Raleigh, I accepted a position about an hour away in a different field. I didn't completely trust my beloved 1990 Toyota Celica to get me to my new job for much longer, so I decided to buy a "big girl car" to go along with my fancy new job.
As grateful as I am for my now paid off and reliable car, I have a certain nostalgia about my cherry red Celica. I LOVED that car, not necessarily because of the way it looked or drove, but because of the freedom it allowed me. I don't have memories of commuting in it for two hours a day (in order to pay for my new car) like I do for the Yaris. I have memories of driving down to concerts in Charleston with friends on a last minute weekend getaway, just because. I don't think of sitting in bumper to bumper traffic in downtown Raleigh fighting to get home. I think of buckling in the two adorable red headed kiddos I was fortunate enough to nanny for during high school and college (probably still my favorite job to date). While it is nice to have power locks and working AC (it is the little things), there is something about not having the looming car payment and debt that makes your paid-off, crappy car a tad bit sweeter.

Now that our vehicles are paid for, our plan is to never (never ever ever) have a car payment again and will instead pay for new cars in full at the time of purchase. Is paying off your vehicle loan(s) something that is important to you?
P.S. I have thought about adding a few more topics of interest to my blog, and becoming debt free is one of them. I hope you enjoy these new posts and I can't wait to hear about your stories as well!