Demolition

All Closed Up | Myrtle House

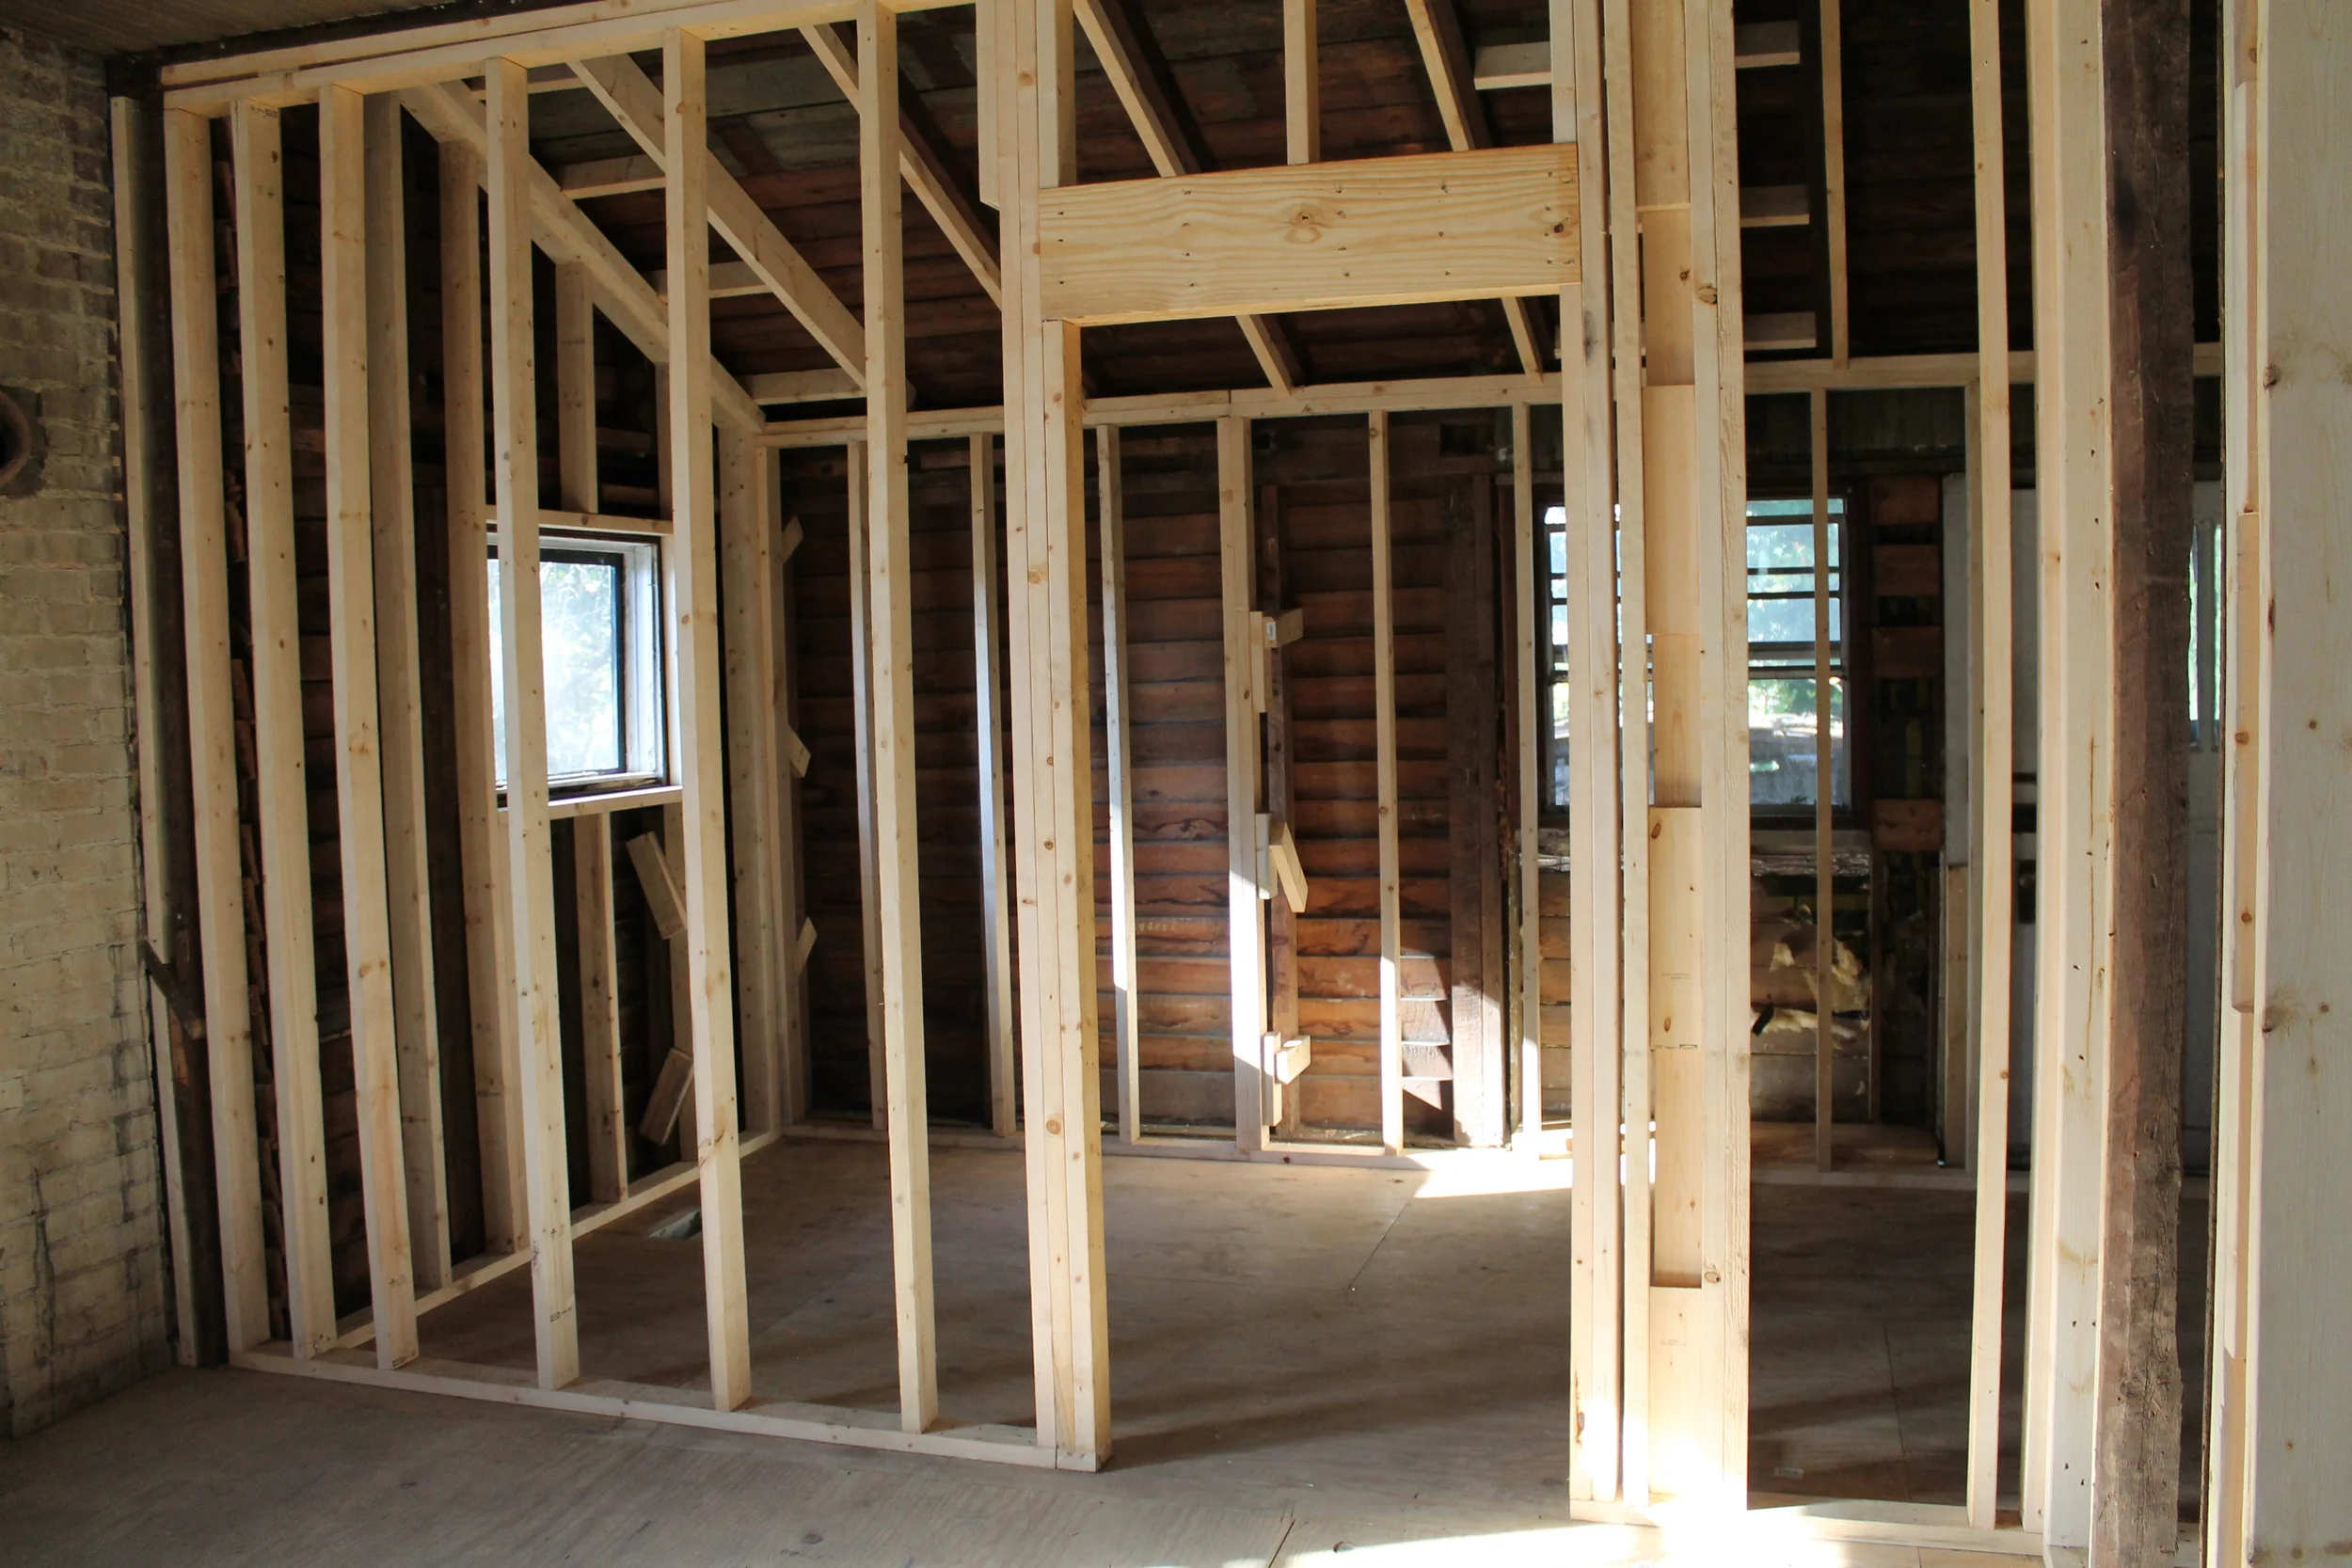
It had been three months since our last trip to the Myrtle House when we went this weekend. We had purposefully kept away since the progress was slow and there wasn't really a need for us to get in the crew's way. This past trip, however, was vital since this was the last time we will be there before the drywall is up. (!!!) Our contractor has been in overdrive; we recently got the fallen chimney replaced with new siding, all of the original windows repaired, and insulation halfway done. Plus, we passed inspections which is a huge relief all around. It is really starting to take shape and even has that "new house smell" which is a heck of a lot better than the dead possum smell that lingered before...

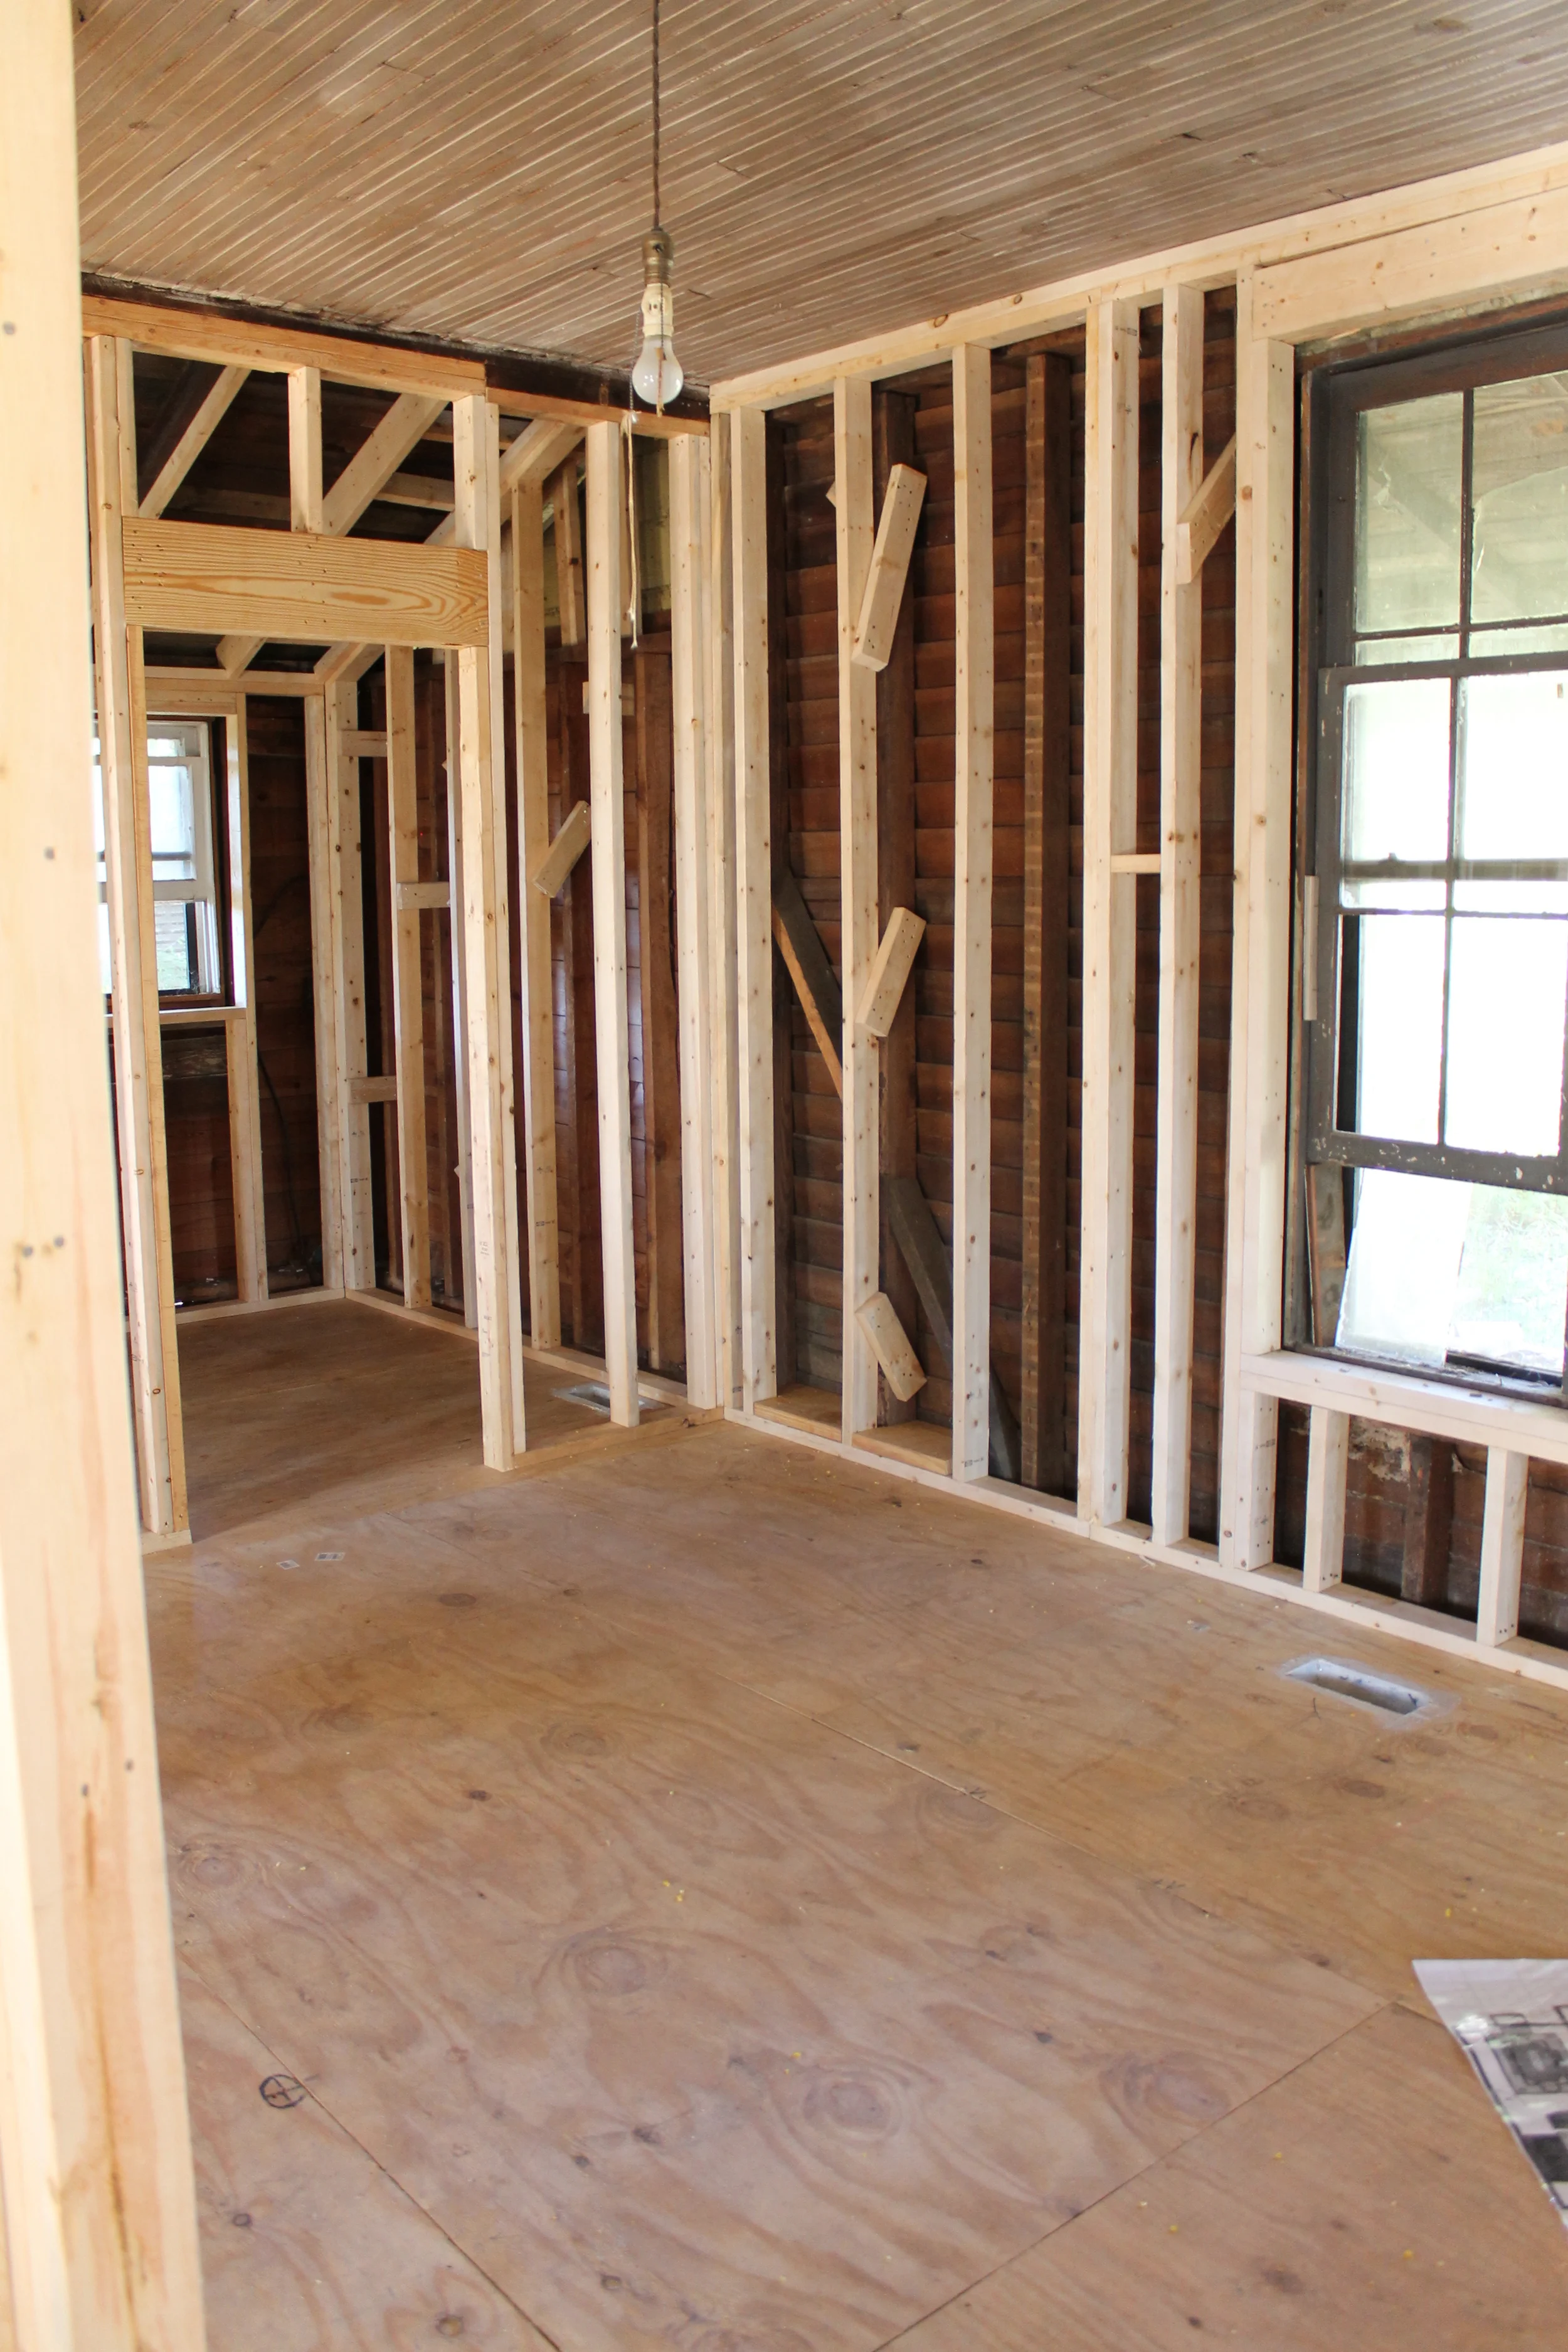
It is fitting timing as this last visit was exactly one year and two weeks from the first day Brian and I started working on the house. Geez, what a journey it has been, but I literally cannot wait to go back in three weeks when the walls are dry-walled and the original bead-board ceiling painted a clean white. The only clean thing this house has seen in a while. ;) Here is the ceiling in the kitchen patched with salvaged bead-board and ready for paint.

Elizabeth Burns Design | Myrtle House

(You can also see the recessed cans wired! I am super excited for the lighting in this kitchen.) For the ceiling, doors, and trim, we decided to use Benjamin Moore Chantilly Lace. It is an almost pure white (not yellow-ish) but just a tad softer than a bight white.

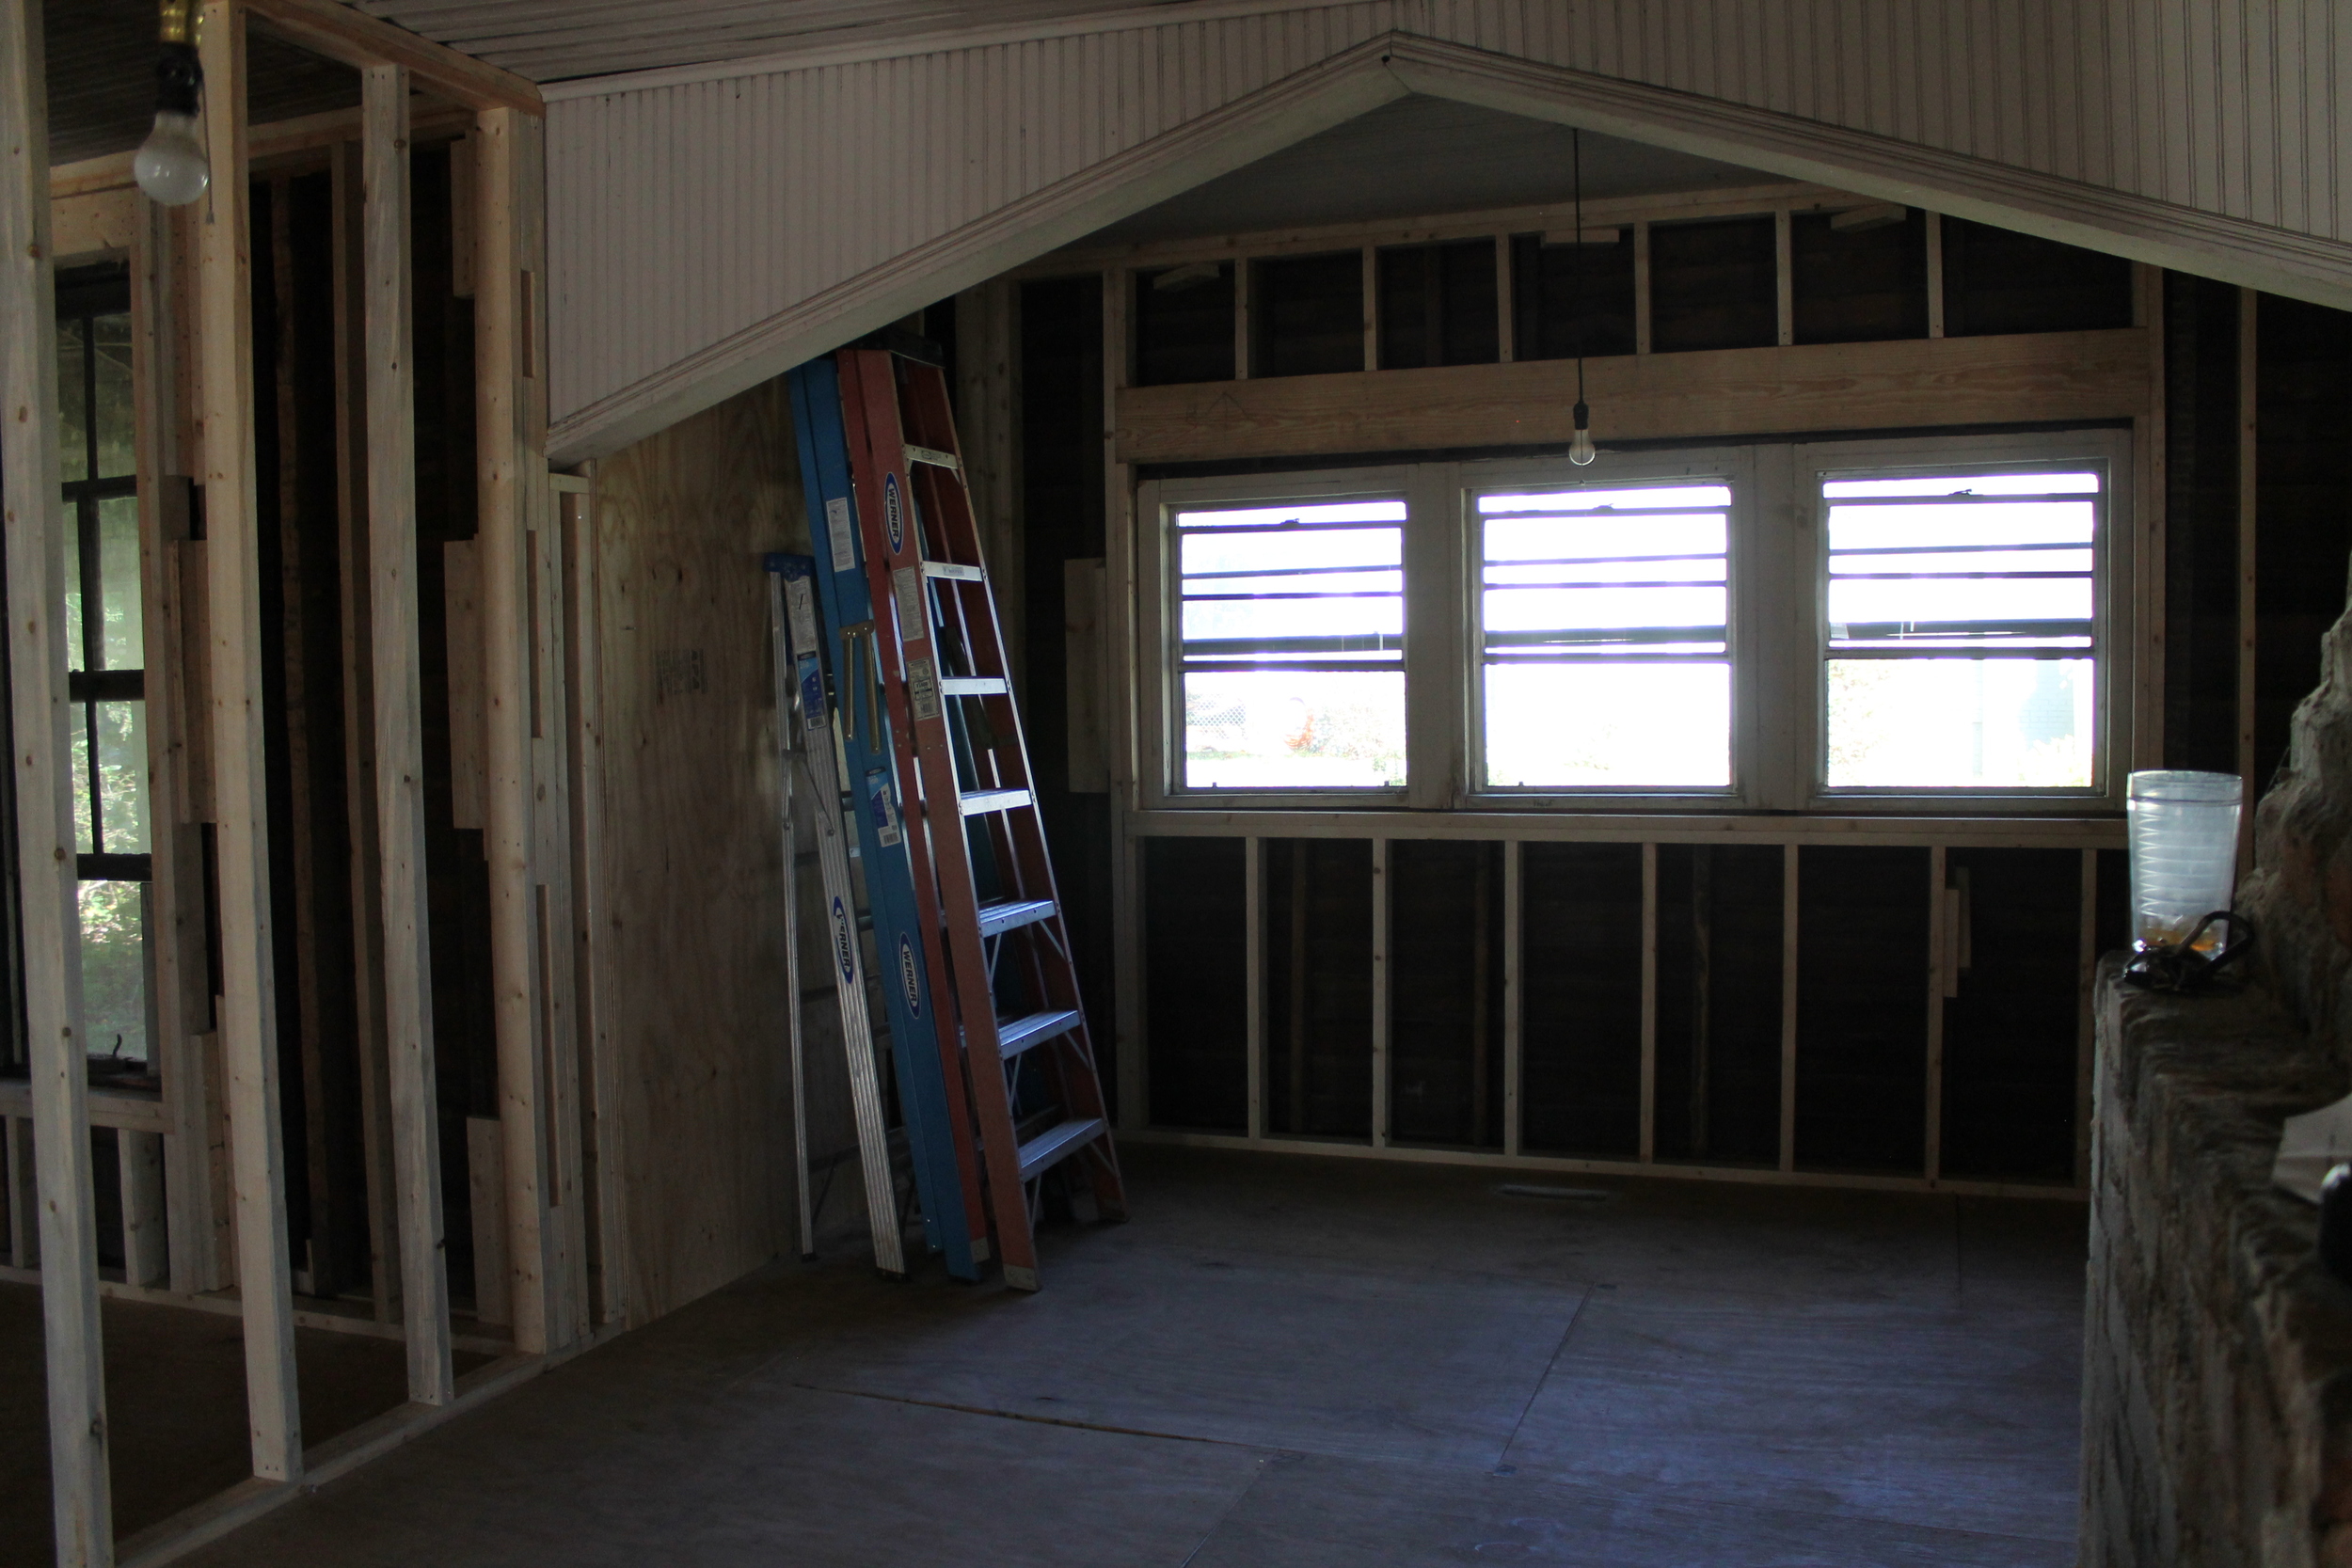
If you'll remember, this fireplace had fallen during a storm many years ago. As much as we wanted to fix it, the price tag was upwards of $4,000 and just didn't make sense financially (especially with there being two other fireplaces in the house). So, down it went, and we replaced it with siding. Eventually we will replace all of the siding to match, but here is the before and after of the fireplace wall.

Elizabeth Burns Design | Myrtle House

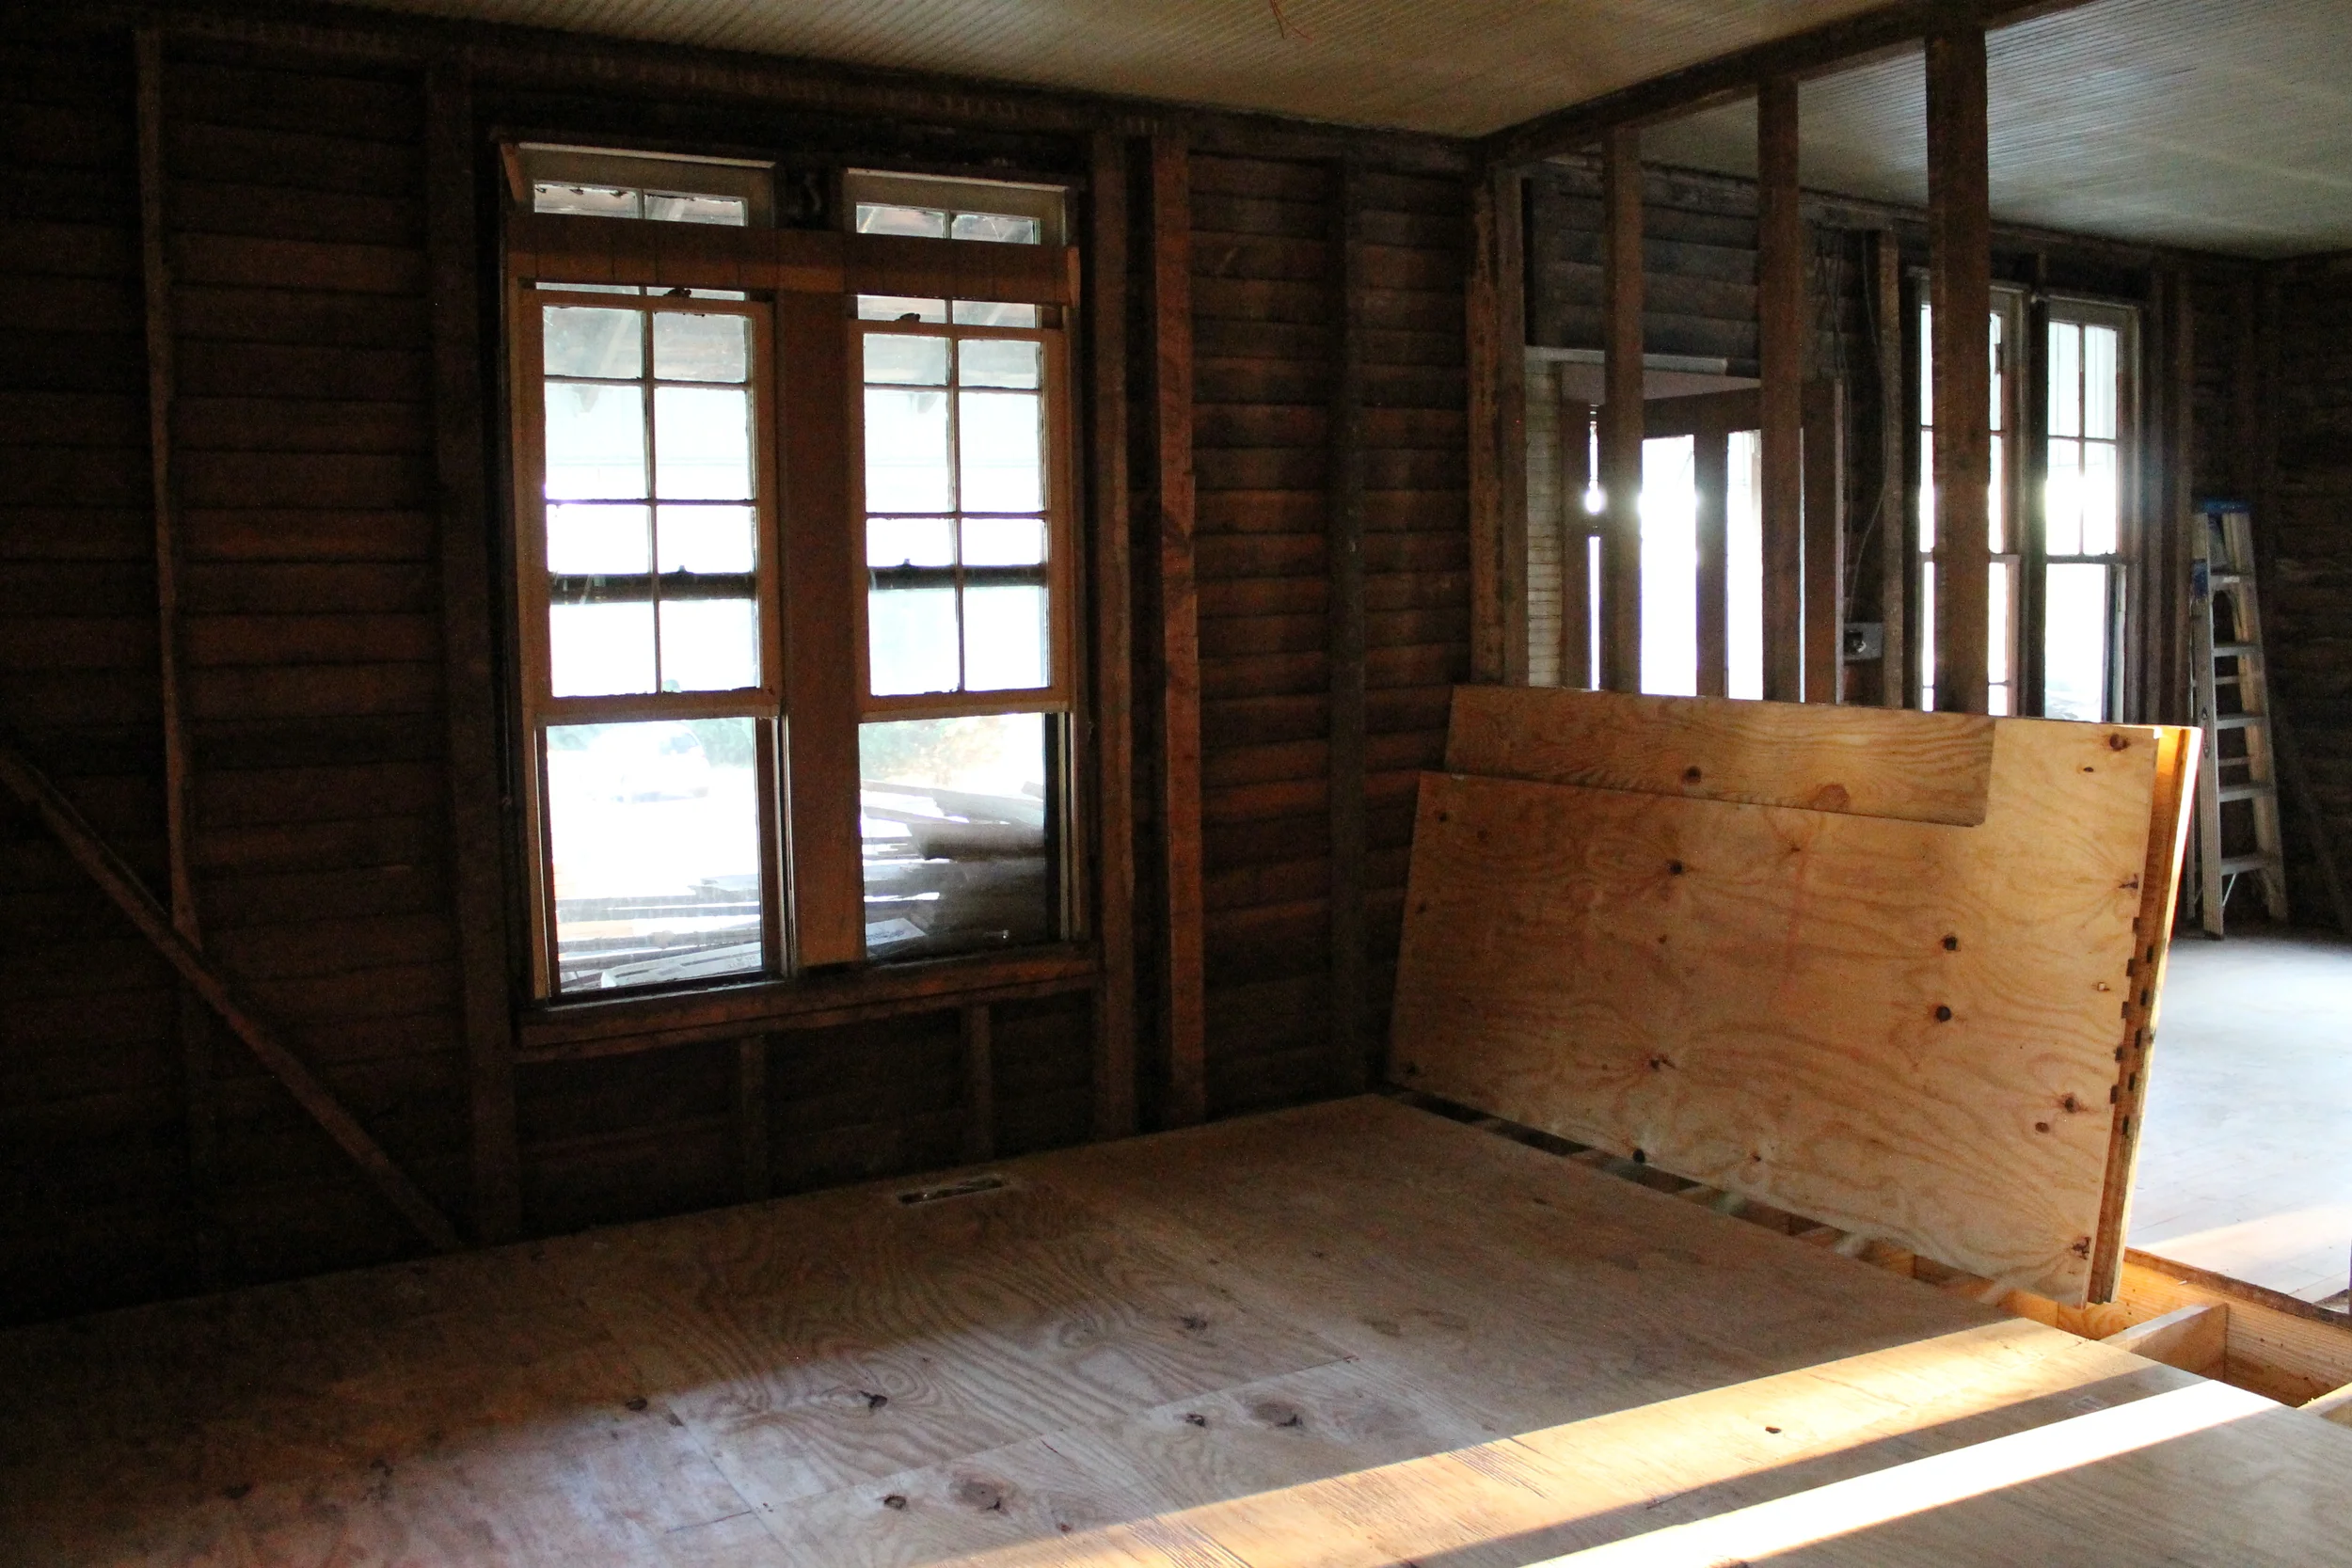
Another big difference is that the windows are all repaired! No more cats climbing in to leave us presents or bees harassing us in the summer while working. The struggle is real. Here is a closeup of the new glazing. Our contractor said the wood is still in really good shape, so that was reassurance we made the right call by fixing them.

Elizabeth Burns Design | Myrtle House

Speaking of windows, we also managed to fit these old monsters in my tiny Toyota to replace the ones in the kitchen. Brian and I drove three hours round trip for the deal of the century on Craigslist and ended up chatting with the seller (a former vintage store owner) for a solid twenty minutes. Those are the kinds of Craigslist adventures I love. :)

Elizabeth Burns Design | Myrtle House

These windows shown below were the only ones left in the house that were not made out of wood and I knew they would bother me if we had left them. The 1970's metal storm windows did nothing to add charm to this house, so they had to go. I can't wait to have three big panes of glass above the kitchen sink!

Elizabeth Burns Design | Myrtle House

I can't wait to share more. The posts from here on out should hopefully start to get a lot more interesting!

Systems | Myrtle House

A quick unexpected trip to the Western part of the state allowed us a chance to swing by the Myrtle House and see how the plumbing and electrical are coming along. While the house still looks far from done, it is amazing how much progress has been made when you think about it. After these two systems are finalized, the only things left are insulation, drywall, window repairs, and masonry. Well, those things and making it livable with a kitchen, floors, and bathroom fixtures. ;)

Below is the switch that controls the exterior lights and living room fixtures.

Elizabeth Burns Design | Old House Renovation

HVAC, plumbing, and new joists/subfloor. I never thought construction would look so pretty.

Elizabeth Burns Design | Old House Renovation

Soon to be half bath off of the living room.

Elizabeth Burns Design | Old House Renovation

Stacked laundry room!

Elizabeth Burns Design | Old House Renovation

Master bath. Not too keen on the plumber's tub choice, so we are switching it out.

Elizabeth Burns Design | Old House Renovation

Kind of jealous of the guest bath. It has a very spacious layout.

Elizabeth Burns Design | Old House Renovation

Office/guest room bathroom progress.

Elizabeth Burns Design | Old House Renovation

Framing | Myrtle House

Throughout this process of revitalizing the Myrtle House, I am pretty sure I have gone through approximately five floor plans. This is not because I am an indecisive person (which I very much am), but our plans for this house have changed over the last year of renovations. Initially, we were going to keep the layout basically as is to keep costs low. With the abundance of termite damage, we ended up replacing most of the studs, so we had to spend money on new walls regardless. Over the past few months, I have given different plans to our contractor, but this last one was decided as the winner and over the weekend we were able to see the framing up. Here is a quick little tour of the house layout.

When you walk in, this will be our formal dining room/entry. A bit unconventional to walk right into the dining room, but we knew it would work for us. This room felt cramped for a living room and I didn't like the idea of people being able to see right from the glass front door if we are watching TV. The big opening will hold the original French doors and will lead to the office/guest room. In this room is also a full bath and closet (shown here towards the right).

Elizabeth Burns Design

Still in the dining room, but now we are looking into the living room. The original plan was to leave this wall completely open, but due to the length of the span, building codes would not allow it. We ended up having to frame in narrow walls on either side, but I actually now love them and think they look more in line with how the house would have looked when it was built.

Elizabeth Burns Design

To the right of the dining room and front door through the new opening is the living room. This room also connects to the kitchen. Since the existing fireplace acts as a support, we are able to leave this space open.

Elizabeth Burns Design

You can see the corner of the doorway at the right of the photo above, but right off of the living room will be a powder room. This was originally a closet.

Elizabeth Burns Design

This is the view from the living room looking back into the dining room and front entry.

Elizabeth Burns Design

Next up is the kitchen! This room was previously used as a storage room, but was closed off like a bedroom. Under the three windows will be our sink, dishwasher, and cabinets the length of the wall. Where the ladders are will be the exterior door to the side (eventual) screened in porch and backyard. The framing next to the ladders will be where the stove, fridge, and more counterpace will be.

Elizabeth Burns Design

From the kitchen is a short hallway where you can access the two back bedrooms as well as the laundry room. To the left is the master, directly in front is the laundry closet, and to the right is the guest bedroom.

Elizabeth Burns Design

Going left into the master bedroom, here is what used to be the kitchen. We may eventually get larger windows, but for now, we plan on putting the headboard under the window to fill in that awkward space. The old brick chimney will be patched (hopefully) and probably painted to add a bit of texture to the room.

Elizabeth Burns Design

Now onto the master bath! Not a huge room, but enough space for a double vanity, tub/shower combo, and toilet. I love the slanted roof line that the master bath, closet, and guest bath will have.

Elizabeth Burns Design

The master closet is actually only accessible through the master bath. Brian didn't love this idea, but it was the only way to gain the maximum space in the bathroom (creating a doorway from the master bedroom would have eaten up about three feet of wall space). I think it will work. Again, not huge by today's standards, but it will be three times bigger than any closet we have ever had!

Elizabeth Burns Design

So that is the master! Now let's go back to the hallway off of the kitchen and go right into the guest bedroom. This is a small room, but it fits a queen size bed and dressing chest. I love the original tall windows in this room. The doorway visible leads to the private guest bathroom.

Elizabeth Burns Design

The window to the right is remaining. The other is being removed to accommodate a tub/shower and replaced with siding.

Elizabeth Burns Design

And here is one last shot of the kitchen/living room. Here I am standing in the small hallway from the bedrooms looking towards the front of the house. There is not enough room for an island, so we are going to center a little bistro table in front of the fireplace with a chandelier hanging from above. The perfect spot for a glass of wine while cooking dinner. :)

IMG_4167.JPG

So that is it! What do you think of the layout? I think it will work really well for us right now, and if we decide to have children in the future (or just host fun sleepovers with my niece). :)

Subfloor | Myrtle House

We have floors! Beautiful, level, not-going-to-fall-through floors! Granted, said floors are simply plywood boards, but still. Quite an improvement!

Elizabeth Burns Design | Old House Renovation

I also found this old photo from March when we were still in the process of cleaning out the house. Both are taken from the same angle. You can tell there has been a lot of demo since then!

Elizabeth Burns Design | Old House Renovation

Yes, you are correct in seeing the ceiling is unlevel. The wood beam has completely been eaten by termites and is pulling down the beadboard. Hopefully with a few (hundred) nails, these will be securely in place again. When I first told our contractor I wanted to leave the brick fireplace exposed, he thought I was crazy (he confirmed this last week ;), but said that he now thinks it is going to be really neat. Framing is due to start this week!

More Demo | Myrtle House

We finally made our way back to the Myrtle House after a month away. My oh my what a difference four weeks can make! We met with our contractor and he confirmed that demo was officially finished (woohoo!) and now we can start putting this little house back together. When I first walked into the house, I literally laughed out loud.

Elizabeth Burns Design | Old House Renovation

So, the bad news is, there was so much termite damage, the majority of the floors, joists, and framing has to be replaced. The good news is, this means it won't cost that much more to do WHATEVER I WANT with the floorplan. :) That is music to an interior design major's ears. I think I finally have a new layout in mind which converts this little 2 bed/1 bath house into a 3 bed/3.5 bath abode (hello rental potential!). I am also going to leave that beautiful double-sided fireplace open and create an open dining room/living room/kitchen. I can't wait to share the floor plan with you guys! Oh, and this is currently what the front of our house looks like. Oops. Sorry neighbors! Please don't steal those beautiful old doors!

Elizabeth Burns Design | Old House Renovation


Down to the Studs... Literally | Myrtle House

We got some photos from our contractor today. Not going to lie, I had a mini heart attack when I saw them. Even though I knew perfectly well this was going to happen, it is still a bit/a lot jarring to actually see it in photos. Where did my house go?! I may or may not be drinking a glass of wine as I type this...

Elizabeth Burns Design | Demo

The good news is, there is literally nothing left to surprise us. No more questions of "what is behind the walls?". Now we know. :) I am glad we removed everything because our contractor said there were squirrels' nests, beehives and "more rats' nests than you could count". Lovely.

There was also a TON of termite damage. Stupid termites. They ate through so much of my pretty, original wood. We are going to have to replace a lot of joists, but it will be awesome to not feel like you are walking through a fun house when inside.

Next steps are making new footings (rather putting in footings since there never were any) and then building back (literally) from the ground up! Hopefully this is as scary as it gets. Hopefully. Ok, now back to my glass of wine!