
Throughout this process of revitalizing the Myrtle House, I am pretty sure I have gone through approximately five floor plans. This is not because I am an indecisive person (which I very much am), but our plans for this house have changed over the last year of renovations. Initially, we were going to keep the layout basically as is to keep costs low. With the abundance of termite damage, we ended up replacing most of the studs, so we had to spend money on new walls regardless. Over the past few months, I have given different plans to our contractor, but this last one was decided as the winner and over the weekend we were able to see the framing up. Here is a quick little tour of the house layout.
When you walk in, this will be our formal dining room/entry. A bit unconventional to walk right into the dining room, but we knew it would work for us. This room felt cramped for a living room and I didn't like the idea of people being able to see right from the glass front door if we are watching TV. The big opening will hold the original French doors and will lead to the office/guest room. In this room is also a full bath and closet (shown here towards the right).

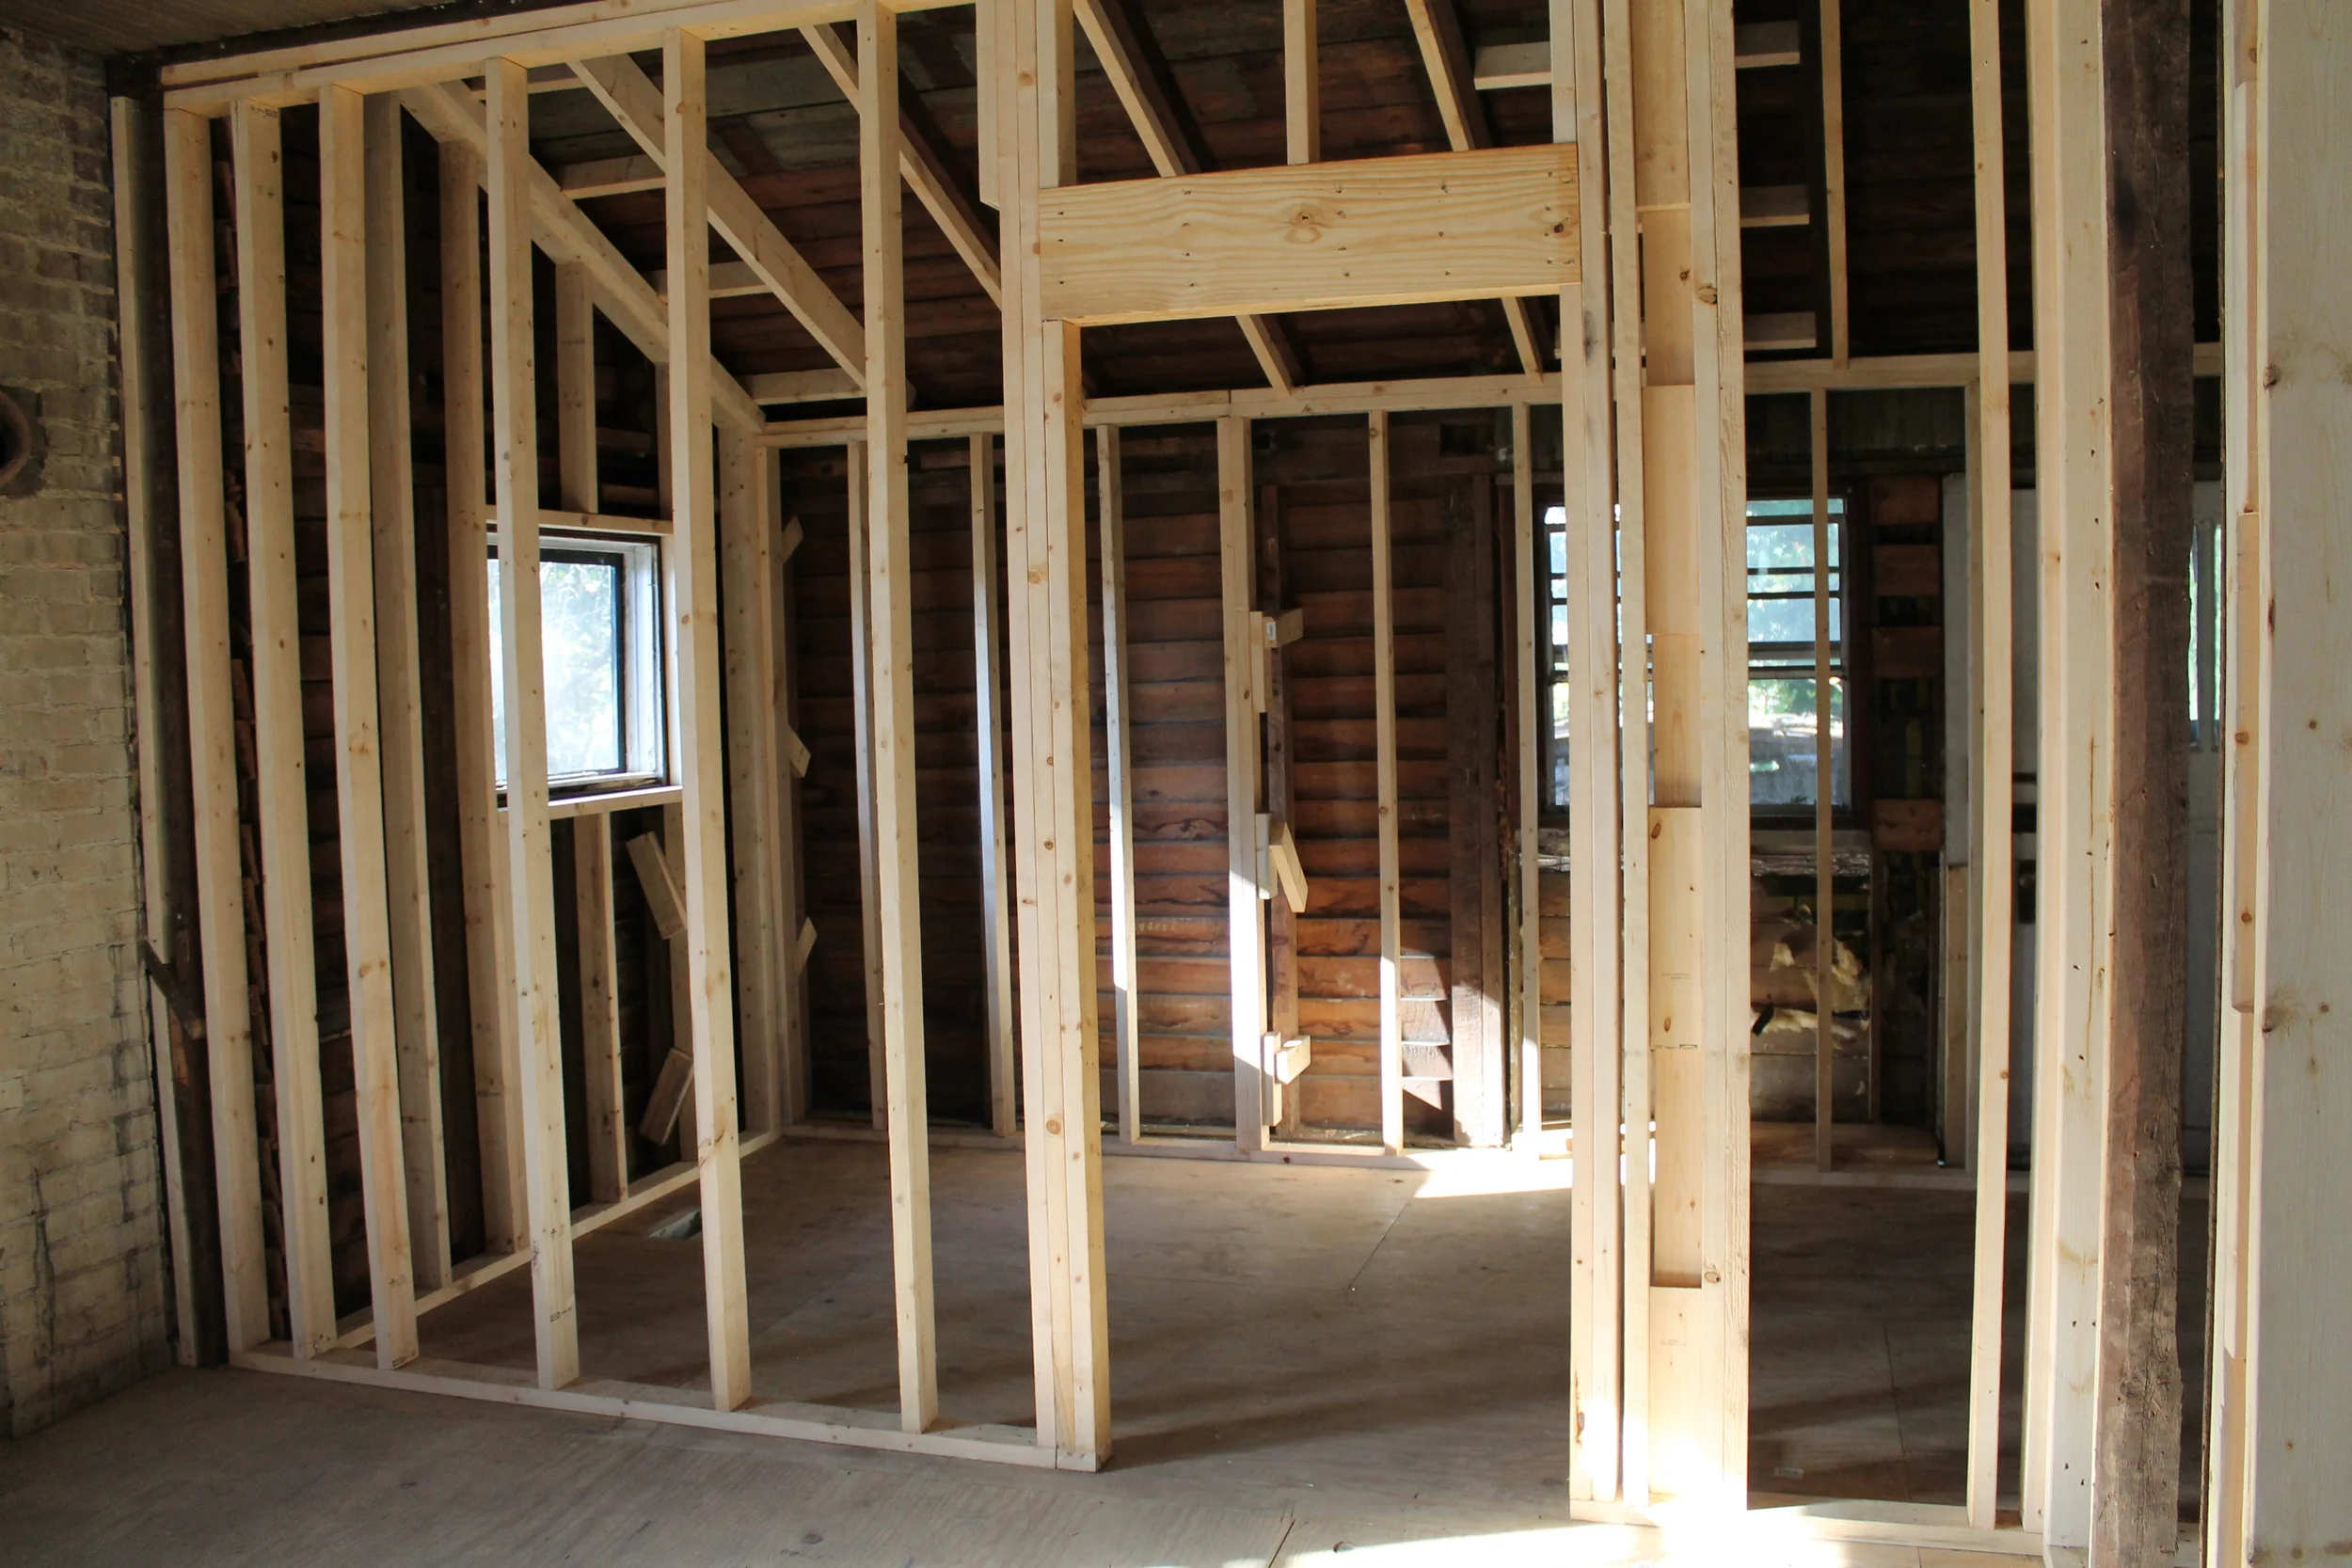
Still in the dining room, but now we are looking into the living room. The original plan was to leave this wall completely open, but due to the length of the span, building codes would not allow it. We ended up having to frame in narrow walls on either side, but I actually now love them and think they look more in line with how the house would have looked when it was built.

To the right of the dining room and front door through the new opening is the living room. This room also connects to the kitchen. Since the existing fireplace acts as a support, we are able to leave this space open.

You can see the corner of the doorway at the right of the photo above, but right off of the living room will be a powder room. This was originally a closet.

This is the view from the living room looking back into the dining room and front entry.

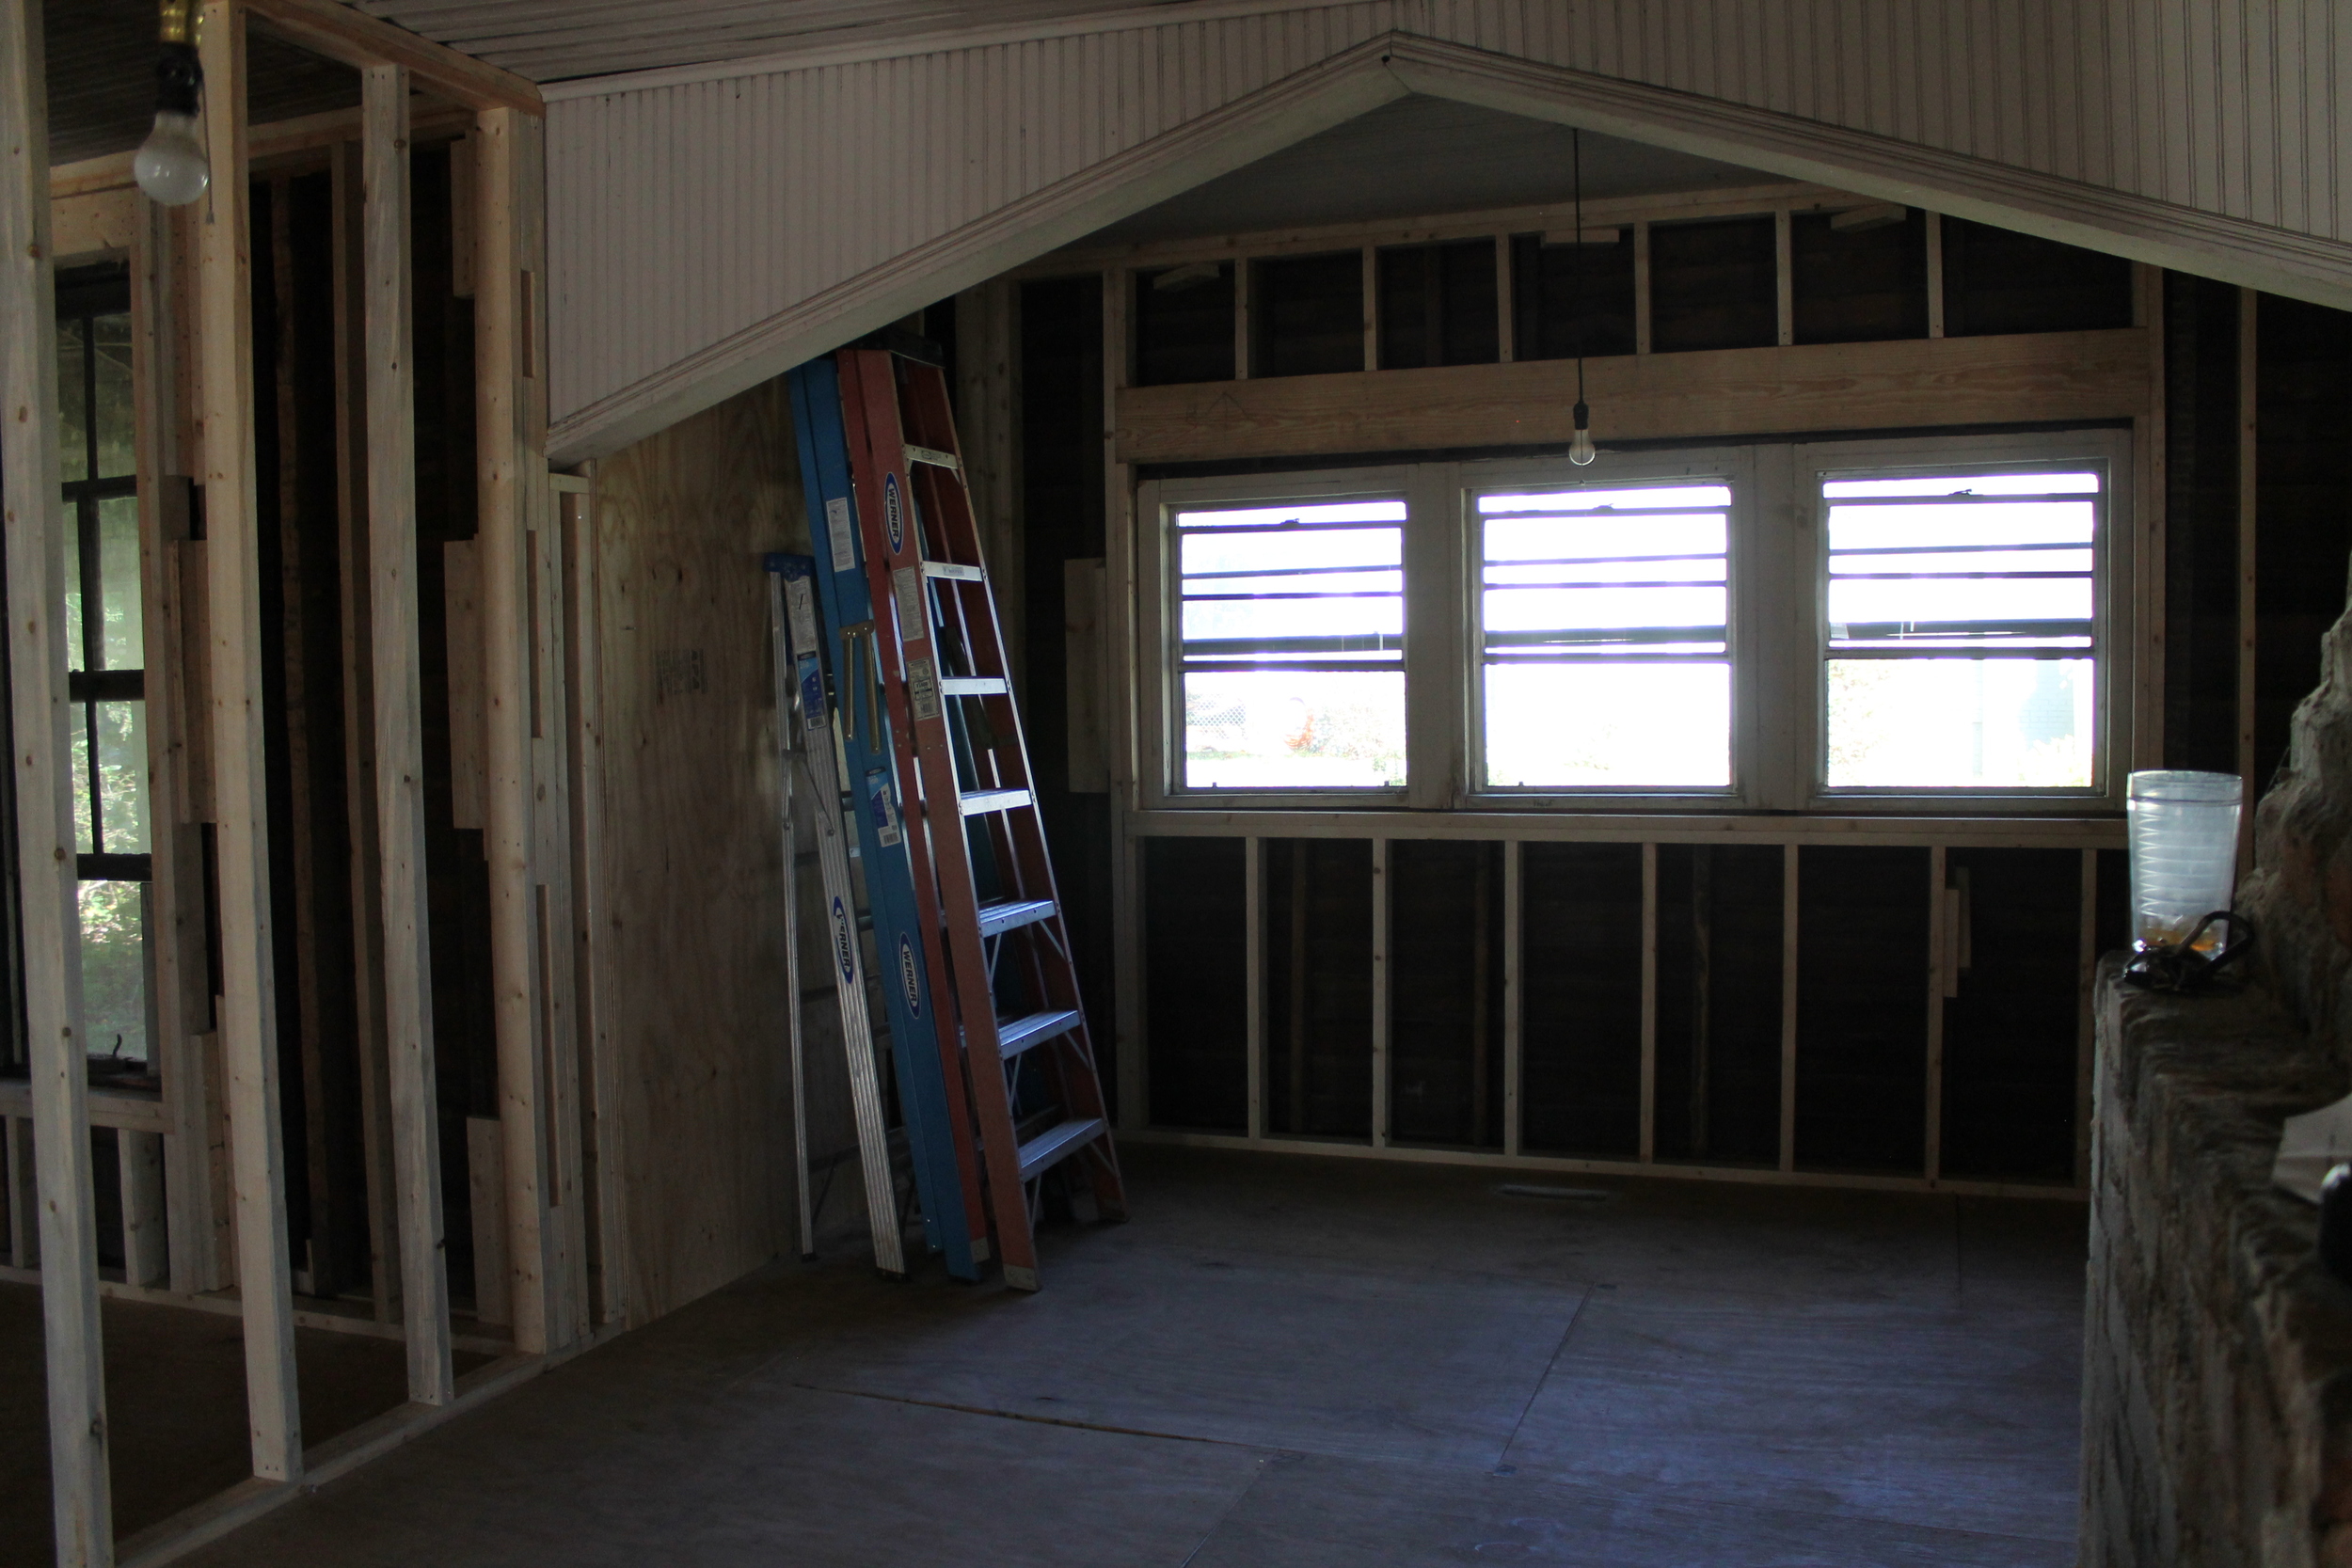
Next up is the kitchen! This room was previously used as a storage room, but was closed off like a bedroom. Under the three windows will be our sink, dishwasher, and cabinets the length of the wall. Where the ladders are will be the exterior door to the side (eventual) screened in porch and backyard. The framing next to the ladders will be where the stove, fridge, and more counterpace will be.
From the kitchen is a short hallway where you can access the two back bedrooms as well as the laundry room. To the left is the master, directly in front is the laundry closet, and to the right is the guest bedroom.

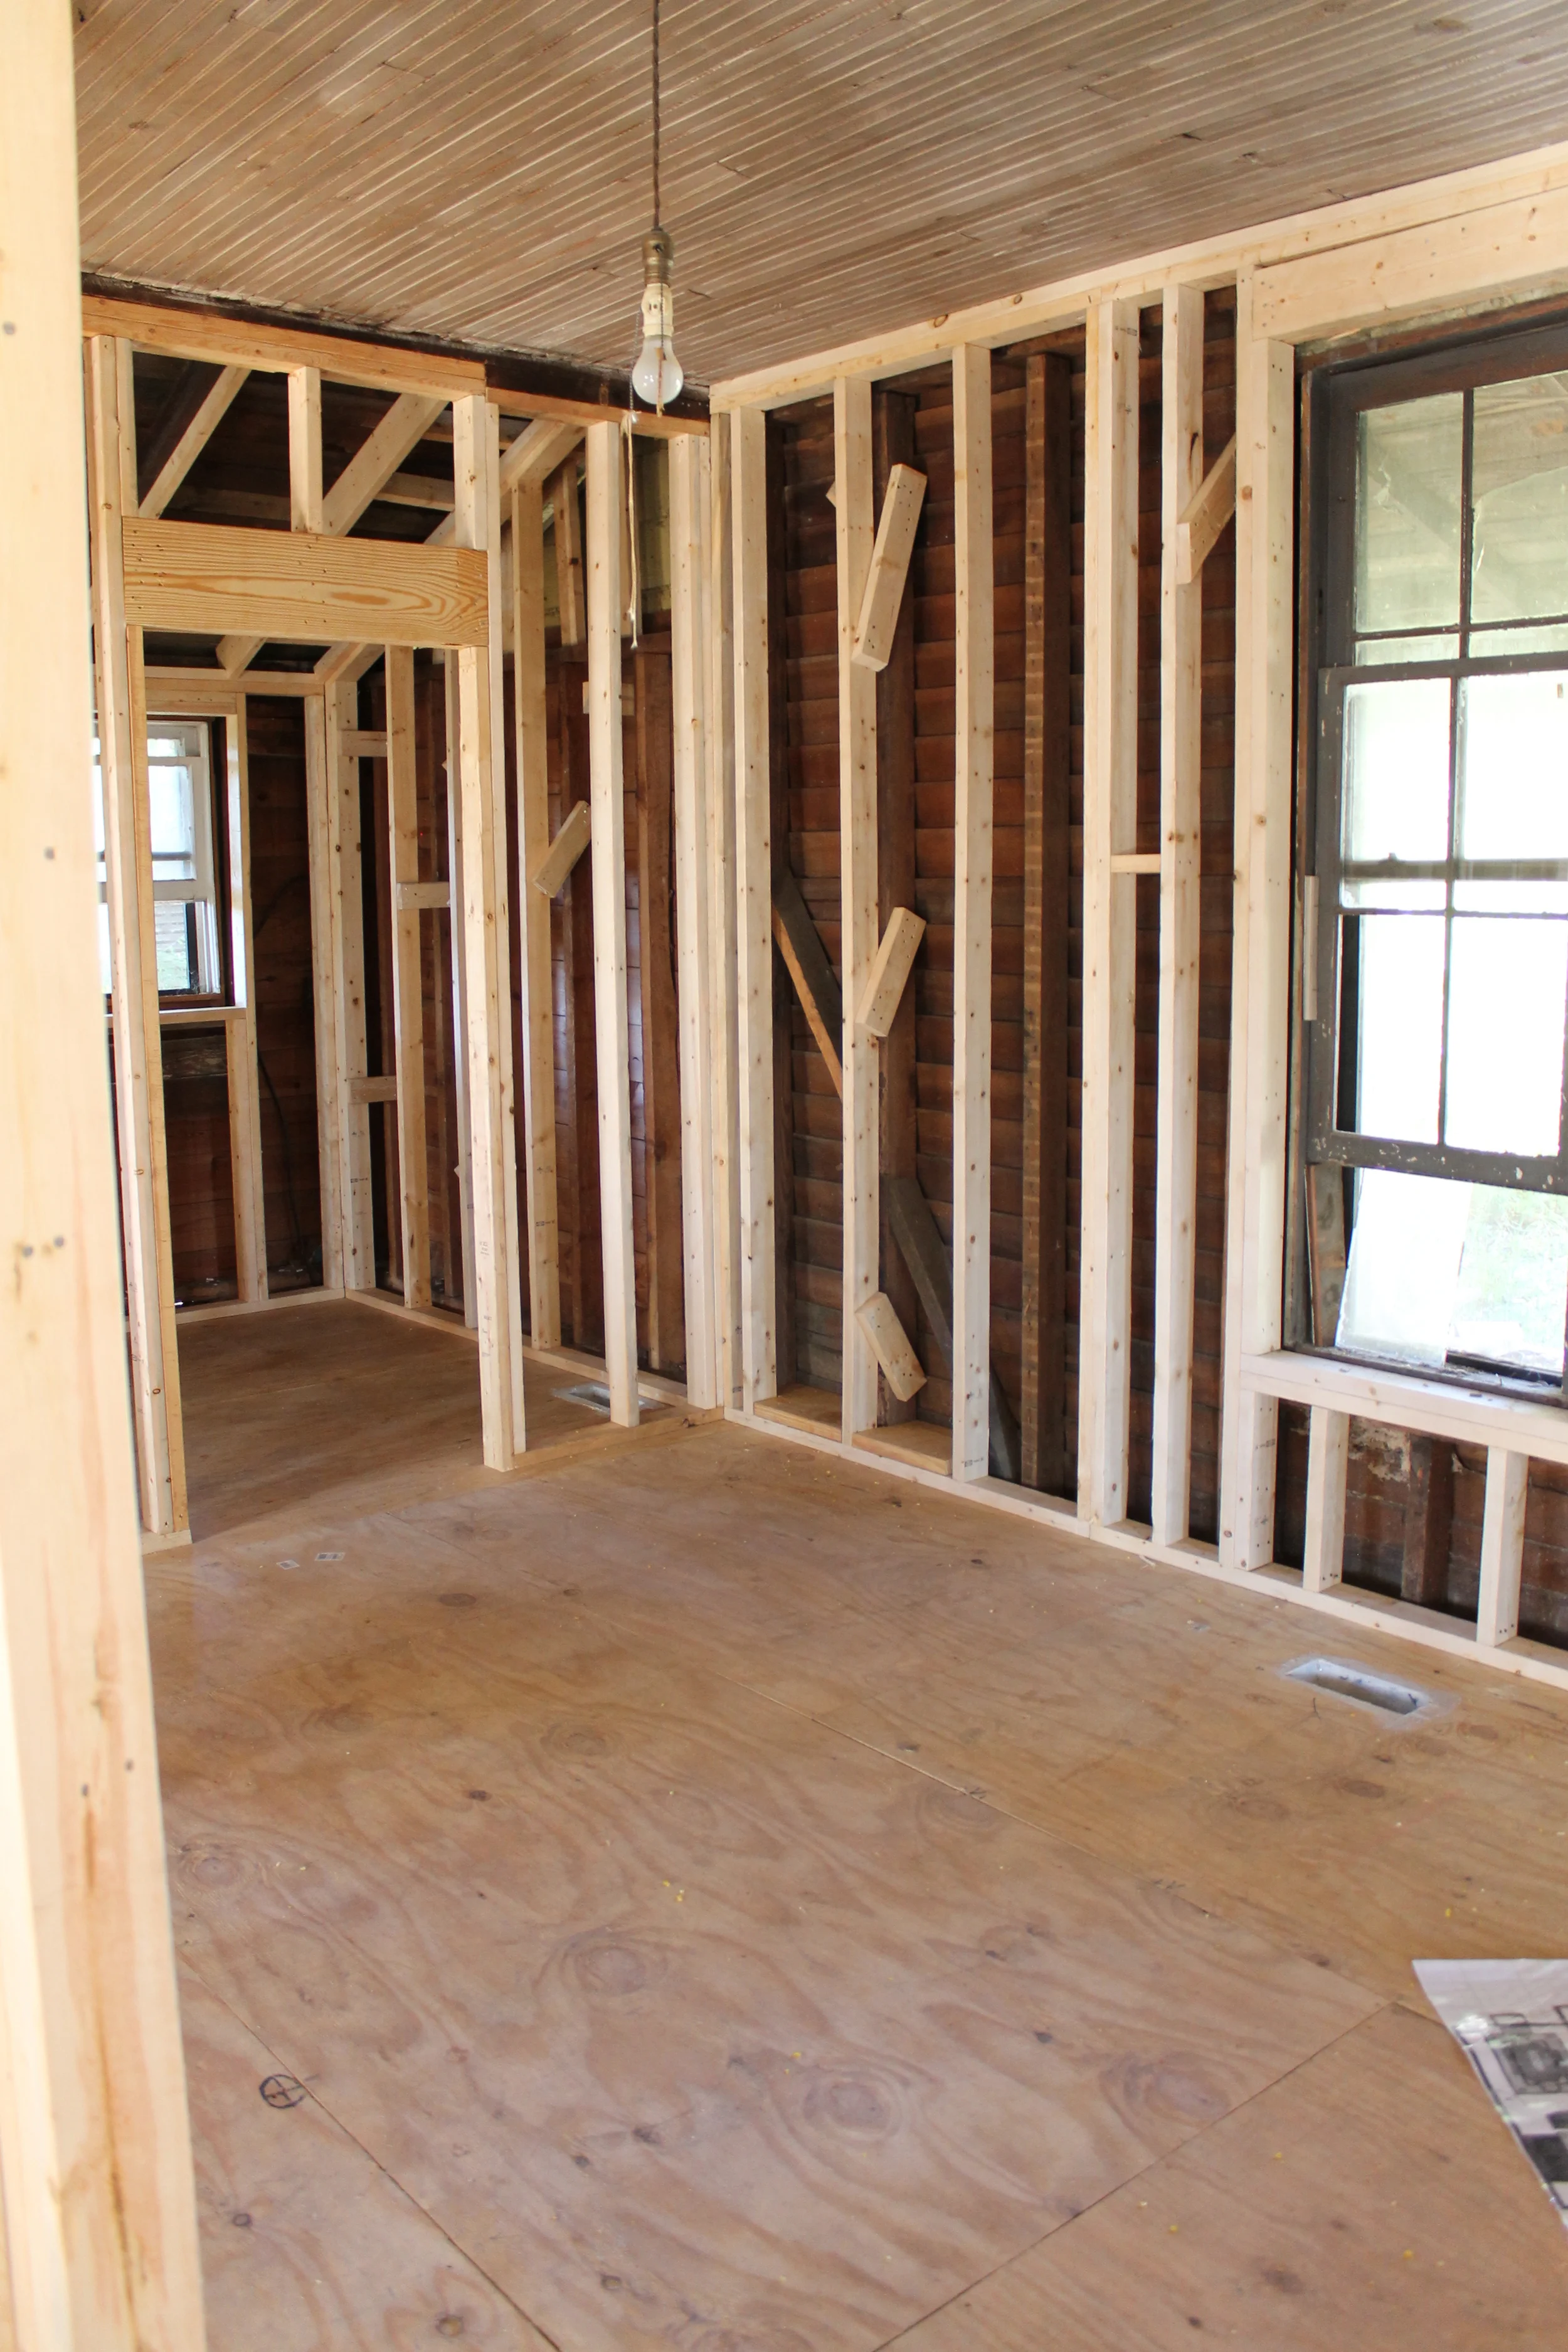
Going left into the master bedroom, here is what used to be the kitchen. We may eventually get larger windows, but for now, we plan on putting the headboard under the window to fill in that awkward space. The old brick chimney will be patched (hopefully) and probably painted to add a bit of texture to the room.

Now onto the master bath! Not a huge room, but enough space for a double vanity, tub/shower combo, and toilet. I love the slanted roof line that the master bath, closet, and guest bath will have.
The master closet is actually only accessible through the master bath. Brian didn't love this idea, but it was the only way to gain the maximum space in the bathroom (creating a doorway from the master bedroom would have eaten up about three feet of wall space). I think it will work. Again, not huge by today's standards, but it will be three times bigger than any closet we have ever had!

So that is the master! Now let's go back to the hallway off of the kitchen and go right into the guest bedroom. This is a small room, but it fits a queen size bed and dressing chest. I love the original tall windows in this room. The doorway visible leads to the private guest bathroom.
The window to the right is remaining. The other is being removed to accommodate a tub/shower and replaced with siding.

And here is one last shot of the kitchen/living room. Here I am standing in the small hallway from the bedrooms looking towards the front of the house. There is not enough room for an island, so we are going to center a little bistro table in front of the fireplace with a chandelier hanging from above. The perfect spot for a glass of wine while cooking dinner. :)

So that is it! What do you think of the layout? I think it will work really well for us right now, and if we decide to have children in the future (or just host fun sleepovers with my niece). :)