Back in 2015, I was working for a Home Builder in their design center. One day I had an appointment scheduled with a new home buyer and her real estate agent, Meg. To be honest, I usually dreaded appointments where a client's agent was in tow. They were often condescending and didn't trust that I also had their client's best interest in mind. Turns out Meg was the complete opposite. She was so positive, kind, helpful, enthusiastic and just a genuinely nice person. I knew that if we ever sold our house, I would love to work with her. A year later, she helped us do just that and then recently she helped us find our current home (she is the most amazing real estate agent ever). During that time, she and her husband, Gary, bought an adorable fixer-upper bungalow in downtown Raleigh and took on the huge project of renovating and restoring it. They executed the renovation beautifully - the perfect mix of old and new - with so much original character still infused throughout the home.
Kitchen and Dining Lighting | Myrtle House
We had another productive weekend at the Myrtle House! I am convinced that renovating a house might be the best workout out there, because man, am I sore today! This is mostly due to the fact that we started installing the vinyl floors in the bathrooms (lots of squats, y'all!), and I will post about that process later on this week. For now, I am so excited to show you guys how the lighting turned out in the kitchen and dining room. The amount of lighting in this space is on point, and I think this area is going to be so lovely when it is all wrapped up... whenever that might be!
This first photo is of the kitchen. The oil-rubbed bronze and crystal chandelier will be above a small eating area, and the gold and crystal chandelier on the other side of the fireplace will be the dining room. Please excuse my husband's derriere! :)
In the kitchen, we did a mix of recessed lights with a couple of oil-rubbed bronze fixtures (one chandelier and one flush-mount). I love the contrast between the dark oil-rubbed bronze and crisp, white-ish beadboard ceilings.
And here are a few shots at night!
In the little nook beyond the beadboard arch will house some base cabinets and the kitchen sink. The flushmount will be right over the sink.
And here is the chandelier in the dining room. I took off most of the crystals so that they wouldn't be damaged during installation (you can see it all put together here), but I LOVE how this light looks in front of the brick. You can also see a peek at the vinyl flooring flattening out below. No vinyl for this room :) ; we are going to attempt to match the old existing hardwood in here that will continue into the kitchen.
We were actually able to sleep in the house for the first time ever since starting this project in January of last year. That felt like quite a milestone! It is really exciting to see it all slowly starting to come together.
How To Clean A Chandelier | How Tos
I have bought a chandelier or two (or ten) in my lifetime. Rarely do I get my hands on them and they are clean. Usually the fixtures I stumble upon on Craigslist or in a thrift shop have been sitting in an attic for decades and are covered in dust and sometimes very old bugs. Gross. Not to fear - with a little bit of elbow grease and a LOT of glass cleaner, you can get even the grimiest of chandeliers sparkling once again - just like it did in it's glory days.
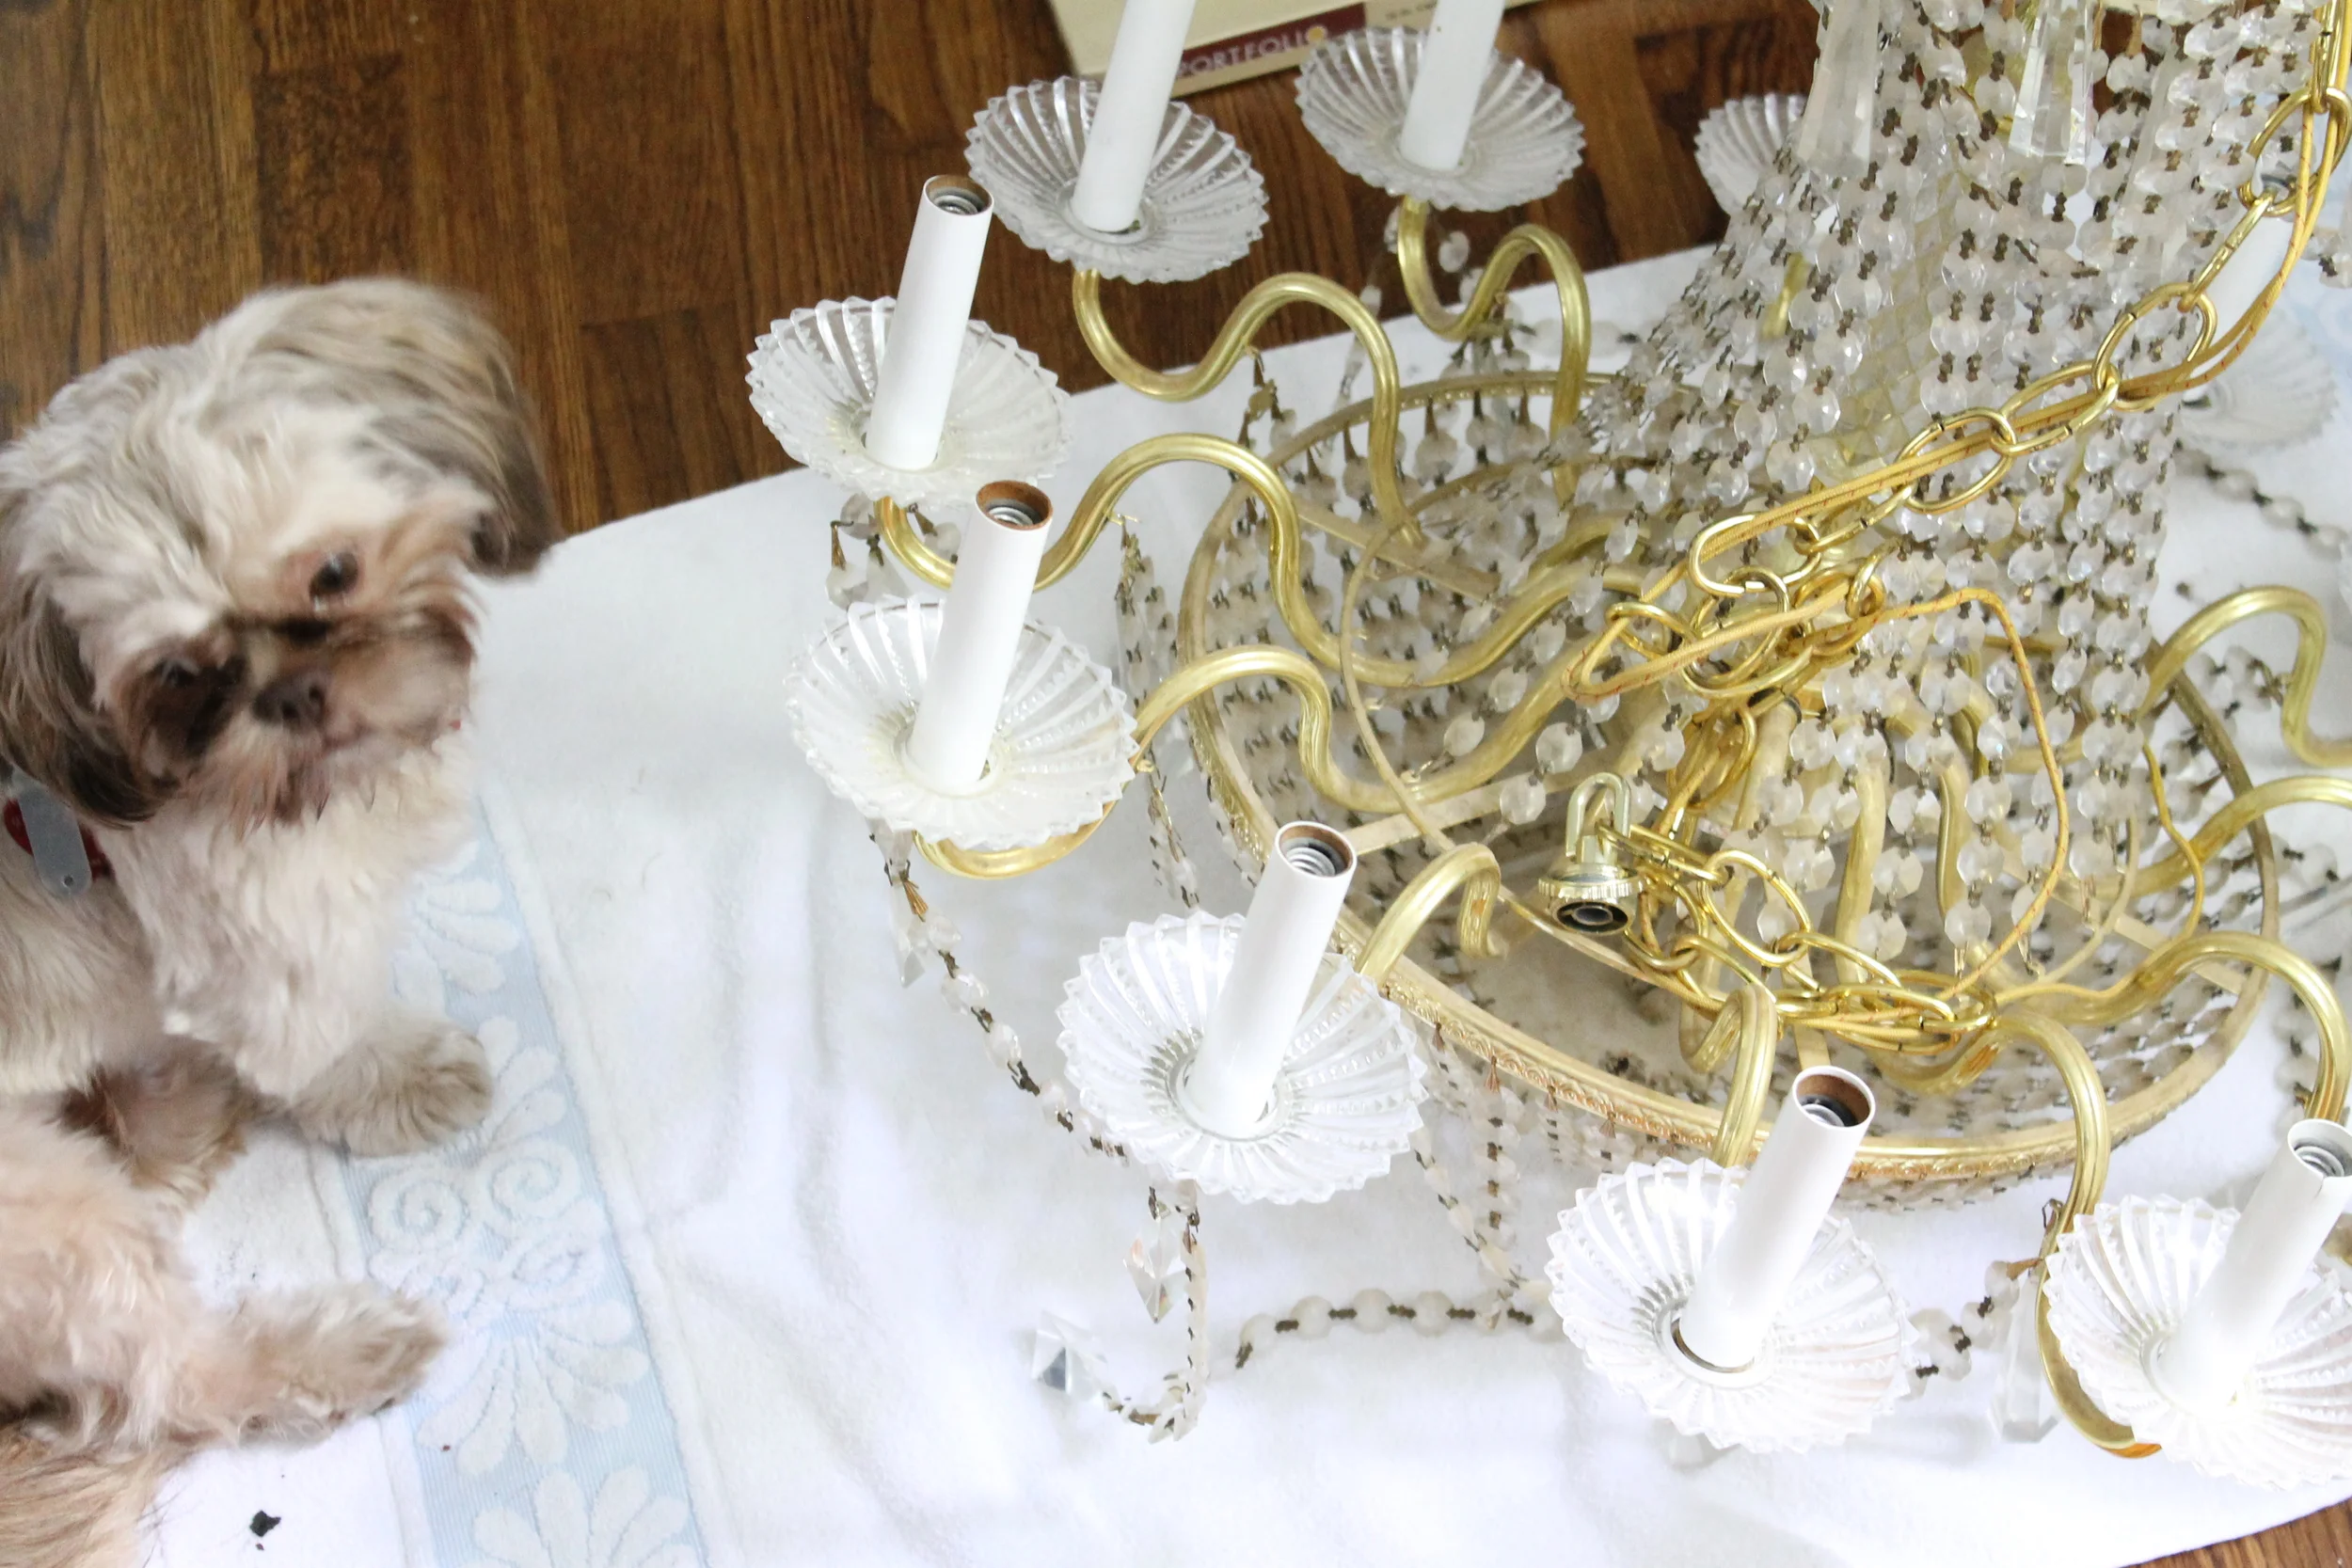
Lola was skeptical we would get this one cleaned up.
The easiest way to clean a chandelier is to take it apart (if you can). Make sure to keep track of what parts go where. Also, try to make sure you disassemble the pieces on a soft surface just in case one of the crystals fall.
Once disassembled, place the glass strands and crystals onto paper towels and heavily spray them with glass cleaner (I used Windex). Once fully covered, gently rub the strands with another paper towel. I have found it helps to grab one end of the strand with a paper towel, and pull down to wipe off the entire strand. Please note, the chandeliers I have used glass cleaner on were not heirloom type chandeliers. If you have a fine antique fixture or true crystal chandelier, please consult with a professional before using any chemicals.
You will be amazed at what kind of dust and debris will wipe off those pretty crystals! I also ended up spray-painting this chandelier to tone down the 90s brass - taking off the crystals to clean them makes painting the metal a breeze.
This thing has so much sparkle! If you see an old, dusty, brass chandelier in a thrift store, don't be scared off! Almost anything can be brought back to life with a little love and time.
If your chandelier is already installed, the best method I had found is to put a towel underneath the fixture, and spray glass cleaner directly onto the crystals. Then, wipe down the chandelier strand by strand being careful not to yank too hard. The towel will absorb excess cleaner. I usually end up doing a deep cleaning about once a year.


