If we are Instagram friends (if not, can we be?!), you may have seen that we sold our little house in downtown Raleigh! Lots of big changes in the works for my little family (you can read more about that here!) and I am super excited to share, but before I go into all of that, I wanted to post a few photos of our first abode all staged and looking pretty. :) You can see more before and after photos of the Brooklyn Street House here.
Inexpensive Faux Tin Backsplash
I was organizing photos in my computer recently (something I oddly enjoy very much) and came across a photo of our little Brooklyn Street Kitchen cabinets pre-makeover. I realized what a difference the backsplash really made! Here is the before:
And the after:
While I find the mint green appliances charming, some people might not agree with me, and I think the tin backsplash allows the dated fixtures to blend in more. It also adds some character to the kitchen; it looks like it could have been in the house years and years ago.
Installing the backsplash was a snap. It comes in sheets that you simply cut with a razor, then put in place with a very strong adhesive tape. There is also a matching trim you can buy to make the backsplash seamless with the countertop and under the cabinets. Here is the installation in action.
We had the sheets up for about a year and a half before we moved out, and it held up very well. I was a little nervous with having it so close to the burner, but it was no problem at all.
What is your favorite go-to backsplash material? Ever tried something similar to these panels?
DIY Backyard Patio | Brooklyn House
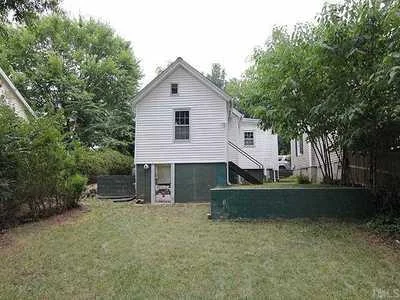
When you live in a small home, your outdoor space becomes an important extension of your living area. For us, we barely had an eat-in kitchen big enough for us two, much less my large family, so we knew early on we wanted to create a space where we could host family dinner. The only available space was outside! Our yard is kind of strange. It is a sloping lot that levels out in the backyard, but around the house there are two retaining walls. They are kind of awkward. Here is how it looked before. Sorry about the quality, I am notoriously bad about taking "before" photos.
Pretty, right? ;) The peeling paint is what sealed the deal for me. The blue/green artistic effect was a nice touch by the sellers. Oh and since I am so bad at taking photos before we start working on a project, the only other photos I have of this area have our dog, Lola, front and center. Please excuse my dog-mom pictures.
And this is how it looked while we thought about what to do with this space. Gosh, I miss that backyard and those big, old Pecan trees!
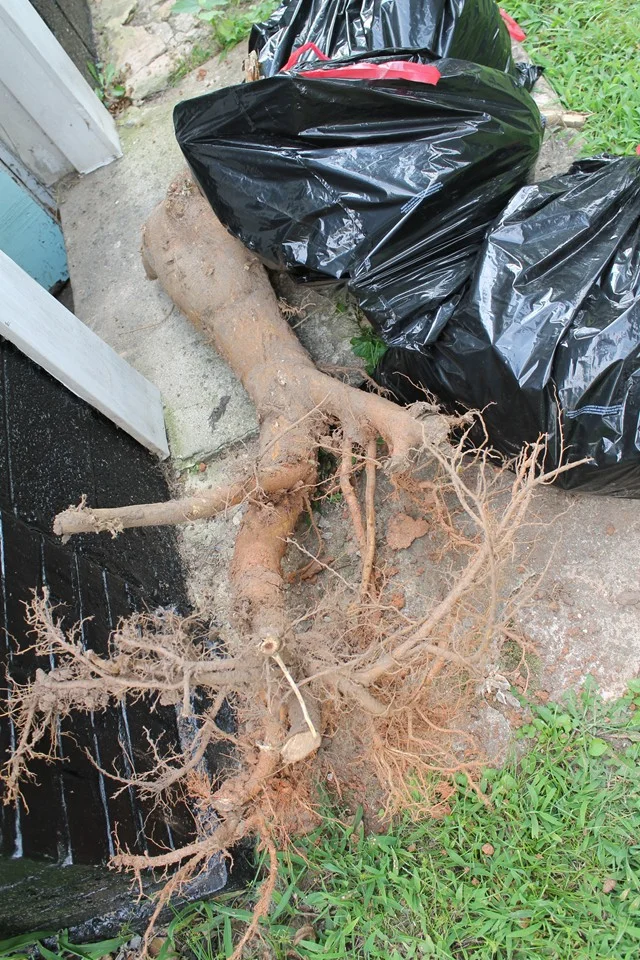
We finally found a table that we knew could accommodate my family of ten from Ikea. After picking it up, we got to work clearing out the area. Most of this involved digging up grass and a multitude of horrendous stumps. Oh gosh, the stumps. I am sure Brian remembers them fondly.
Here is how to looked once cleared out.
We used a rake to get all of the grass/weeds up. I HIGHLY recommend also putting down landscaping fabric once you get to this stage. We did not, and have regretted it ever since. In the summer time, you will be pulling weeds each weekend. No fun.
After you get the area level and clear of grass, it is time to lay the pavers. Make sure to measure the width and figure out exactly what kind of spacing you should have in between each one. Once the pattern is figured out, lay out each paver. We put them directly onto the leveled dirt, but you may want to put down a shallow layer of pea gravel first. My theory was the pavers would stay in place more if directly on the dirt, but it is a personal preference. Once in place. start filling in with pea gravel! Since it was a smallish area, we bought bags of pea gravel, but if you have a larger area, please save your back and have the bulk gravel delivered. You will thank yourself later, I promise. Here is how it came out!
All of those old bricks we dug were re-purposed as a border dividing the patio and weed/grass area. I love how the brick color ties in the tones in the table.
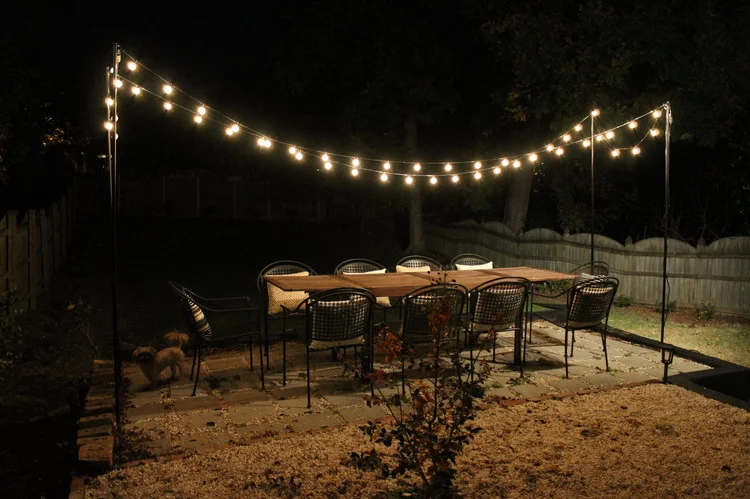
The pavers we used are $1.50 at Lowes. I really liked these and will use them again. They are deceivingly heavy, so I would plan accordingly when loading/unloading and transporting. I think this is the pea gravel we used, but it is hard to tell online. I also really loved the colors in this gravel and would use it again. We really got a lot of use out of this area. We threw birthday parties, dinner parties, and even a wedding shower out here. Our property manager actually ended up buying the table and chairs from us when we rented the house. I am glad they are still being used and loved. :) We later filled in the remaining grass with gravel, and added fun patio lights (tutorial here).
Have you ever attempted an outdoor patio? Any tips or tricks to share? I would love to hear!
Kitchen Cabinets Makeover | Brooklyn House
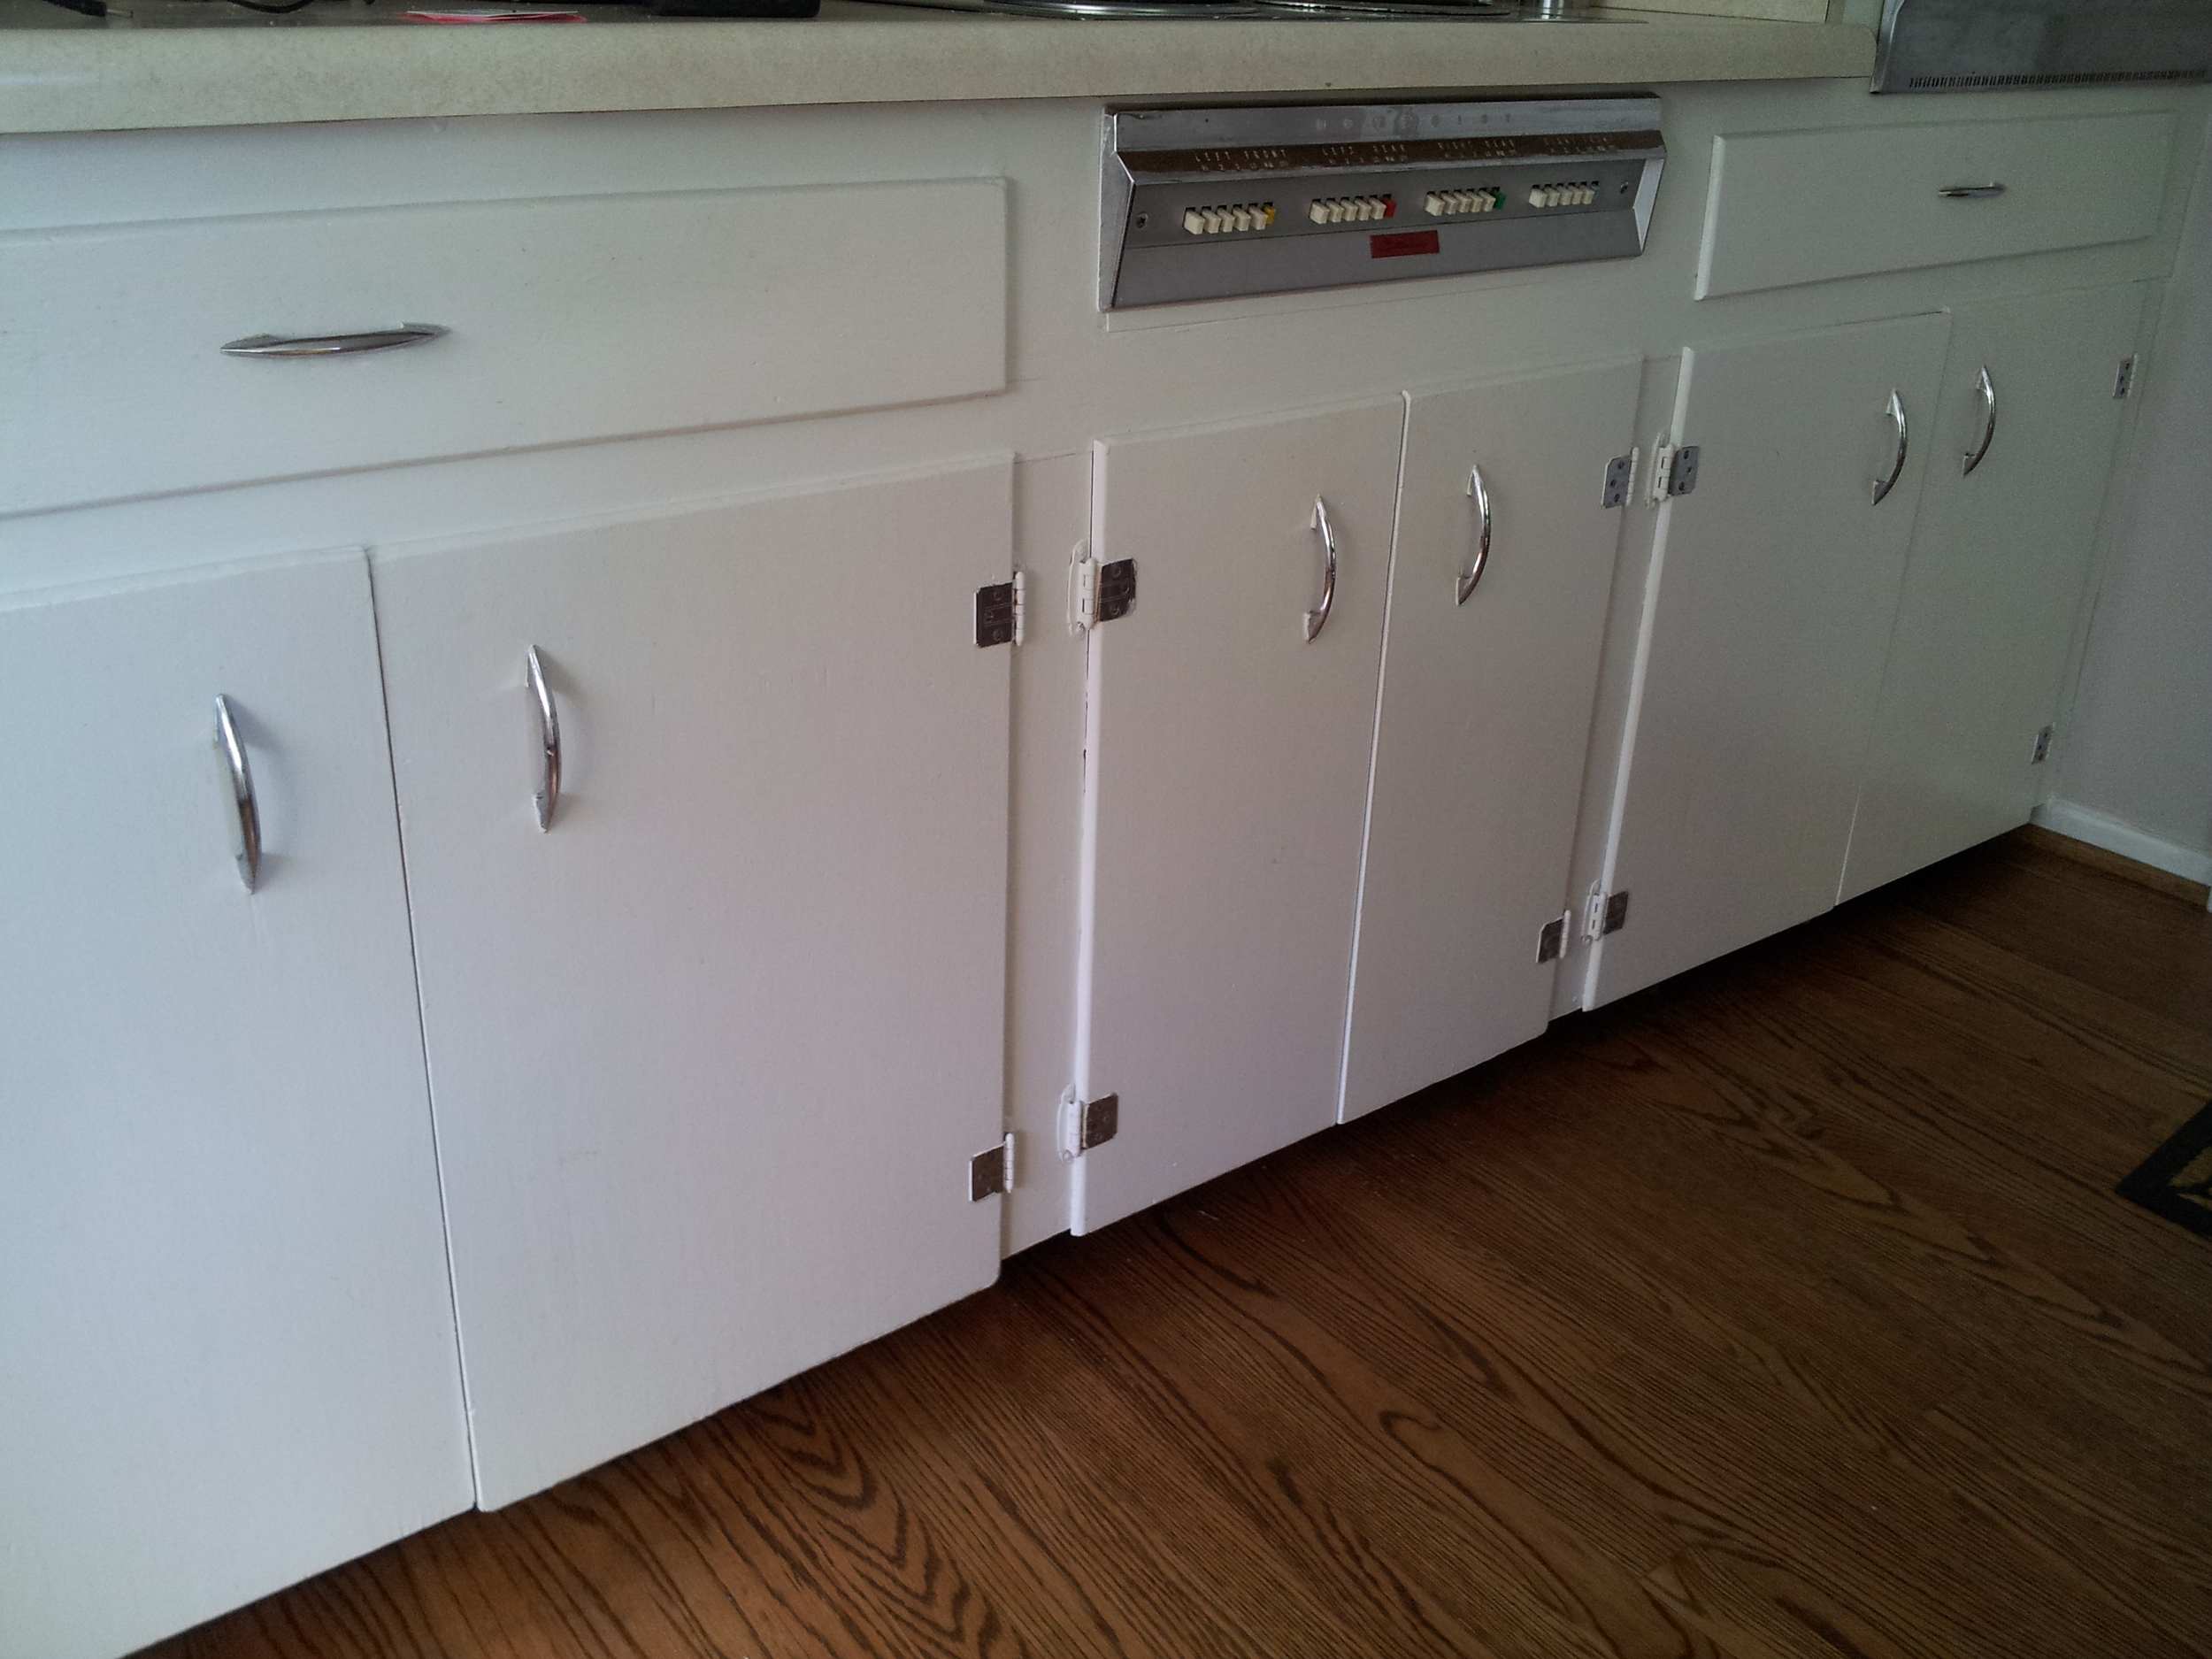
I really disliked our 1950s flat-panel kitchen cabinets when we bought the Brooklyn House. A lot. For one, the two sets of cabinets didn't match (the sink base cabinet was newer and had a completely different door/drawer style), and they were the flattest, most boring cabinets in the history of kitchen cabinets. Okay, I am being a bit dramatic, but they had to go.
**This post may contain affiliate links in which I receive commissions and/or compensation for. I am dedicated to only sharing products and brands that I trust. Thanks for helping to support my blog!**
I think a lot of people would have ripped them out. To each their own, but I wanted to save them. The cabinets are well-made, solid wood, and fit the layout well. Plus, we needed a budget friendly cabinet update as new cabinets were not an option. So they stay and get a DIY cabinet makeover instead. The great thing about the cabinets being flat is that it makes adding trim a lot easier.
We purchased 2" x .25" trim from HomeDepot for the doors. (In store, it is located in the decorative trim aisle.) On the drawers, we used a 1.5" trim to accommodate the satin nickel cup pulls. Make sure to measure the needed length of trim at least twice before purchasing. I think we made about three trips to the store. :)
Brian cut the trim to size at a 45 degree angle. In retrospect, we should have just cut a straight line. That is how most Shaker cabinets seem to look, and it is a lot easier to measure that way. Oh well, learned for next time. To attach, we used small finishing nails like these. At first we tried glue, but it was messy and we didn't have enough clamps to make this an efficient way to attach the trims. The nails seemed to be adequate. When we removed the existing hardware, it left these ugly holes, so we filled those with wood filler. We also filled the corner seams for a more polished look. Brian likes buying wood filler in a tub instead of a tube because he says it is easier to use.
We did the same treatment on all of the drawers. Same process here, except we didn't fill the old hardware holes since we were putting in the same size drawer pulls. Allow all of the wood filler to dry for at least 24 hours, and then come back and sand it smooth. I would recommend using a little palm sander on the trim. If you have to sand hardware holes inside the trim, you may need to sand it by hand.
One thing we did not do (but should have) is caulk the gap between the original drawer front and new trim. Duh. Make sure the caulk you use is paintable caulk. Some of the bathroom caulks can't be painted over and your cabinets will look messy. I would also recommend caulking any little nail holes so that they don't show through when paint is applied.
After drying for a day or two, we moved on to paint! To be honest, this was more time-consuming than putting on the trim. We used the oil based paint that the cabinets were already painted in, but we had to do two thick coats on all of the new trim to get the old and new wood to match. If my cabinets had not been painted yet and I was working with unfinished wood, I would use an adhesive primer (we love this one) and then a semi or high gloss enamel paint.
I think this easy DIY trim makes a world of difference! So much cheaper than replacing all of those cabinets. Also, a little hardware goes a long way. I splurged a little on these pretty glass knobs, and polished nickel pulls (discontinued, similar here) but I have no regrets. Here is the before and after side by side.
And here is the kitchen all done when we moved out. :)
**UPDATE 8/12/2016 - Curious to see how these have held up? Check out this new blog post after nearly five years of use! Thank you for all of your comments and questions on this post. I am so happy this had been helpful!**
IF YOU'RE NEW HERE - HI!
I am so glad you found this little blog of mine. Before you go, I thought you may also like to check out some other popular posts:
- How we became debt free (parts 1, 2, 3 and 4) and own our house outright
- The before and afters of my husband's late grandmother's 115 year old house that took us three years to renovate
- My favorite ways to save money on everything from Target trips to online shopping.
- My picks for the best greige paint colors and tried and true green/blue/gray paint colors.
Historic House Tour 2013 | Brooklyn House
While we were in our Brooklyn House for three Decembers total, we only decorated for Christmas once. Whomp, whomp. I love decorating for the holidays, but when you are in the midst of moving, it kind of falls down on the priority list. The one year we did get in the holiday spirit was the year we were on the neighborhood Historic House Tour which was a lot of work, but a lot of fun. To be honest, it was kind of awkward to have strangers pay to come into your home and judge it! Not sure we would do it again, but a cool experience nonetheless. :) Here are a few photos of our little cottage all decorated up!
DIY Door Trim for Plain Doors | Brooklyn House
I realize my most recent DIYs have been all about the outside of the house. I think I have spring fever! Let's take the focus back indoors. The Brooklyn House had the ugliest doors. The flat, boring, cheap retro doors that weigh about five pounds. Ugh.
Being partial/obsessed with French design, I have always loved the detailed paneled doors. In order to create this look, we bought flat beveled trim from Home Depot. I would make sure there is one completely flat side or else it will not sit flush on the door. Every door will be different, but we sectioned off three panels that were 6" apart and 6" from the sides of the door.
Brian traced an outline of each panel, and then cut each piece at a 90 degree angle and then pin-nailed into the door.
Once all of the trim pieces were nailed into place, we painted the new trim and doors with a few coats of oil-based paint. It took at least two coats, so grab a glass of wine for this project. ;)
I think they look 1,000 times better and was so much easier than replacing all of the doors. While not the original design of what would have been in the house, I think they add more character than boring, builder-grade doors. We also did the same treatment to our closet and I think they turned out great, too!


