
When you live in a small home, your outdoor space becomes an important extension of your living area. For us, we barely had an eat-in kitchen big enough for us two, much less my large family, so we knew early on we wanted to create a space where we could host family dinner. The only available space was outside! Our yard is kind of strange. It is a sloping lot that levels out in the backyard, but around the house there are two retaining walls. They are kind of awkward. Here is how it looked before. Sorry about the quality, I am notoriously bad about taking "before" photos.
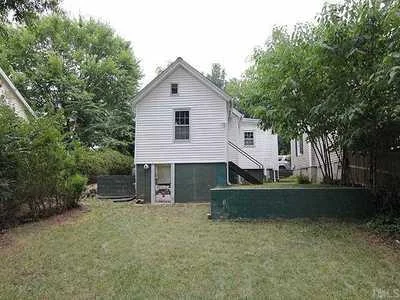
Pretty, right? ;) The peeling paint is what sealed the deal for me. The blue/green artistic effect was a nice touch by the sellers. Oh and since I am so bad at taking photos before we start working on a project, the only other photos I have of this area have our dog, Lola, front and center. Please excuse my dog-mom pictures.


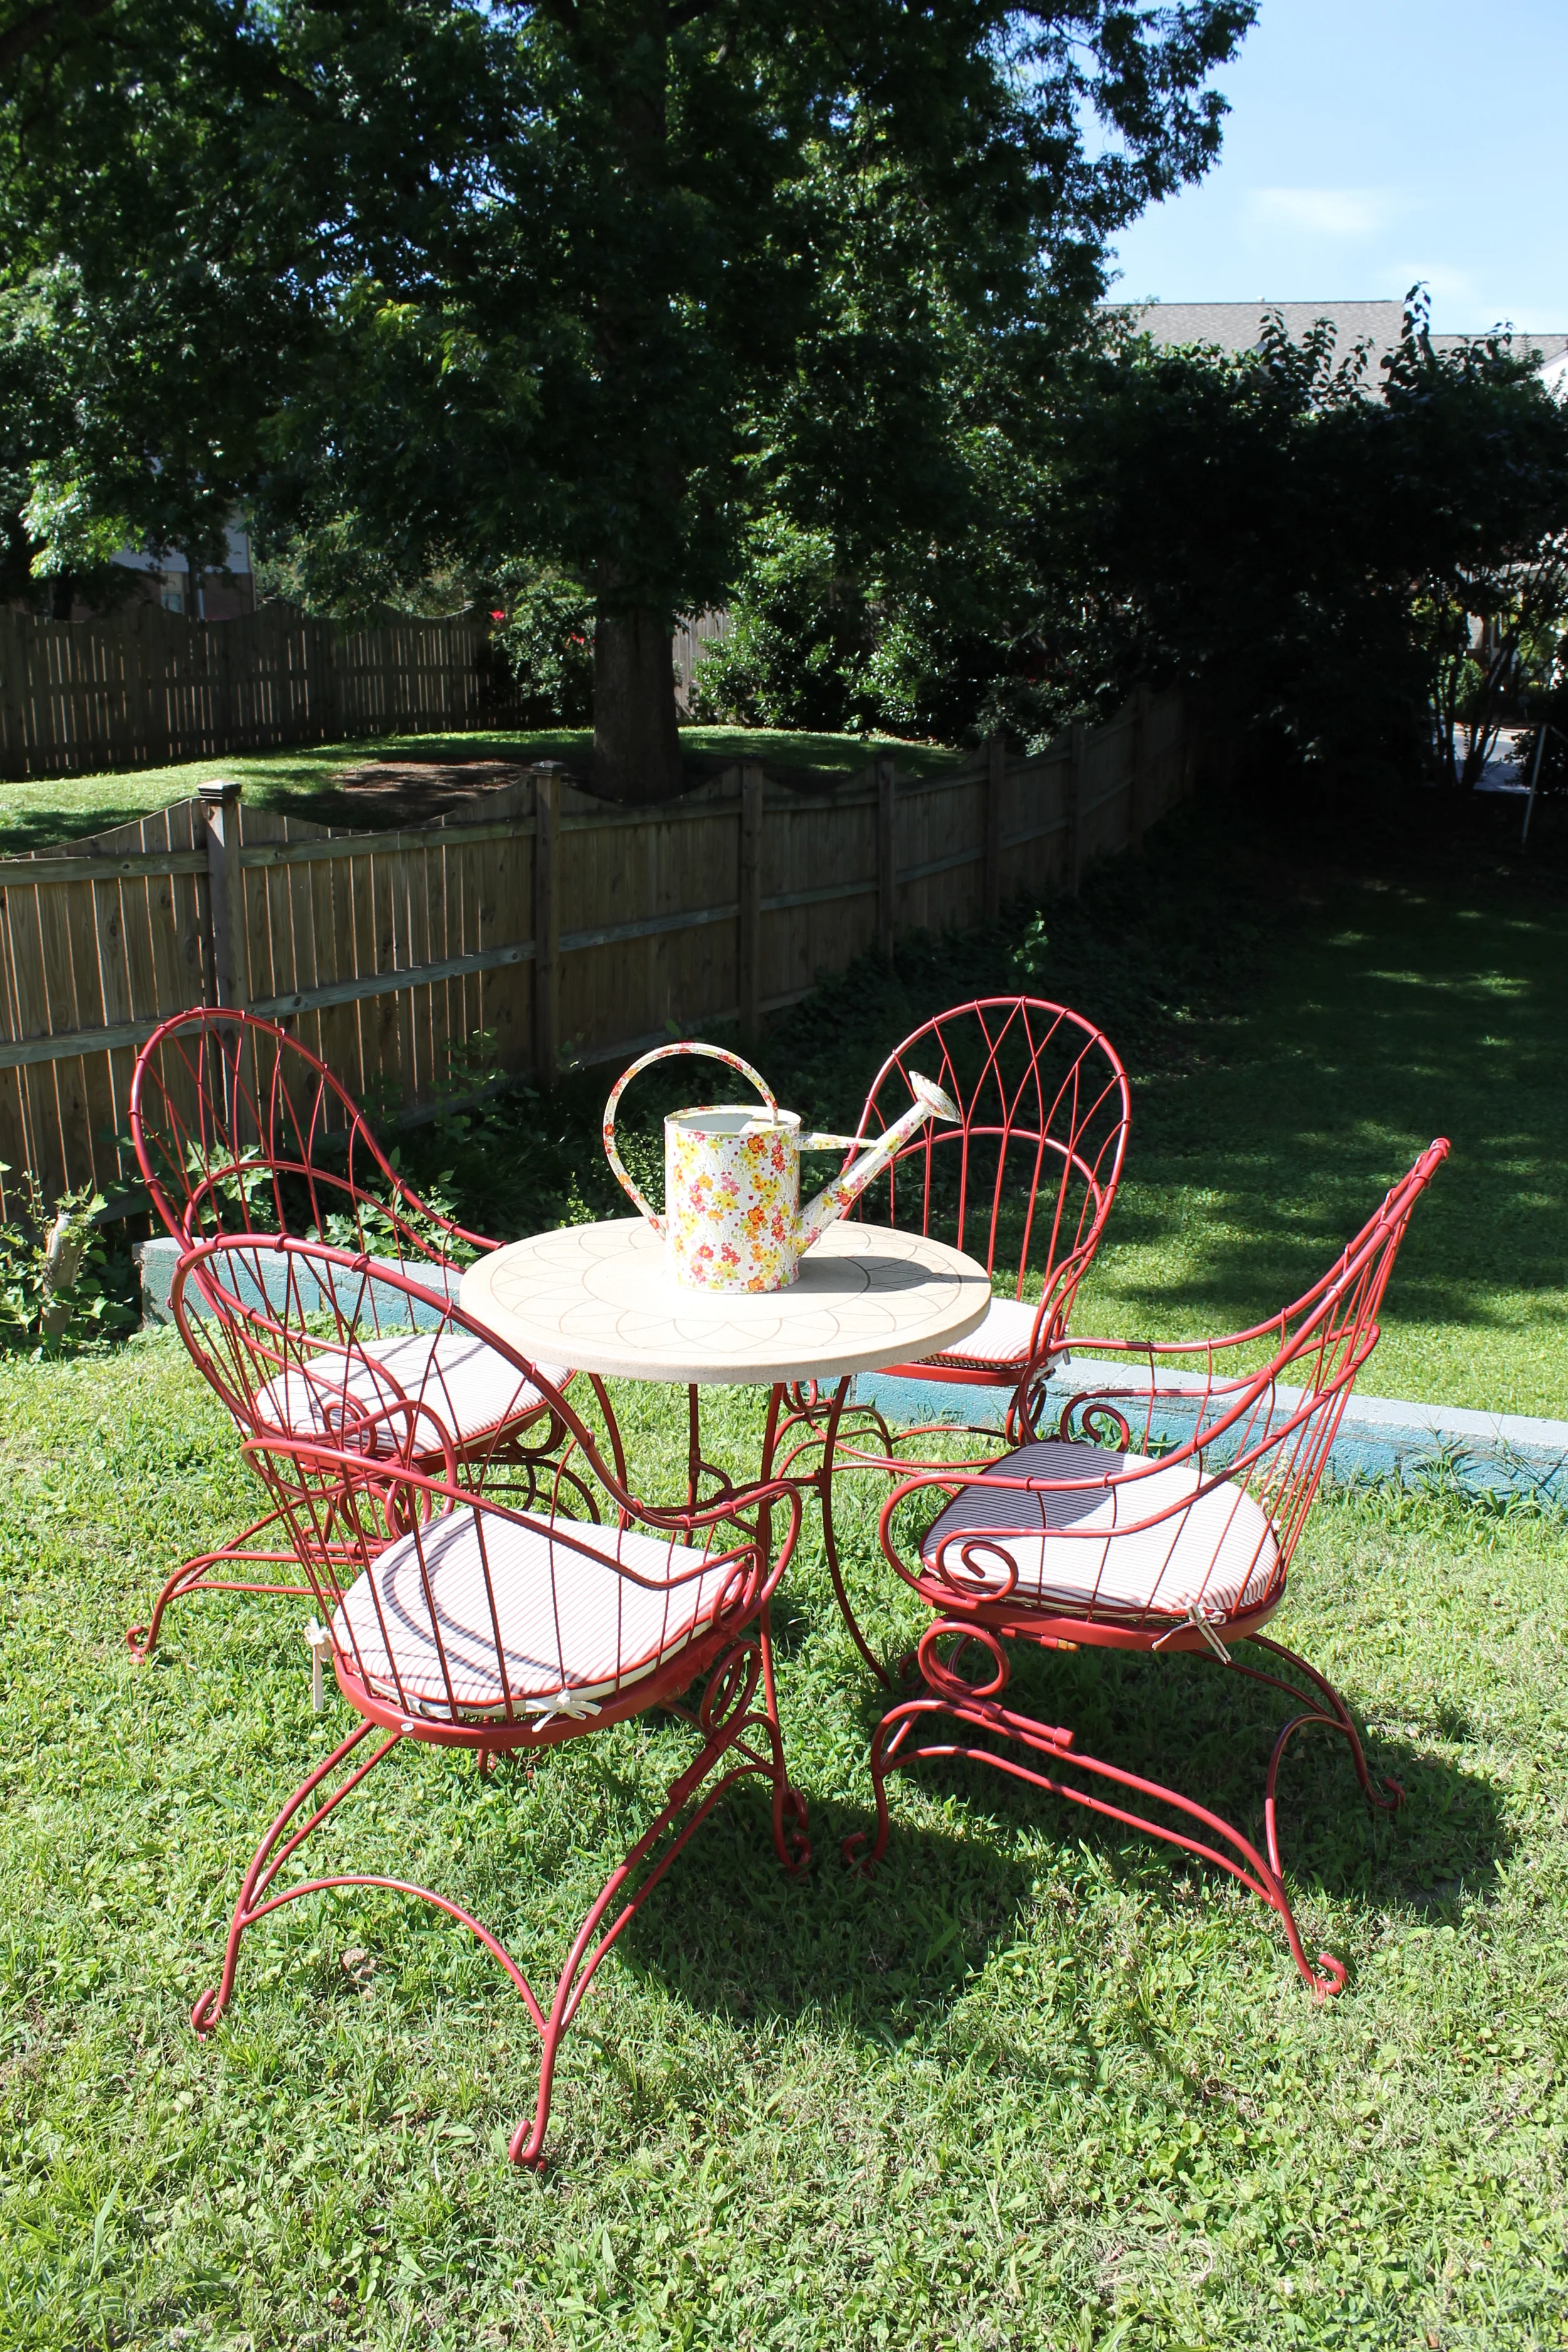
And this is how it looked while we thought about what to do with this space. Gosh, I miss that backyard and those big, old Pecan trees!
We finally found a table that we knew could accommodate my family of ten from Ikea. After picking it up, we got to work clearing out the area. Most of this involved digging up grass and a multitude of horrendous stumps. Oh gosh, the stumps. I am sure Brian remembers them fondly.
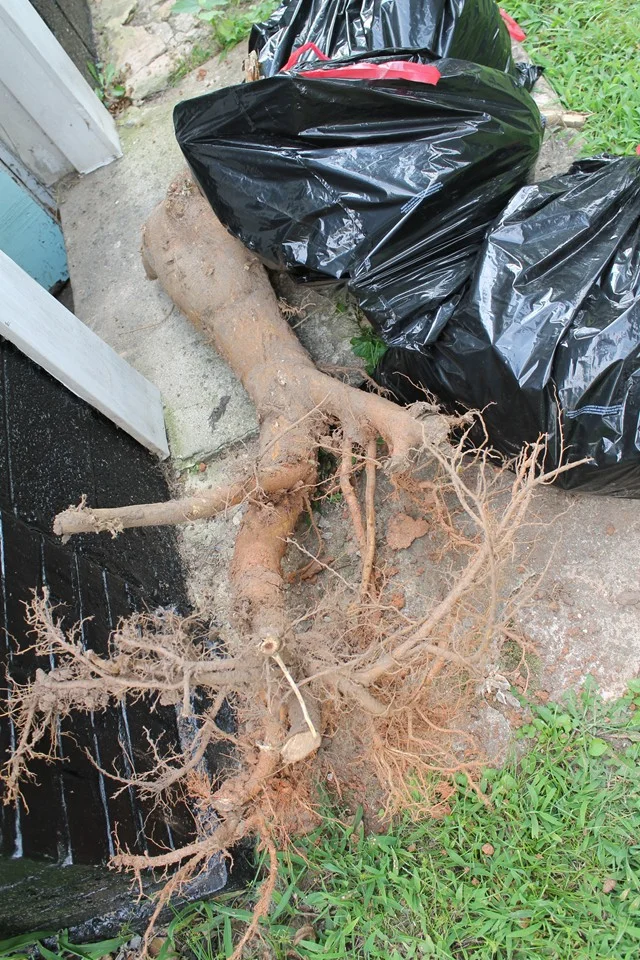
Here is how to looked once cleared out.

We used a rake to get all of the grass/weeds up. I HIGHLY recommend also putting down landscaping fabric once you get to this stage. We did not, and have regretted it ever since. In the summer time, you will be pulling weeds each weekend. No fun.

After you get the area level and clear of grass, it is time to lay the pavers. Make sure to measure the width and figure out exactly what kind of spacing you should have in between each one. Once the pattern is figured out, lay out each paver. We put them directly onto the leveled dirt, but you may want to put down a shallow layer of pea gravel first. My theory was the pavers would stay in place more if directly on the dirt, but it is a personal preference. Once in place. start filling in with pea gravel! Since it was a smallish area, we bought bags of pea gravel, but if you have a larger area, please save your back and have the bulk gravel delivered. You will thank yourself later, I promise. Here is how it came out!
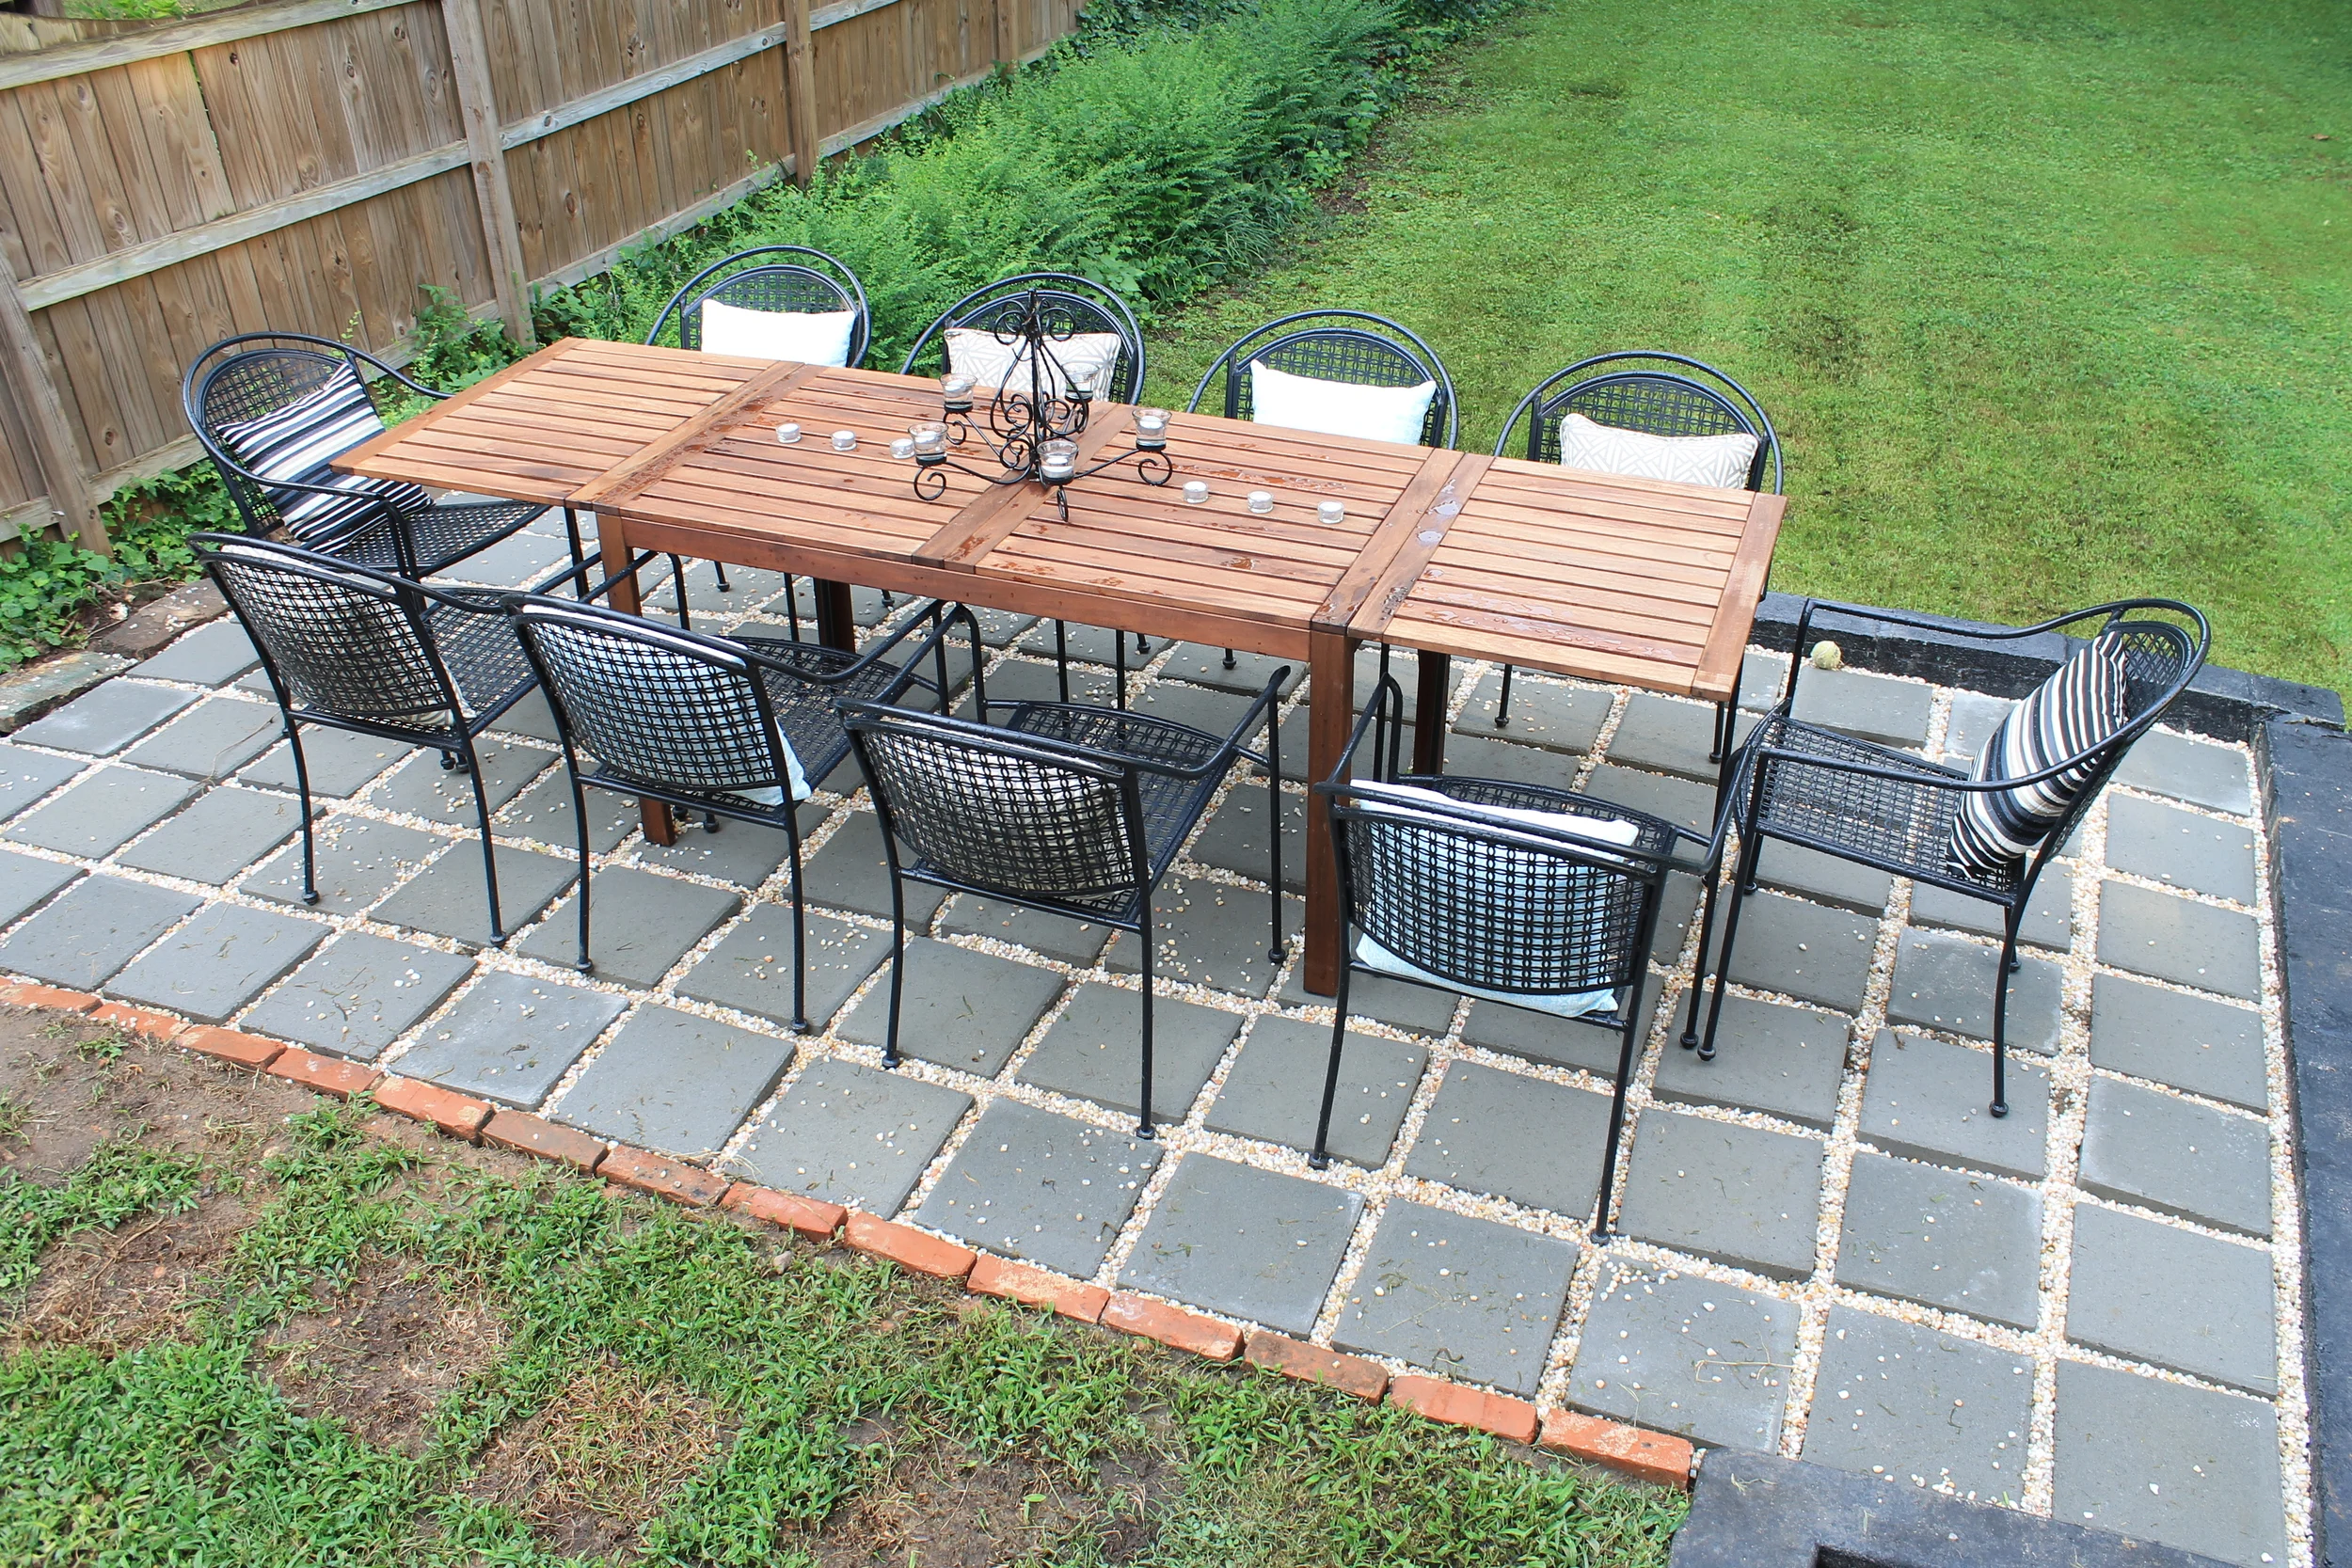
All of those old bricks we dug were re-purposed as a border dividing the patio and weed/grass area. I love how the brick color ties in the tones in the table.
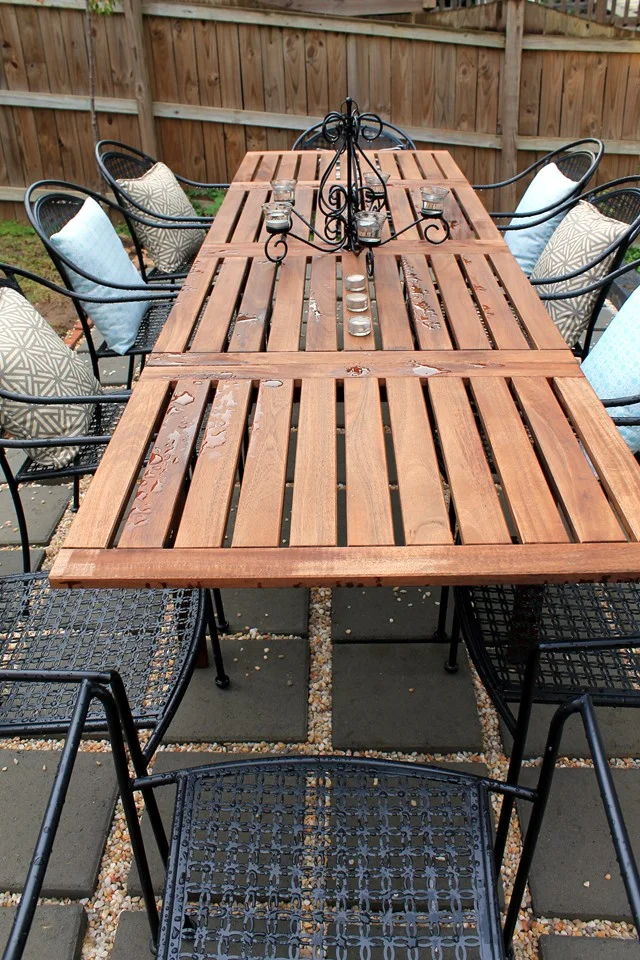

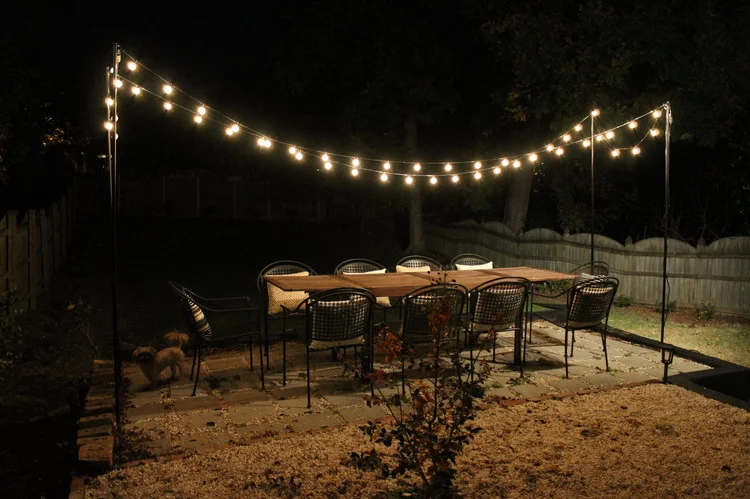
The pavers we used are $1.50 at Lowes. I really liked these and will use them again. They are deceivingly heavy, so I would plan accordingly when loading/unloading and transporting. I think this is the pea gravel we used, but it is hard to tell online. I also really loved the colors in this gravel and would use it again. We really got a lot of use out of this area. We threw birthday parties, dinner parties, and even a wedding shower out here. Our property manager actually ended up buying the table and chairs from us when we rented the house. I am glad they are still being used and loved. :) We later filled in the remaining grass with gravel, and added fun patio lights (tutorial here).
Have you ever attempted an outdoor patio? Any tips or tricks to share? I would love to hear!