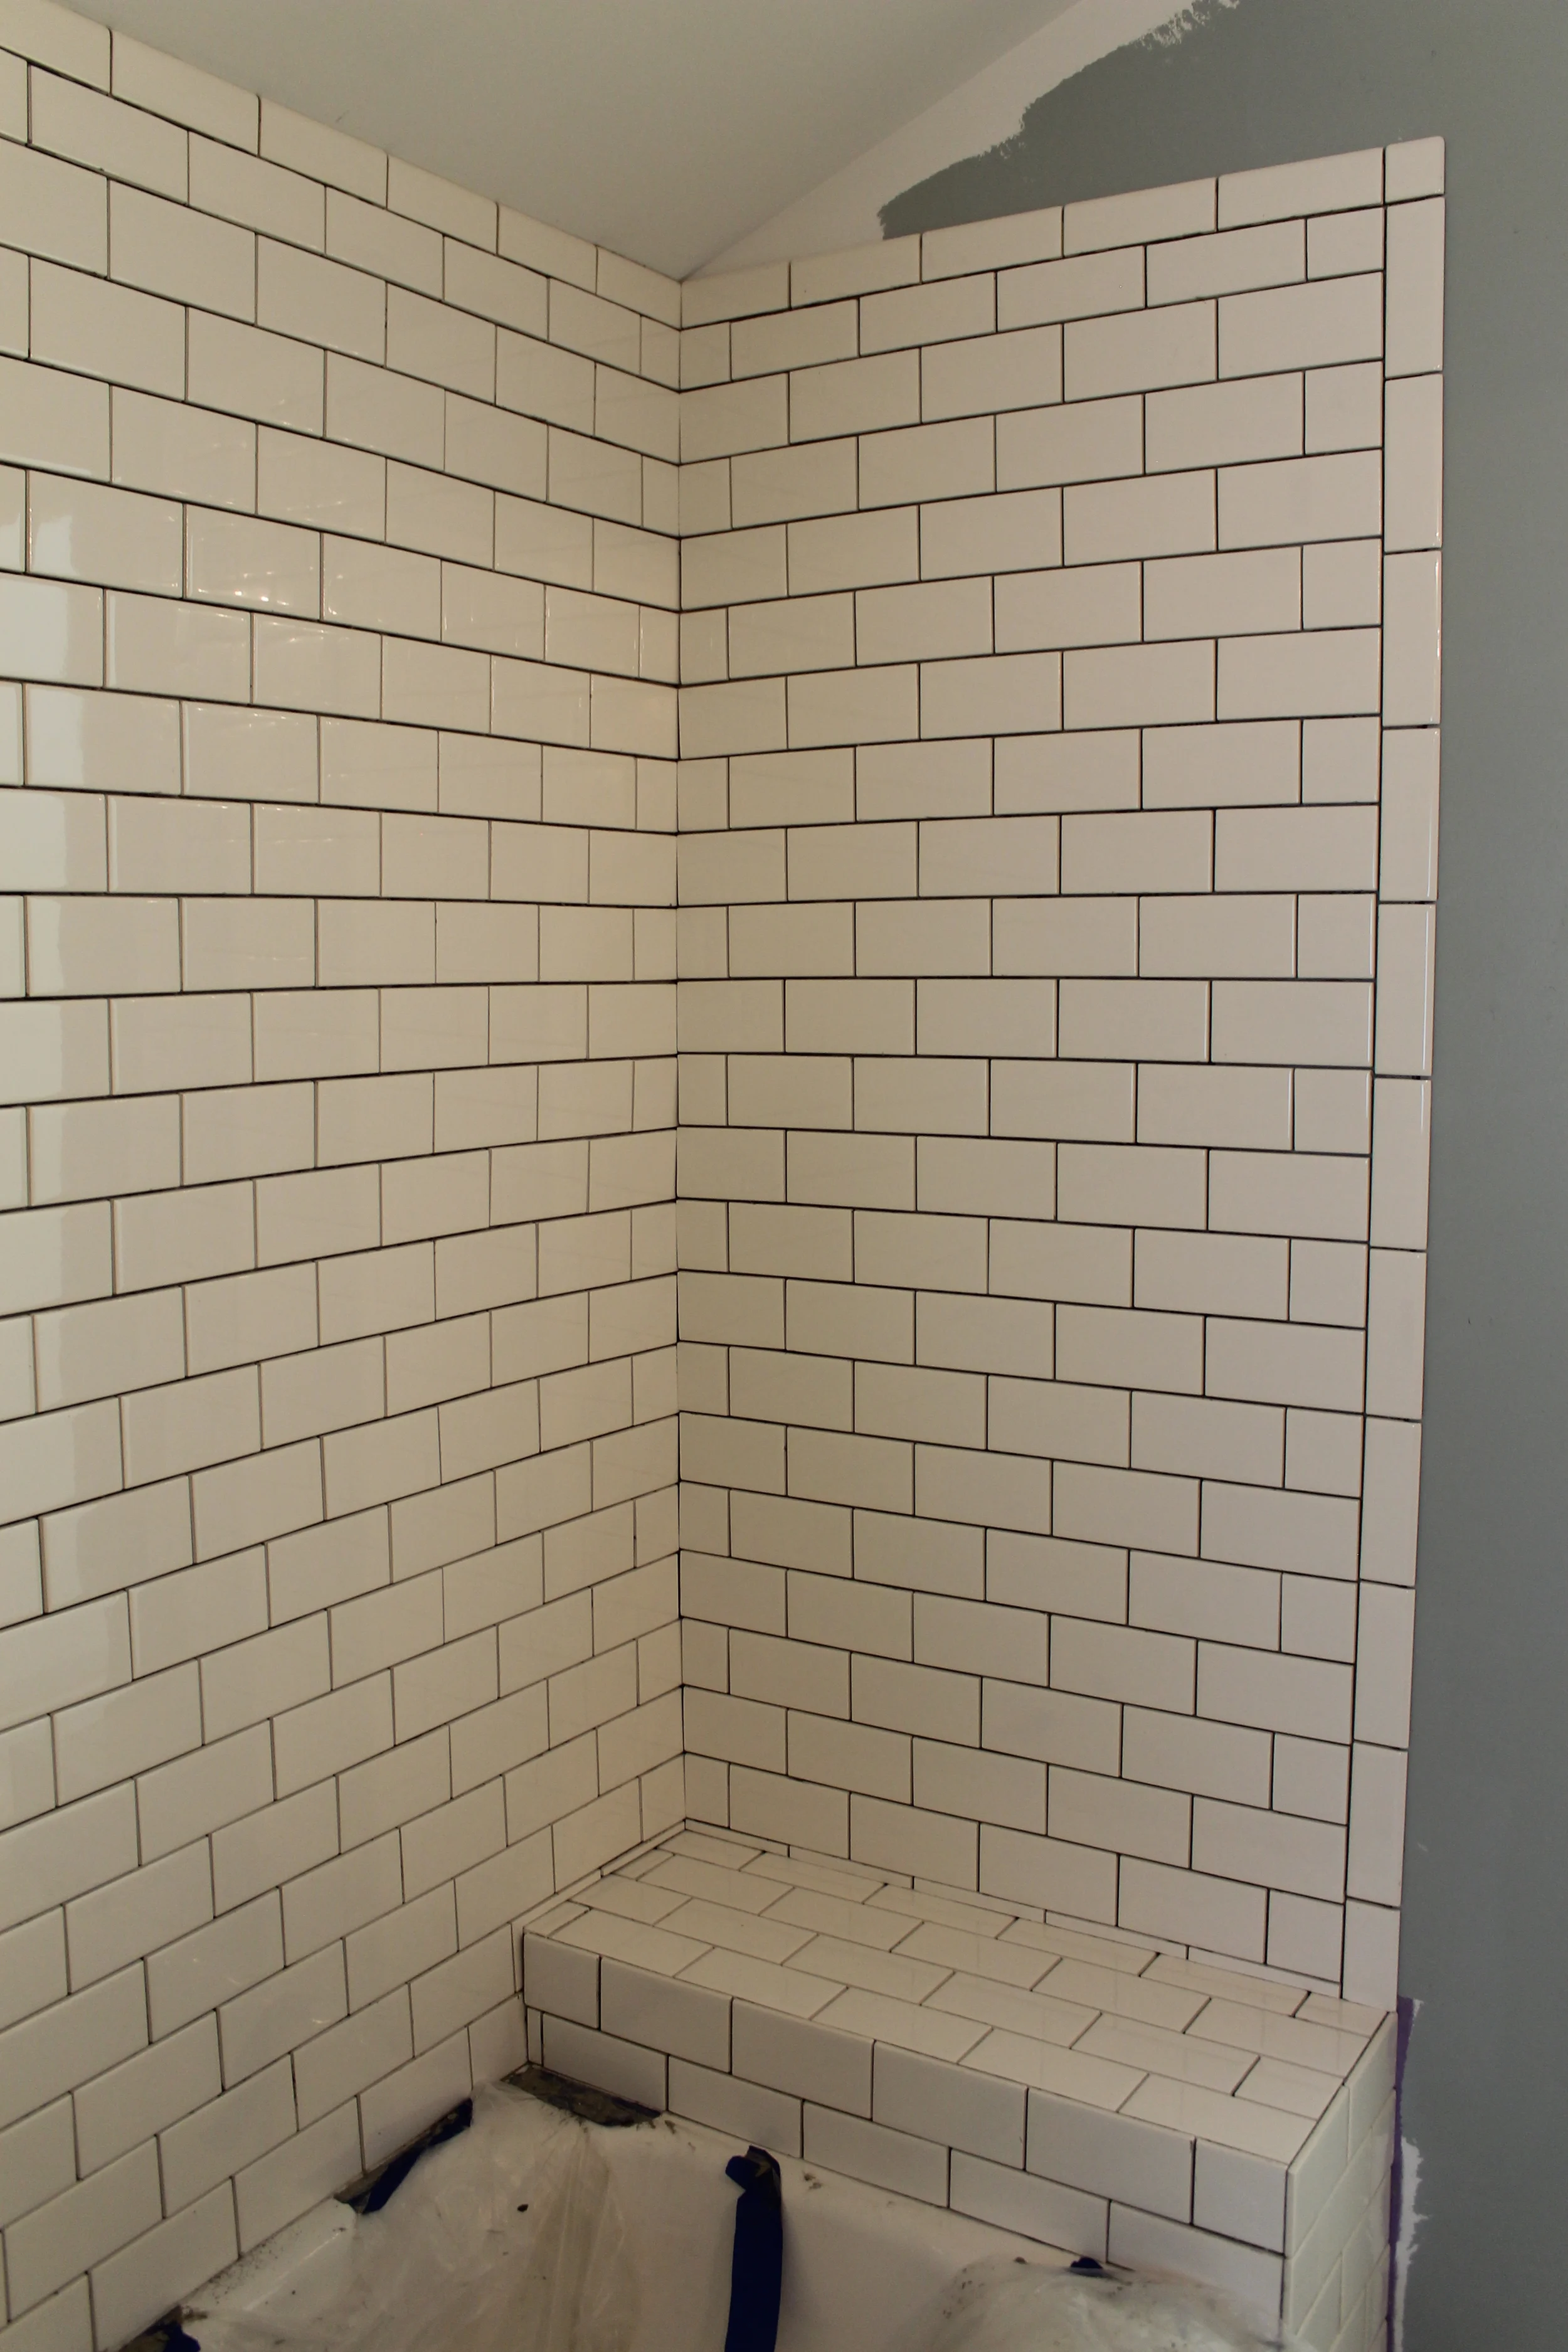
We just got back from tiling the master bath at the Myrtle House (doesn't everyone spend their three-day weekends doing things like this?) and I wanted to give a quick recap. Since there are so many great tutorials on how to tile (like this post), I won't bore you with the nitty gritty details, but here are a few takeaway points from our experience.
I thought, rather naively, that tiling would be a pretty simple job. We weren't doing a crazy pattern and just had to install a tub surround with basic subway tile. You see people tiling on HGTV and it is usually depicted as a quick, last-minute thing (I'm looking at you, Joanna Gaines). Do not be deceived, tiling is actually quite time-consuming. In all honesty, it is not that difficult once you get the hang of it, but it took two of us 30 straight hours to just LAY the tile. Grout and sealer are still coming.
Is it perfect? Heck no. You will see our crooked lines and large gaps. But since we were first-timers, I think we did okay.
You can't extend the longevity of mortar by adding water
In theory this makes sense, but if you try to add water to drying mortar, it will loose it's adhesion. Just save yourself the headache of re-doing tiles (like we had to) and mix a fresh batch. Better safe than sorry.
Plan out the pattern in detail before tiling
You know the phrase "measure twice, cut once"? This theory is totally appropriate for tiling, but I think tiling is more of a puzzle. You have to figure out how the pattern will look on both ends (you don't want to end up with a tiny sliver of tile). Really take your time to plan before getting started.
Buy the wet saw instead of the sliding tile cutter
We went with the cheap little cutter, and it was terrible. The cut edges were jagged and it looked like I had tried to break it with my hands. Luckily, our contractor had let us borrow his wet saw as a back-up and thank goodness he did. The wet saw made such clean lines. We are going to cowboy up and buy the wet saw for our other tiling projects down the road.
Make sure cement board screws are flat and flush with the board
If you are working with cement board, make sure the surface is completely flat. If you have a screw that isn't flush, make sure to screw it in or else the tile will slightly jut out.
Keep your mortar covered to prolong the wetness
We just threw a piece of plastic over the top when making cuts to prevent it from drying out too quickly.
Check level multiple times
The last thing you want is your tile to be un-level; it will make the whole project exponentially more difficult. We checked level in the center, but our ends sag a bit on both sides because we didn't check all points. Therefore, we had to droop the ends on either side of the tub to meet the corners.
Clean out mortar tools as soon as they are done
Unless you want to be scraping cement off of your tools, wash these out ASAP once you are done for the day.
Make sure to get out excess mortar between tiles before it dries
Same theory as above - you will find yourself with a screwdriver scraping out mortar once it is dried. A very slow and tedious process. Just wipe it out of the gaps when it is wet with a spacer or your finger to make your life easier.
Be sure to lay down plastic in the tub AND on the floor
By the end of the job, our bathroom looked like an archeological dig. The mortar is SUPER messy, and you don't want this anywhere near your white bathroom fixtures. I would keep the protective barrier down during grouting and sealing too.
All in all, it was not as scary as I thought it would be. As long as you plan extensively and take your time, I am sure you will do great tiling. And just for fun to conclude this post (basically for my own sake), here is a before and after-ish shot of this bathroom. We're finally starting to get there, guys!


