Pantry | Myrtle House

I hate to admit it, but I watch quite a bit of HGTV. Like a lot. Fixer Upper marathon + a glass of wine = heaven. It seems that some house hunting show is usually on during the evenings, and I have picked up on the fact that people searching for a new home love a big 'ol pantry. Honestly, I never quite understood this wishlist item. Maybe it is because we don't have children, or because neither of us really like to cook, so we don't normally have tons of spices and ingredients on hand. Sadly, most of our meals come from the freezer... (don't judge me).

When the Myrtle House budget starting spiraling out of control, Brian and I decided to nix the half bath (who needs 3.5 baths anyways?) and turn that space into a pantry. It was a win-win as it was helpful to our bottom line but also good for resale value. This turned out to be a blessing in disguise because I think I would have hated having four toilets to clean. Two toilets per household member is a little much, I suppose.

While I am no extreme coupon-er needing a stock pile room or doomsday prepper needing a place to stash my years worth of supplies, I was excited about putting one thing in this newly designed pantry: a coffee bar. Yep, basically a separate room for making coffee. It makes sense, I promise. Coffee is something I make almost every day, so it would be a whole lot easier just to leave this small appliance out all of the time. However, I.hate.small.appliances.on.the.counter, especially coffee pots since they are usually pretty ugly, take up a lot of room, and always leave a dirty mess. First world problems, I know.

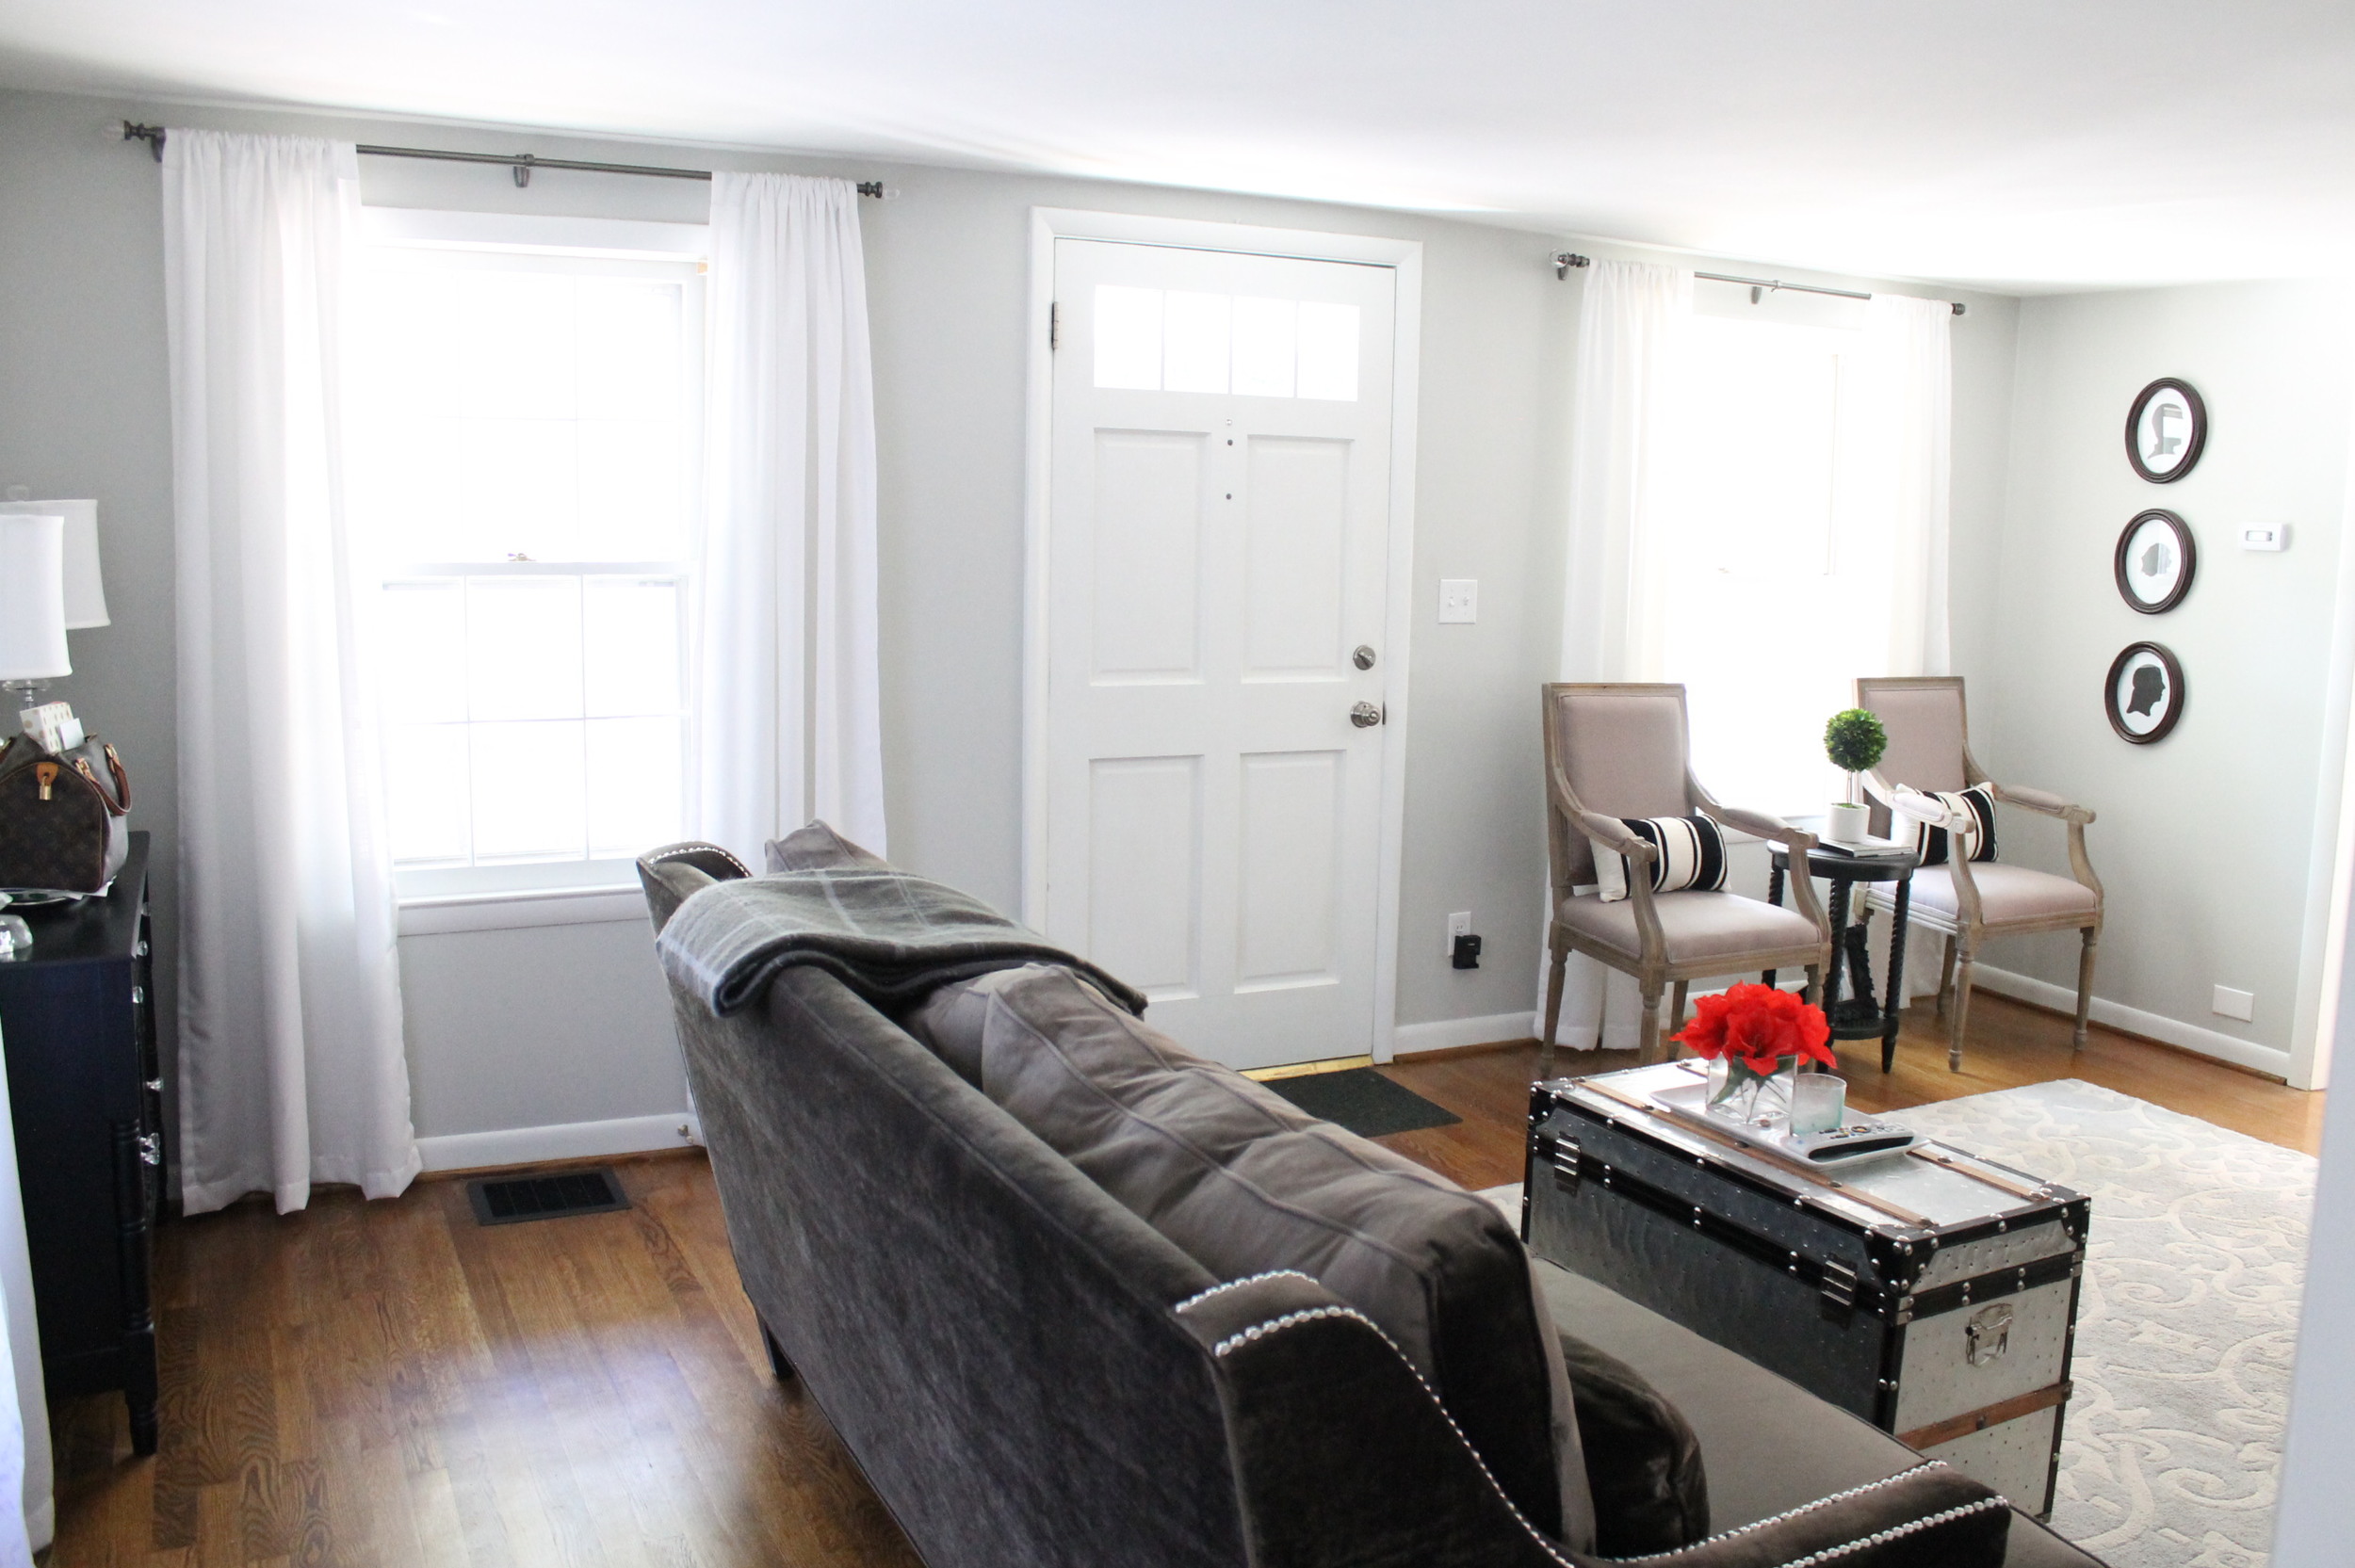
The space itself is odd as it is basically an angled closet. Here it is before reno (the little door):

Elizabeth Burns Design

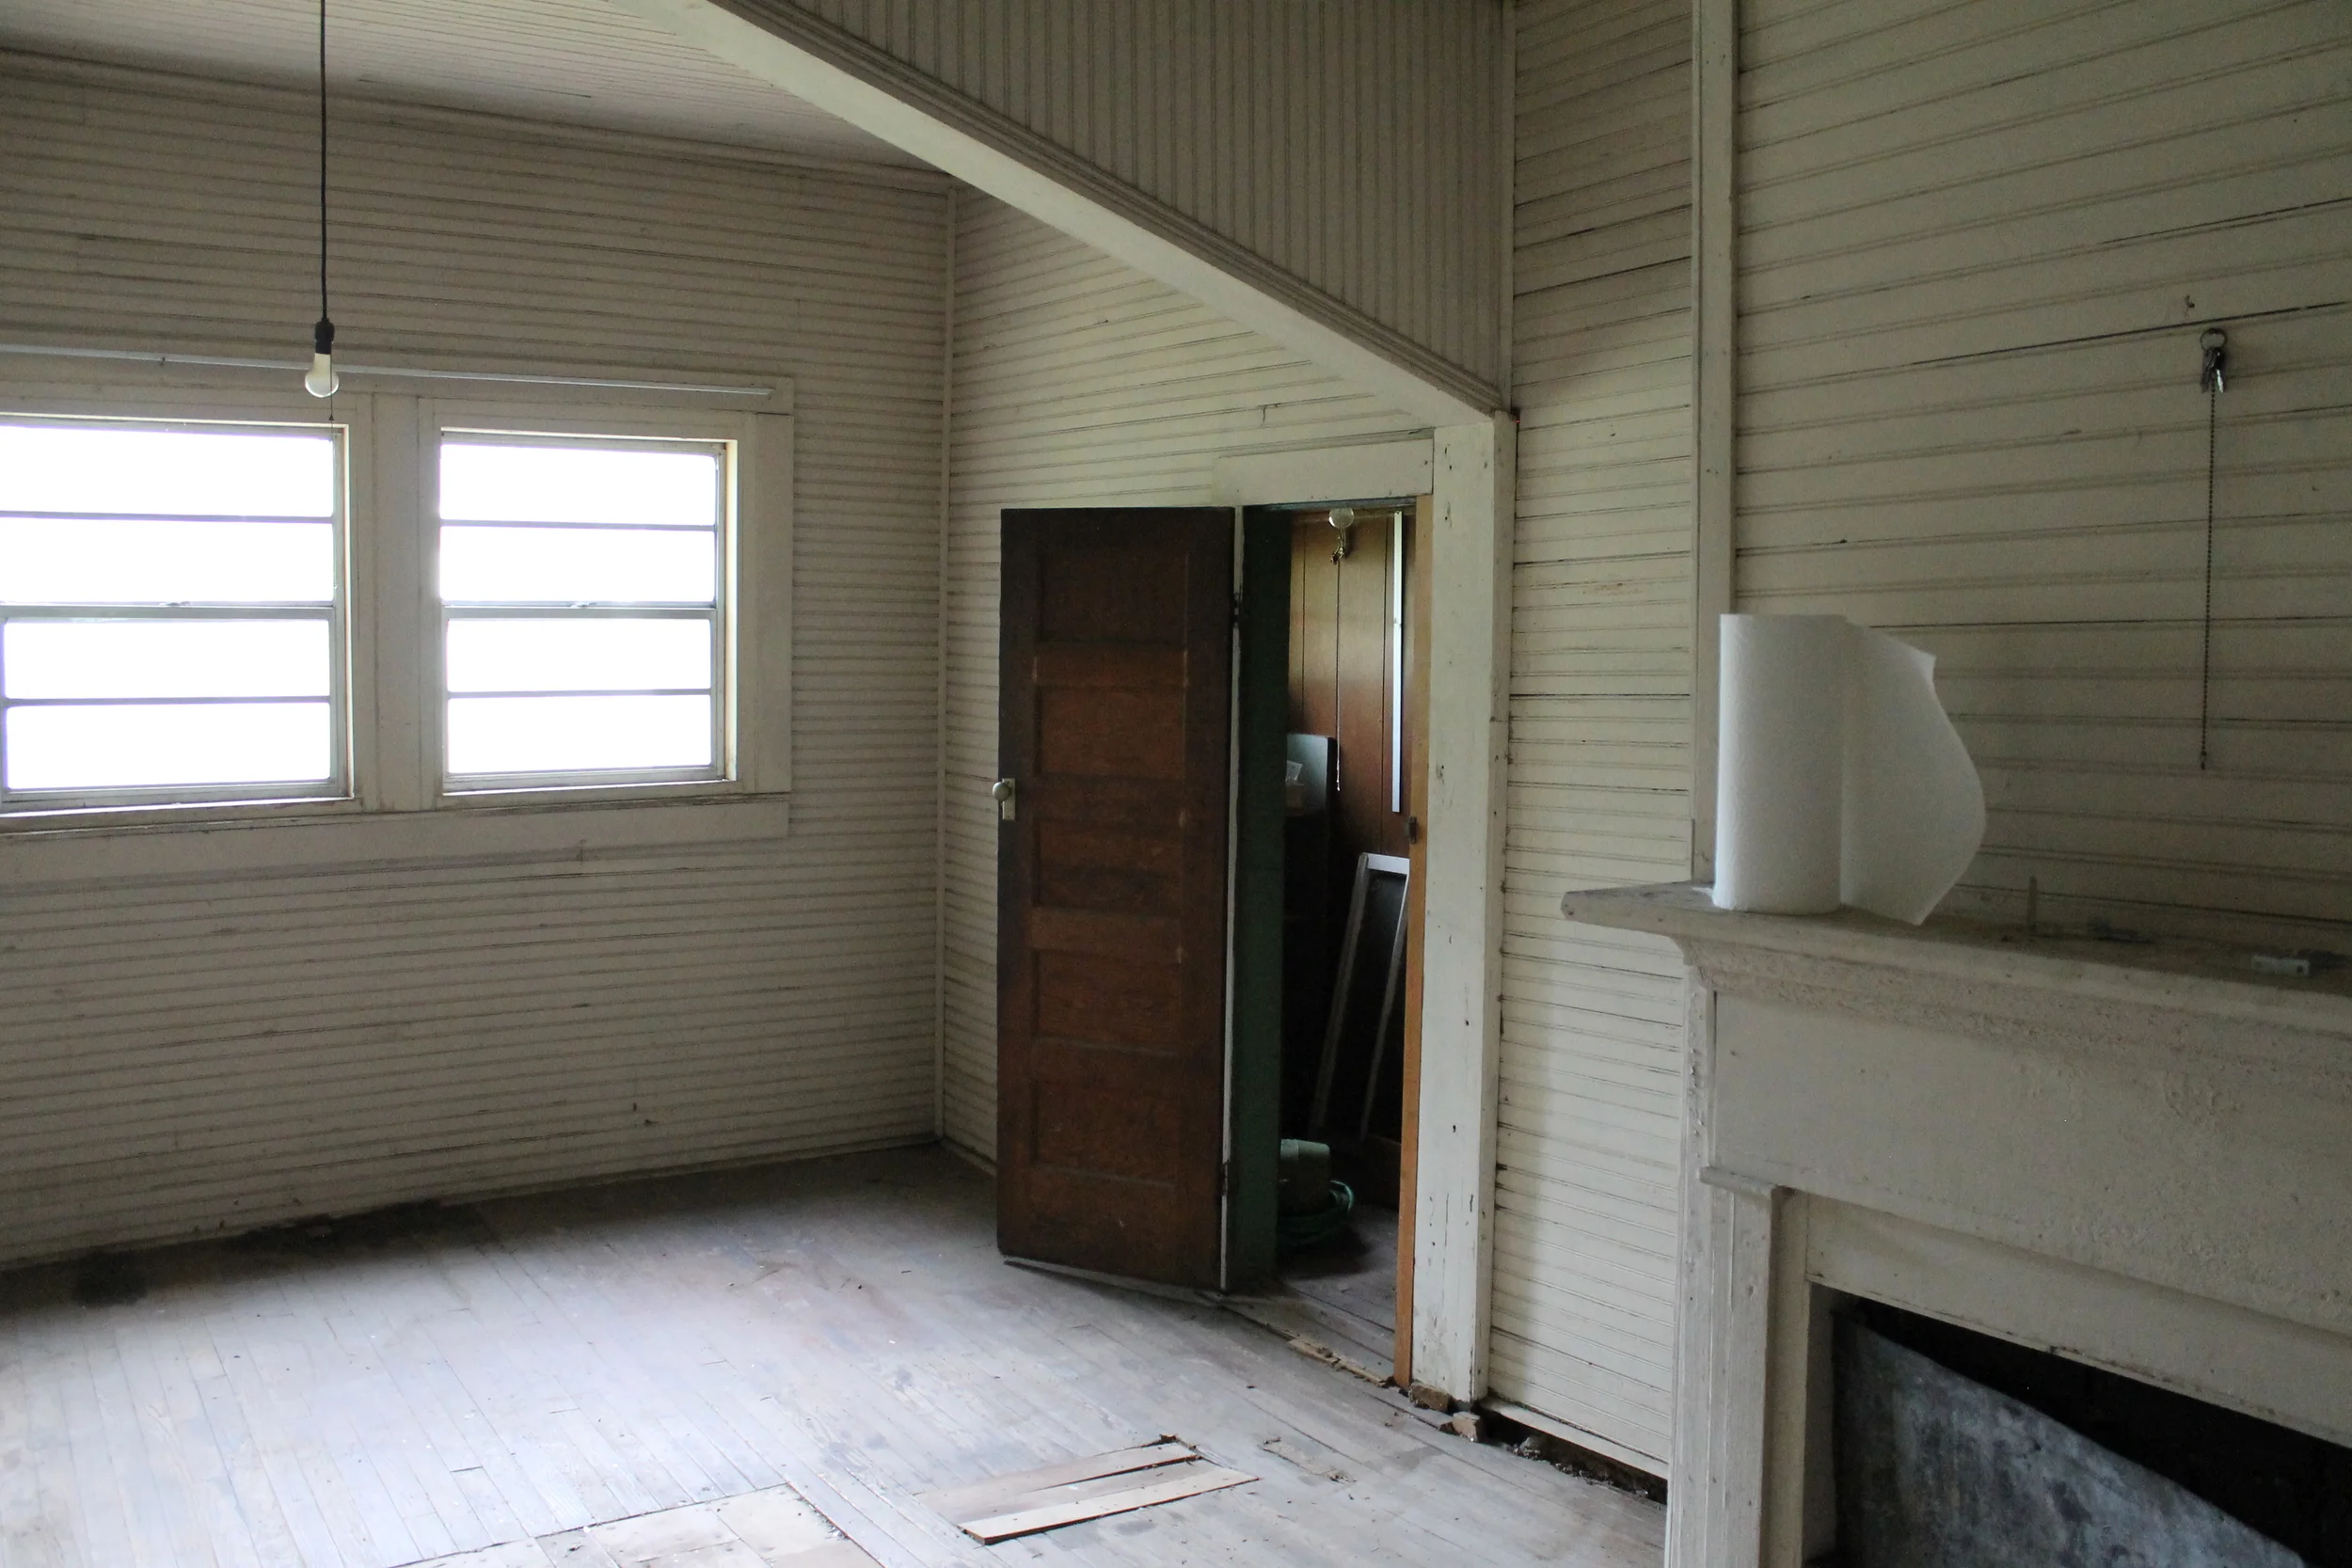
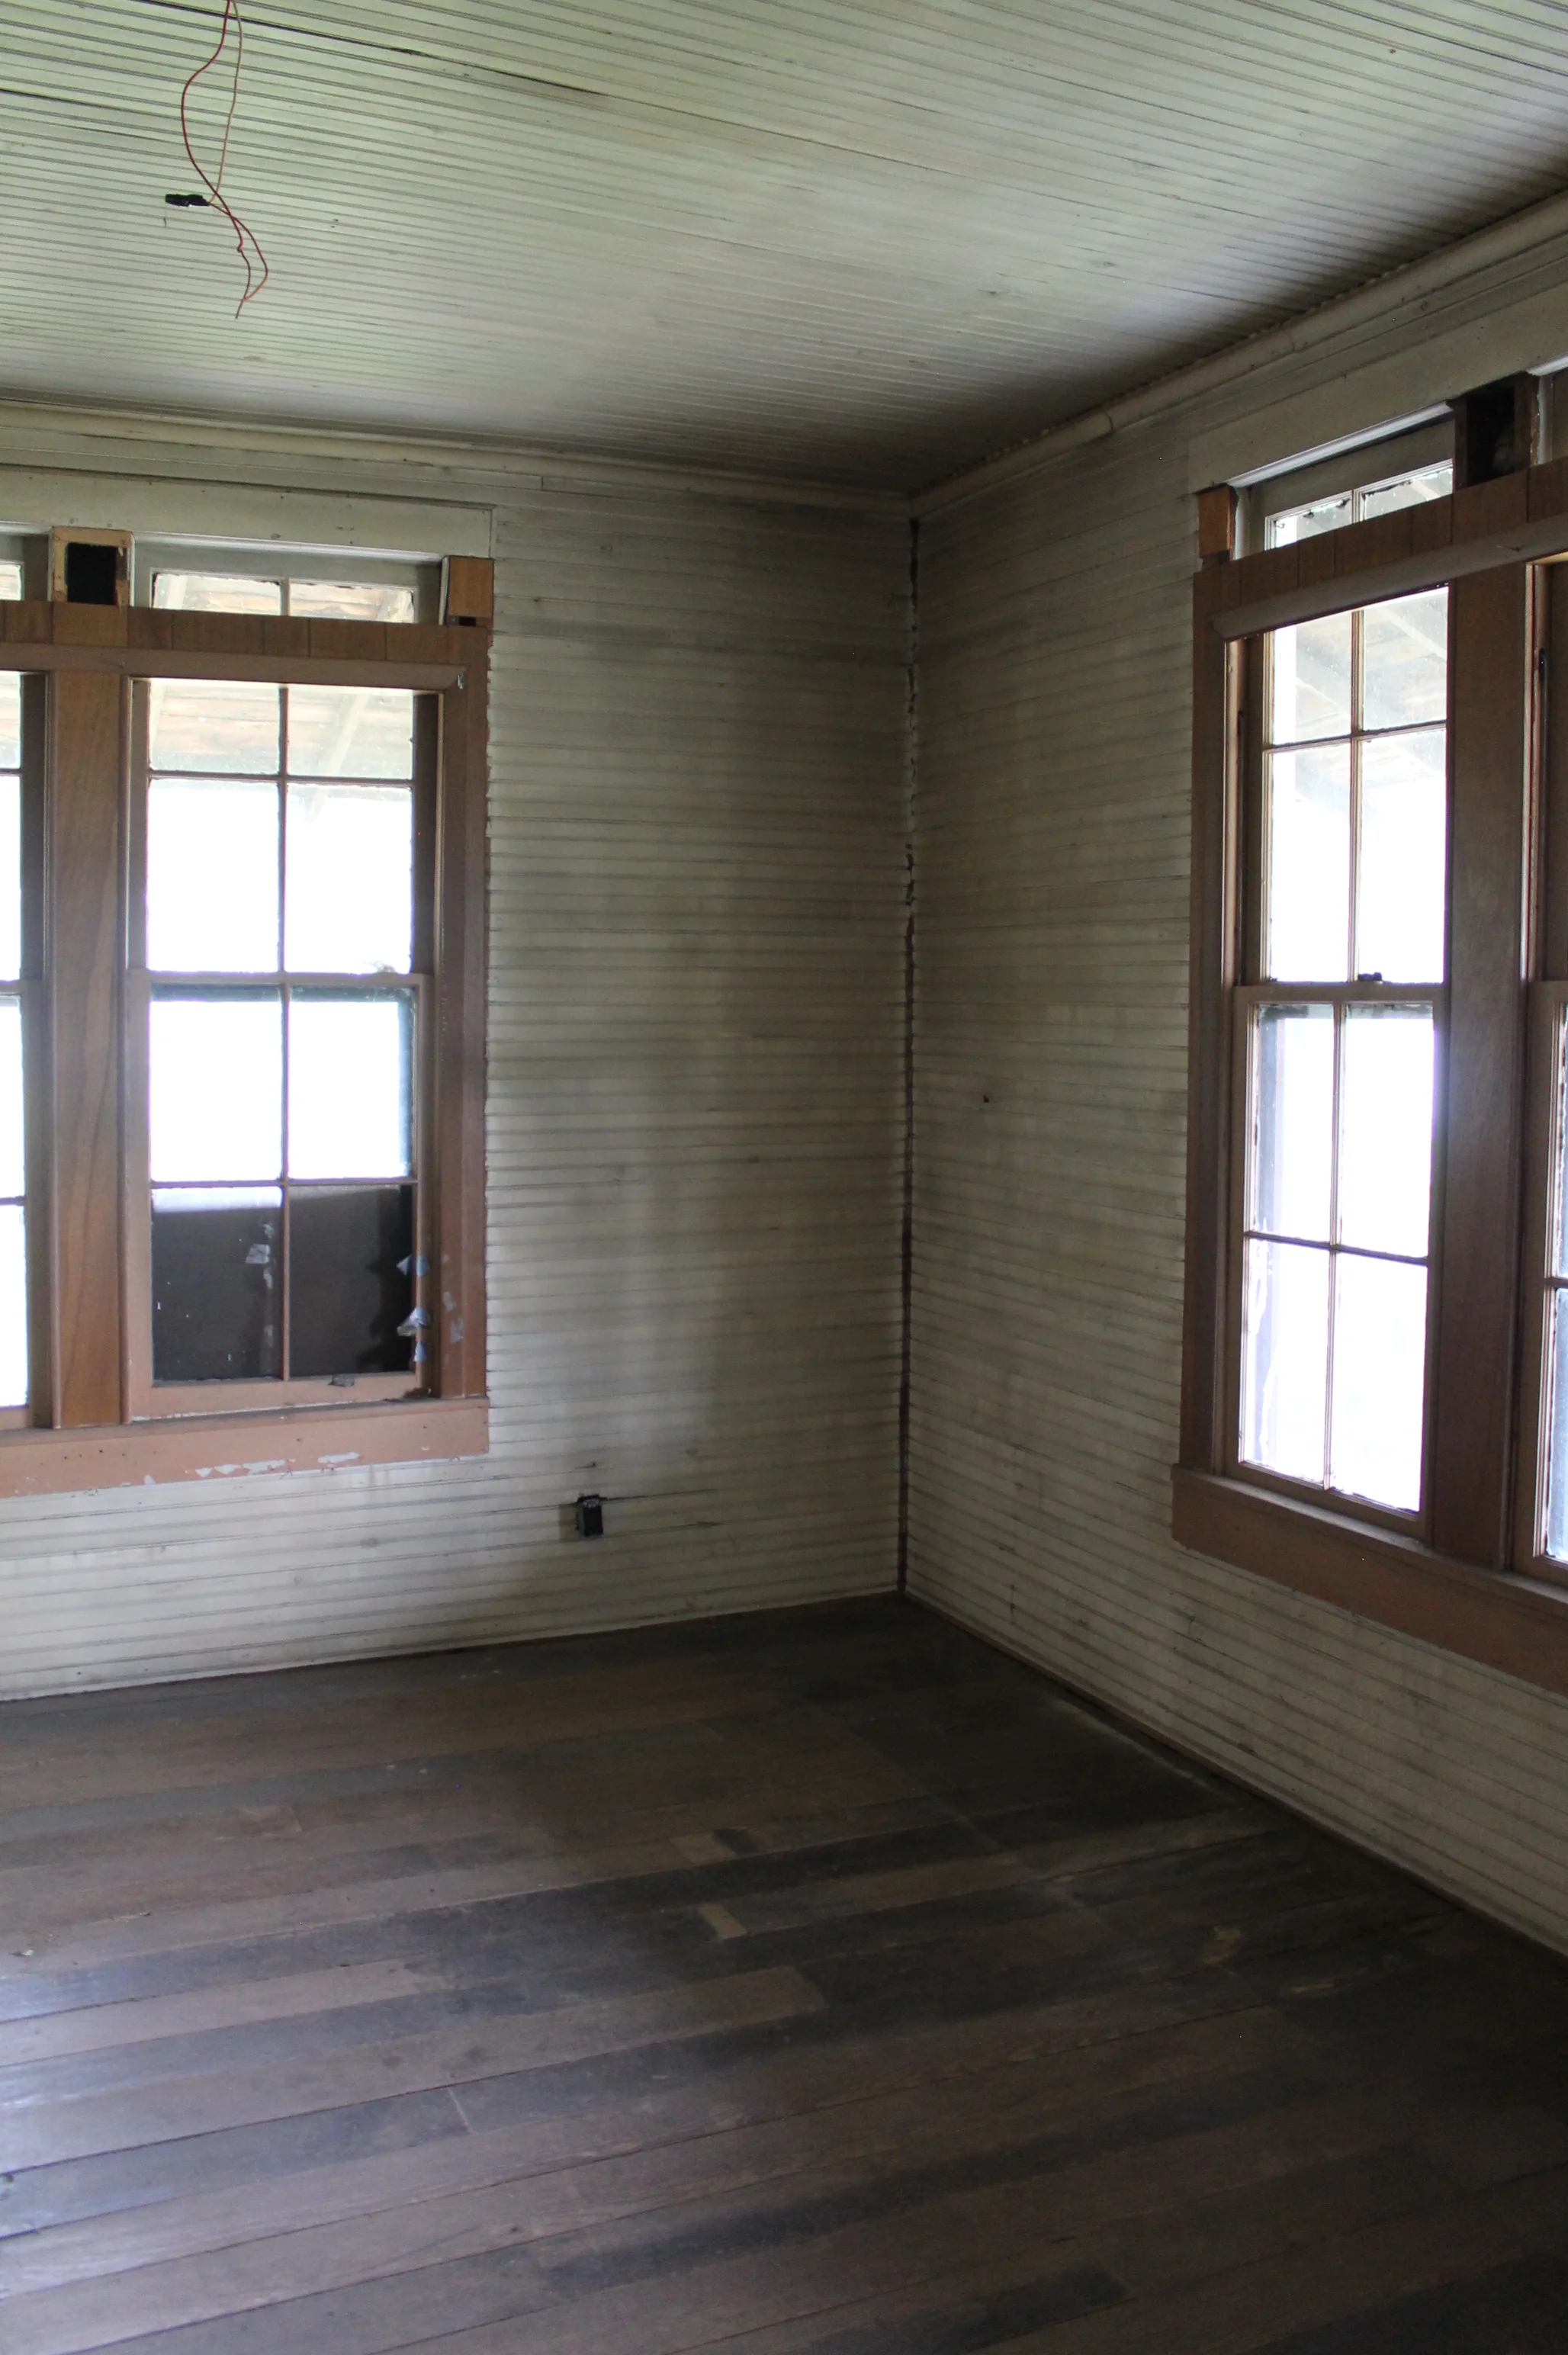
And here is a straight on shot after the new door has been framed.

Elizabeth Burns Design

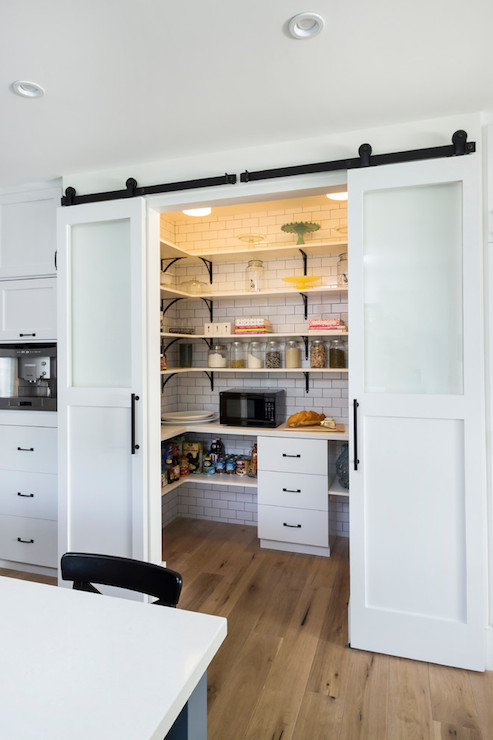
The location is great since it is right off of the kitchen. My plan is to put a sliding re-claimed glass/wood door up instead of a traditional door and then layout some shelves like below.

Elizabeth Burns Design

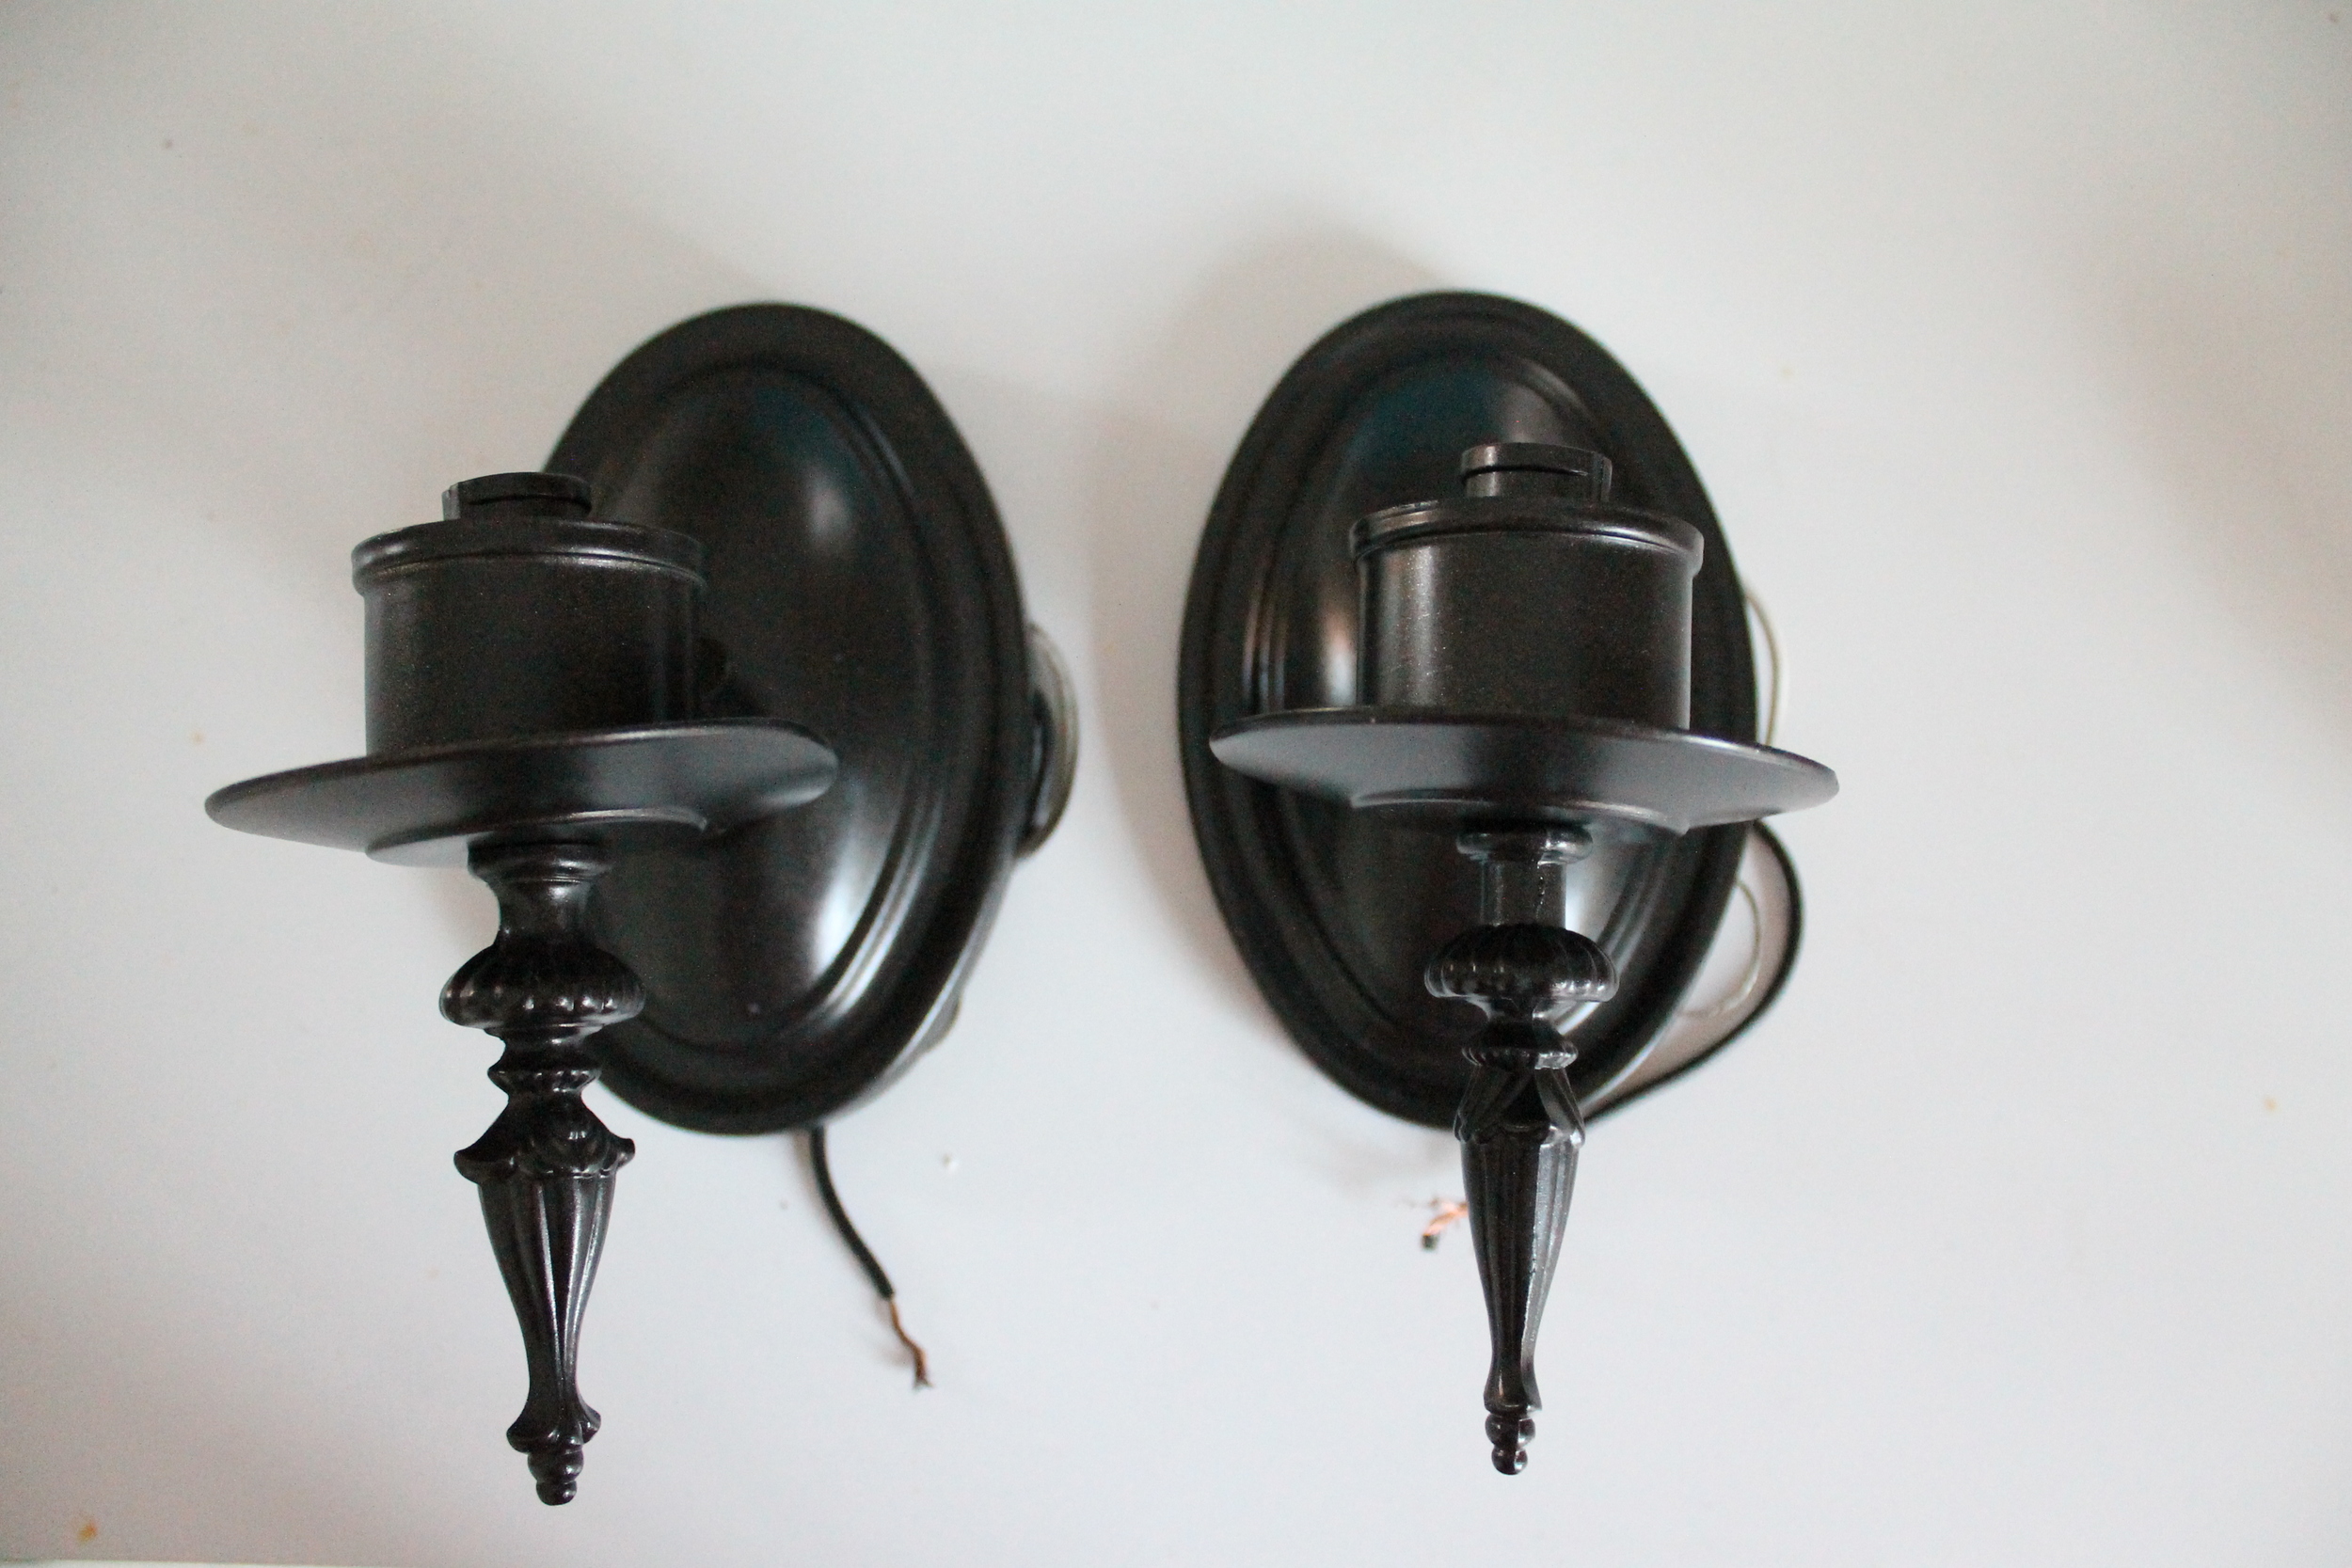
Yes, those are sconces. The wiring was already there from the room's previous life plan as a bathroom and I had already bought the fixtures, so the sconces stay. I am pretty sure everyone who is working on the house thinks my plan is completely nuts, but hey, it wouldn't be the first. I think it is going to look super cool to be able to peek through the glass door at this pantry. Kind of like this!

Final Paint Colors | Myrtle House

As with all things with this house renovation, the paint colors have changed since I originally posted my ideas last spring. While still very much in the same color families, the final paint colors are more neutral and less pastel-y. How do I know for sure that they are final, you might wonder? Because we bought all of the paint. All 15 gallons of it. We are quite literally pot-committed. :)

All Closed Up | Myrtle House

It had been three months since our last trip to the Myrtle House when we went this weekend. We had purposefully kept away since the progress was slow and there wasn't really a need for us to get in the crew's way. This past trip, however, was vital since this was the last time we will be there before the drywall is up. (!!!) Our contractor has been in overdrive; we recently got the fallen chimney replaced with new siding, all of the original windows repaired, and insulation halfway done. Plus, we passed inspections which is a huge relief all around. It is really starting to take shape and even has that "new house smell" which is a heck of a lot better than the dead possum smell that lingered before...

It is fitting timing as this last visit was exactly one year and two weeks from the first day Brian and I started working on the house. Geez, what a journey it has been, but I literally cannot wait to go back in three weeks when the walls are dry-walled and the original bead-board ceiling painted a clean white. The only clean thing this house has seen in a while. ;) Here is the ceiling in the kitchen patched with salvaged bead-board and ready for paint.

Elizabeth Burns Design | Myrtle House

(You can also see the recessed cans wired! I am super excited for the lighting in this kitchen.) For the ceiling, doors, and trim, we decided to use Benjamin Moore Chantilly Lace. It is an almost pure white (not yellow-ish) but just a tad softer than a bight white.

If you'll remember, this fireplace had fallen during a storm many years ago. As much as we wanted to fix it, the price tag was upwards of $4,000 and just didn't make sense financially (especially with there being two other fireplaces in the house). So, down it went, and we replaced it with siding. Eventually we will replace all of the siding to match, but here is the before and after of the fireplace wall.

Elizabeth Burns Design | Myrtle House

Another big difference is that the windows are all repaired! No more cats climbing in to leave us presents or bees harassing us in the summer while working. The struggle is real. Here is a closeup of the new glazing. Our contractor said the wood is still in really good shape, so that was reassurance we made the right call by fixing them.

Elizabeth Burns Design | Myrtle House

Speaking of windows, we also managed to fit these old monsters in my tiny Toyota to replace the ones in the kitchen. Brian and I drove three hours round trip for the deal of the century on Craigslist and ended up chatting with the seller (a former vintage store owner) for a solid twenty minutes. Those are the kinds of Craigslist adventures I love. :)

Elizabeth Burns Design | Myrtle House

These windows shown below were the only ones left in the house that were not made out of wood and I knew they would bother me if we had left them. The 1970's metal storm windows did nothing to add charm to this house, so they had to go. I can't wait to have three big panes of glass above the kitchen sink!

Elizabeth Burns Design | Myrtle House

I can't wait to share more. The posts from here on out should hopefully start to get a lot more interesting!

January Goals

Oh 2015, I have such high hopes for you! This will be the year we are able to move into the Myrtle House and actually have a home again!

For December, we did okay on our goals:

  • Settle the bathroom flooring saga (stone, ceramic, vinyl???) - Done. Going with vinyl. Quick and cost effective and durable.
  • Have original windows repaired by construction team (hooray!) - Not exactly sure where we stand on this. Probably haven't started yet.
  • Find a mason to repair the fallen chimney (proving harder than you would think...) - No. :( We have to remove the whole thing due to the enormous cost. So bummed.
  • Finish spec sheet for each room to determine remaining finishes costs - Yes! While not the number I was hoping for, it is nice to have an end goal in sight and know what we are working with.
  • Find two more lights for closets at the Restore (and paint) - Yes!

So that leaves me with January. I don't even know where to begin! Between frigid gloomy weather and my stomach expecting holiday goodies on a daily basis as has been the norm, I have been having a hard time getting my rear in gear and being proactive. Everything is taking so much longer than expected with the house, and there have already been other financial hurdles in the New Year besides renovation things (new tires, I am talking about you). At this rate, I am not sure what we will realistically accomplish this month on the house, but I will try to be optimistic!

  • Windows repaired... maybe? Hopefully? If we get these things fixed, the Myrtle House will officially be air tight! No more animal feces inside (unfortunately a true story).
  • Begin insulation
  • Attempt to cut out most wheat from my diet. I finished reading "Wheat Belly" and it was very enlightening
  • Start training for half marathon
  • Settle on interior paint colors

Not very exciting goals this month, but with the house progress creeping along, I am going to try and make these goals realistic. Happy 2015!

Dreaming about countertops

Dreaming about countertops

Cozy Christmas at the beach

Cozy Christmas at the beach

Getting my craft on

Getting my craft on

The best Craigslist deal of my life - a free sink!

The best Craigslist deal of my life - a free sink!

Inexpensive Curtain Rods | Design

If you ever move into a new house without window treatments, that usually becomes your number one priority. Forget painting, forget updating bathrooms, heck - forget running water! A girl needs some privacy. However, purchasing window treatments for an entire house can get pretty pricey at $20-$50 a pop in hardware alone. For the Brooklyn House, we were located downtown and our house was literally six feet from one of our neighbors. I didn't have time to shop around and ended up buying the same satin-nickel curtain rod with glass ball finials from Target for all of the windows. This neighborhood is nicer, so it made more sense to splurge on nicer hardware (a rule I use across the board in renovations).

Elizabeth Burns Design

For the Myrtle House, we have had plenty of time to scour for deals. I realized on our last visit to the house that our large, original windows are in fact 60" wide, so that means we need longer curtain rods than the standard 24"-48" kind (ie more expensive). Bummer.

Elizabeth Burns Design

I first started the shopping search online, and then after becoming desperate, started looking into DIY options. (PVC or electrical conduit?) I came across a link of a cute curtain rod from Hobby Lobby of all places. At $7.99 each, I think they are a steal. I have seen them marked down 30% online, but I know Hobby Lobby also circulates a 40% off coupon quite often. (Click the images to link to the product pages).

Another unexpected curtain rod treasure trove was at Ross! I actually ended up buying all of the needed curtain rods for the Myrtle House (minus two) for $40 total. They are not fancy or tremendously ornate, but given the area and price point of the house, they are a perfect fit. Plus I know that we will not have to sleep with one eye open due to lack of privacy those first few nights. :) If your budget is a little grander than our Myrtle House budget, check out HomeGoods. They have lovely hardware at very reasonable prices.

Elizabeth Burns Design

When it comes to window treatments, do you splurge or try to save? Any other stores I should check out?

Brass to Beautiful | Myrtle House

I have learned a lot about the timeline for construction during this reno. For example, our HVAC went in before electrical. I would have thought it would be the other way around. Another task that I thought would come last would be painting, but that in fact will have to come rather soon so that our electrician can install our new light fixtures. This realization left me scrambling at the Restore for inexpensive fixtures that could look amazing with some TLC. I finally got around to painting some of these gems. I had a can of Rustoleum's Oil-Rubbed Bronze spray paint on hand, so that is what I used. The finish turned out great!

Elizabeth Burns Design - Brass to Beautiful | Myrtle House
Elizabeth Burns Design - brass pendant chandelier makeover DIY

I also spray painted these guys, but am waiting on a few finishing parts and don't have the final product quite ready.

Elizabeth Burns Design - Brass to Beautiful | Myrtle House

Of course, not all DIY projects have a happy ending. I think I prefer the "before" version better of these sconces; the details get lost in the oil-rubbed bronze. They look a little Medieval and heavy in this finish... I am going to try a chrome paint next.

Elizabeth Burns Design - Brass to Beautiful | Myrtle House