

I am thrilled to be joining in on all of the fun of the One Room Challenge as a guest participant this fall. The ORC is something I have followed forever but the timing was never right for me to sign up to participate. You may have seen my post a few days ago about our tired guest bathroom and I’m excited to transform this outdated space over the next 6 weeks for the One Room Challenge. Of course, it will all be done on a budget. ;)
WEEK 1
WEEK 2
WEEK 3
WEEK 4
PROGRESS
I'm finally feeling pretty good about the progress made on our One Room Challenge space! (And with only a week left, I guess I should be!) We worked the better part of the weekend but I think it was well worth it. Last week I told you about our vanity top dilemma. Brian was able to resolve this by cutting out the drywall and sliding the counter into the wall cavity so that it is centered on the vanity cabinet. It actually looks a lot more seamless than I anticipated which was a huge relief.


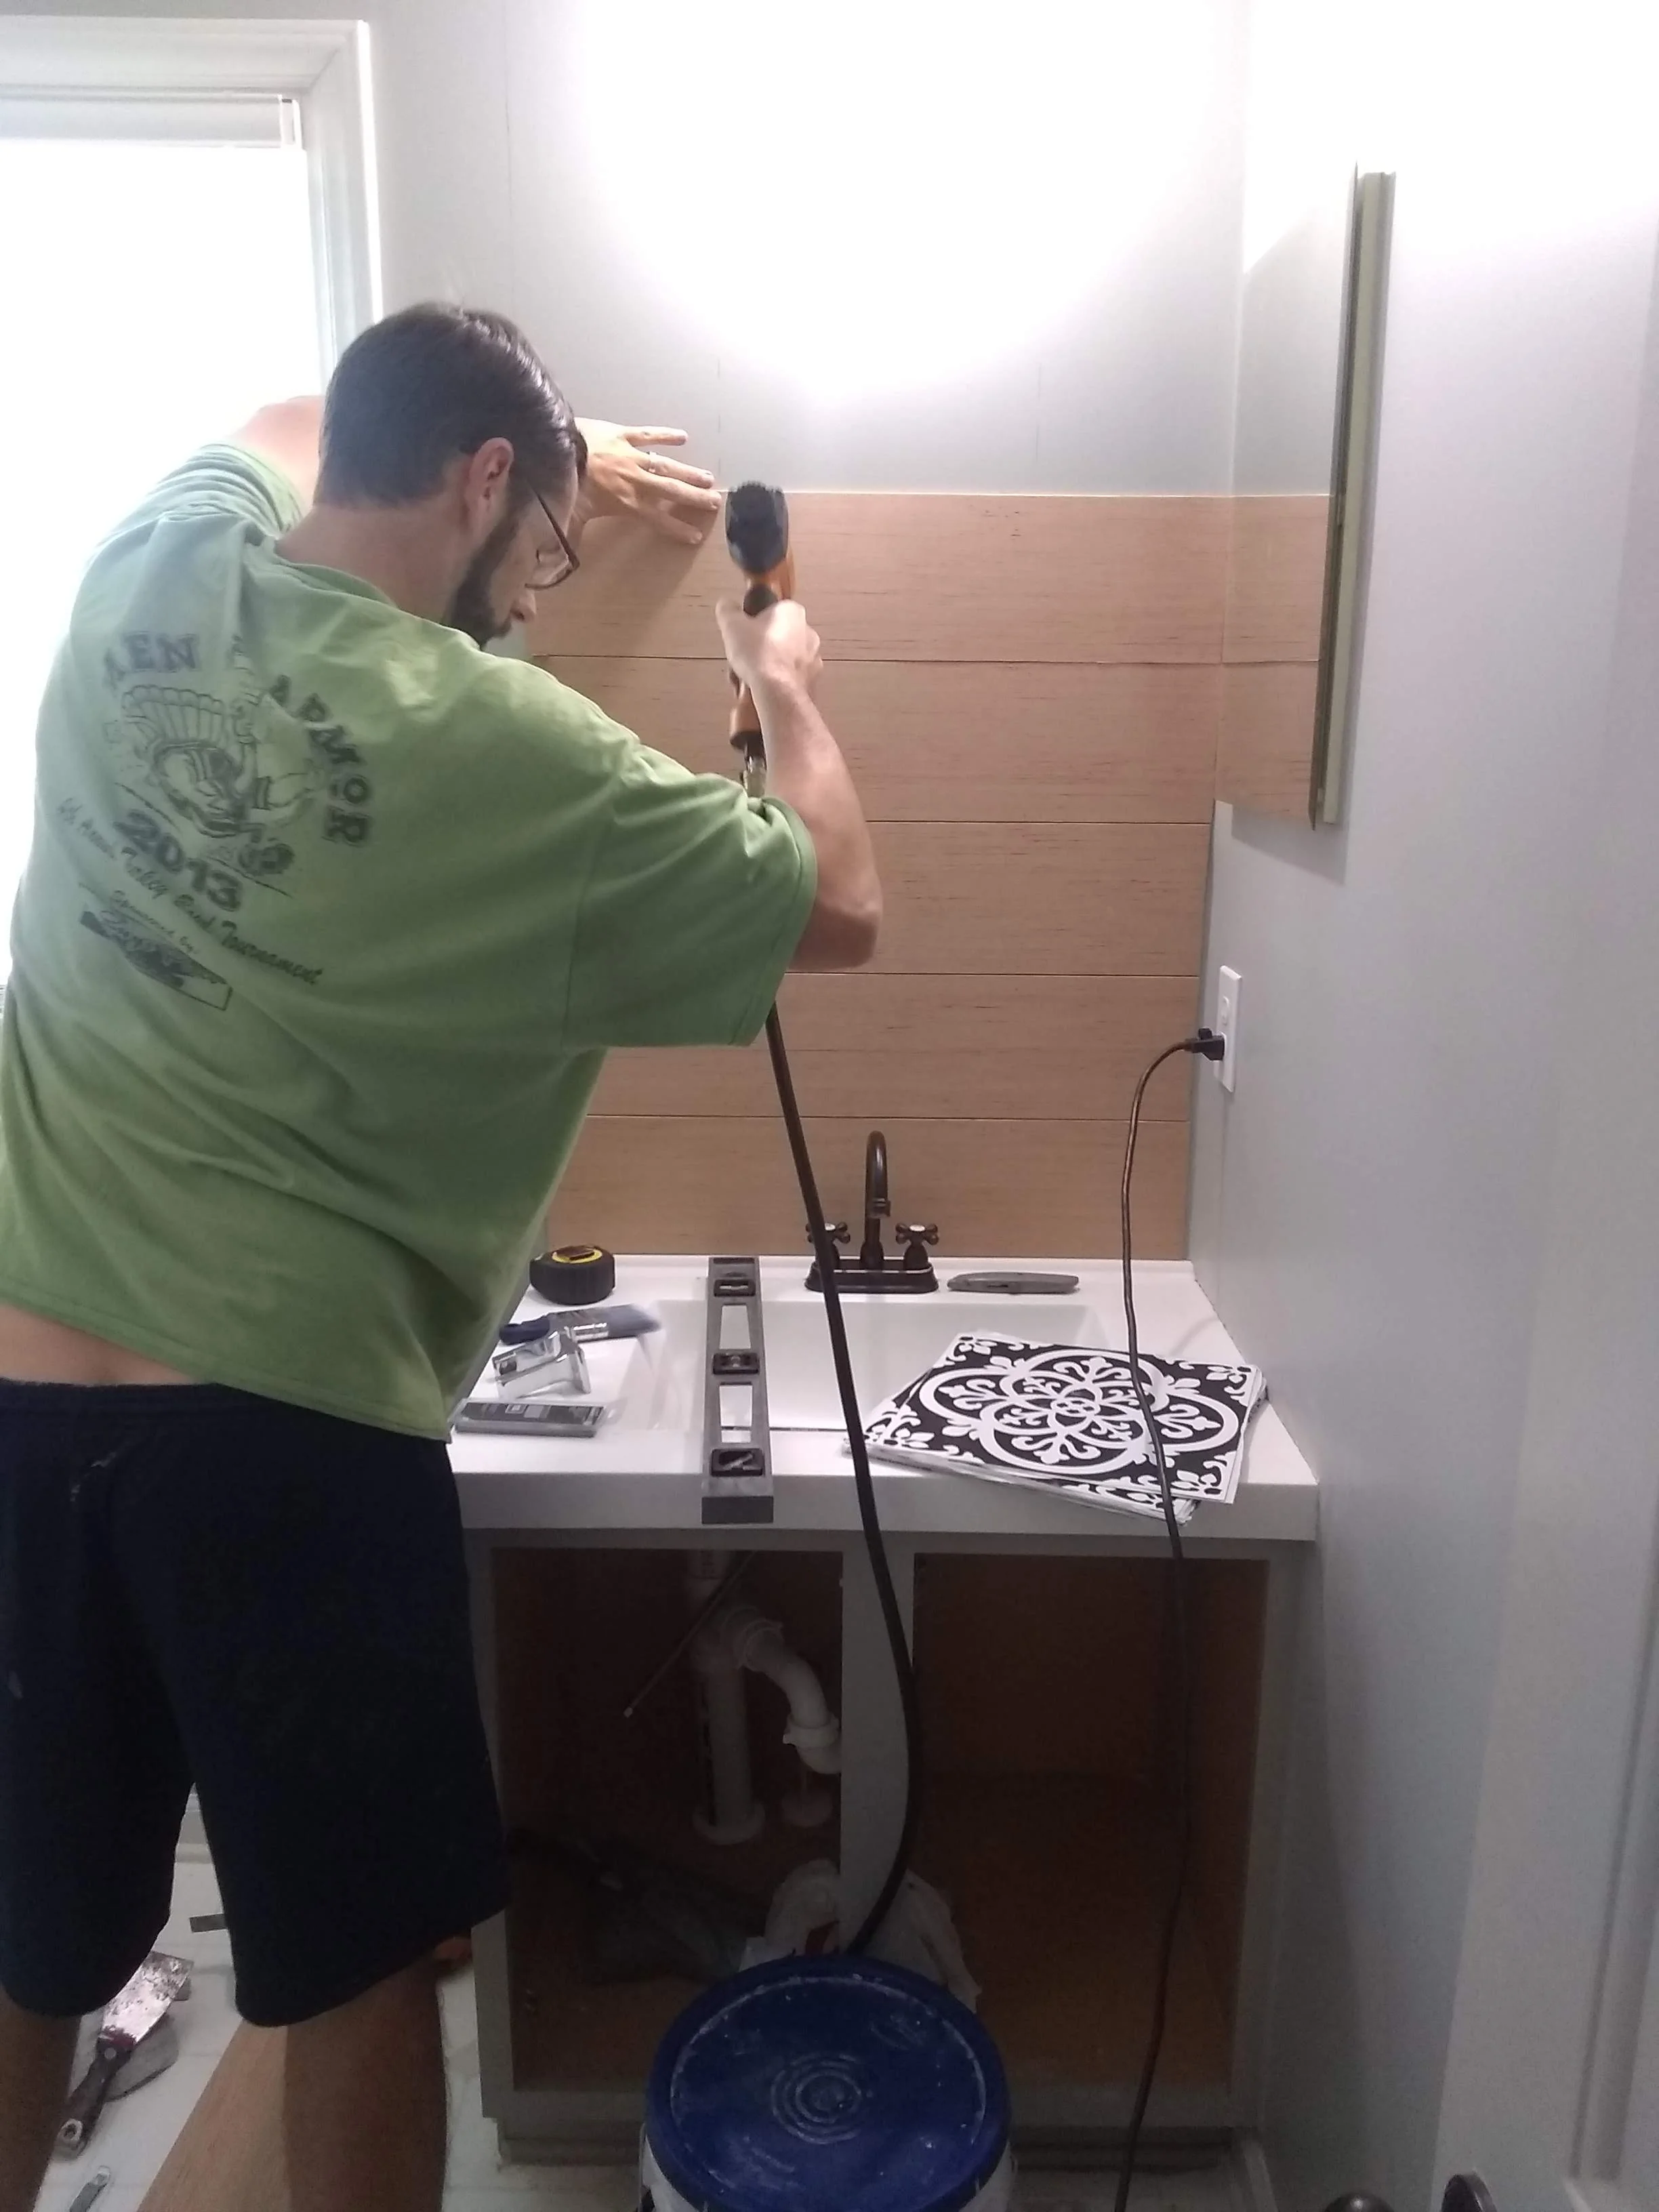
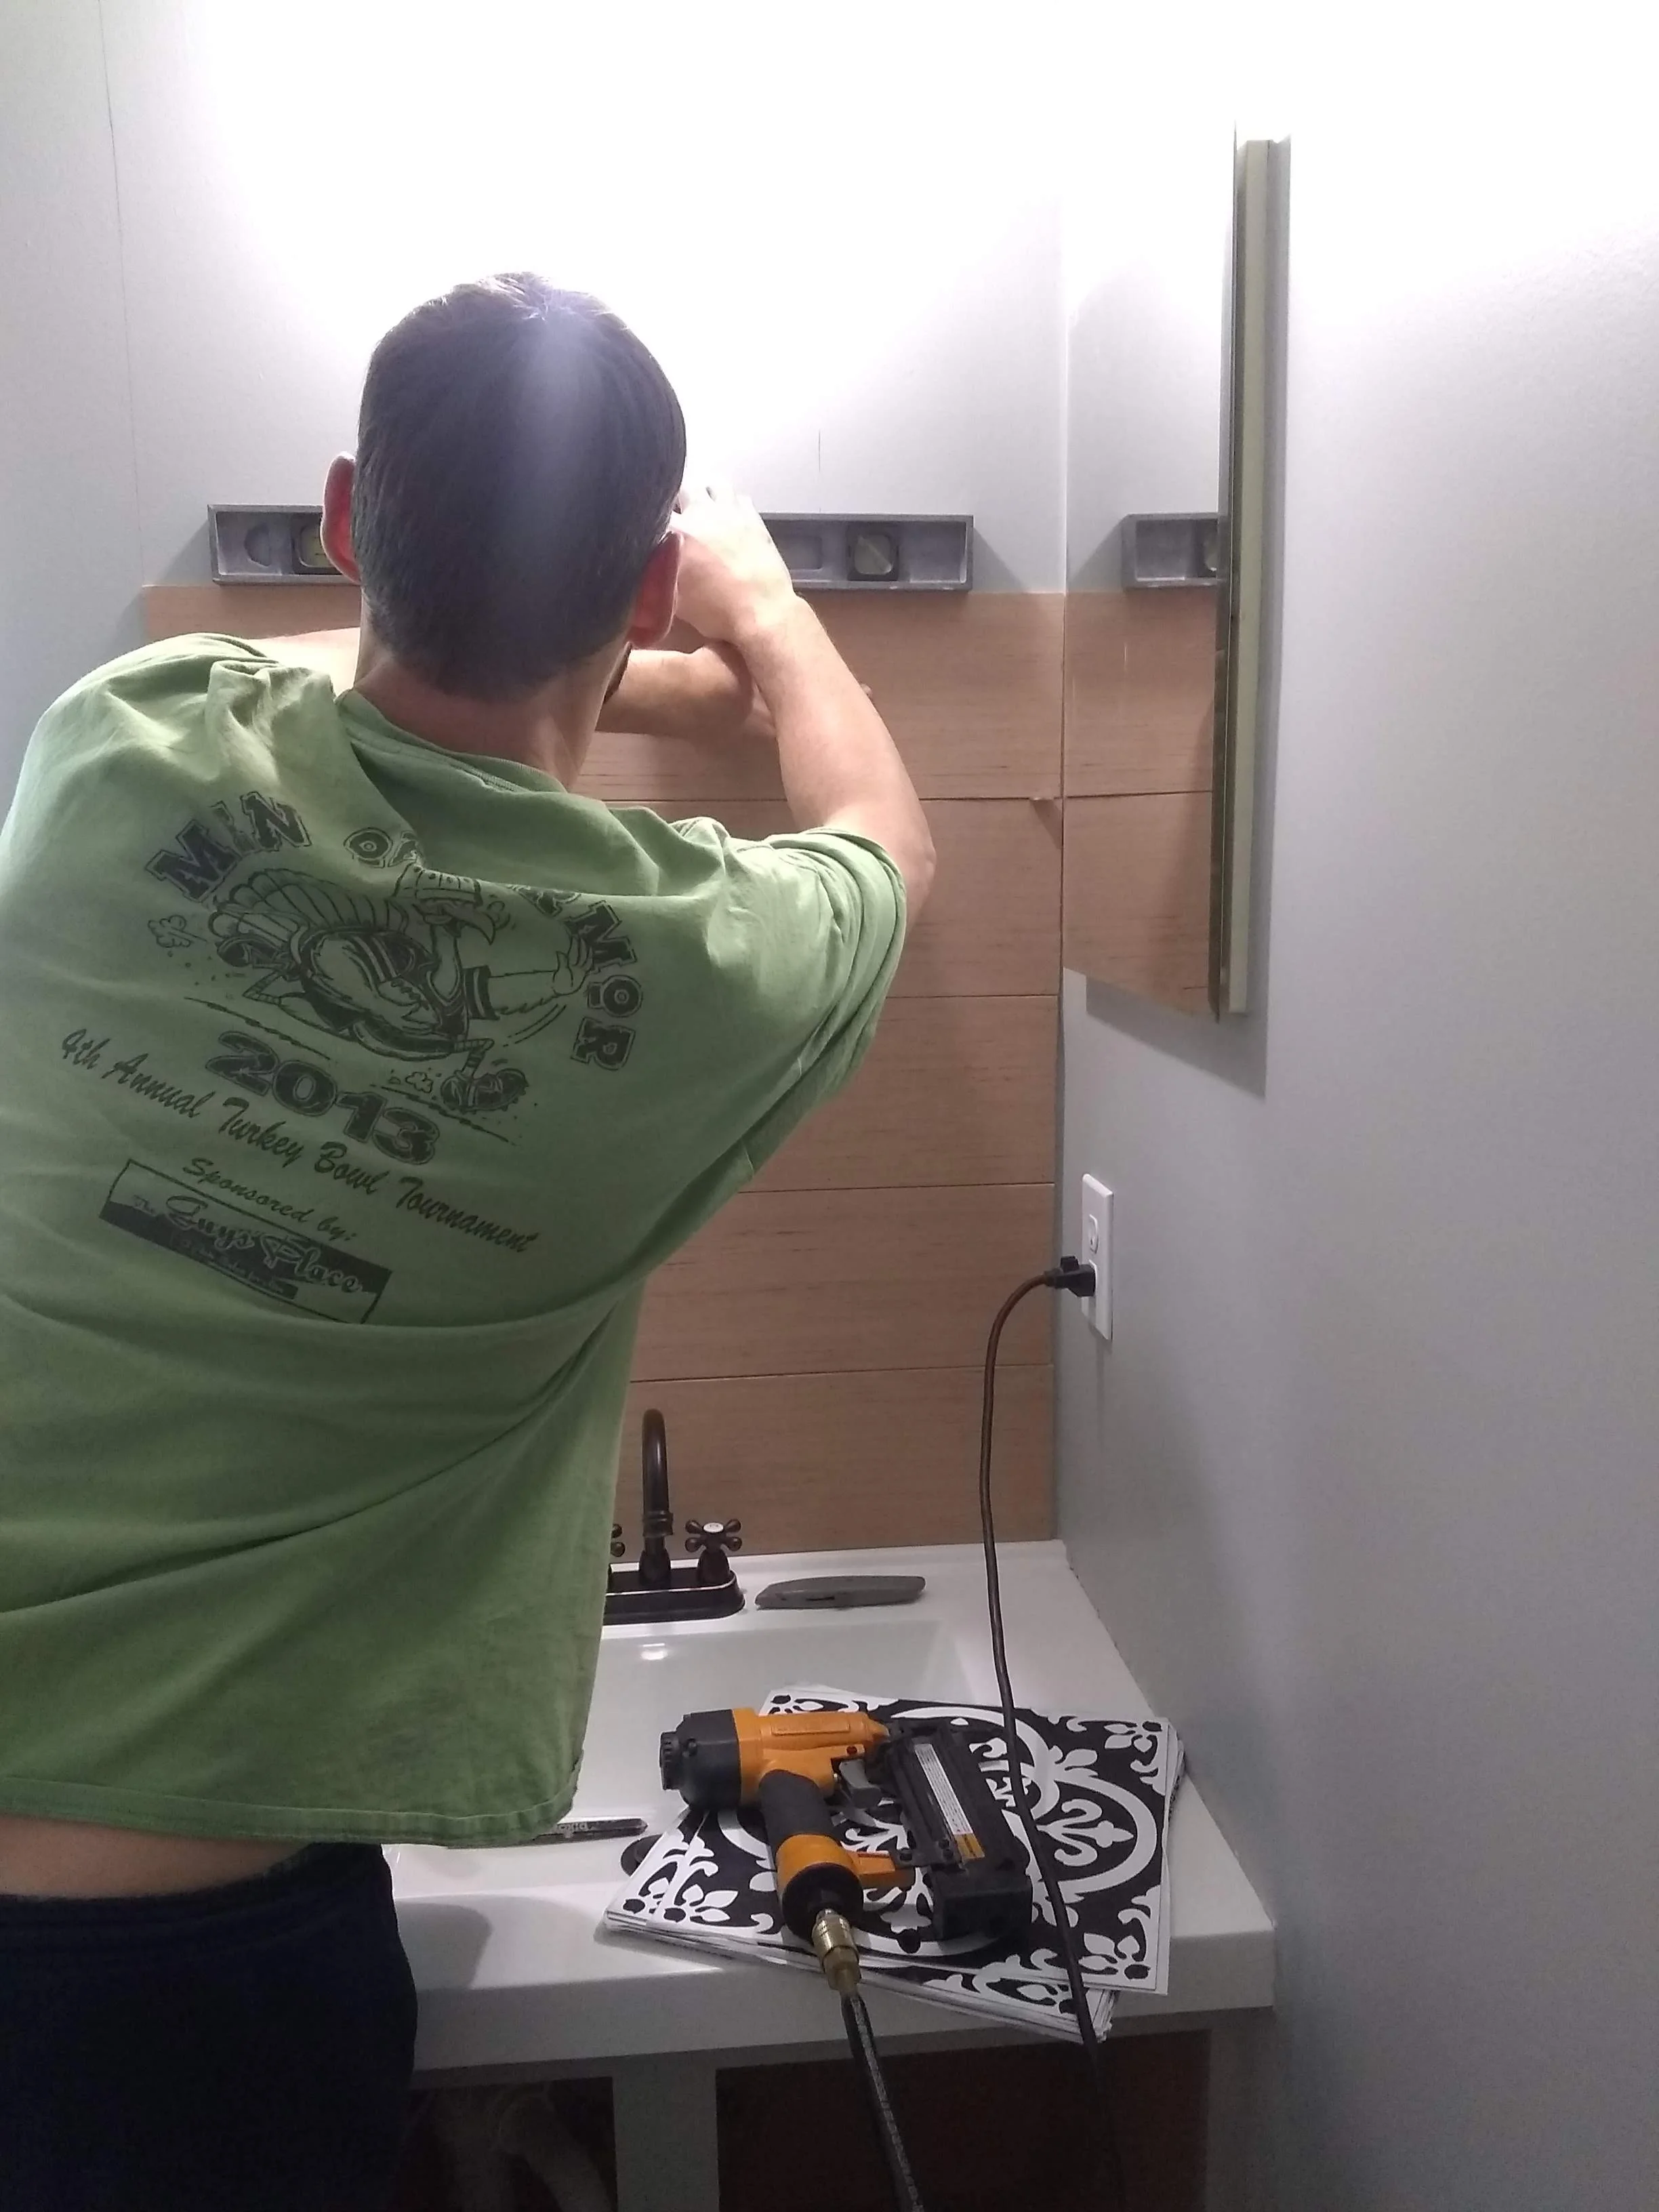
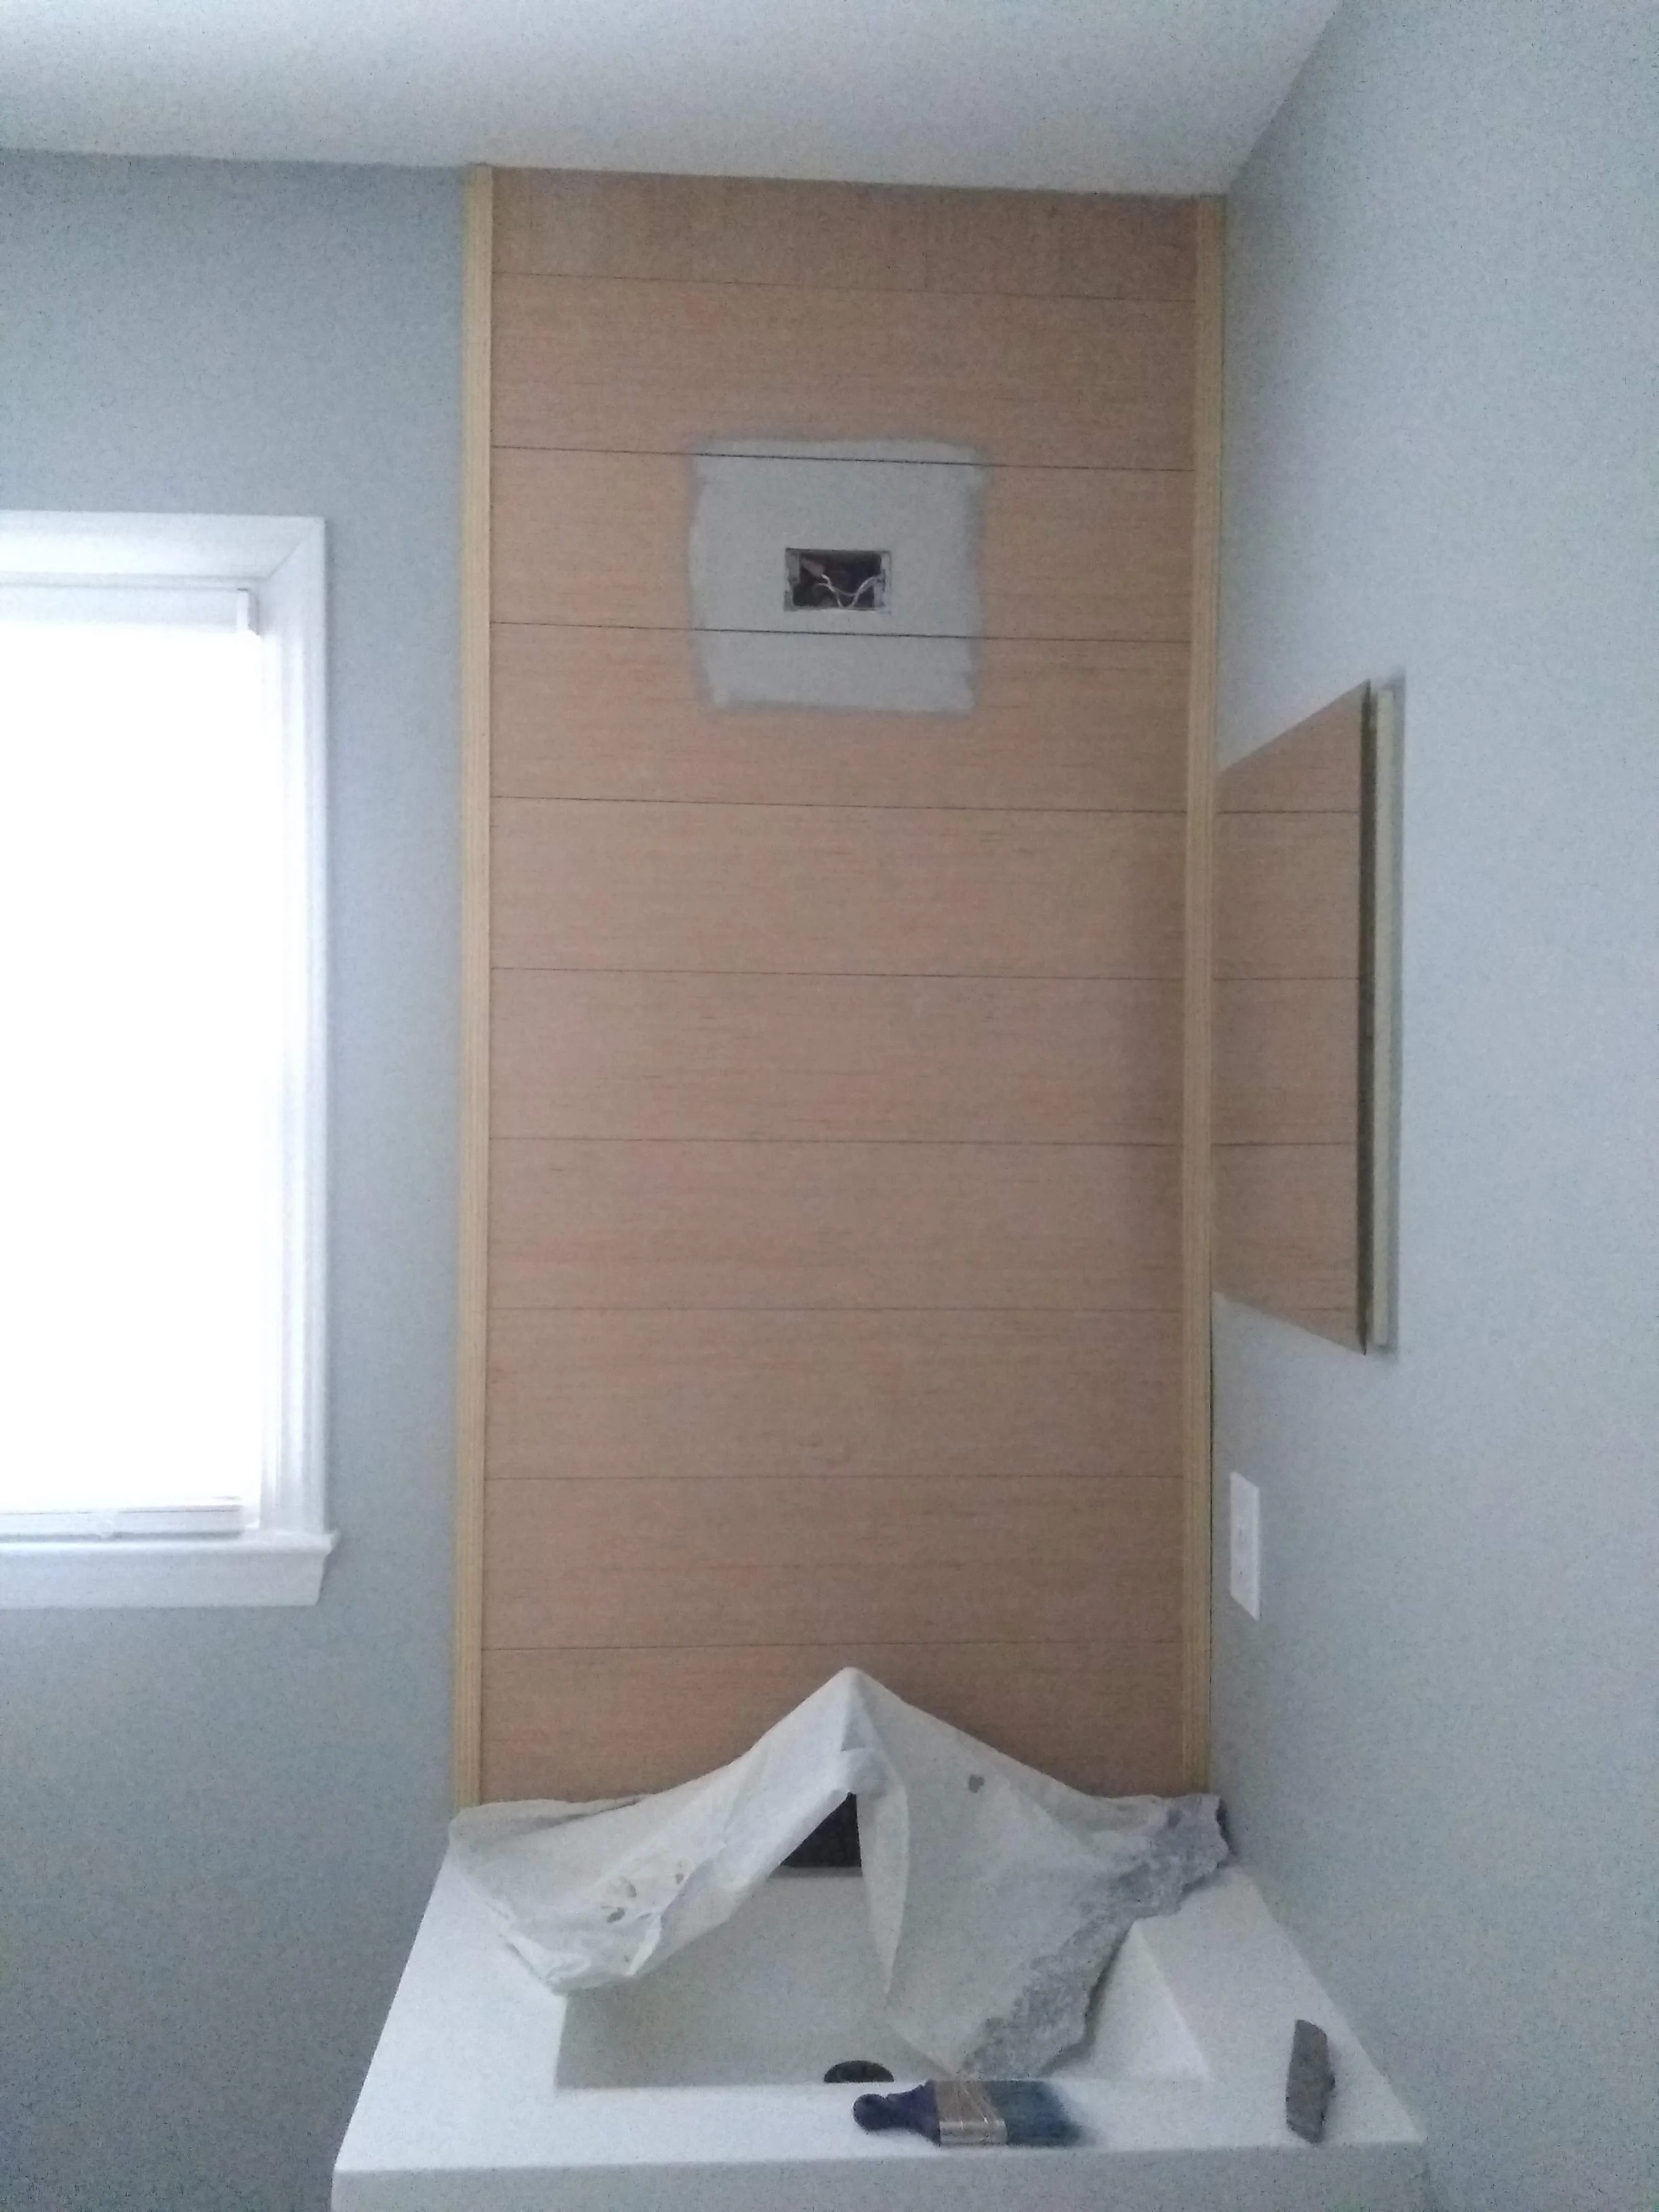
After that, we tackled the shiplap install over the vanity. We had used shiplap in our powder room and on our kitchen island, so we had some lauan plywood material left over (aka free). The new vanity top didn't come with a backsplash, so I figured a shiplap treatment behind the faucet will help protect against water splashes while adding a bit of texture. I wasn't sure how to finish the edges, but luckily we had one piece of 2" pine leftover from the X-detail on our kitchen island (again, free). Brian split the piece into two 1" sections and we used this to frame out the sides. For a $0 project, I love the texture and practicality this adds to the space. A few things if you're considering DIYing shiplap - make sure to paint the wall behind the shiplap the same (or similar) color as the wood. We didn't do this in the powder room, and you can see the pea green paint between the boards. Also, make sure to sand the edges of the lauan plywood prior to installing. They'll look a little messy once painted if the sides are not smooth.

My original thought was to paint the shiplap white, but I was concerned the super bright white paint would clash with the softer white of the new counter. I settled on Dorian Gray - the same paint color we used on the vanity cabinet. It has less contrast to the Magnetic Gray wall color which I really like. Our floor choice is pretty bold, so I didn't want too much contrast going on with the shiplap. Plus, I love the combo of brass and gray, so I knew our new light fixture would look so pretty against Dorian Gray. We are also using these amazing Champagne Bronze Pulls from D. Lawless Hardware that go perfectly with the light fixture and gray cabinet. Bonus - they are only $2.28 a pop!


Start to finish, installing and painting the shiplap only took about half a day. We were feeling pretty confident so we thought we'd go ahead and tackle the floors! We decided to try a new product from WallPops called FloorPops (see what they did there?). ;) They are peel and stick tiles that look like the popular patterned cement tiles but for a fraction of the price and install time. I ended up paying $1 a square foot for these guys (check WallPops, Amazon, and Walmart for sales). I'm planning on writing a tutorial post on this process because I think it's a great, affordable product that is an awesome project for DIYers. However, there are a few tricks and disclaimers that I would like to outline to save other people some headaches.


It took Brian about two hours to remove all of the quarter round and caulk and then we had to scrub down the floor. You want to make sure the surface is squeaky clean for the best adhesion. Once dry, we started laying the tiles down in the center of the doorway and working back into the space and next to the wall. The full tiles go really fast (and it's so satisfying to watch that fun pattern cover up the 90s vinyl) but the pieces that go around the door casings and toilet flange are tricky and time-consuming. I think Brian legit spent one hour cutting two difficult pieces. Once it was all in, however, the effect was so worth the effort (in my opinion, at least - Brian may disagree since he did all of the work!). ;)

NEXT STEPS
We've just got a few finishing details to wrap up this space. We need to touch up some paint, install the bath accessories, put in the toilet, and connect all of the plumbing. It took longer than we thought (doesn't it always) but I think taking on this mini-reno was well worth it. The best part is that it looks like we'll come in under our $500 budget. I can't wait to take some photos on my real camera and share the full before and afters with you guys next week!
If you're also participating in the One Room Challenge, I'm cheering you on! You got this.
TO DO LIST
Scraping the popcorn ceilings - DONE
Painting the ceiling - DONE
Painting the walls - DONE
Painting the vanity - DONE
Adding hardware - DONE
Replacing the counter with a new cultured marble top - DONE
Adding a new faucet - DONE
Adding shiplap behind the mirror - DONE
Replacing the mirror
Replacing the floor - DONE
Adding a new light fixture - DONE
Replacing the toilet
Adding new bathroom hardware
Hanging a shower curtain
THE BUDGET
We’ve set a budget of $500 for this mini makeover. Here's what we've spent so far:
$43 - Flooring
$117 - Countertop
$117 - Toilet
$96 - Lighting
$3.50 - Towel Hook
$32 - Faucet
$14 - Drain
$14 - Supply Lines
$0 - Vanity Pulls (generously provided by DLawless Hardware)
TOTAL: $436.50

Be sure to follow along the ORC and see with the Featured Designers and Guest Participants are working on!
P.S. If you’re new here, hi! My husband and I have been DIY renovating since 2011 and recently started dabbling in flipping houses. We’re currently working on sprucing up our new-to-us 90s builder grade house in my hometown of Raleigh, NC. My hope is that this blog encourages you to make wherever you live feel like home - no matter how small the budget. Whether you rent, just bought a fixer upper, or are looking to spruce up your existing place, I hope our DIY projects and budget-friendly ideas help inspire you to create a home you love.