Hello, friends! I'm a little (lot) late to the party, but I hope that your 2019 is off to a great start! Although I haven’t posted much here lately, we have been super busy and I’m looking forward to sharing more of what we’ve been up to!
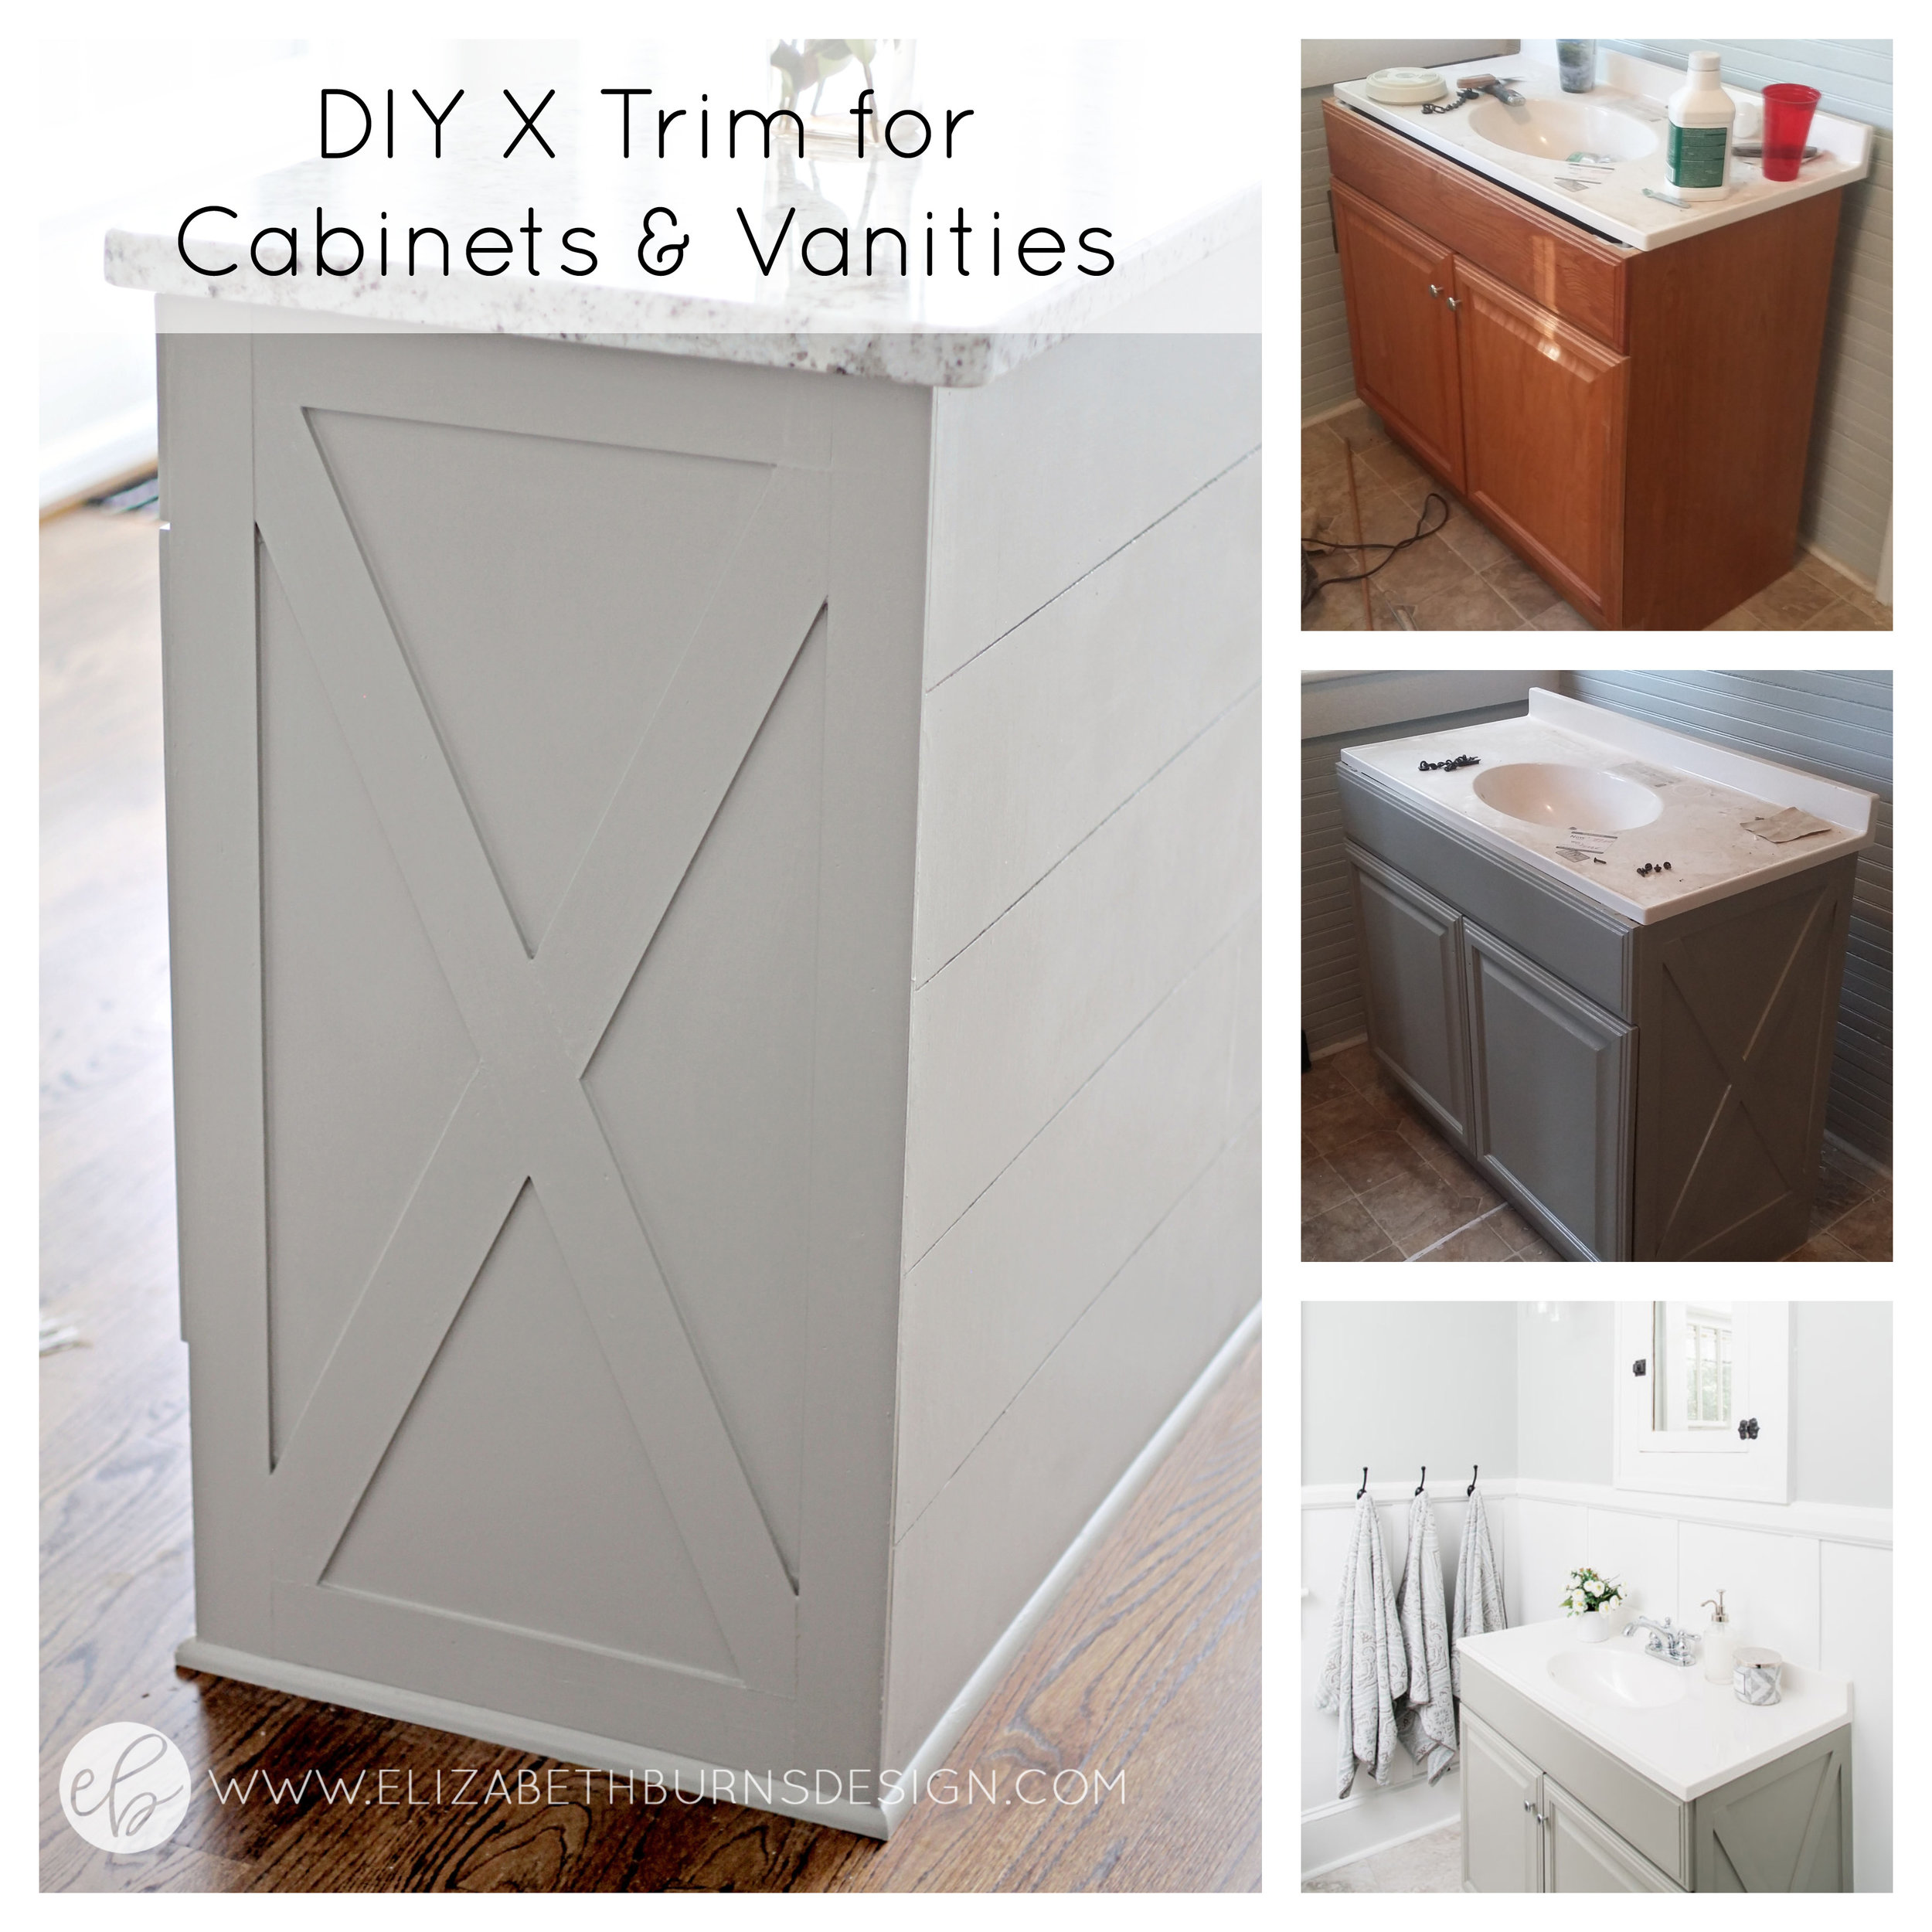
I'm really excited to post this easy DIY today. In fact, it has been in the making for a year and half - so long overdue! It is one of those projects that gives you a lot of bang for your buck and a trick we have used in three projects now (with great feedback!). Since so many of you found my post on how to add trim to create a shaker style cabinet useful, I figured you may feel the same about this little project. This DIY X trim cabinet makeover is perfect for islands, but it also works well on vanities and even flat-panel doors.
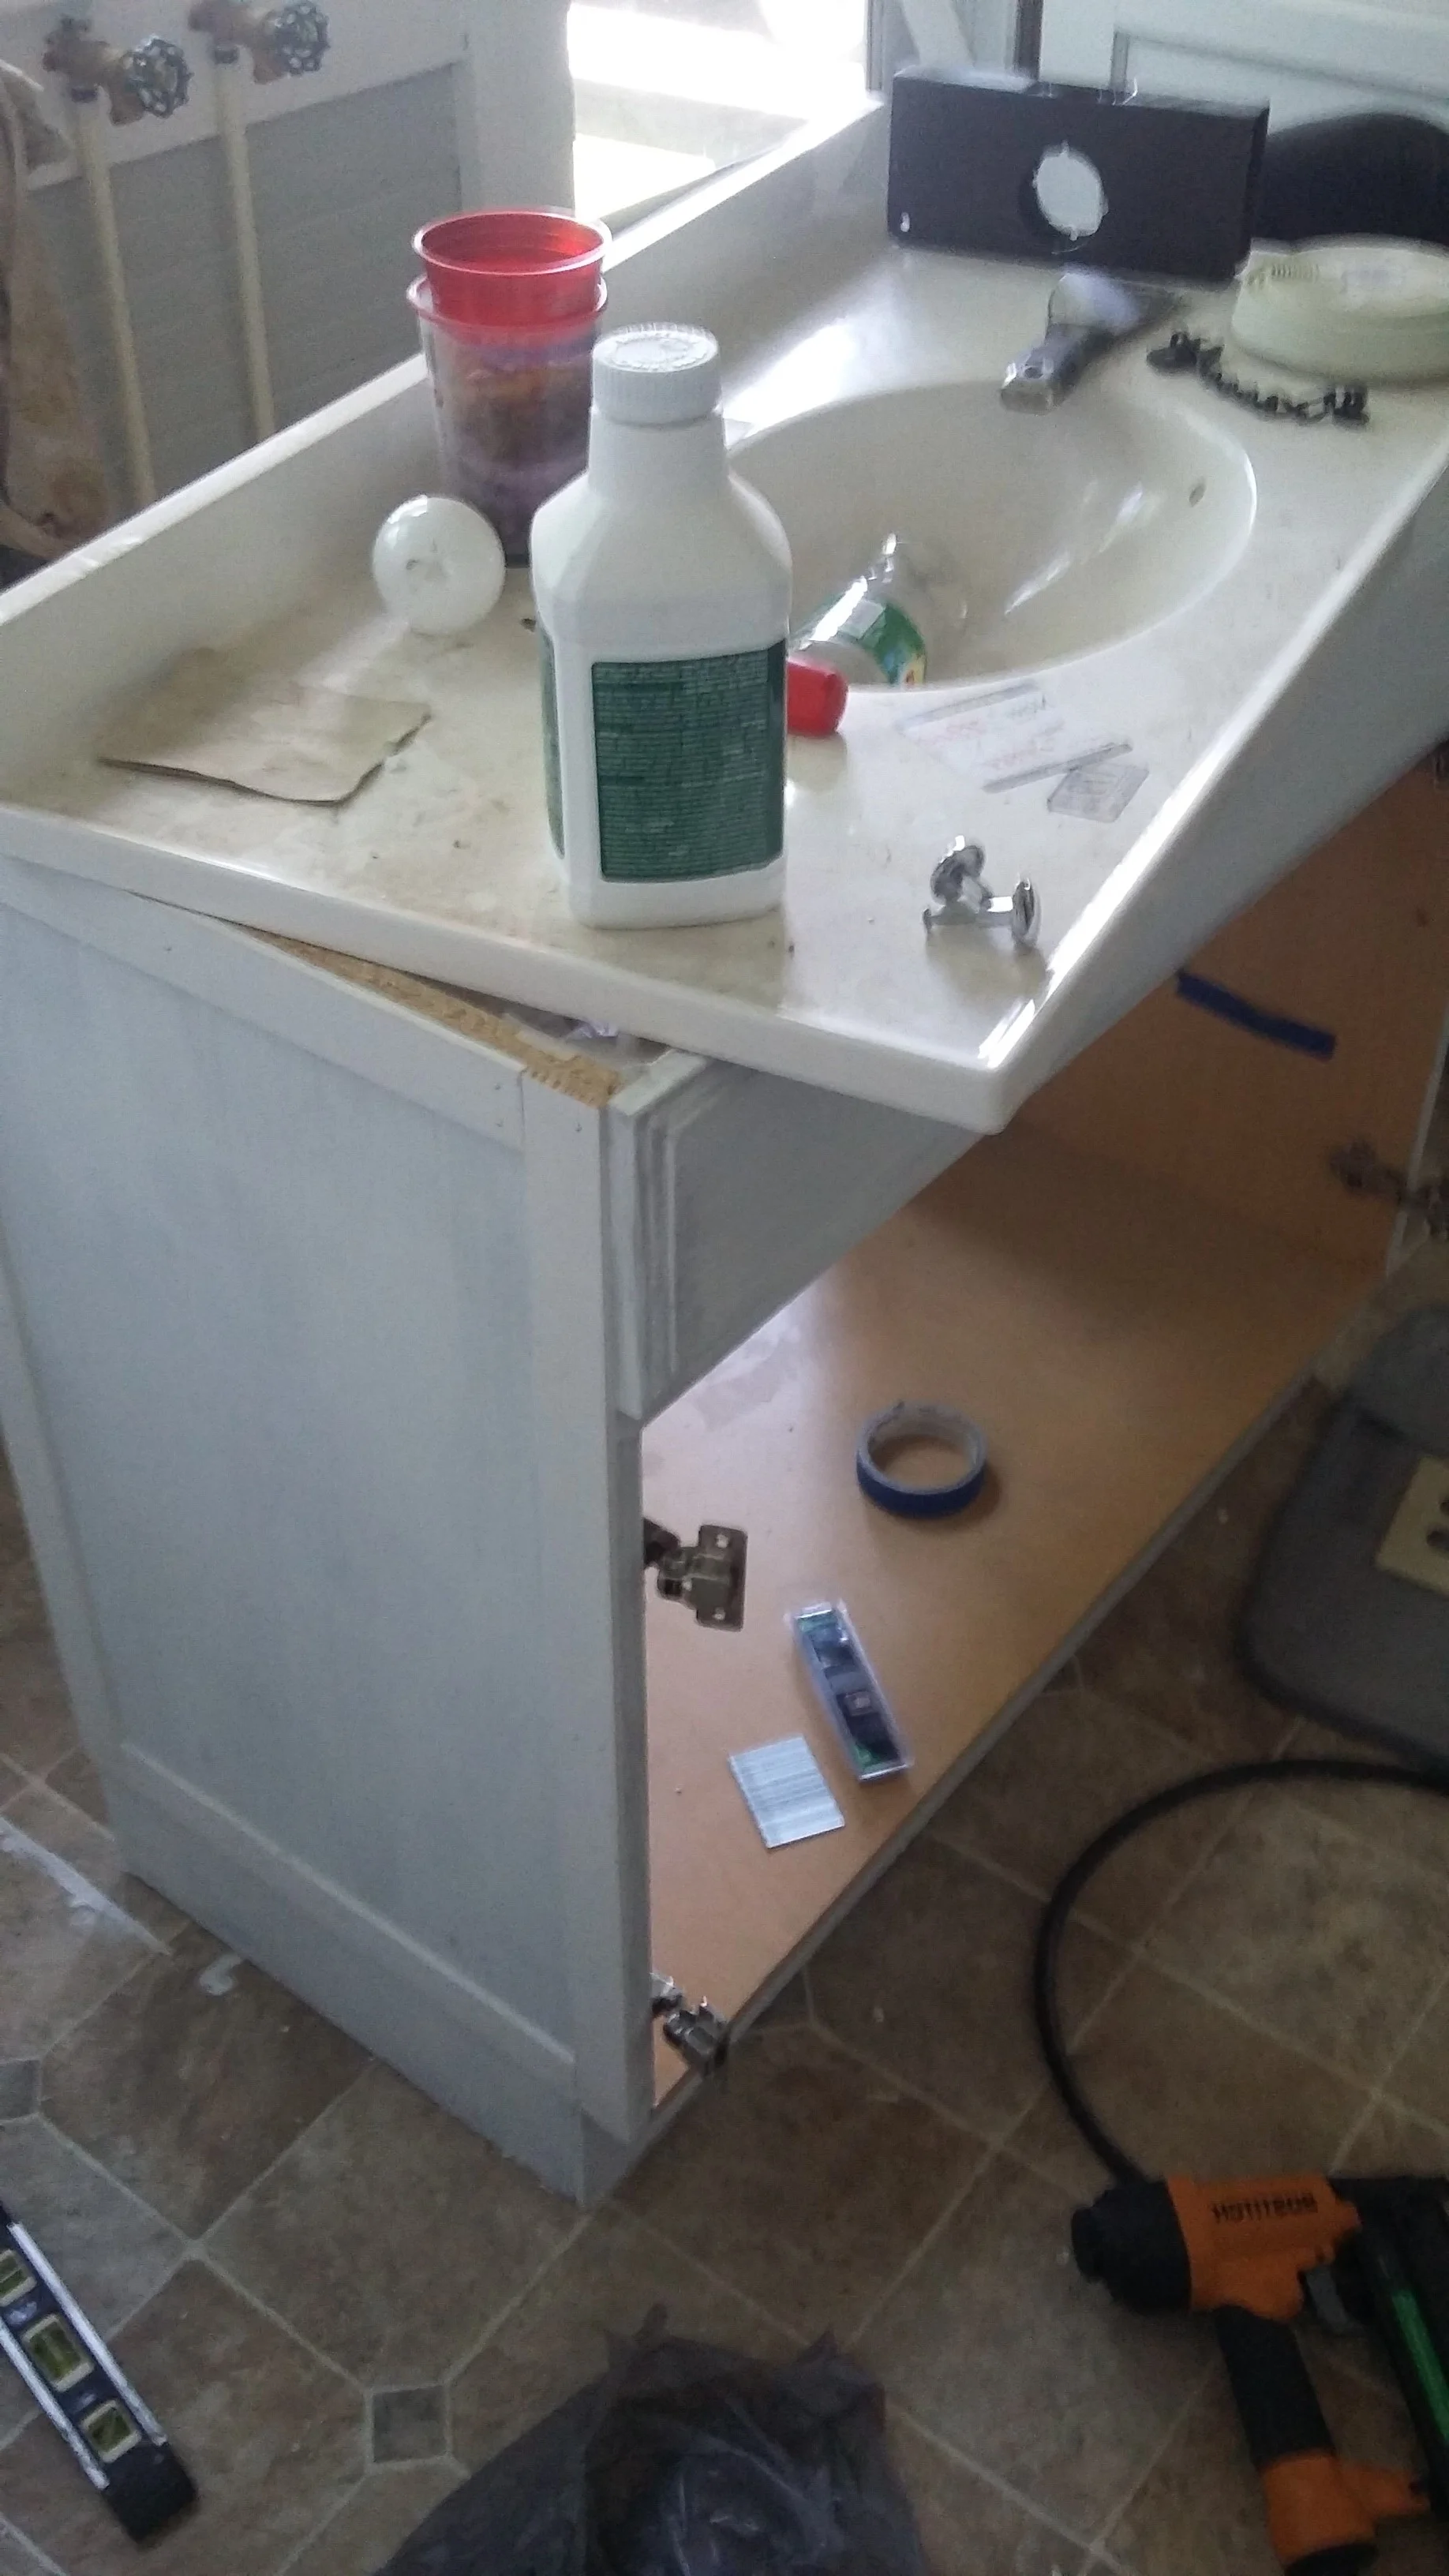
The first time we added the X detail to a cabinet was for a flip house - the Avenue House. We needed a specific size vanity to squeeze into a long and narrow space. As luck would have it, we found the perfect size bath vanity on clearance at Lowe's. Unfortunately, it was pretty outdated looking. We knew we would paint over the orange faux oak finish, but we wanted to jazz up the sides as well since they would be so visible from the hallway. With a little bit of trim and lots of paint - my two favorite tools! - we transformed a humble clearance find into this beauty! (Professional photography and a cleaned up space helped, too) :)

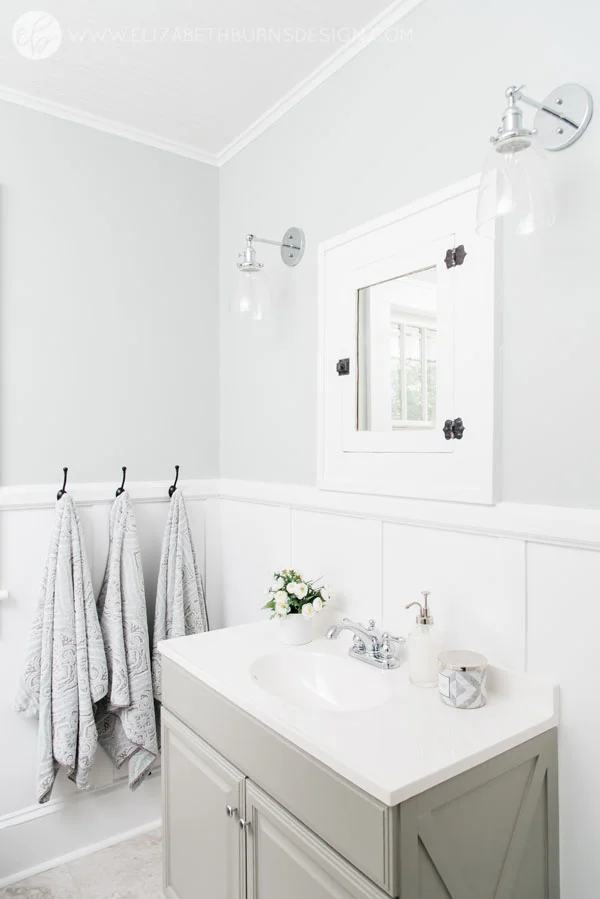
Vanity Cabinet Color is Sherwin Williams Intelletural Gray SW 7045
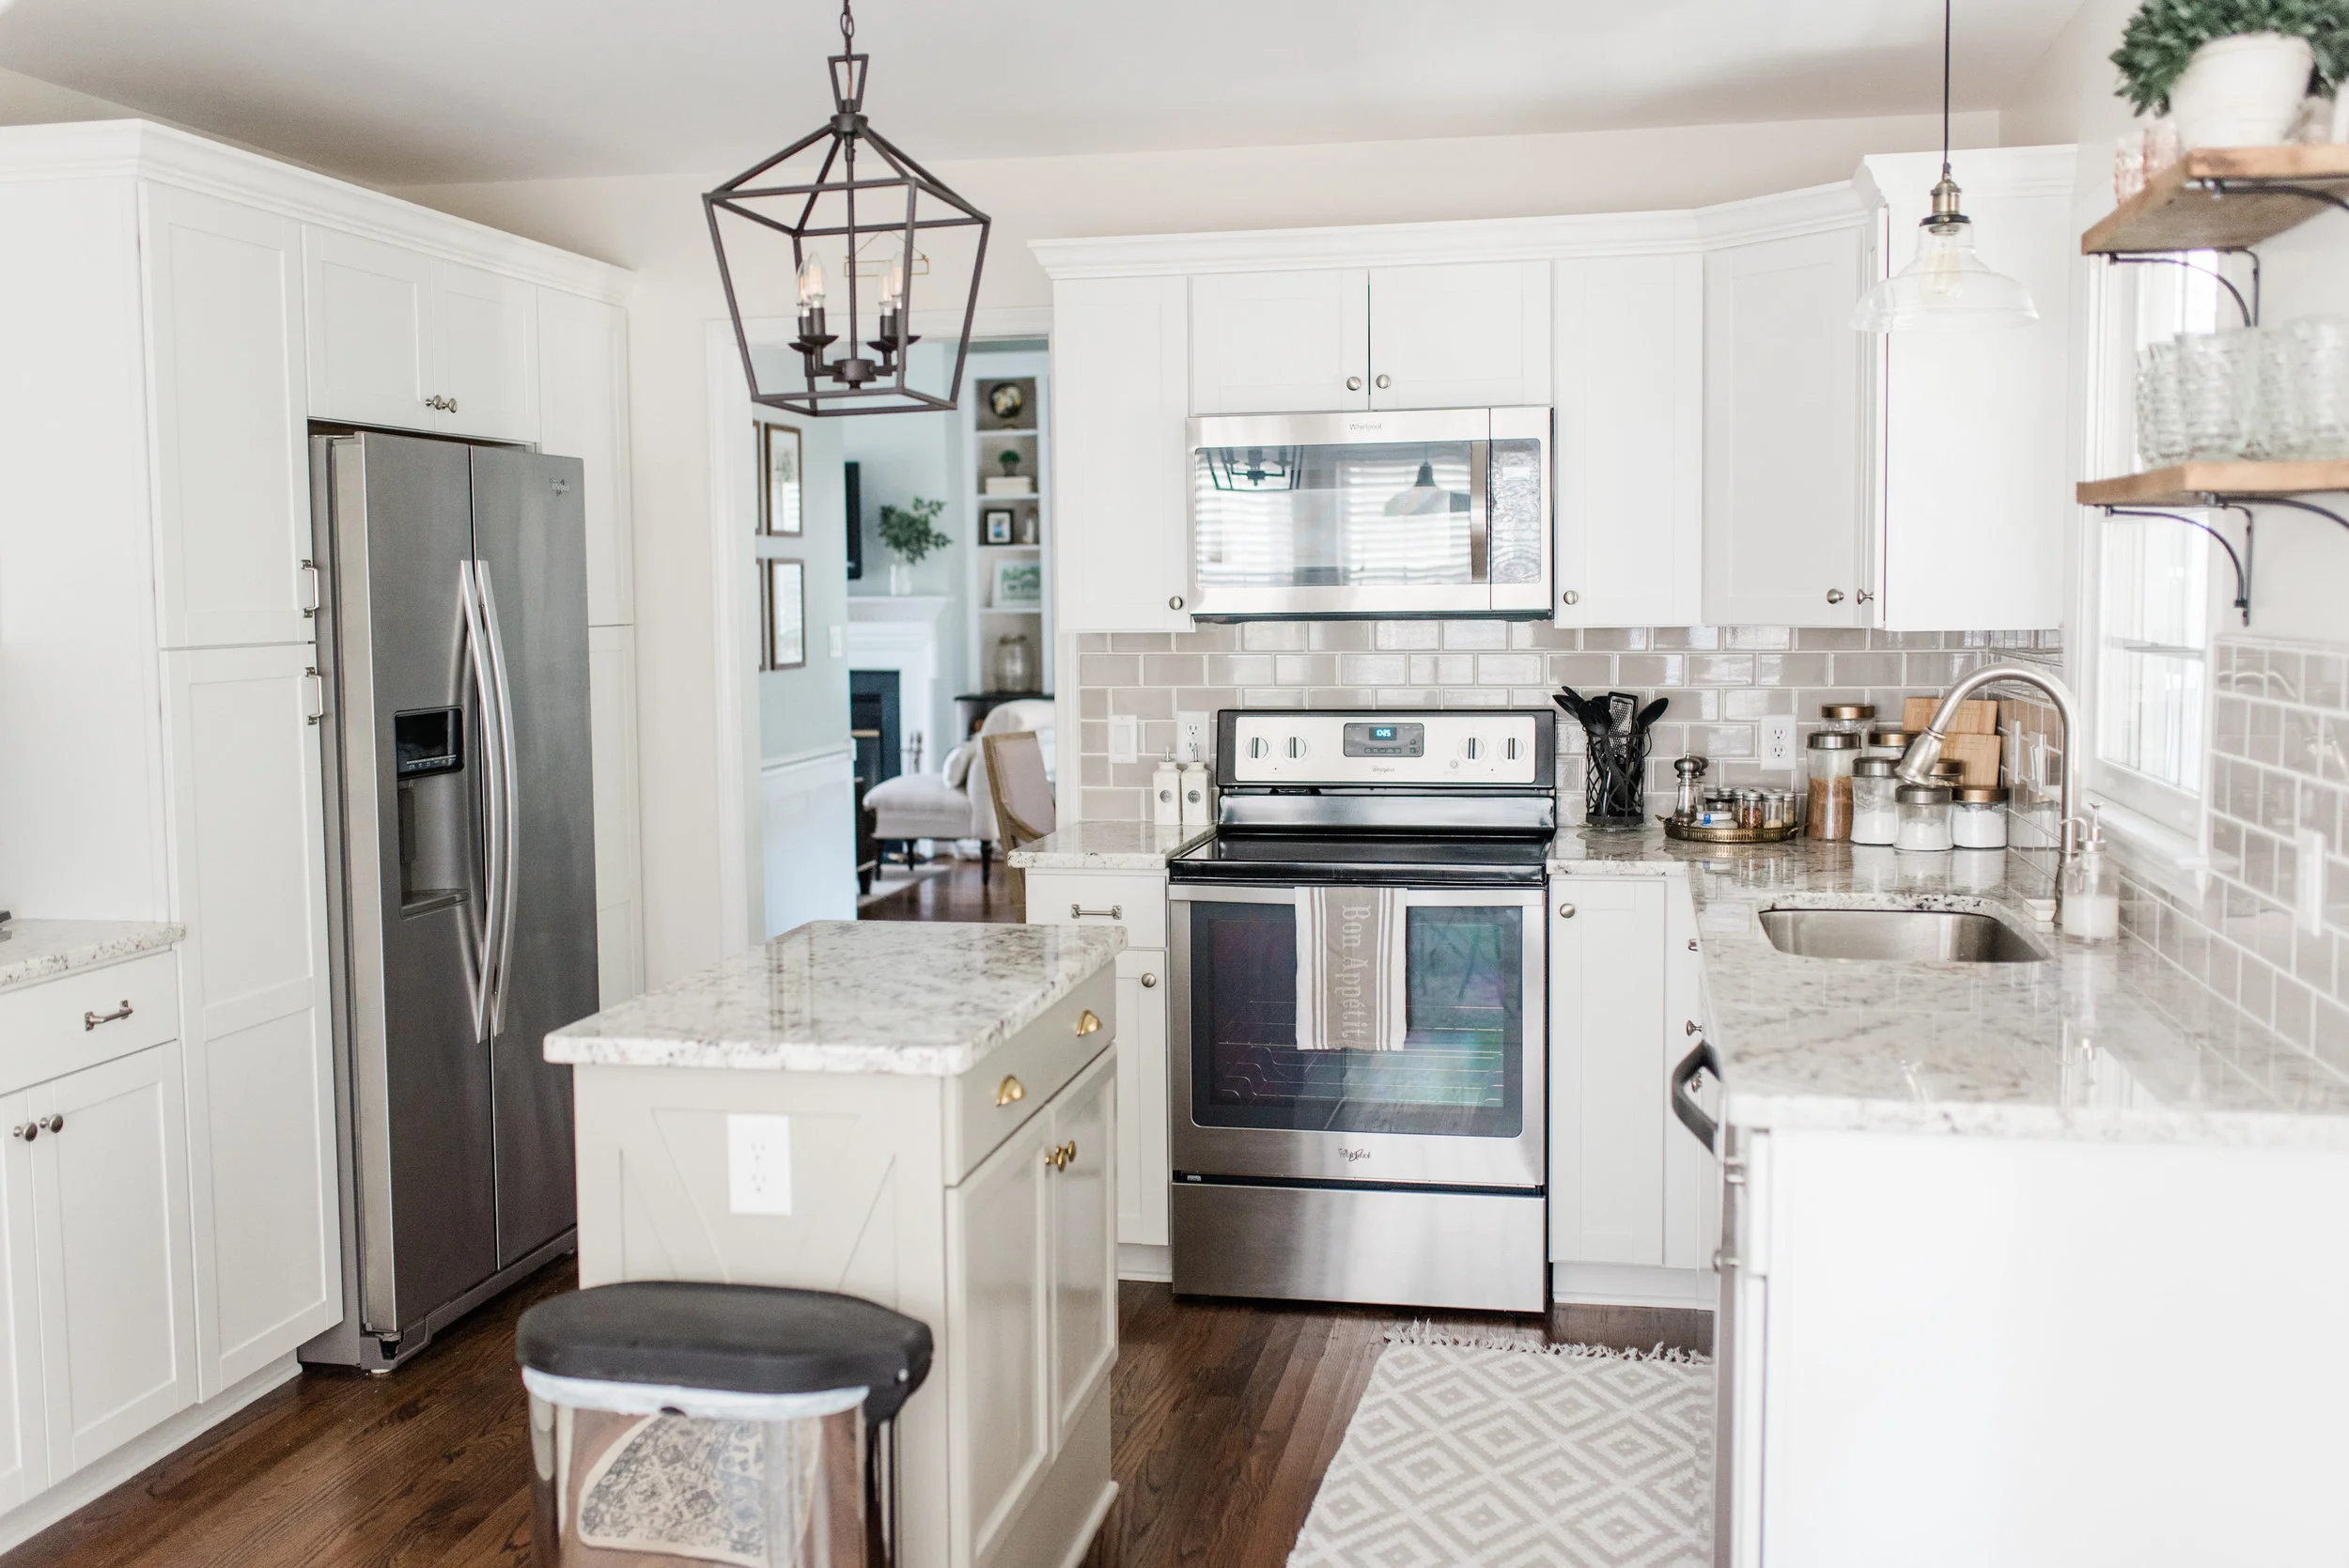
We purchased some pine lattice trim to create the X. We use this trim often for wainscoting and other millwork projects because it is dirt cheap and has a nice thin profile. This trim also comes primed which is great and allows your paint to go on smooth like buttah. Depending on the size of your island or cabinet, you may want to choose a wider lattice stip to match the scale. For example, for the vanity we chose a 2.5"W trim since the depth of the cabinet was only 18". However, for my parents' island (which is 30"D) we used a 3"W trim. You can see the progress of their 90s kitchen makeover below (getting close to being done!):


Island Cabinet Color is Sherwin Williams Anew Gray SW 7030
SUPPLIES
Here is a full list of the supplies needed for this project (some affiliate links used):
Lattice Trim
Paintable Caulk
Caulk Gun
18-Gauge Nail Gun
Construction Adhesive
1” 18-Gauge Brad Nails
Cabinet paint
Zinsser Bulls Eye 1-2-3 Primer
Miter Saw
TUTORIAL
*Please note that we did this process one side at a time while we were figuring out how to do it. So if you are applying this treatment to a 2-sided island, you'll need to repeat this process for the other side. To be more efficient, you could double the cuts outlined below to quickly attach to the opposite side of the island without measuring twice*
1. Start by lightly sanding and then priming the entire cabinet. The primer will do most of the heavy lifting in getting the paint to adhere, but a quick sanding to remove the glossy finish and rough the surface up a bit is always worth the extra time.
2. Trim out the cabinet by creating a rectangle along the perimeter like a picture frame. We have found the most visually pleasing way to do this is to end the "rectangle" right above the area where the toe kick is. Simply measure the height of the sides and cut two lattice pieces to fit. Put a bead of construction adhesive on the back of the lattice pieces and next further secure with your nail gun. Then measure the distance of the width between the two attached pieces. Cut two additional lattice strips to fill in these gaps and finish the rectangle. Attach with adhesive and then nails.
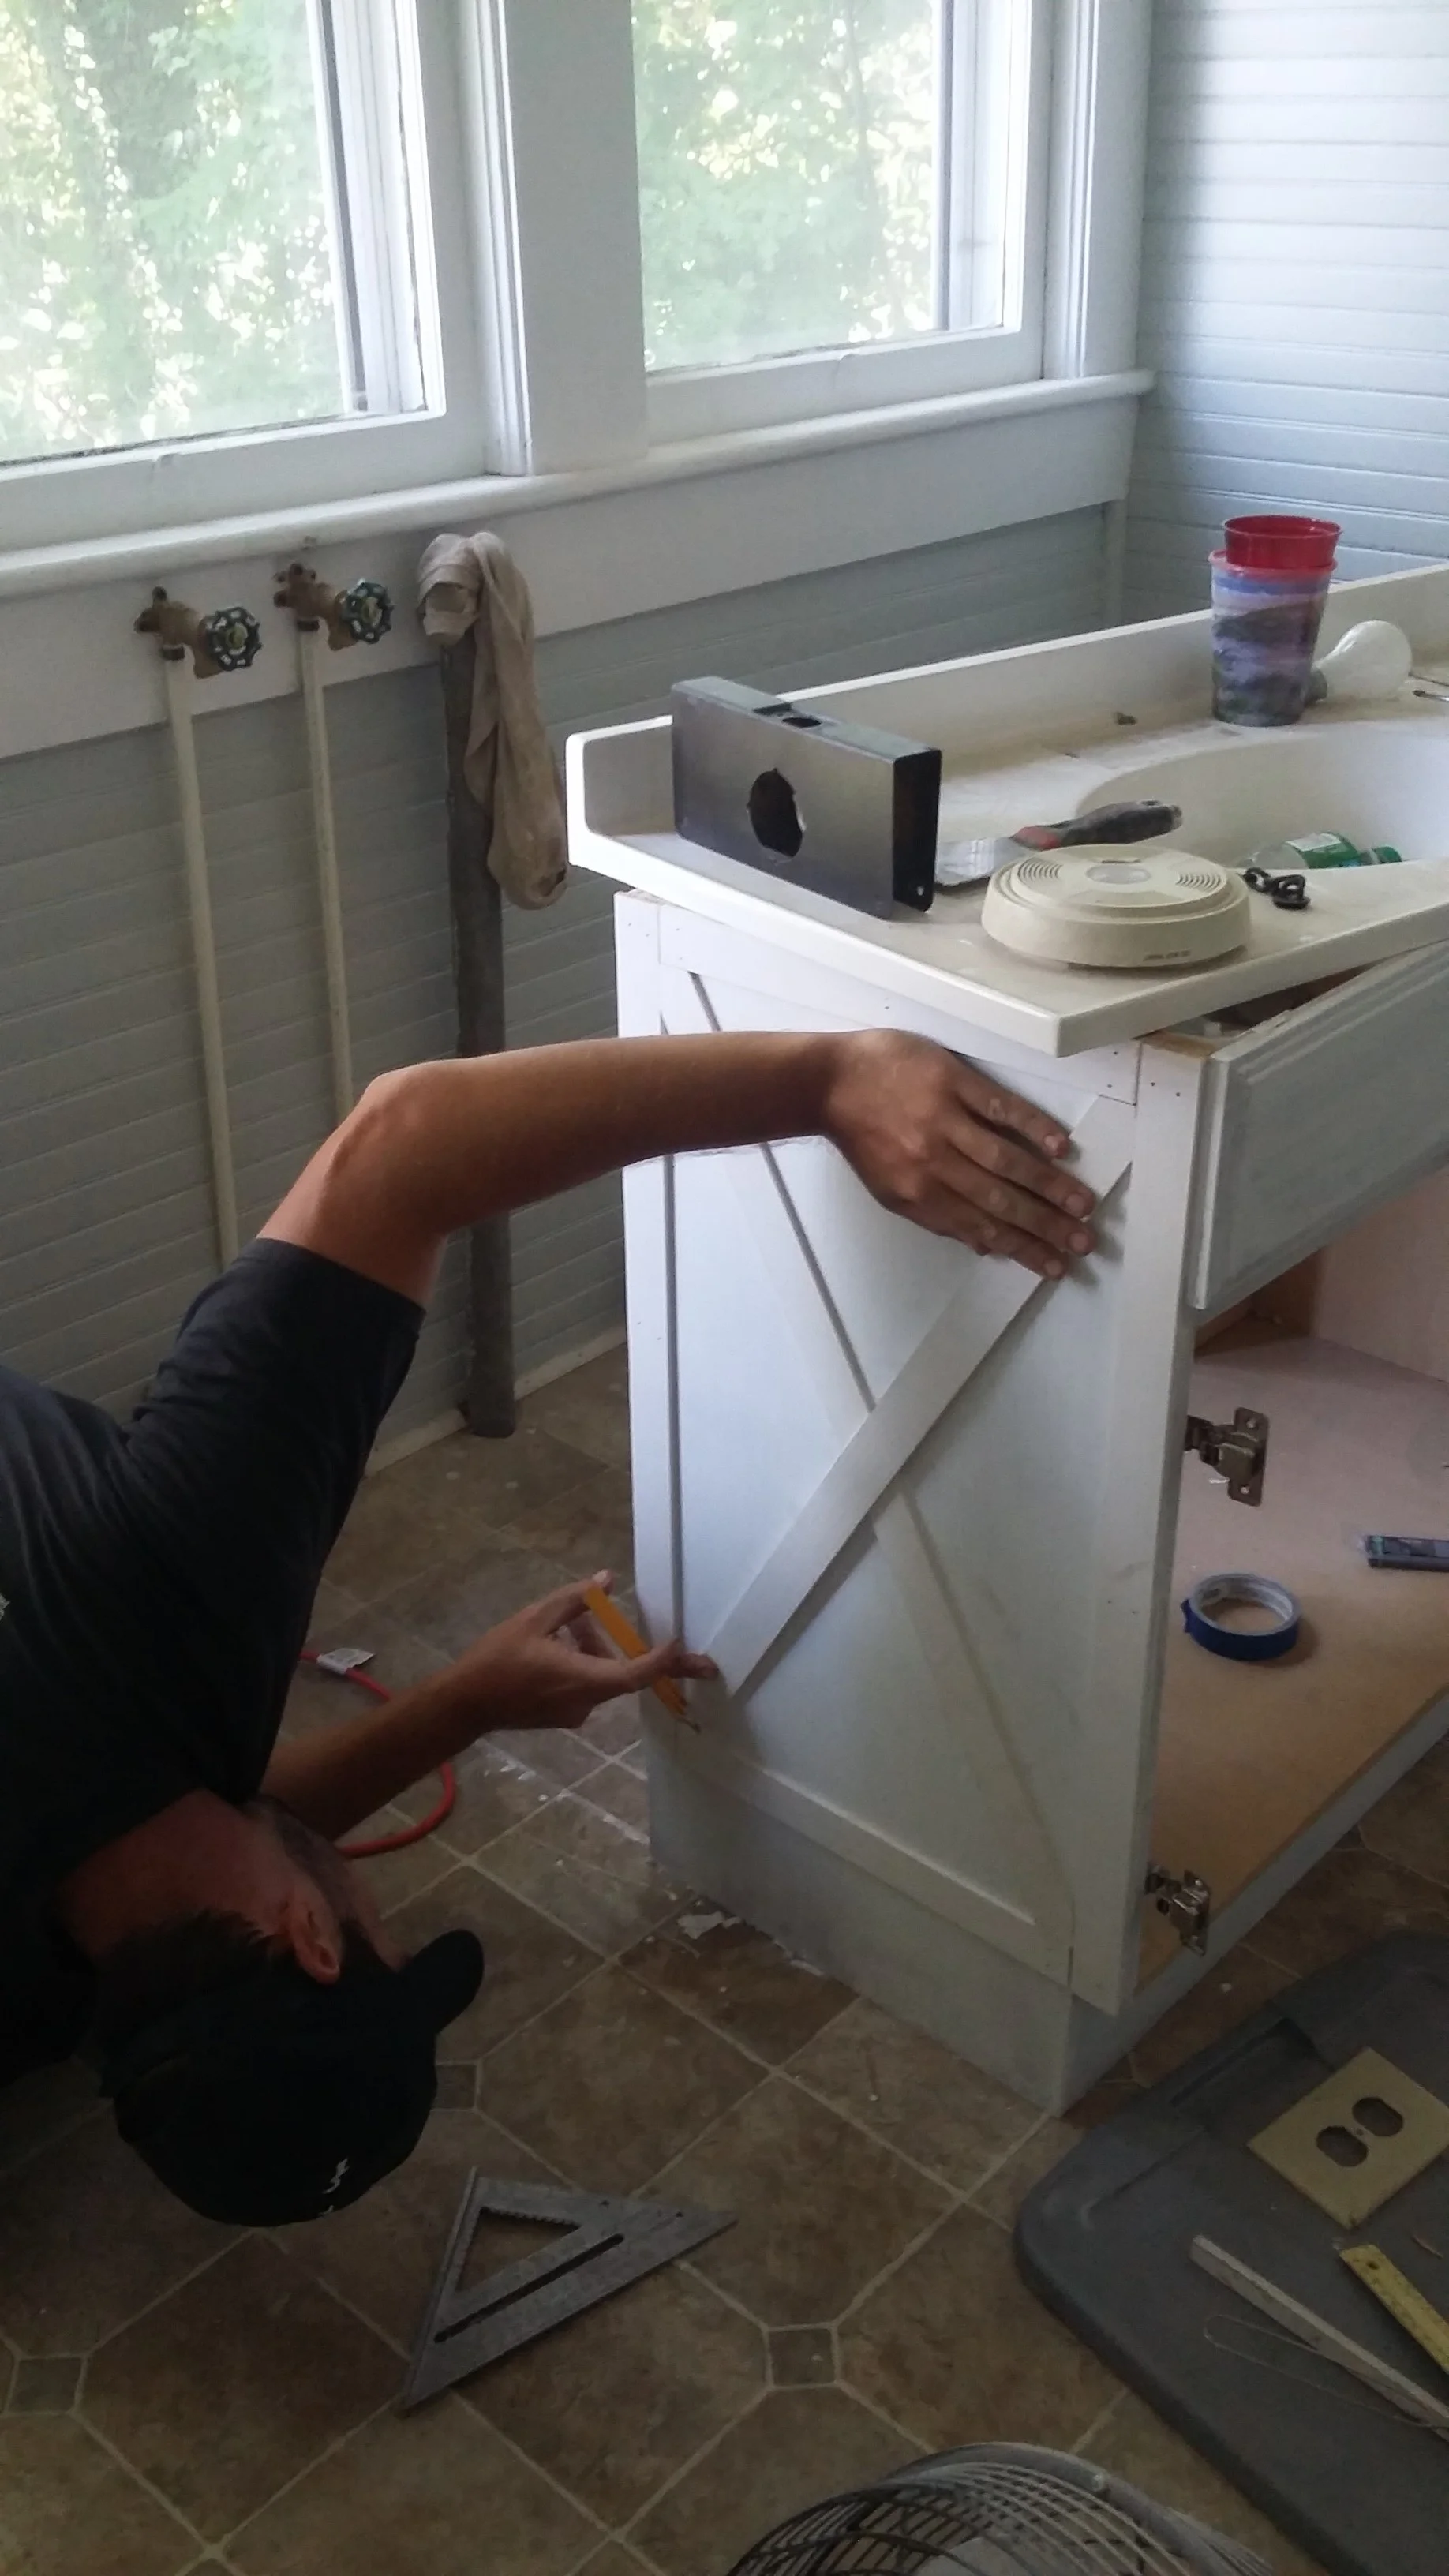
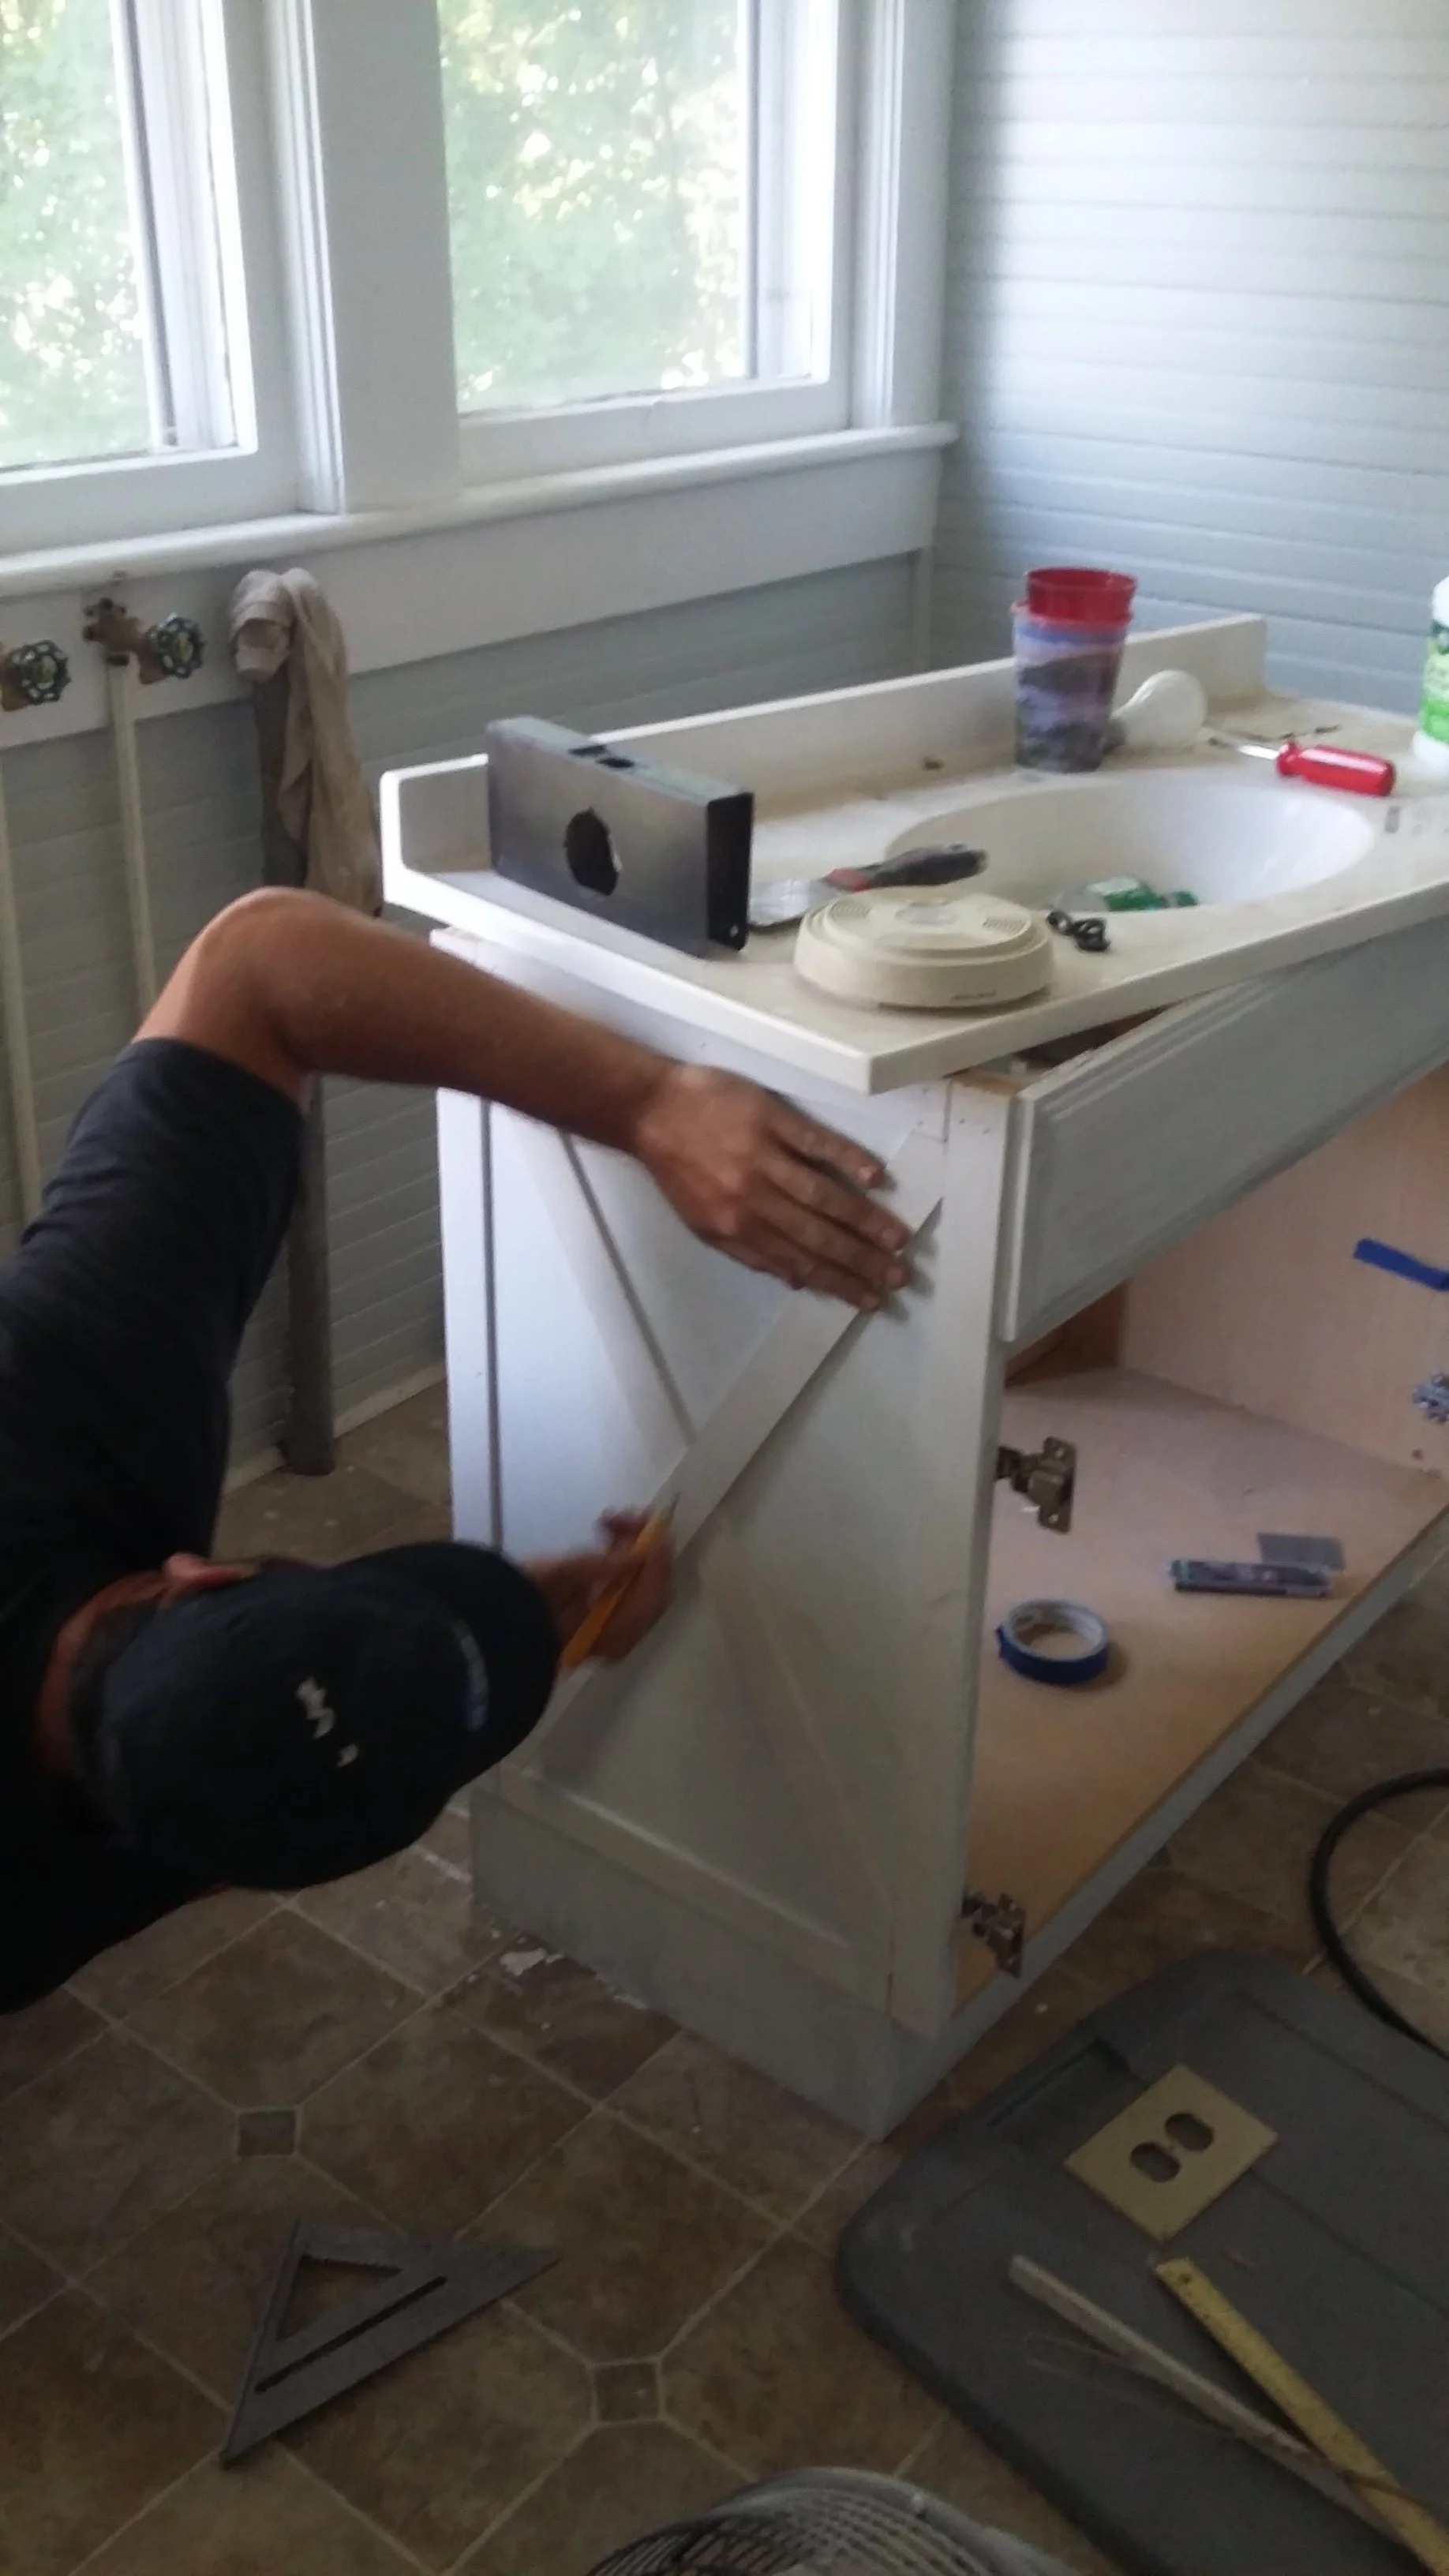
3. Figure out your angles for the x detail. This is the trickiest part. Unfortunately I don't have a one size fits all angle to share since your island/cabinet will be a different size then mine. We recommend measuring the distance between the inside corners on one of the diagonals of the picture frame and cutting a piece of lattice trim to this length. Next, hold up the lattice strip in one corner of the rectangle, then match it up to the corner of the rectangle diagonal from you. With a pencil, mark the cuts that need to be made based on where the lattice will sit flush inside the rectangle.
4. Cut another piece of trim to the same length determined in step 3. This will be the piece that criss crosses the first diagonal trim piece.
5. Attach the first diagonal piece of trim to the island/cabinet with adhesive and then further secure with the nail gun.
6. Once attached, take the second piece of trim and match up the corners of the opposite side of the rectangle. This will cross over the piece of trim that is attached. Mark the area where they overlap. This section of trim will need to be cut out to create two individual pieces of trim. Be careful to get the angles of these cuts right.
7. Attach the two pieces to the island/cabinet with adhesive and then nails to complete the X.
8. Caulk all of the gaps where the trim meets the island/cabinet as well as the seams where the trim pieces meet. Fill in the nail holes with caulk or wood filler.
9. Once the caulk has hardened, prime the lattice strips if they did not come primed.
10. Let the primer cure on the entire island/cabinet for about a week before painting with your top coat(s). DO NOT RUSH THIS STEP! I know it's hard to be that patient, but I have found that if I don't let the primer harden for numerous days, the paint will just peel right off the cabinet. Which is absolutely maddening. Don't do that to yourself.
So there you have it - a simple way to make your old island look like a custom piece! We also used this on the island for the Denmead House kitchen (we took a vanity and made it into our kitchen island). On this one, we added shiplap to the island for even more texture. I don’t recall the exact price, but I think we only spent about $25 on trim since we had all of the other supplies on hand. If you’e handy and already have a lot of these tools in your toolbox, this DIY project should be very affordable! The options are endless with trim and cabinets. :)
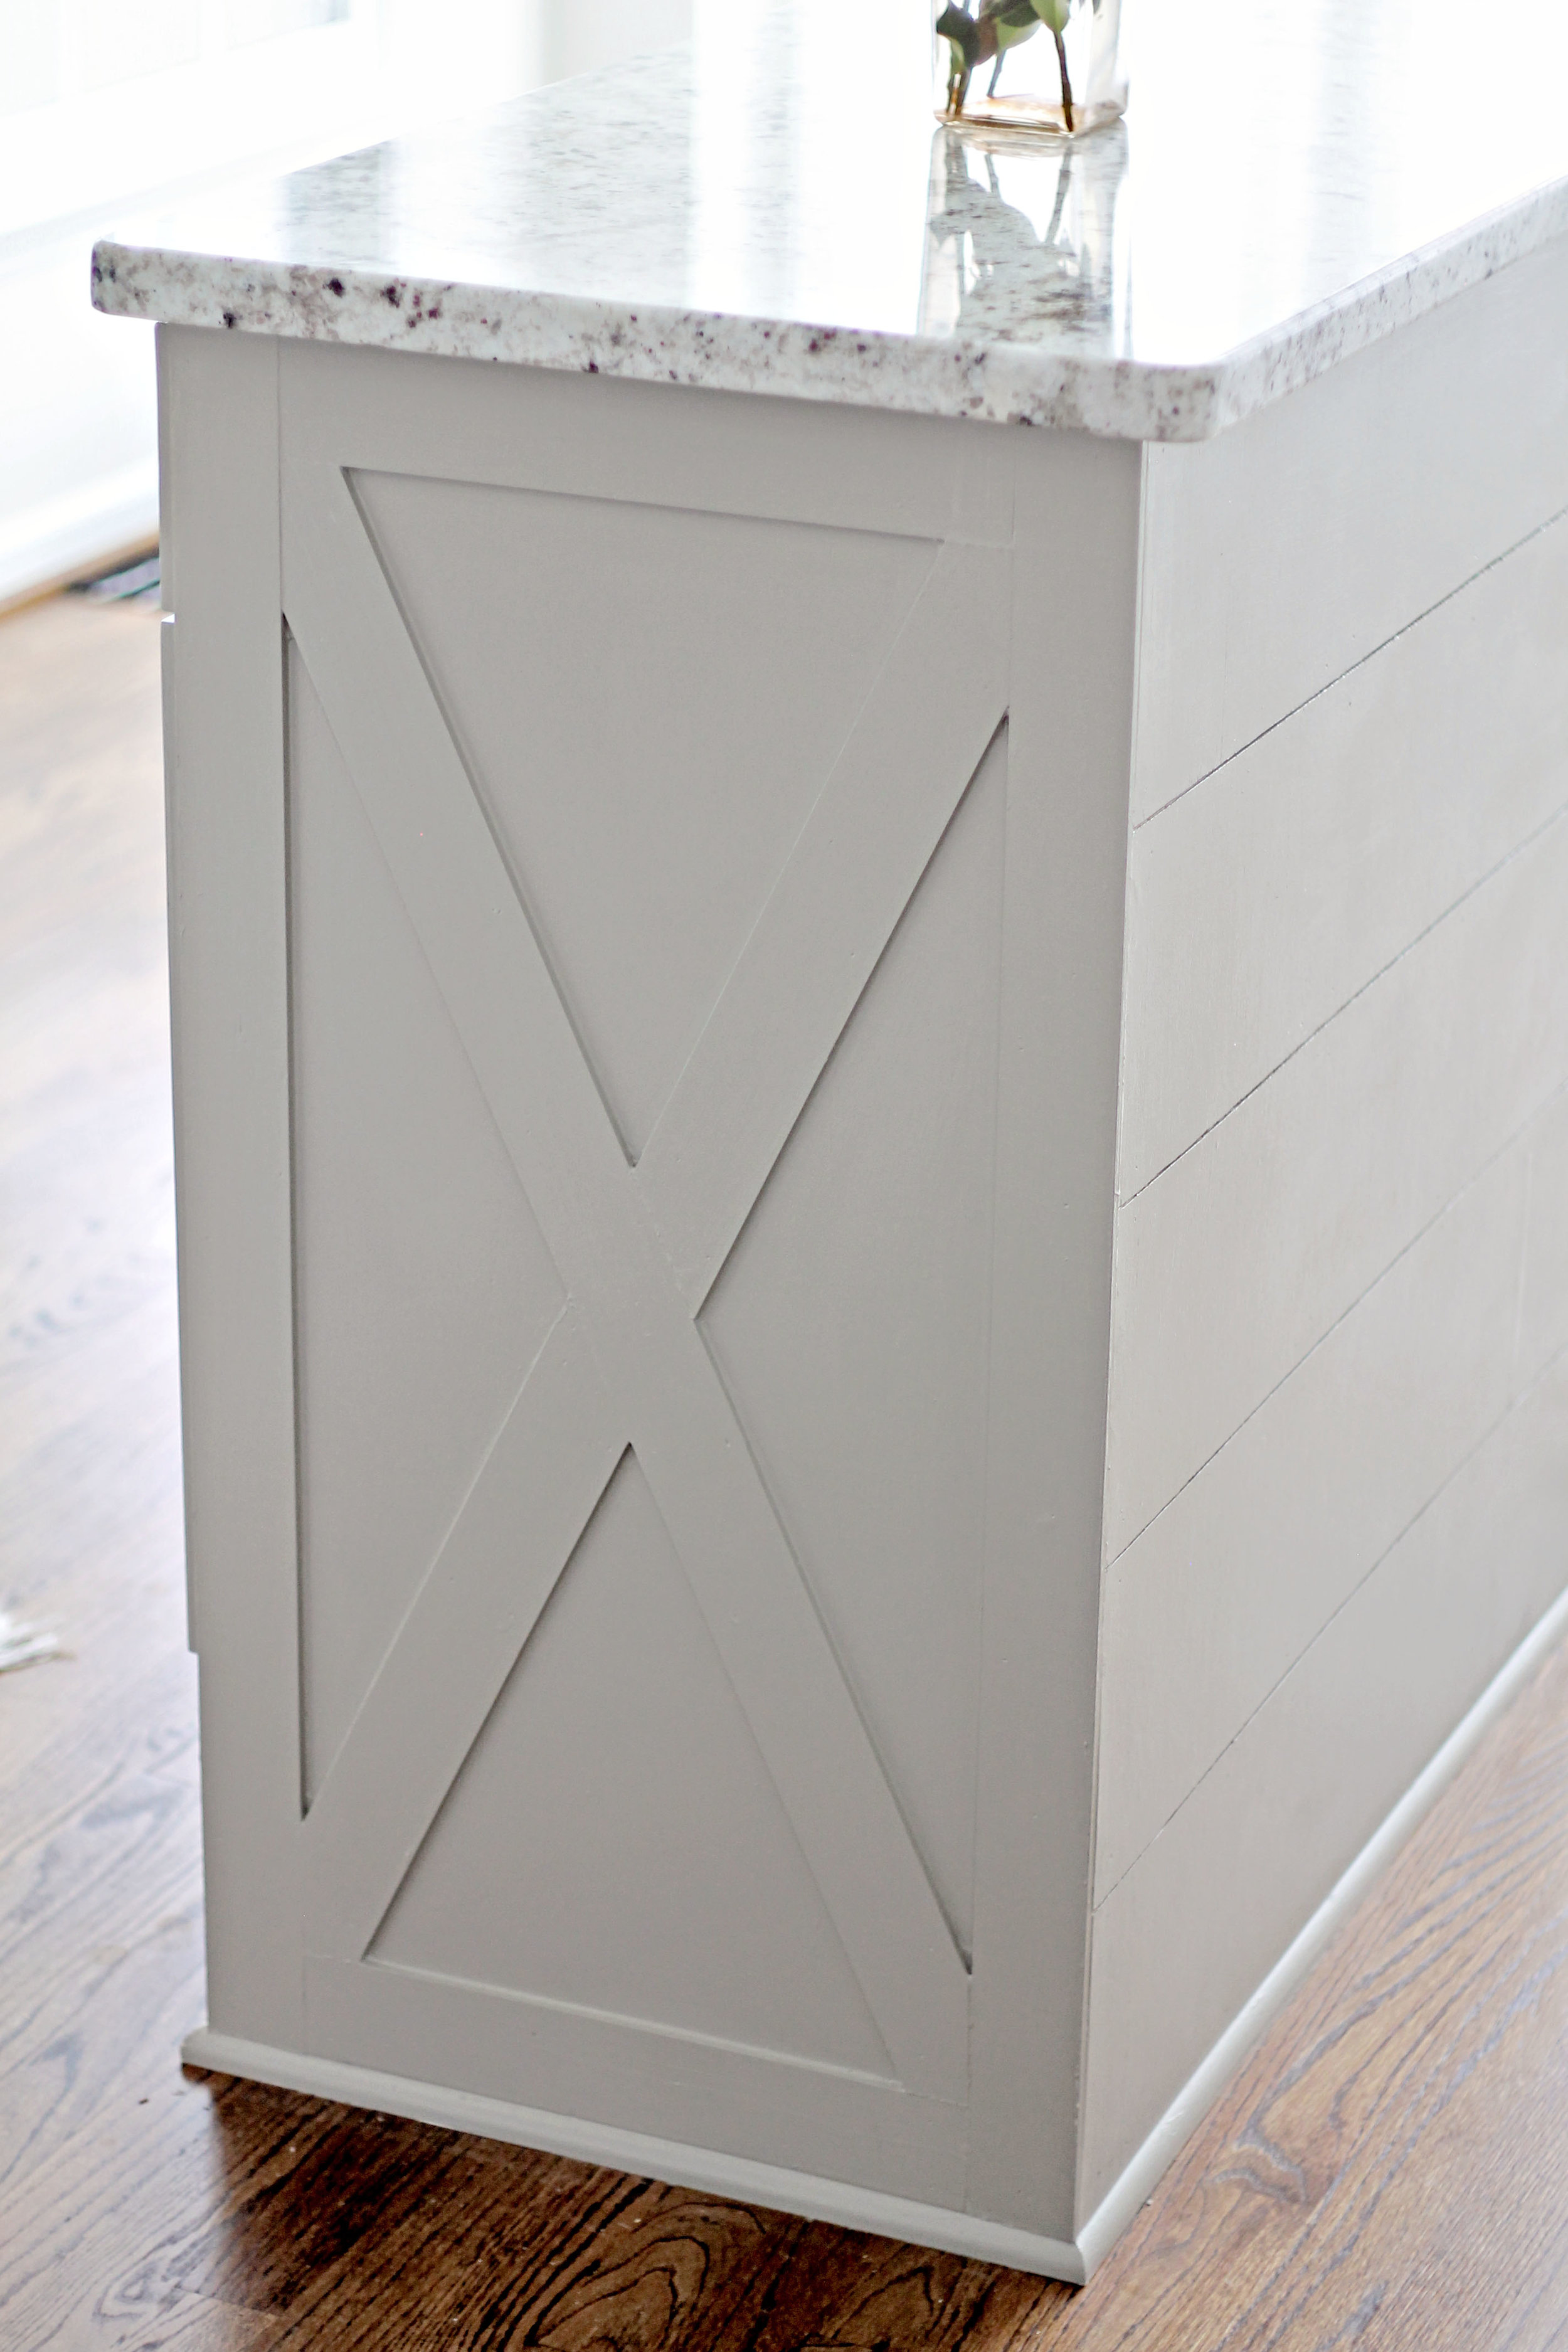

Island Cabinet Color is Sherwin Williams Dorian Gray SW 7017 | Wall Color is Benjamin Moore Classic Gray OC-23