
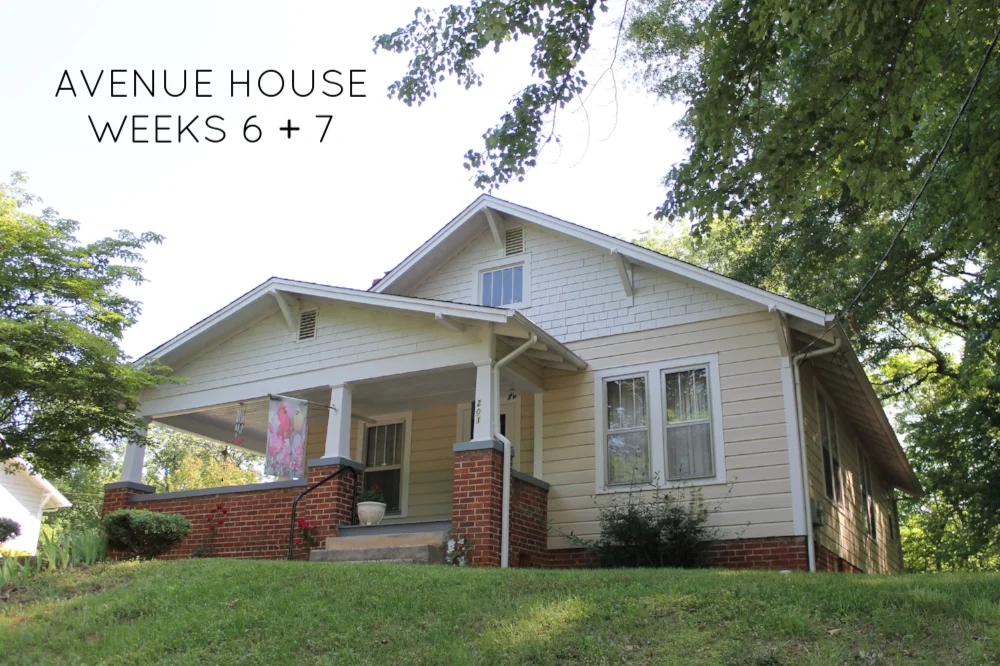
Friends, we have passed the halfway point for the Avenue House and I feel like the loose ends are finally starting to come together. We were out of town one of the past weekends, so not a whole lot of progress was made on our part, but we did pass the rough in inspection for plumbing, HVAC, and electrical! With that milestone behind us, we were able to schedule the hardwood refinishing (starting 7/31!) and prep for the kitchen install.
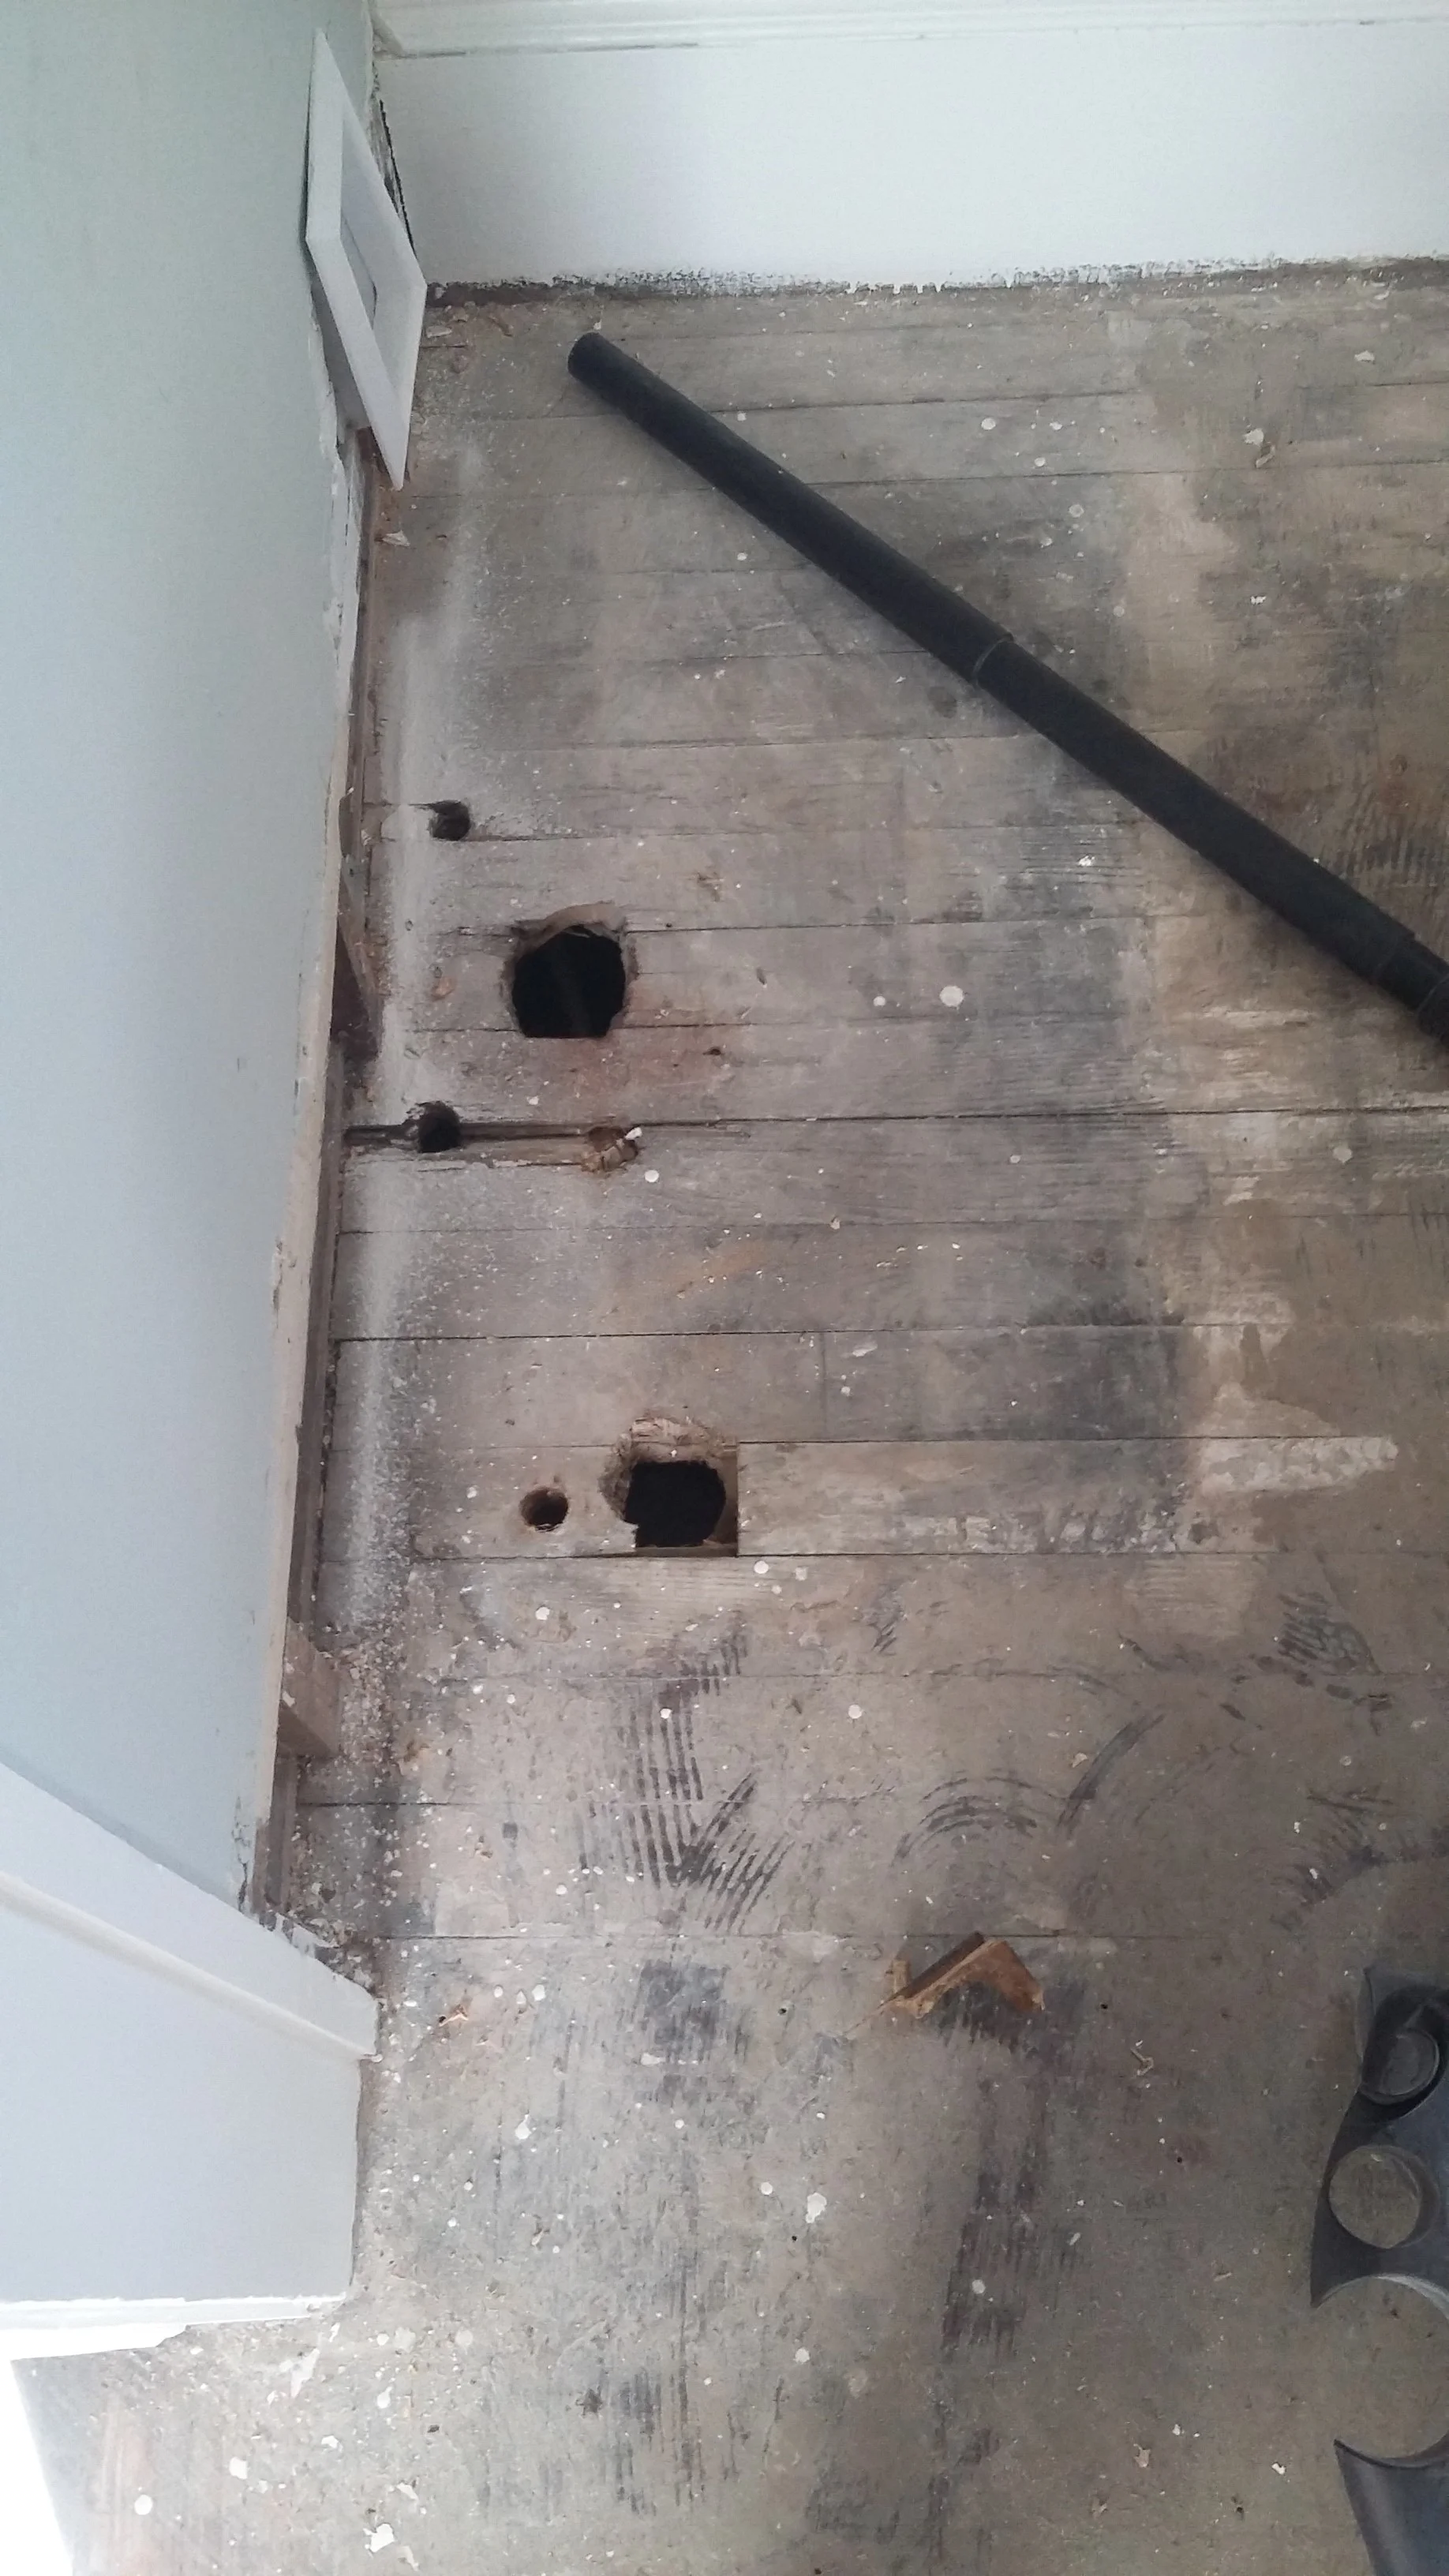
We had just enough scrap wood from the air return cutout to patch the old plumbing line holes in the floor. Brian feathered it in the best he could with what we had left. Luckily, the fridge will be going over this patch, so it doesn't have to be pretty - just solid.
One fun DIY project we knocked out was upgrading our clearance vanity with some trim and paint. We had some trouble finding a vanity that would work (long and narrow with no drawers) but randomly stumbled upon this vanity at Lowe's. This x-detail is something I have been wanting to try for months and it actually turned out better than I expected! It took a while to get the trim right (and multiple trips to Lowe's...) but I think the extra time spent on this vanity will make the bathroom look a little more high-end. I plan on writing a full tutorial after the flip so that you can recreate the look too if you have an outdated vanity. It was such an inexpensive project that had a big impact. (Don't worry, we are changing out that vinyl flooring.)
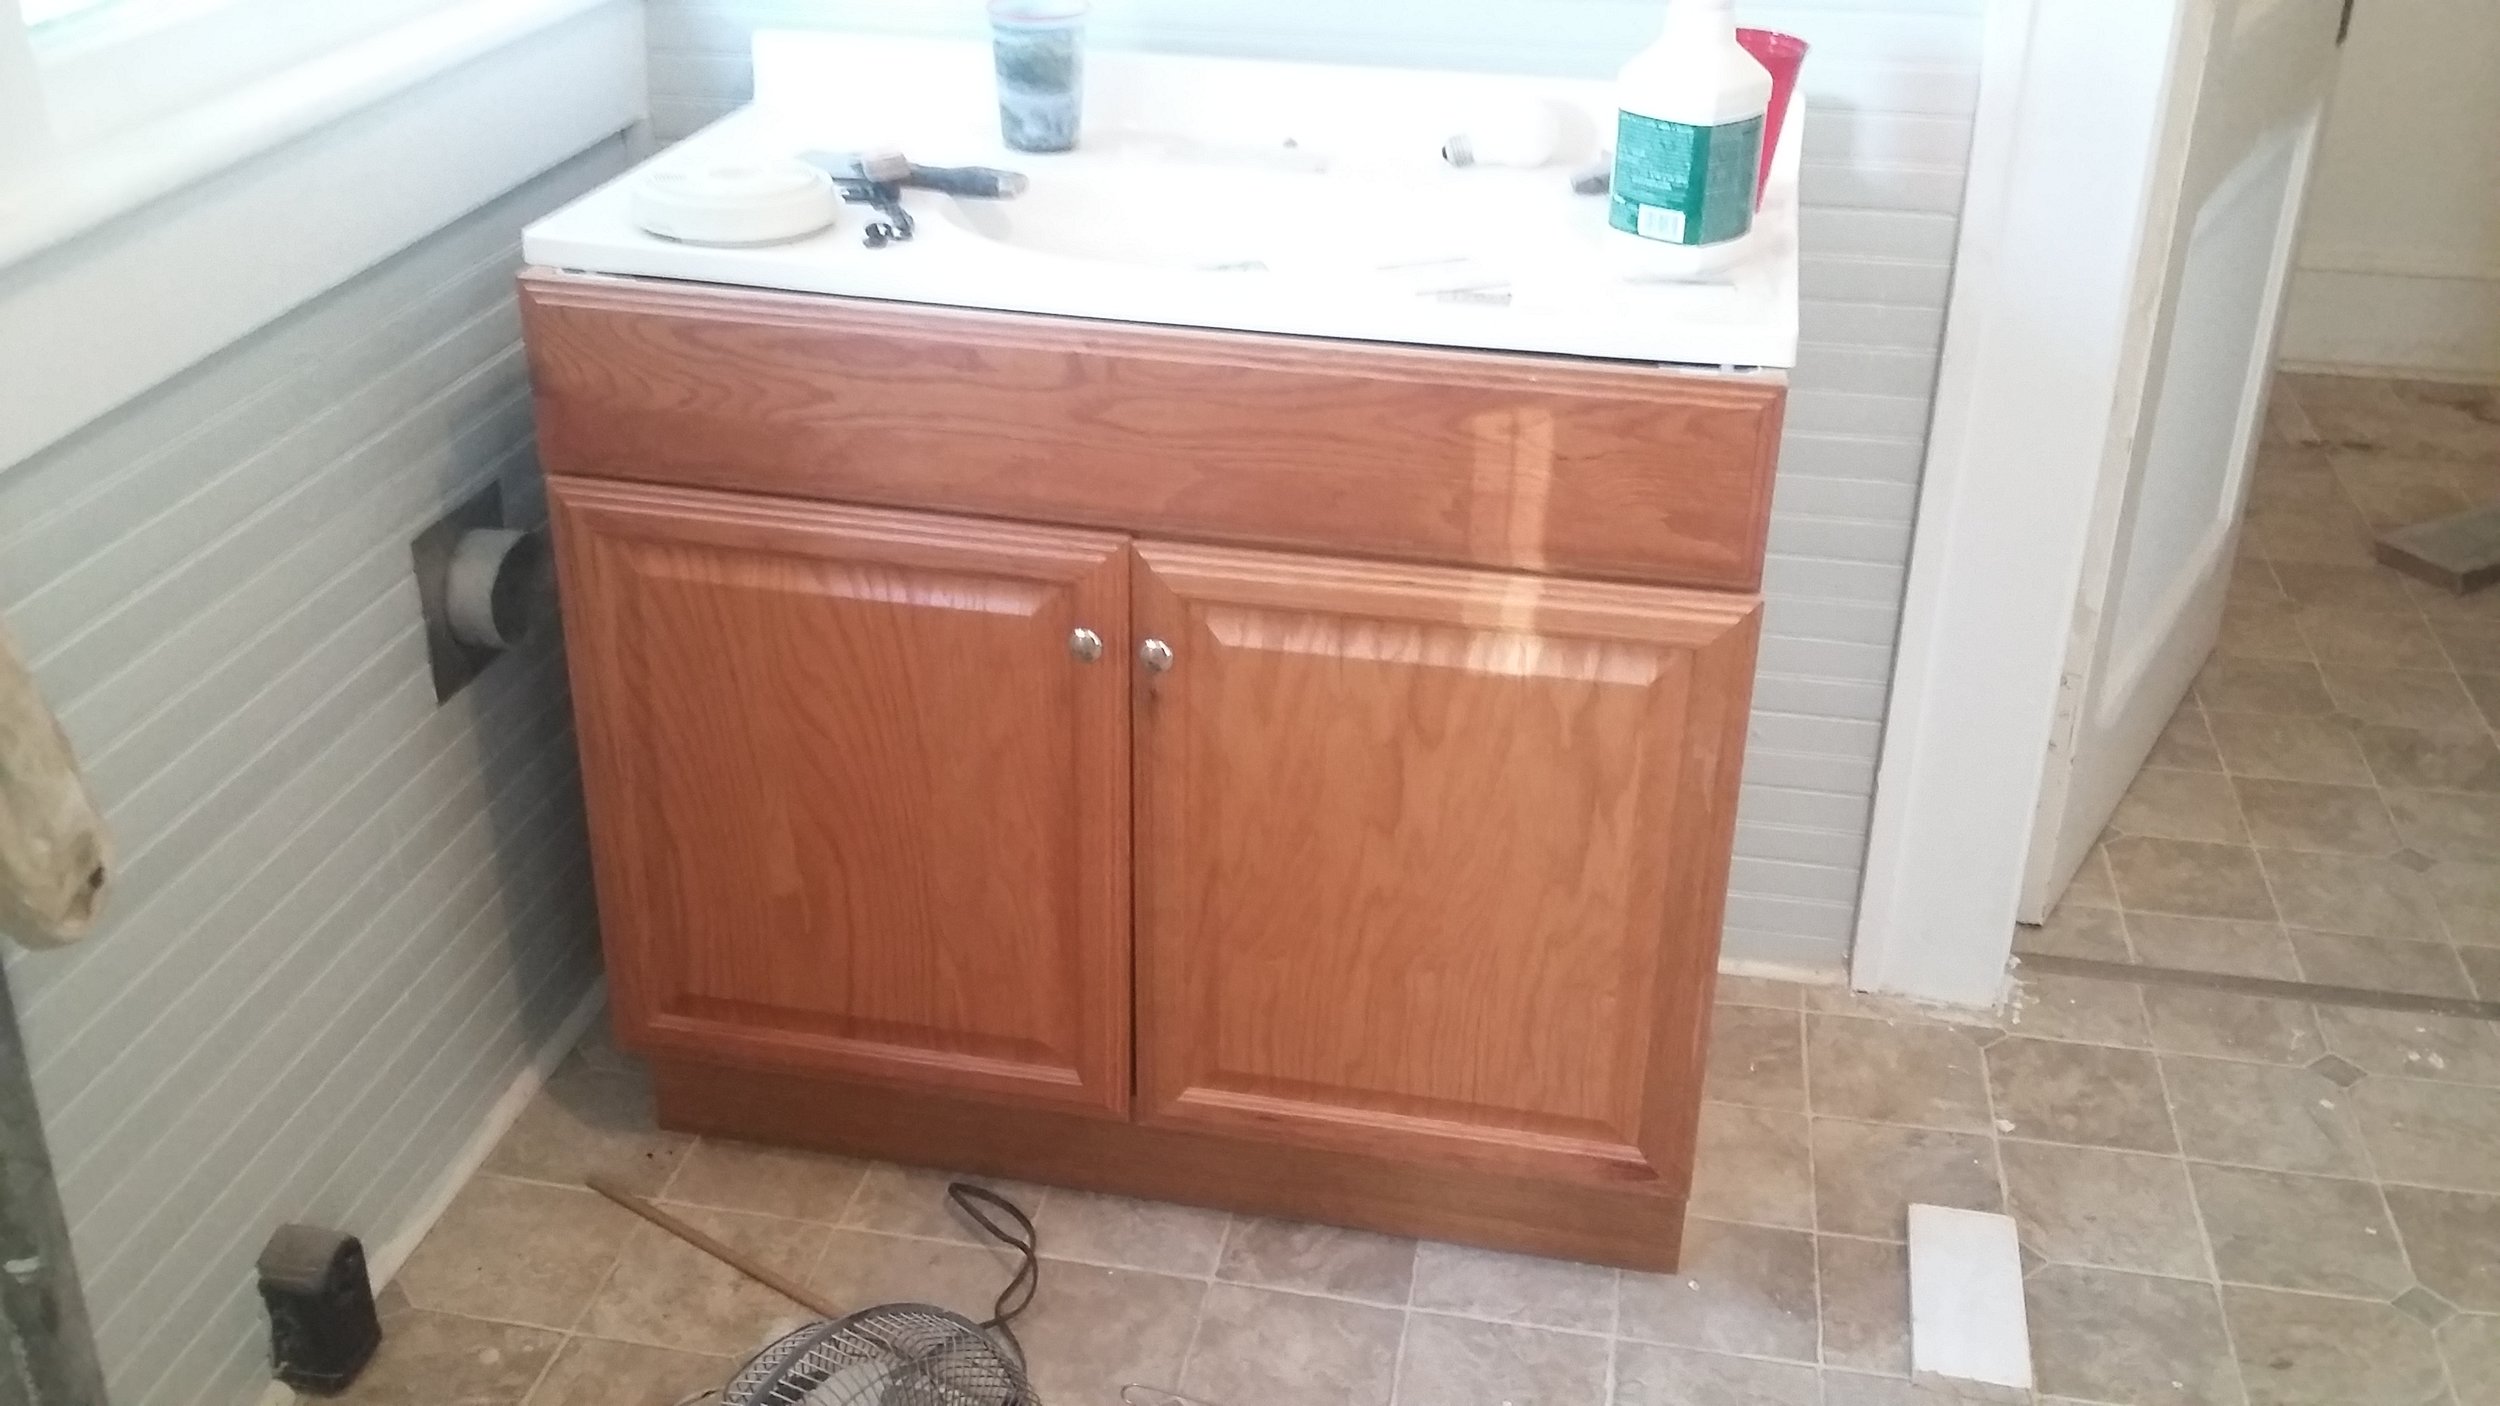

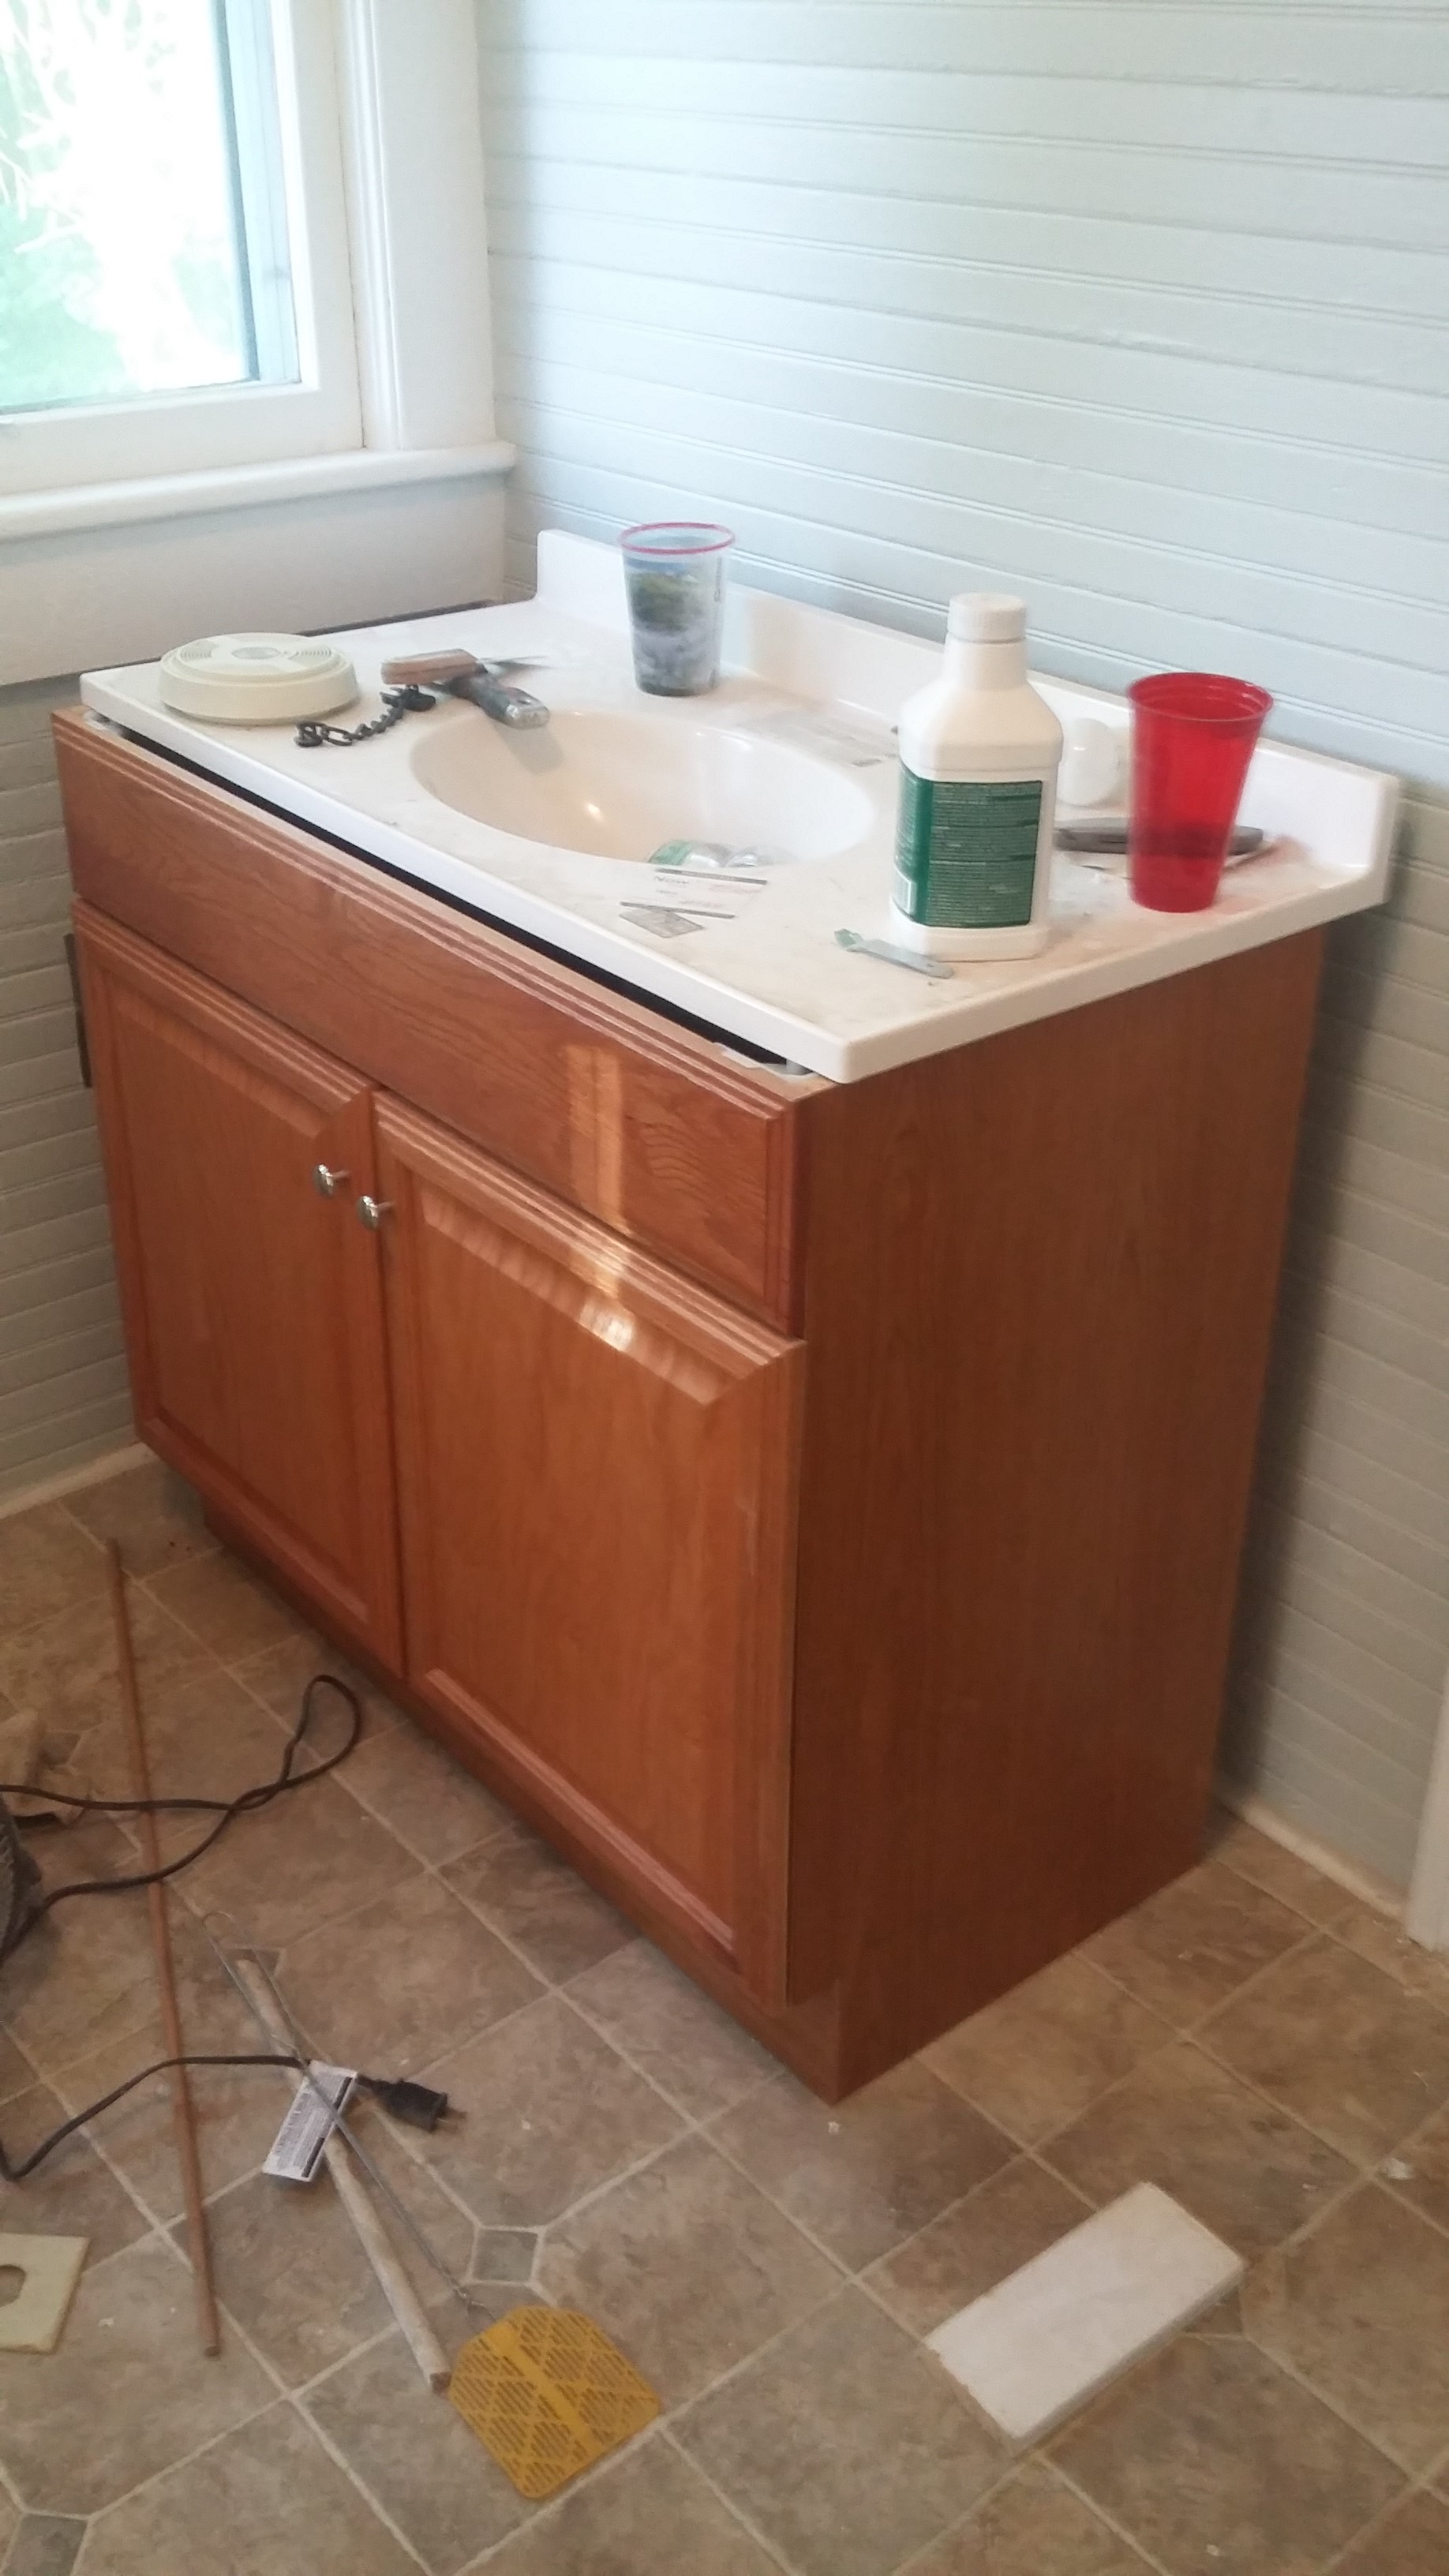
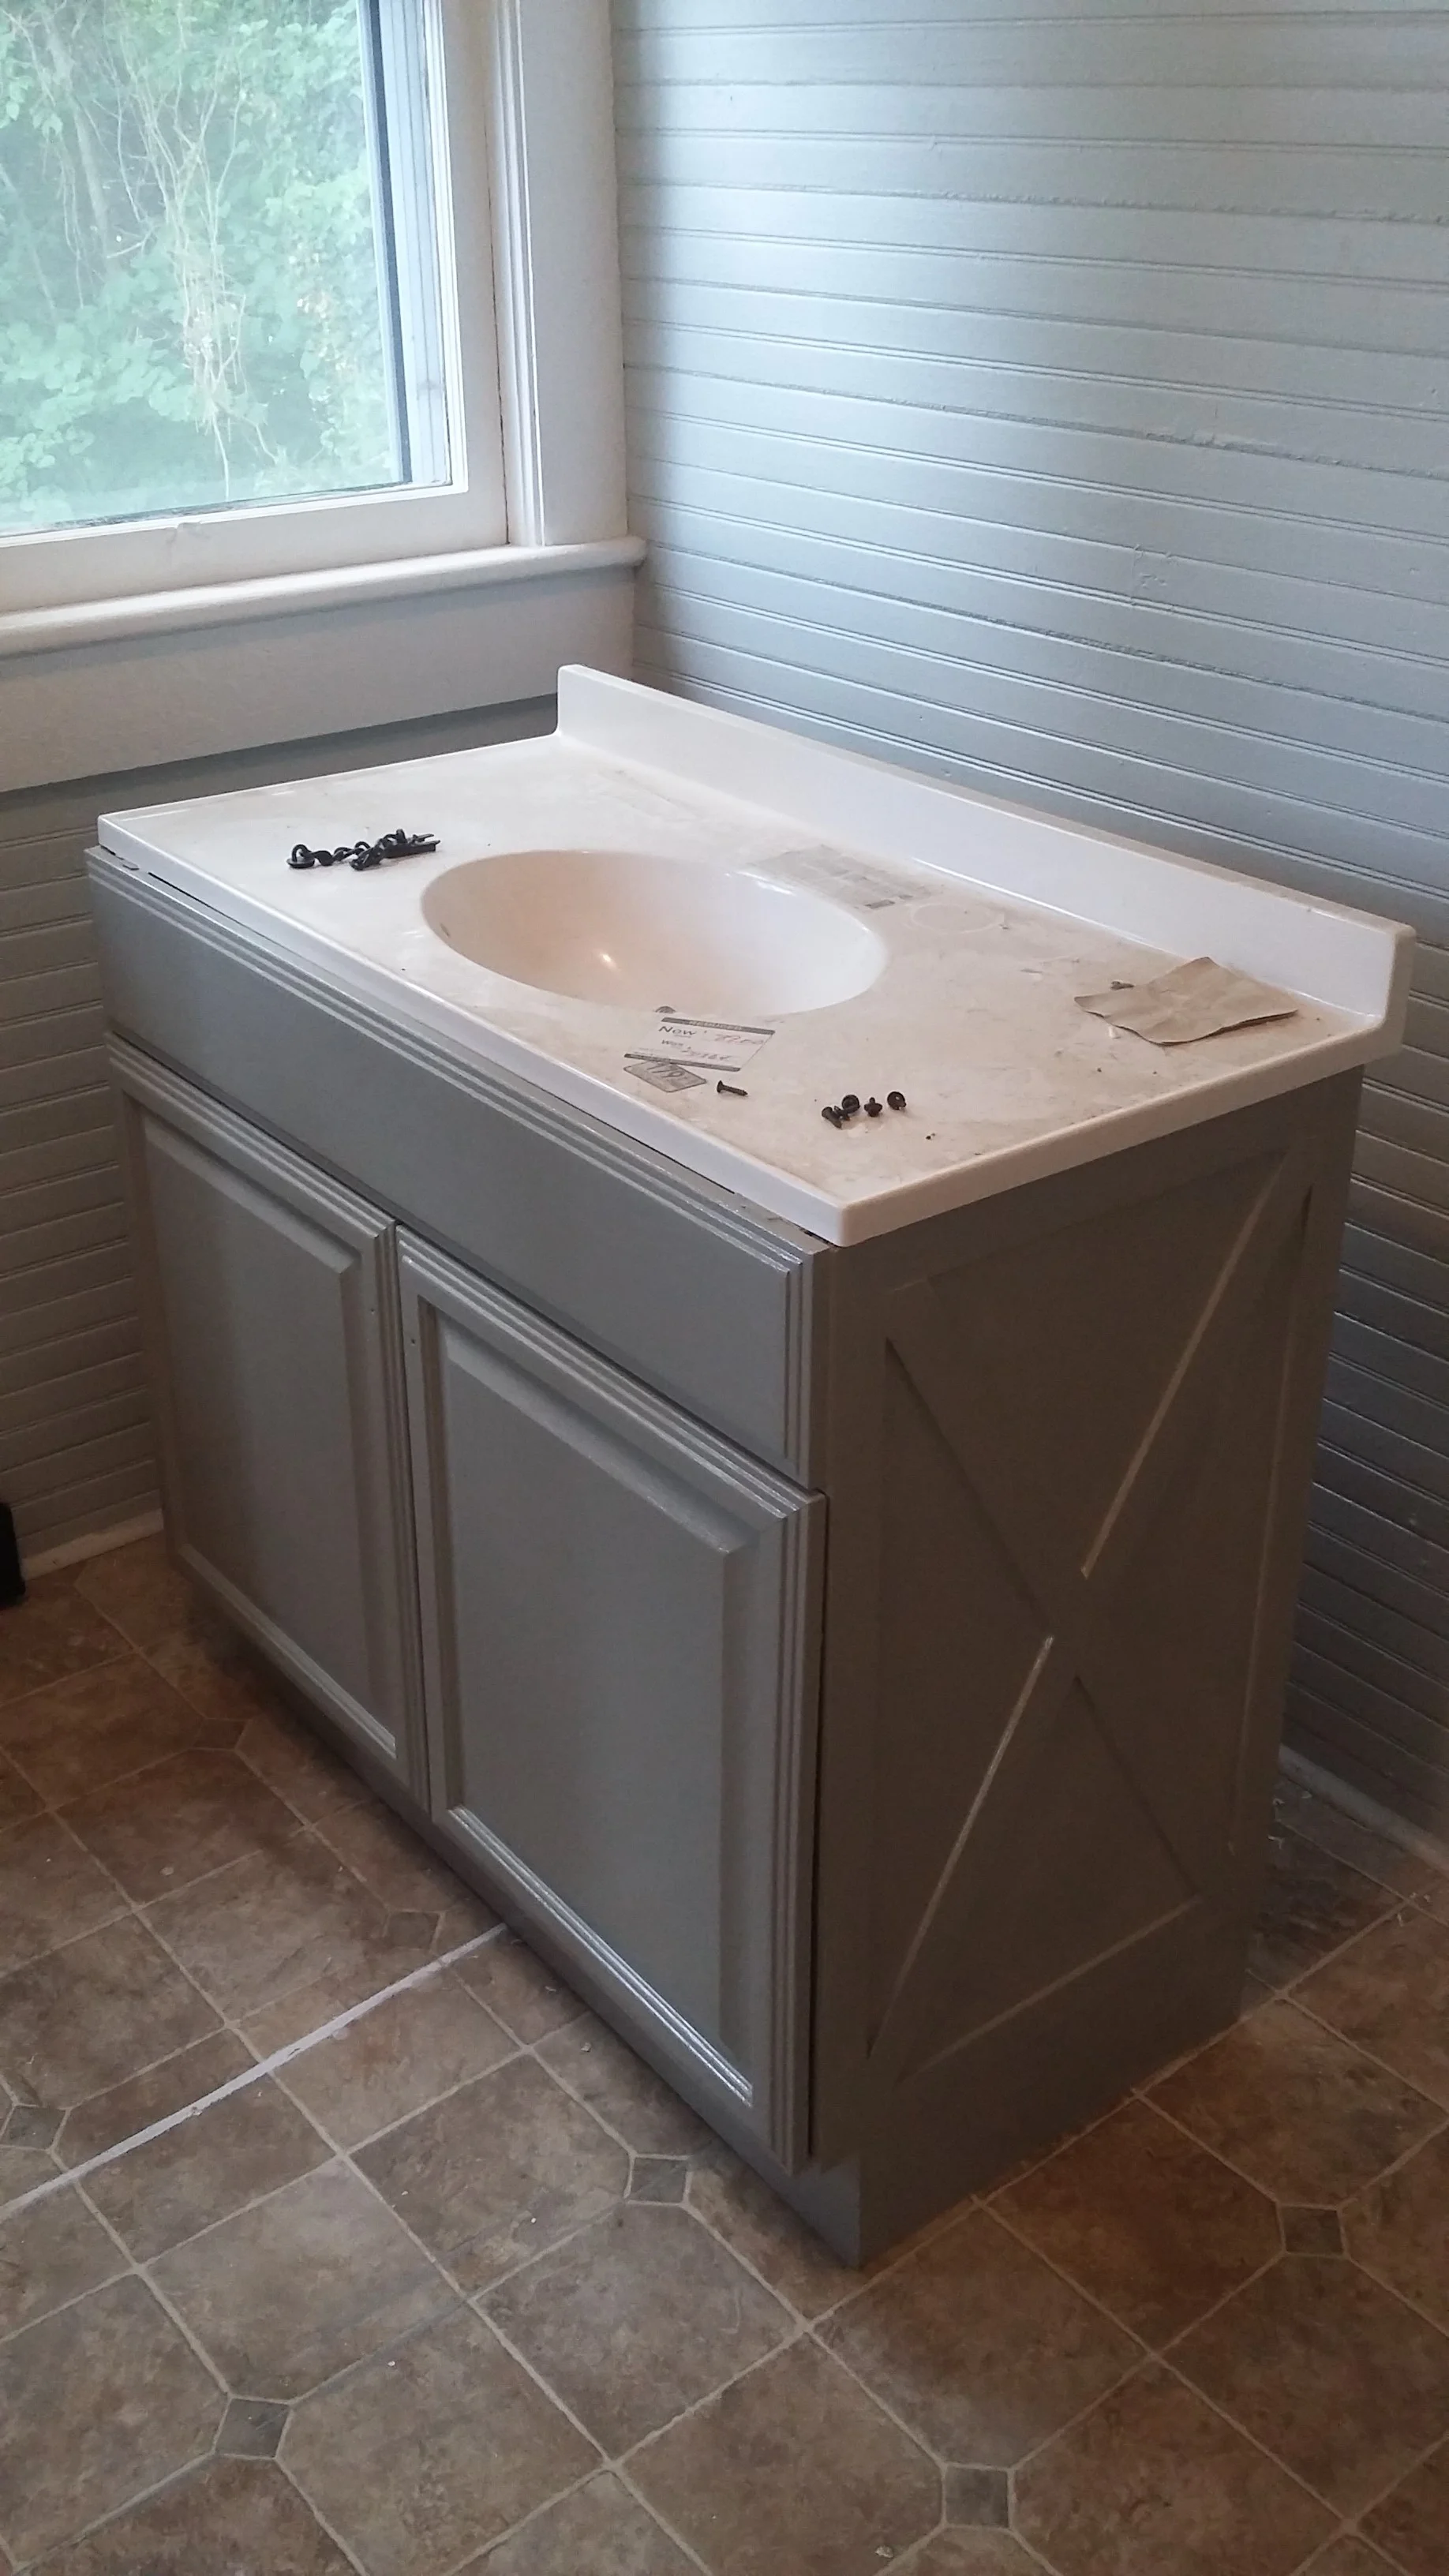
I think this little makeover only set us back $25 (basically the cost of the trim - the paint was already on-hand). We are all-in for the vanity for $115. One of my favorite tricks to upgrade a stock/cheap vanity is to swap out the hardware. I am going to install this gorgeous mercury glass knob and a clearance chrome faucet once the vanity is in place.
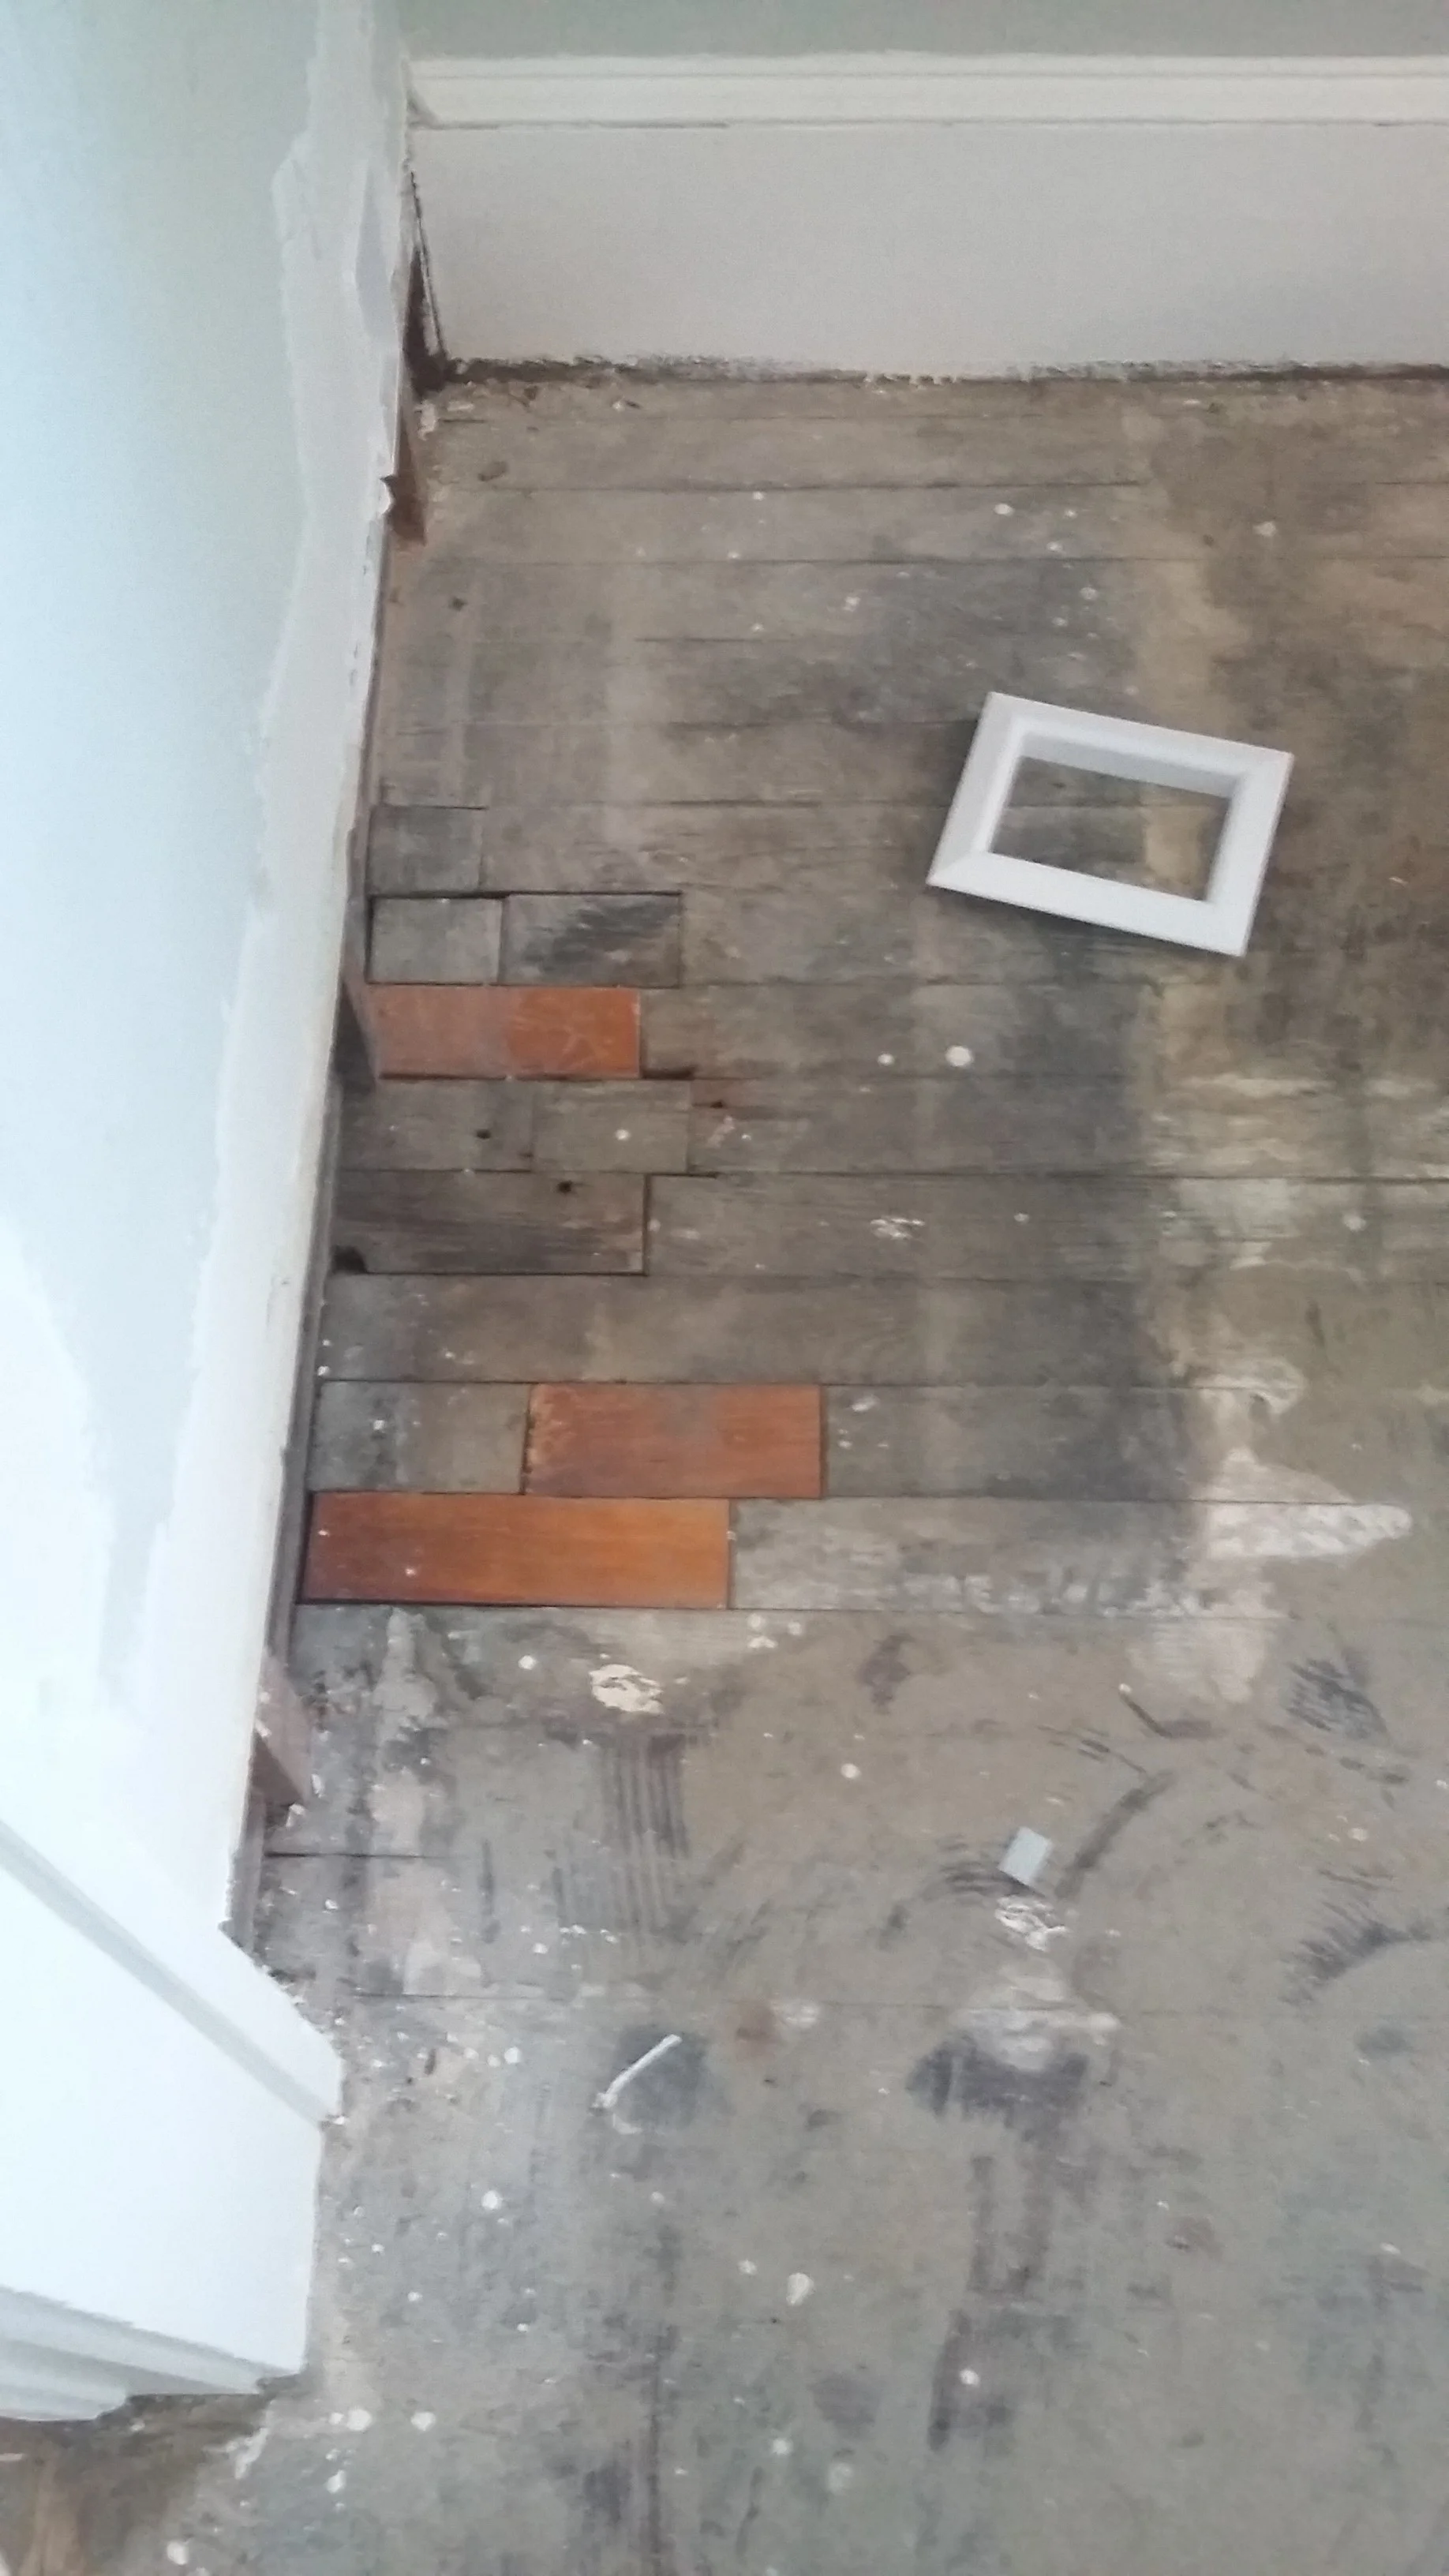
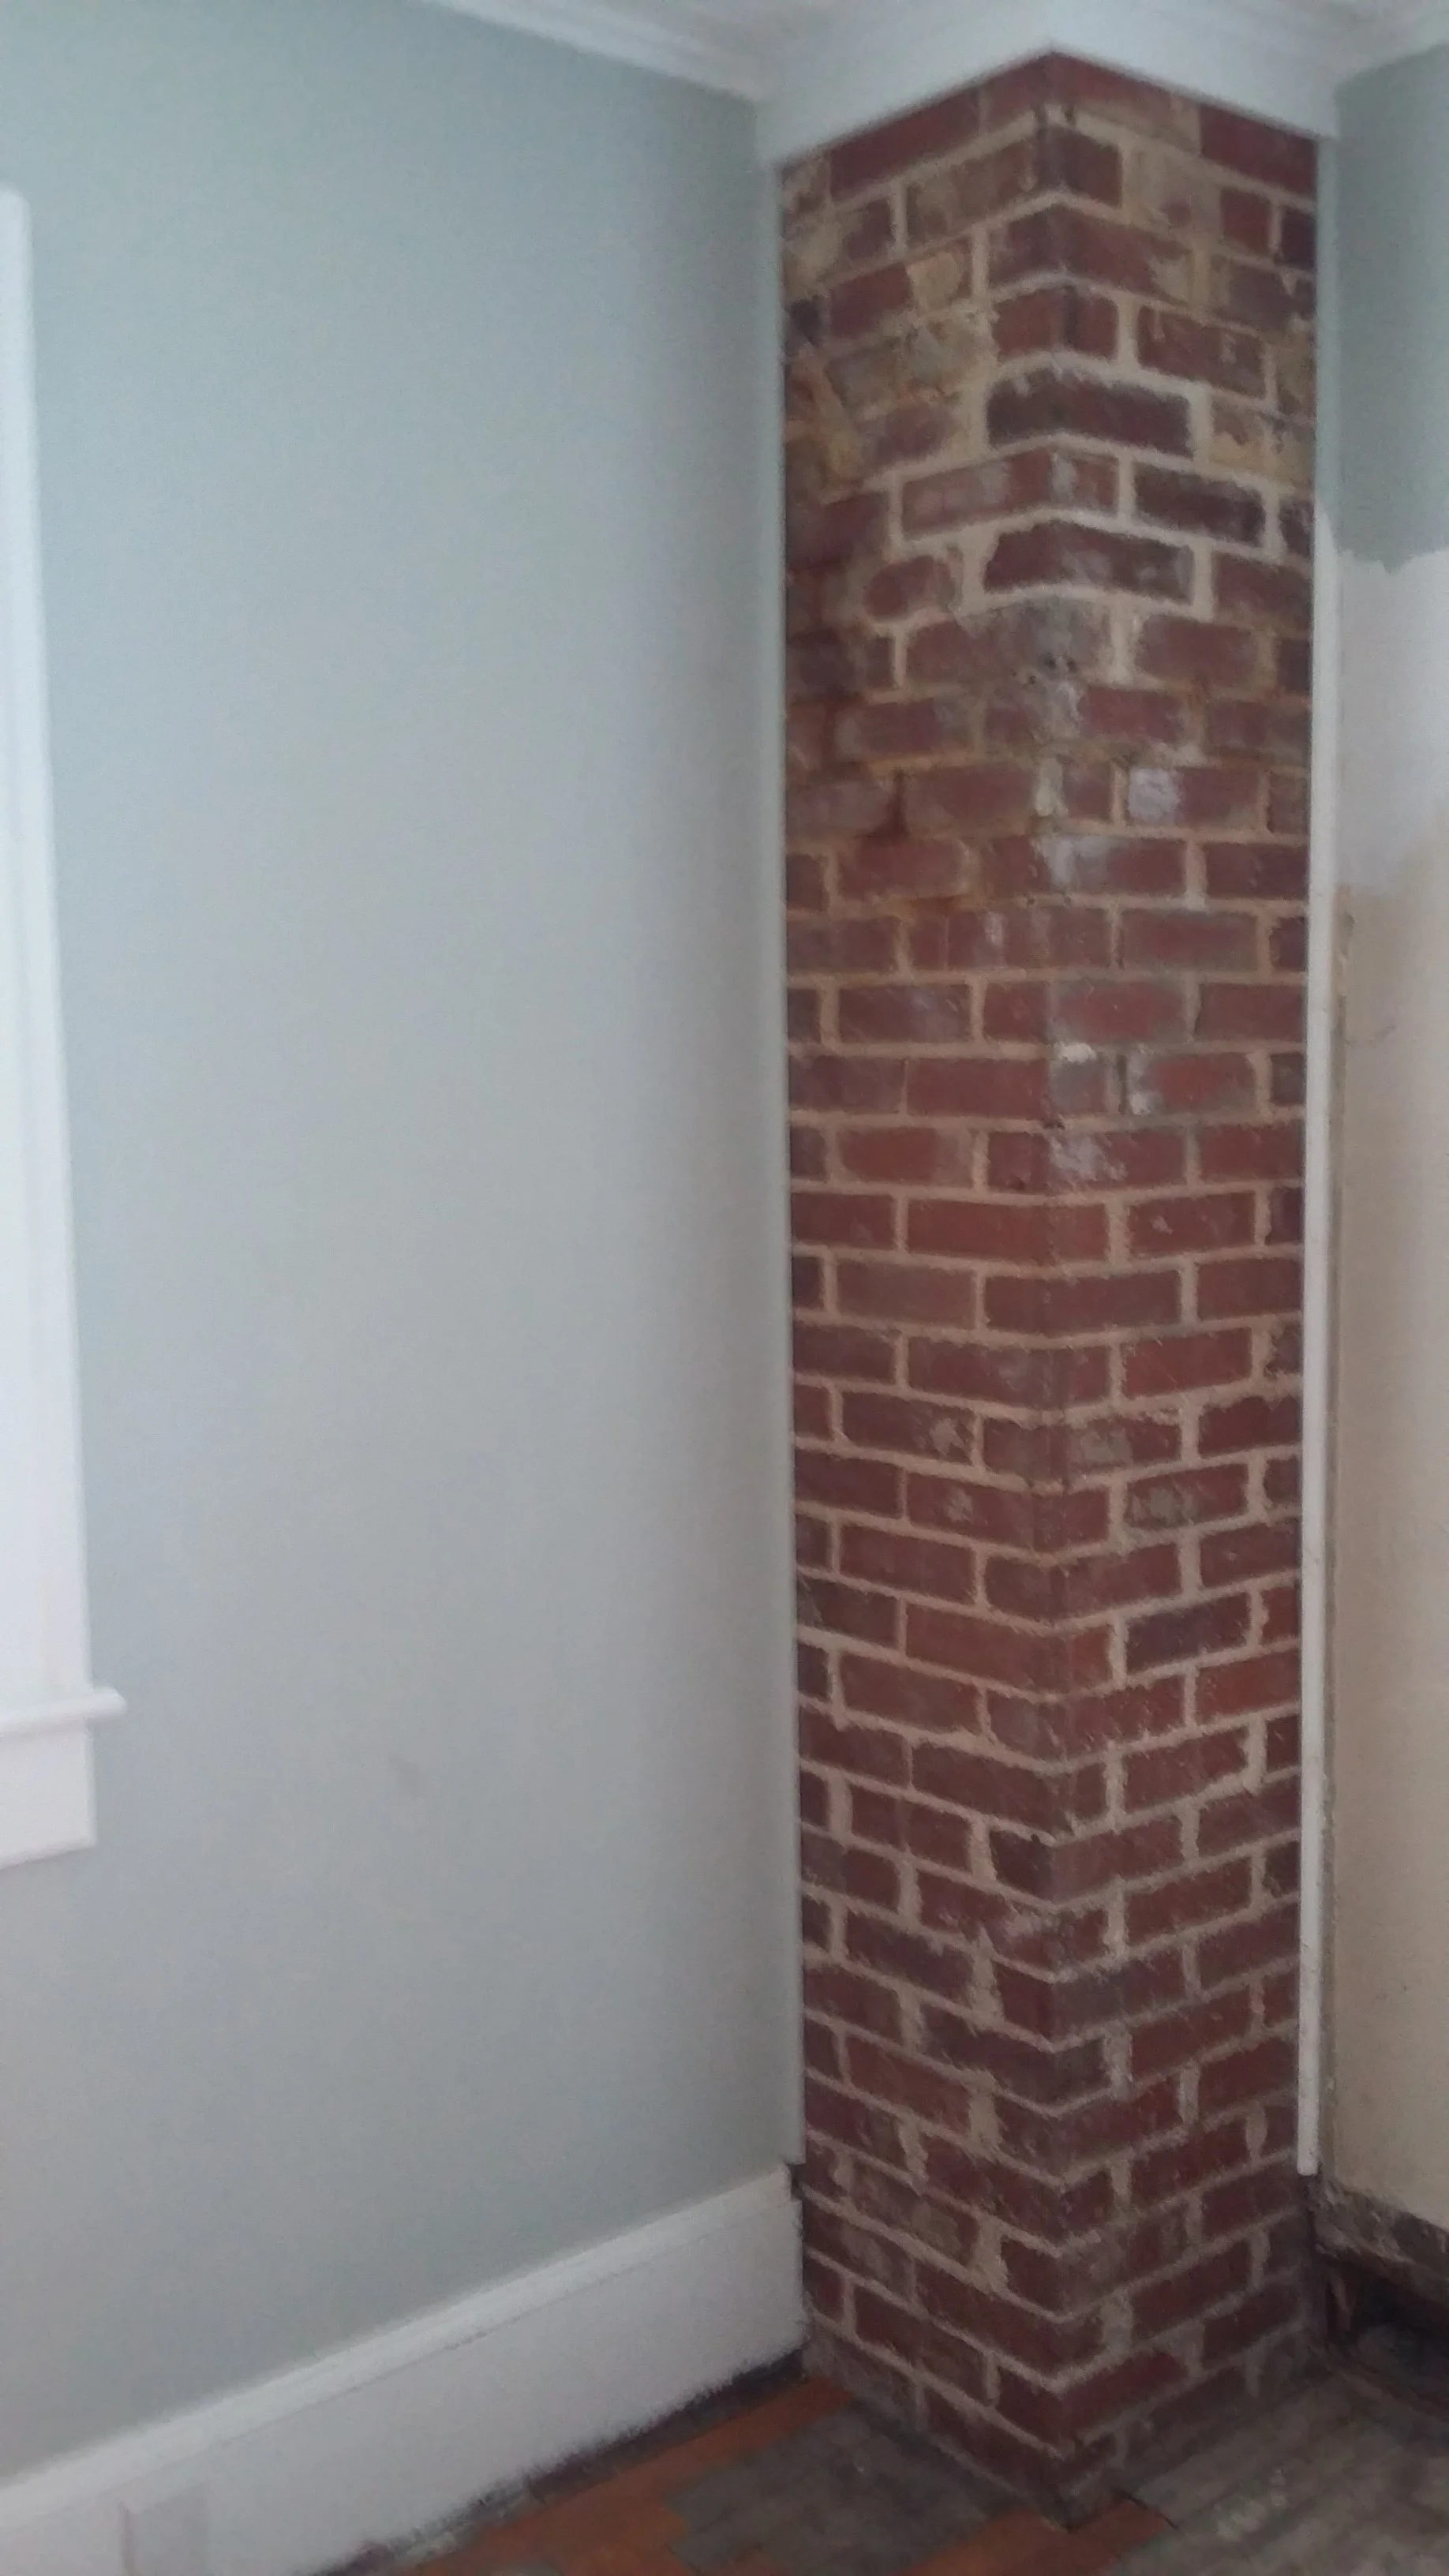
Another project I was able to check off my to-do list was sealing the brick chimney. Brian patched the hole with some matching bricks we found in the shed. After that, I cleaned it the best that I could and then used a matte, clear sealer. I had to do a couple of coats because the old mortar was so crumbly. It sealed it up pretty well, but I am not a fan of how red the sealer made the bricks look. I am hoping once everything else is installed, the brick won't look so red. (I was actually considering painting our own fireplace with this sealer, but probably won't now.) I thought about painting the chimney gray, but after all of the time spent patching and sealing, I think we'll just keep it as is. In the photo below on the right, you can see a glimpse of the other floor patch job Brian did (this one will be visible, so we made sure it would look more seamless once sanded).

Cabinets are being delivered 8/5 and appliances 8/6 (right after the floors are finished) so that will be another busy weekend. I am starting to feel the pressure of getting everything completed by our deadline (9/1) but I think if we pull some late nights, we'll be fine. Hope you guys have a great weekend!