$200 Powder Room Makeover | Raleigh NC Interior Design

Elizabeth Burns Design | Raleigh NC Interior Designer - Budget Friendly Bathroom Makeover; Powder Room Renovation for $200

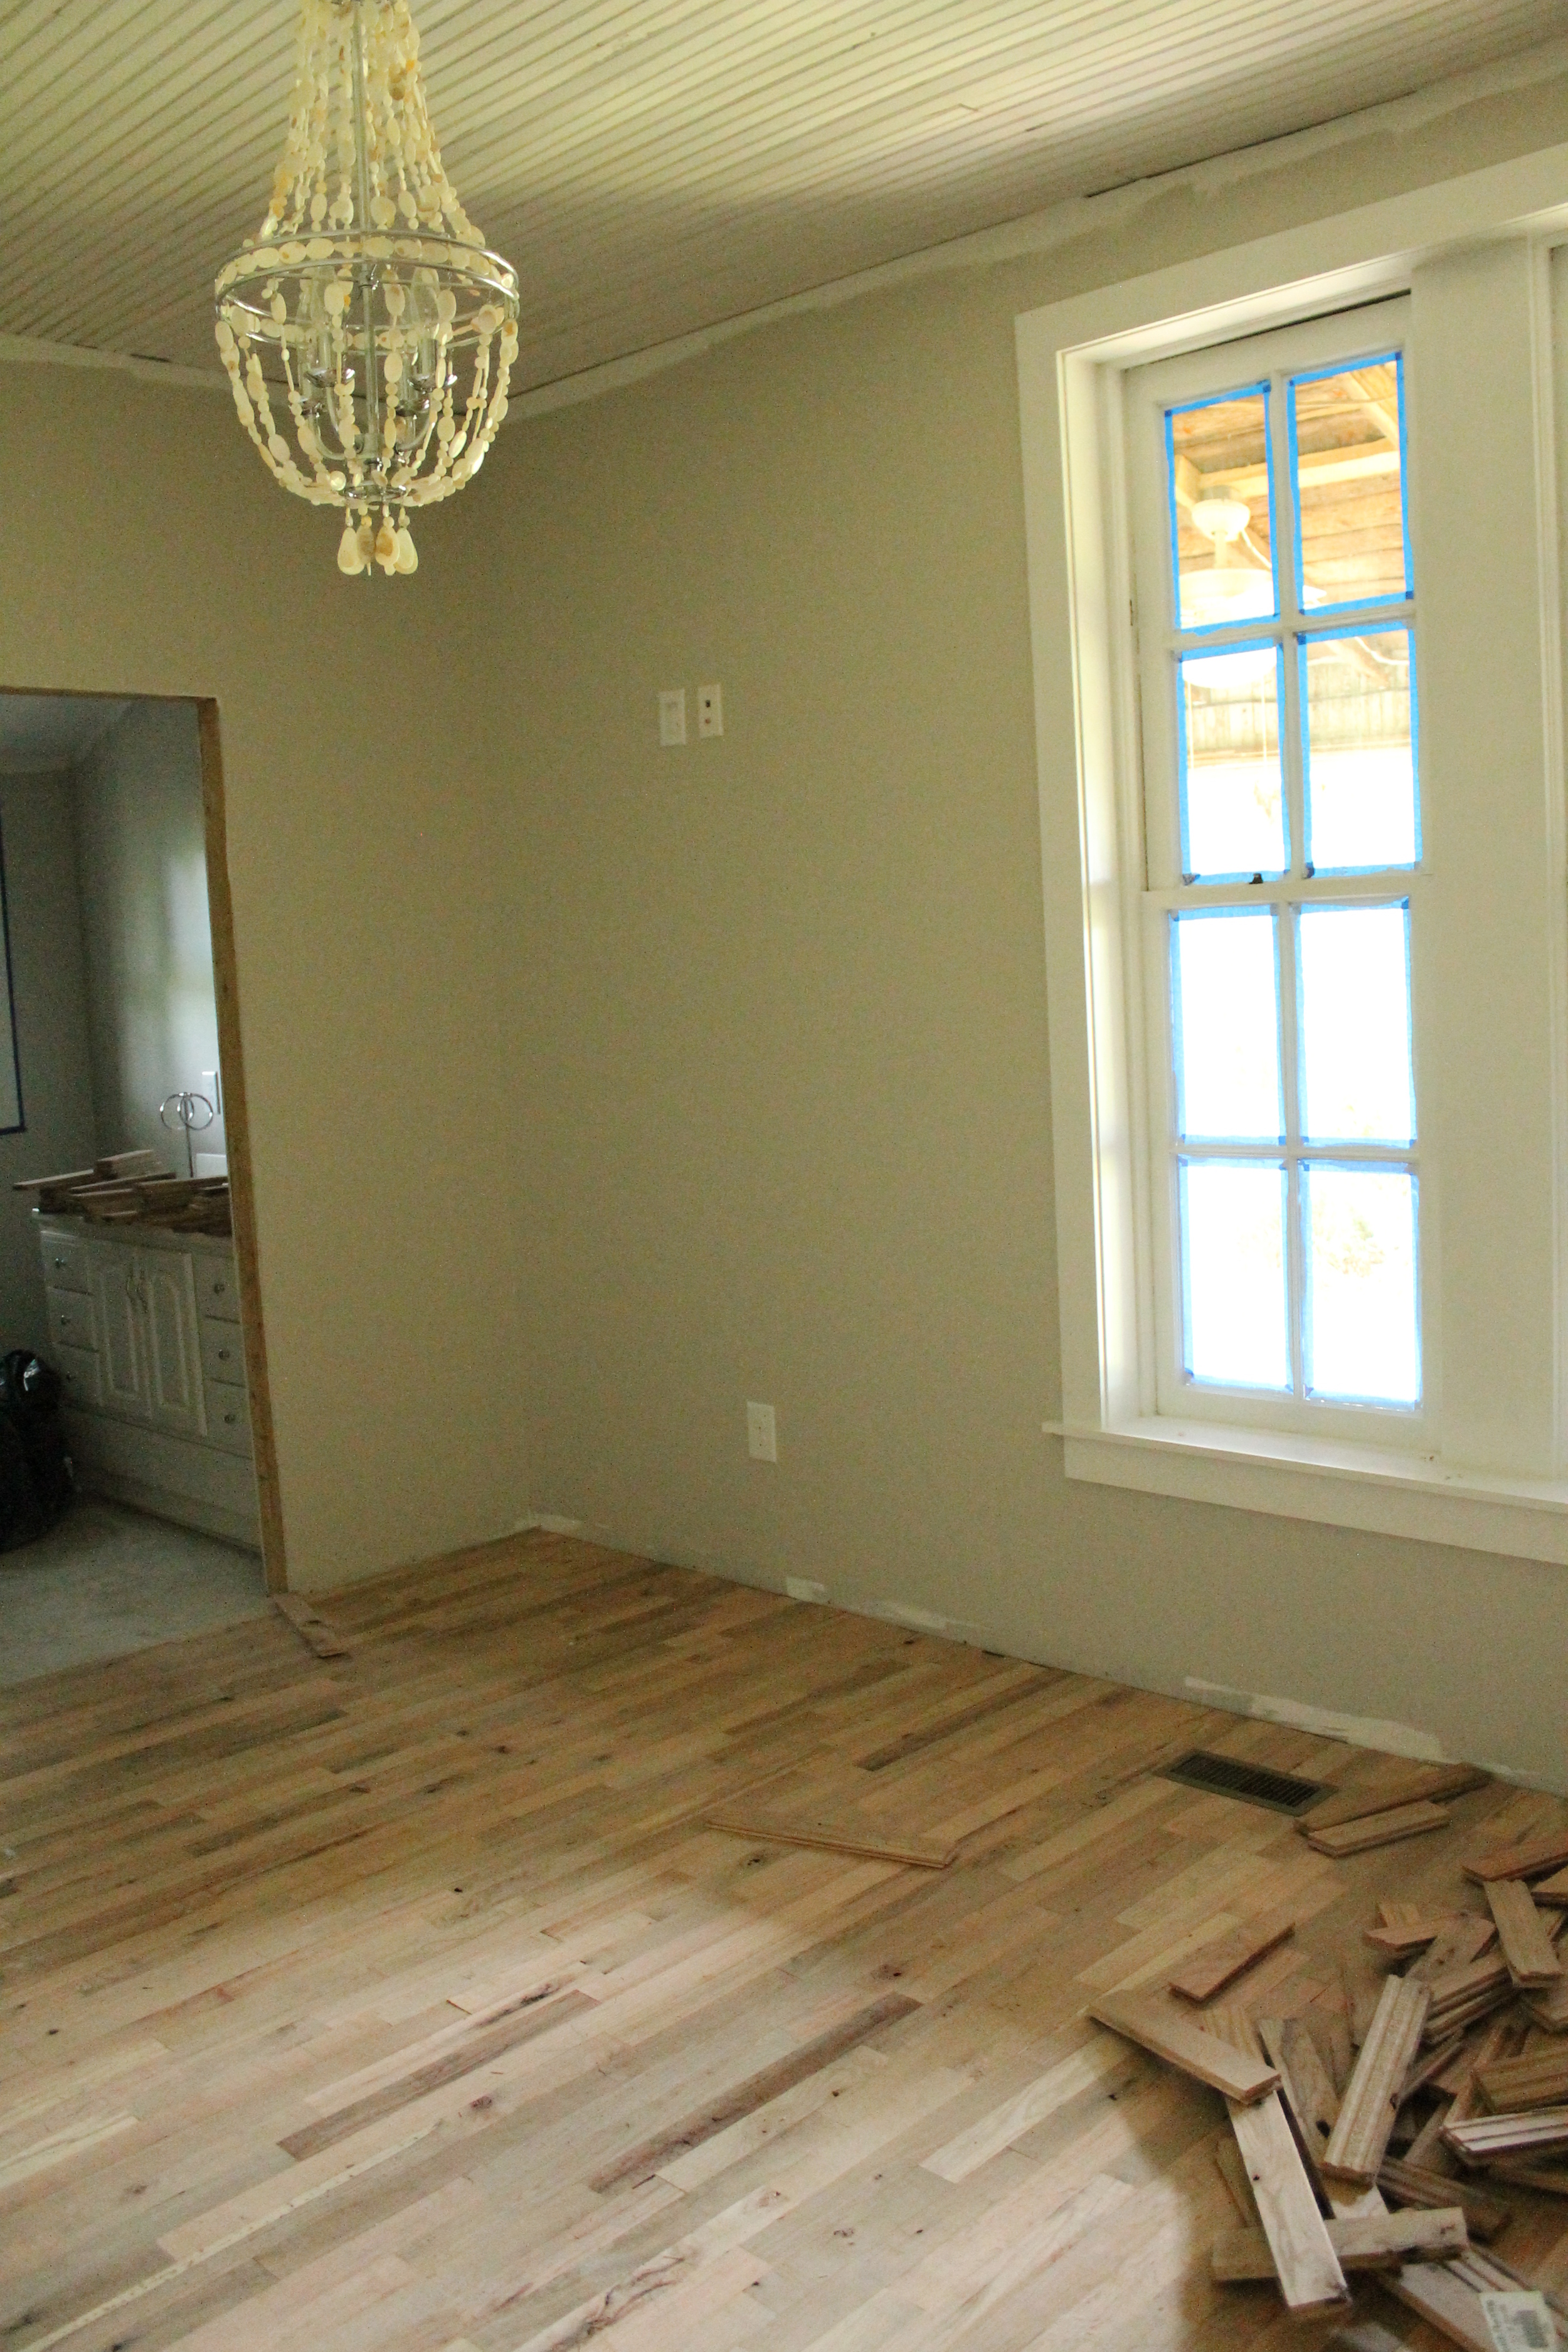
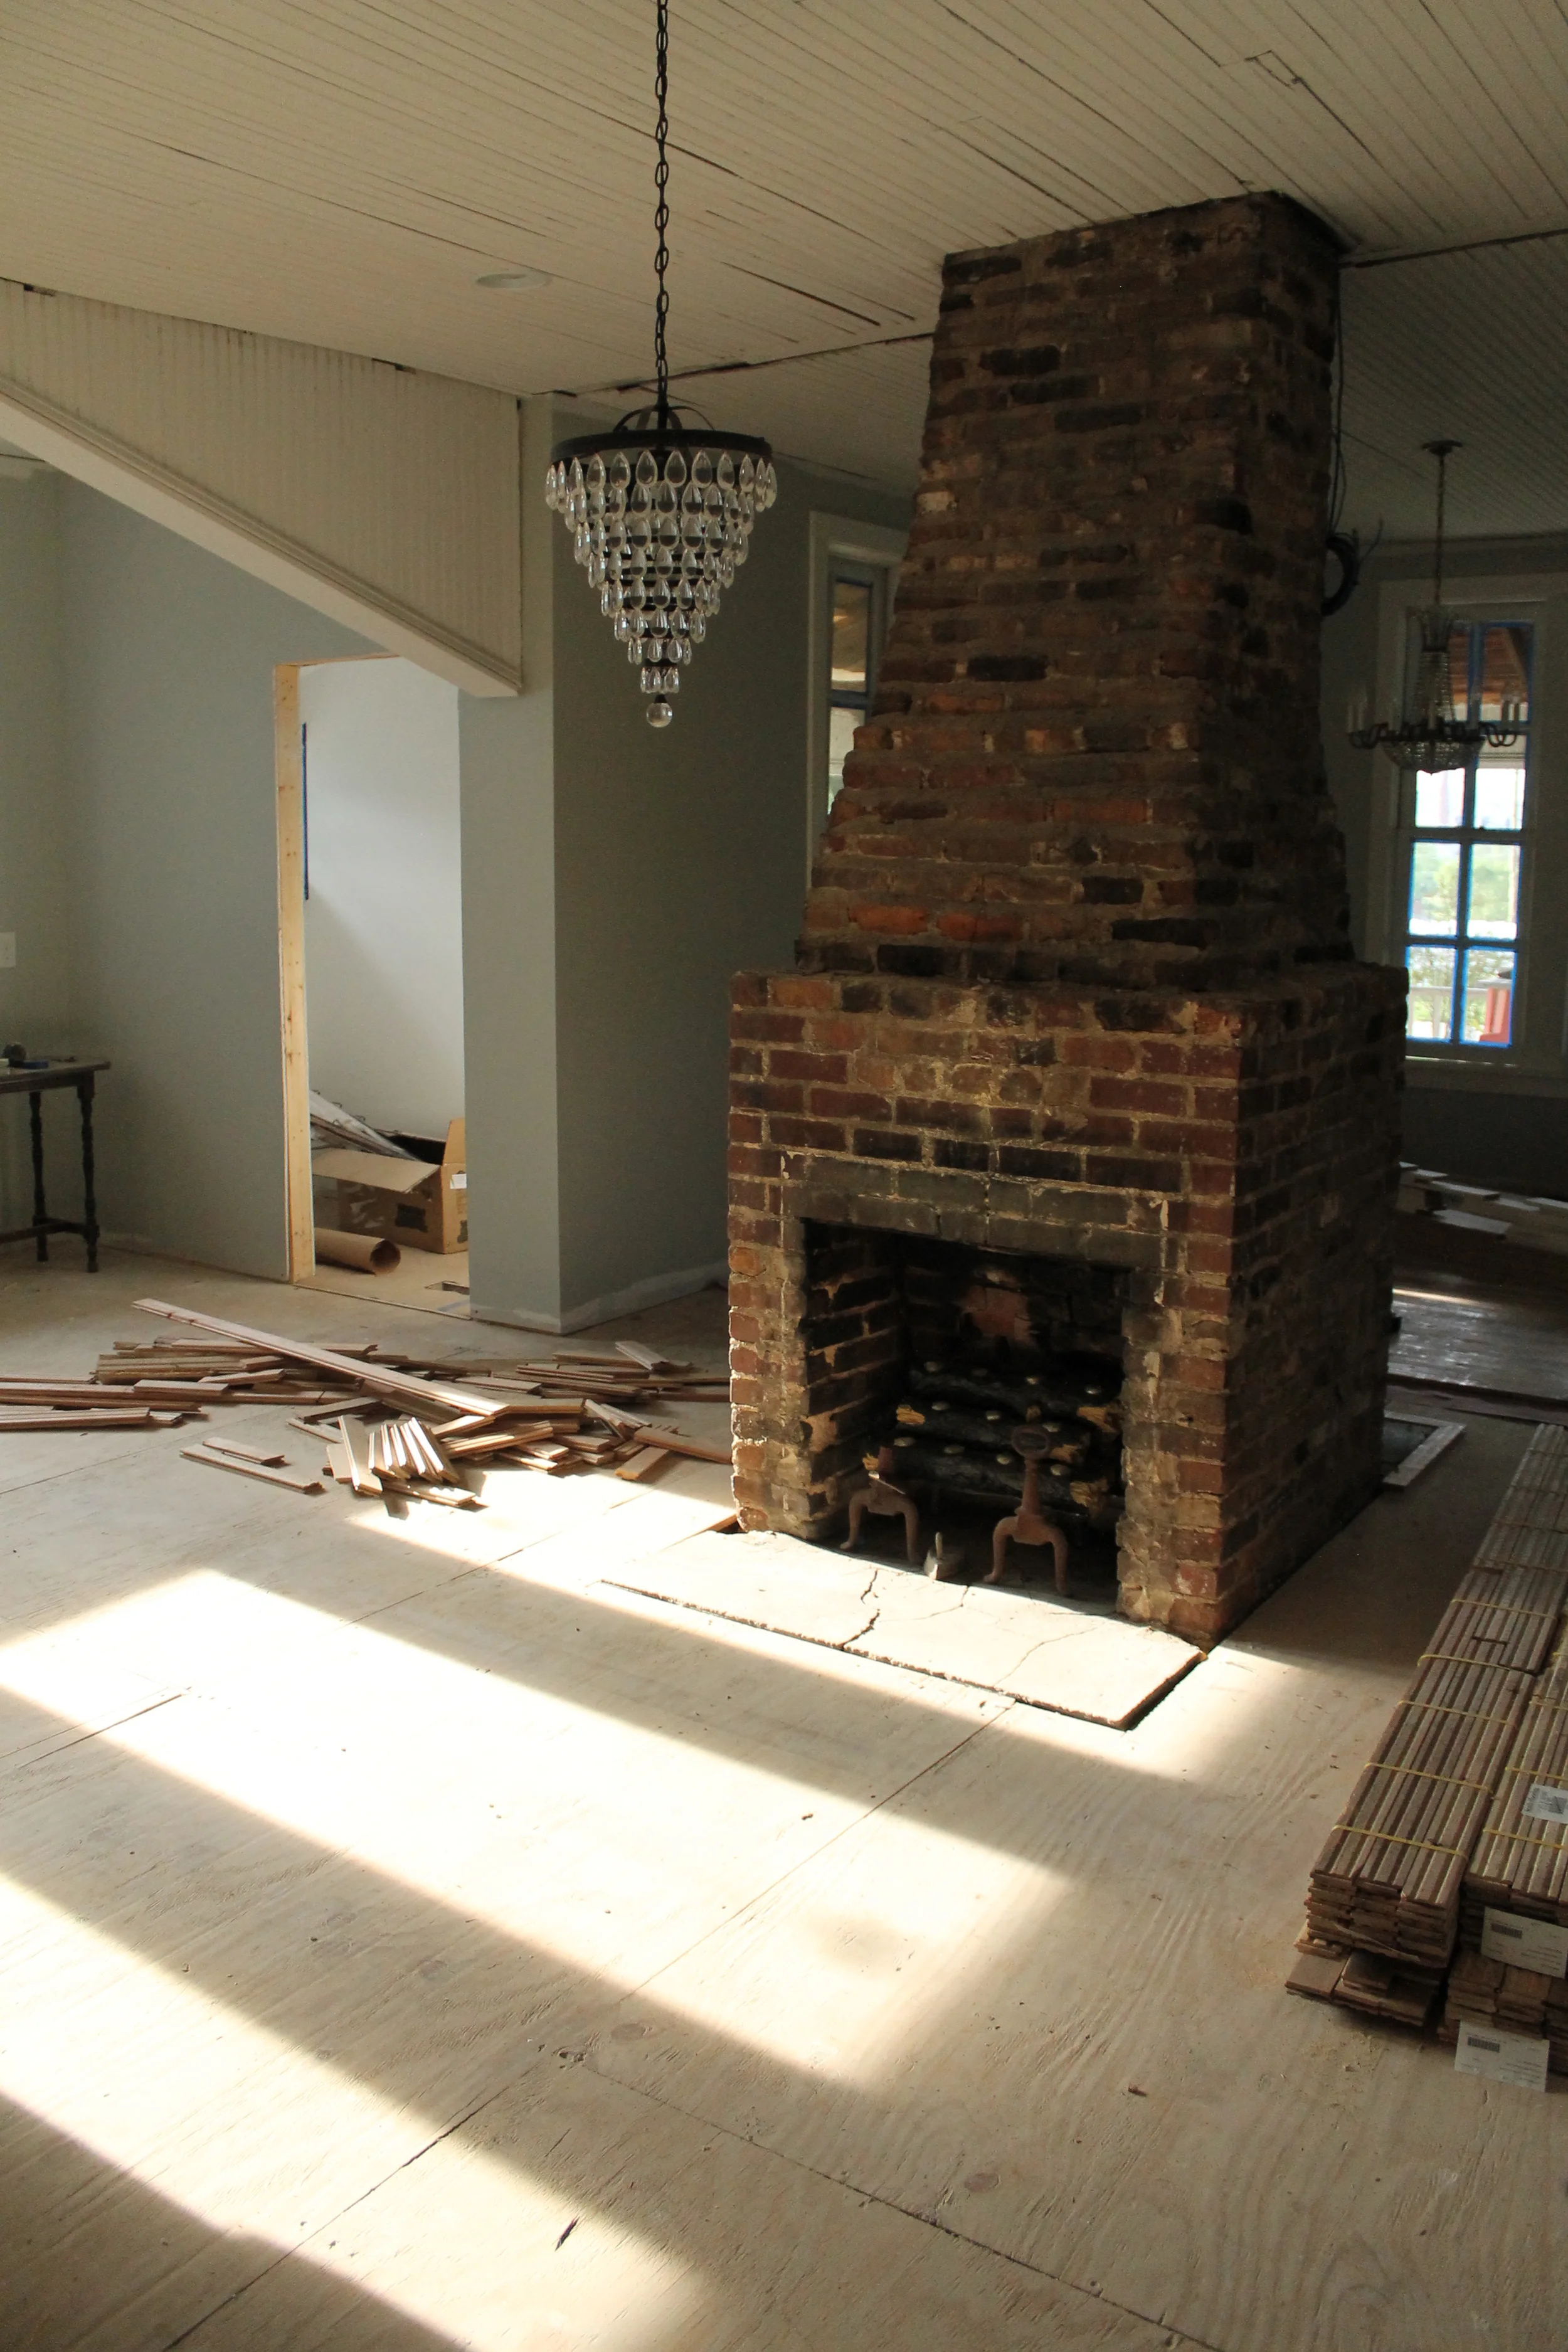
We had a weekend where we weren't going to work on the Myrtle House so we were looking forward to a relaxing weekend with a little R & R. But of course, we can't NOT work on a renovation for a whole weekend. :) My parents have been renovating their 1992 home, and the powder room was one of the last areas on the first floor to be updated. The sad truth is that I helped decorate this room back in the day. Brass fixtures + wallpaper border + sponge painting was on point circa 1999. Nowadays, this look is not so pretty, so Brian and I peeled away (literally) the dated look and went for a cooler, more updated look. The best part is that this little makeover only cost about $200. For a room that gets as much action as a powder room, I think it was money well spent! Here are the before and afters.

BEFORE

Elizabeth Burns Desgin | Budget Friendly Powder Room Makeover for $200

AFTER

Elizabeth Burns Desgin | Budget Friendly Powder Room Makeover for $200

We knew the brass had to go, so a lot of the budget went towards replacing the faucet and light fixture. I think these finishes can really make a home look more high-end, so it is worth it to splurge a little on these items. I am kind of obsessed with this vanity light; the etched glass globes make this fixture look way more expensive than it was and it provides a ton of light. Here is a breakdown of the budget:

  • Sand paper - $2.67
  • Spray paint for bath accessories - $6.19
  • Paint roller kit - $2.68
  • Light bulbs - $5.83
  • Plumbers putty - $2.69
  • Almond switch plate - $1.42
  • Cabinet paint - $15.28
  • Plumbing supplies - $27.89
  • Brushed nickel faucet - $39.58 (Lowes)
  • Brushed nickel vanity light - $62.98 (Lowes)
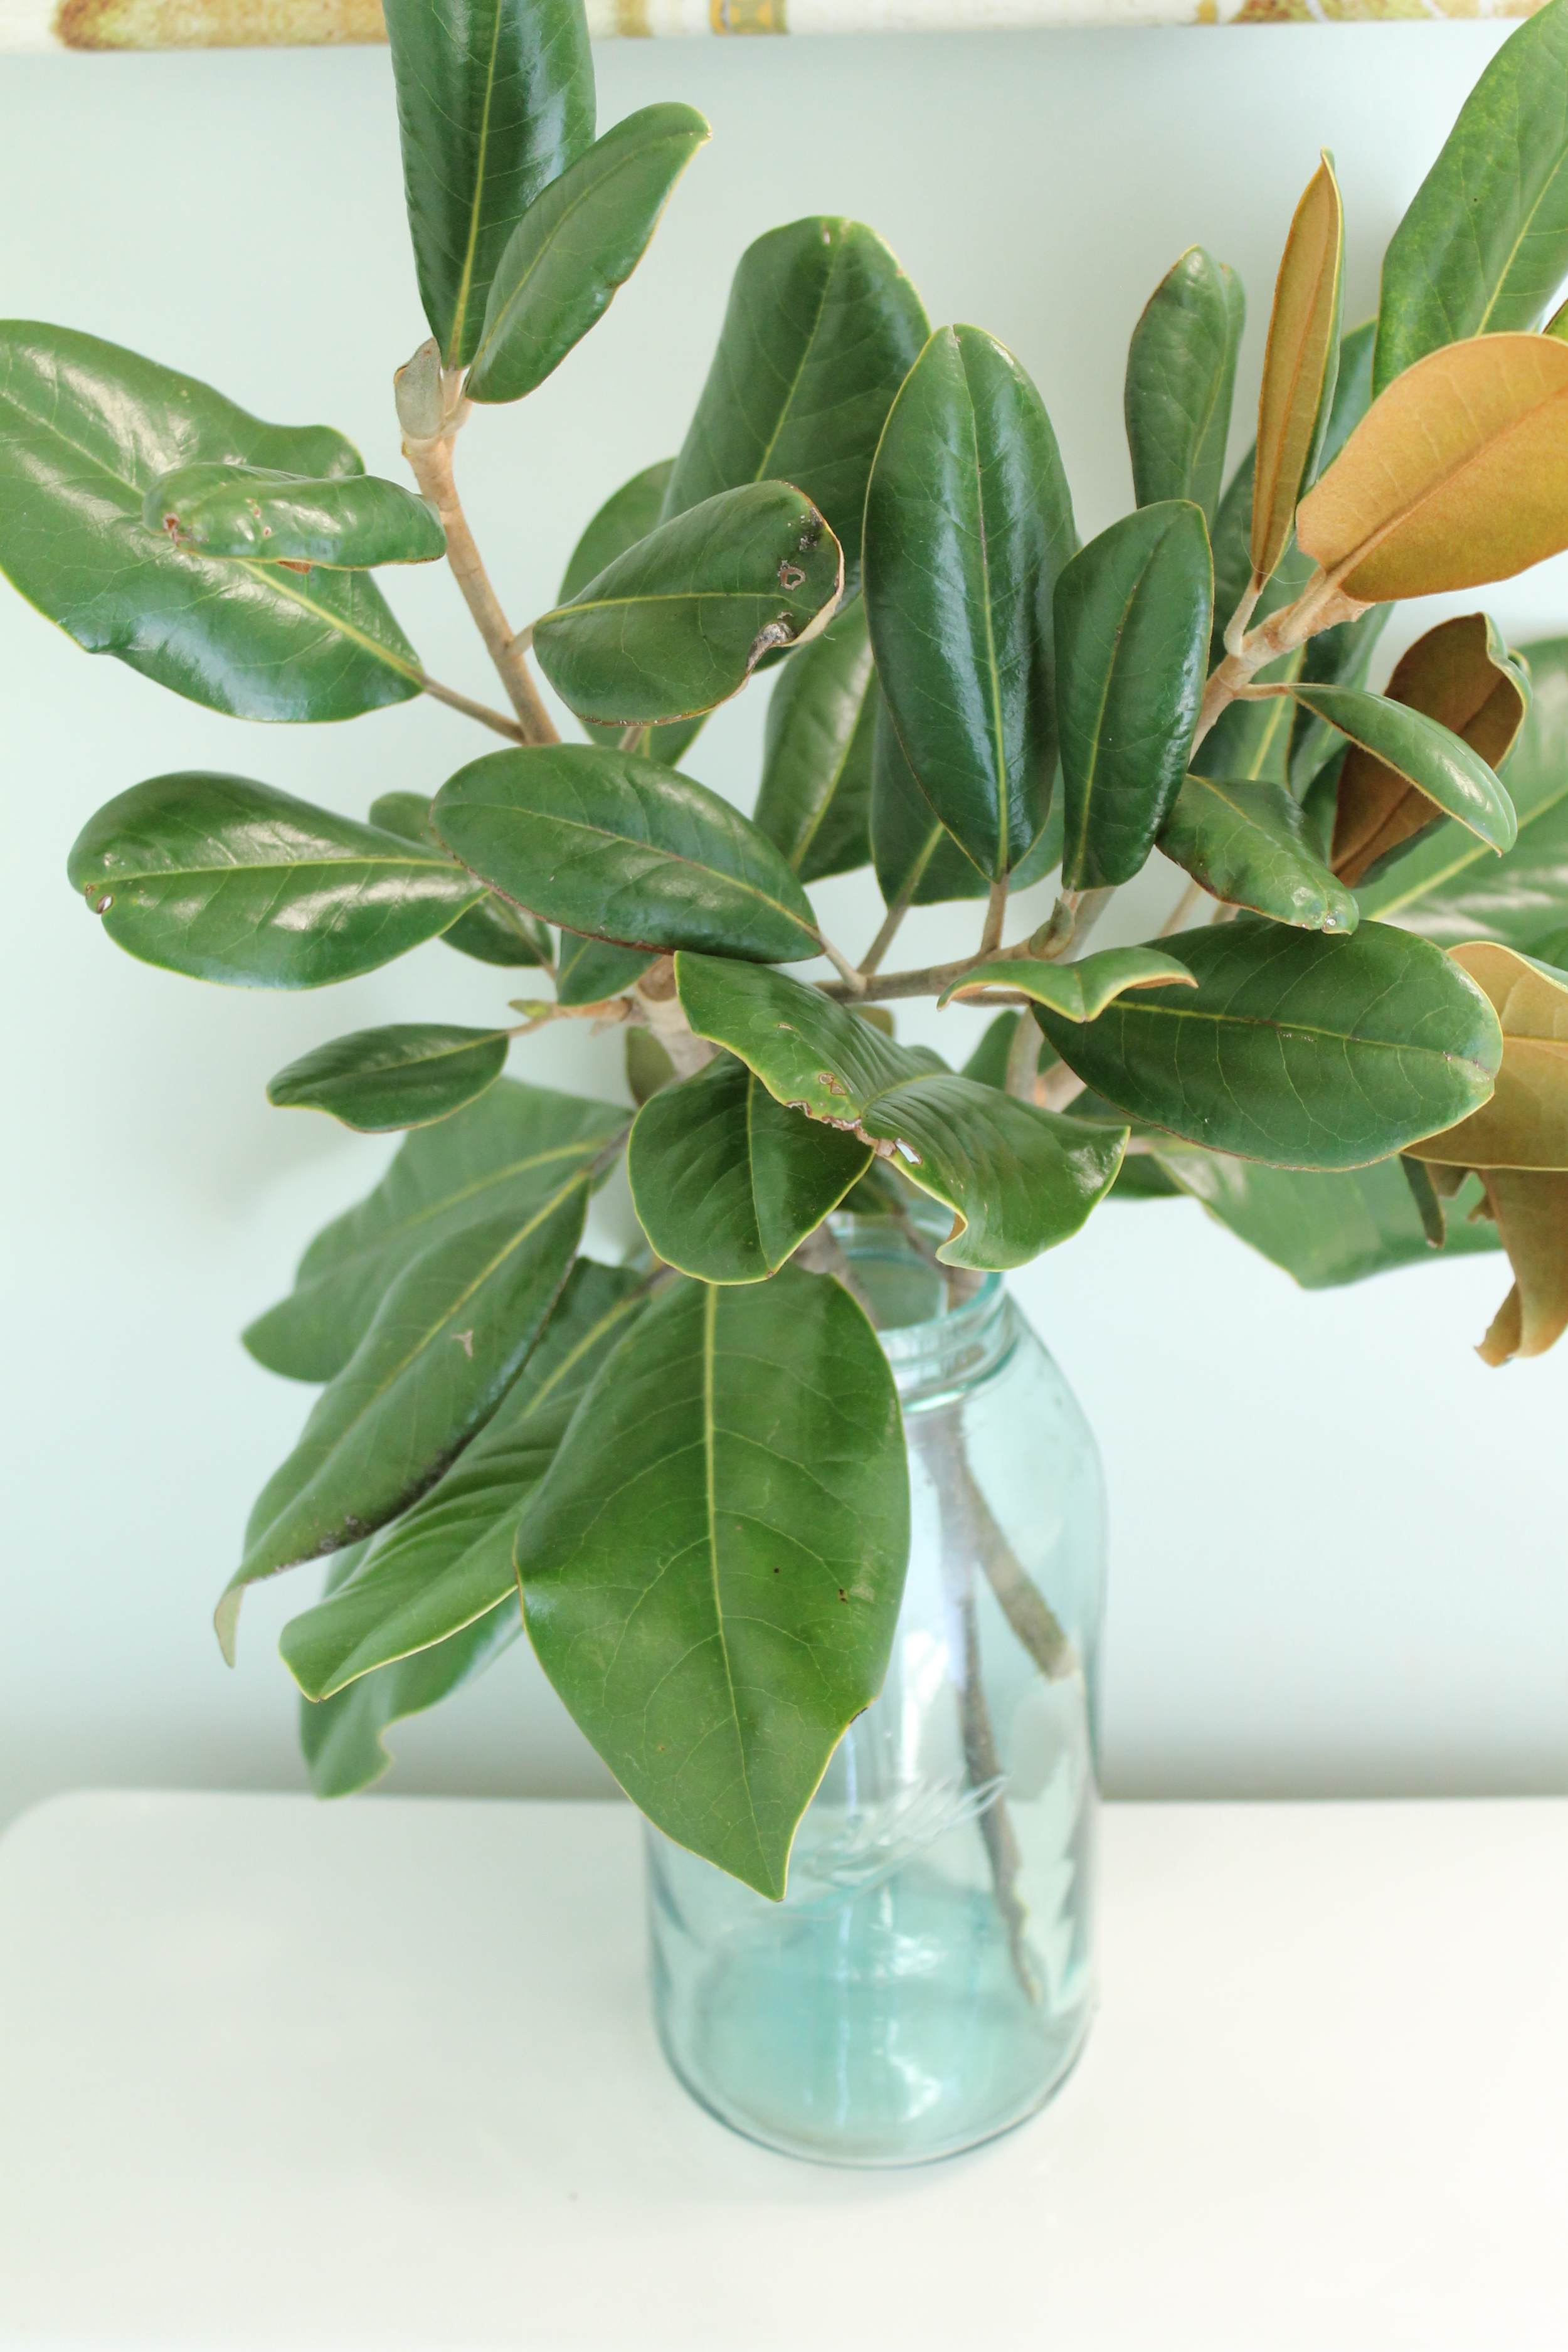
  • Hydrangea canvas art - $26.68 (Homegoods)
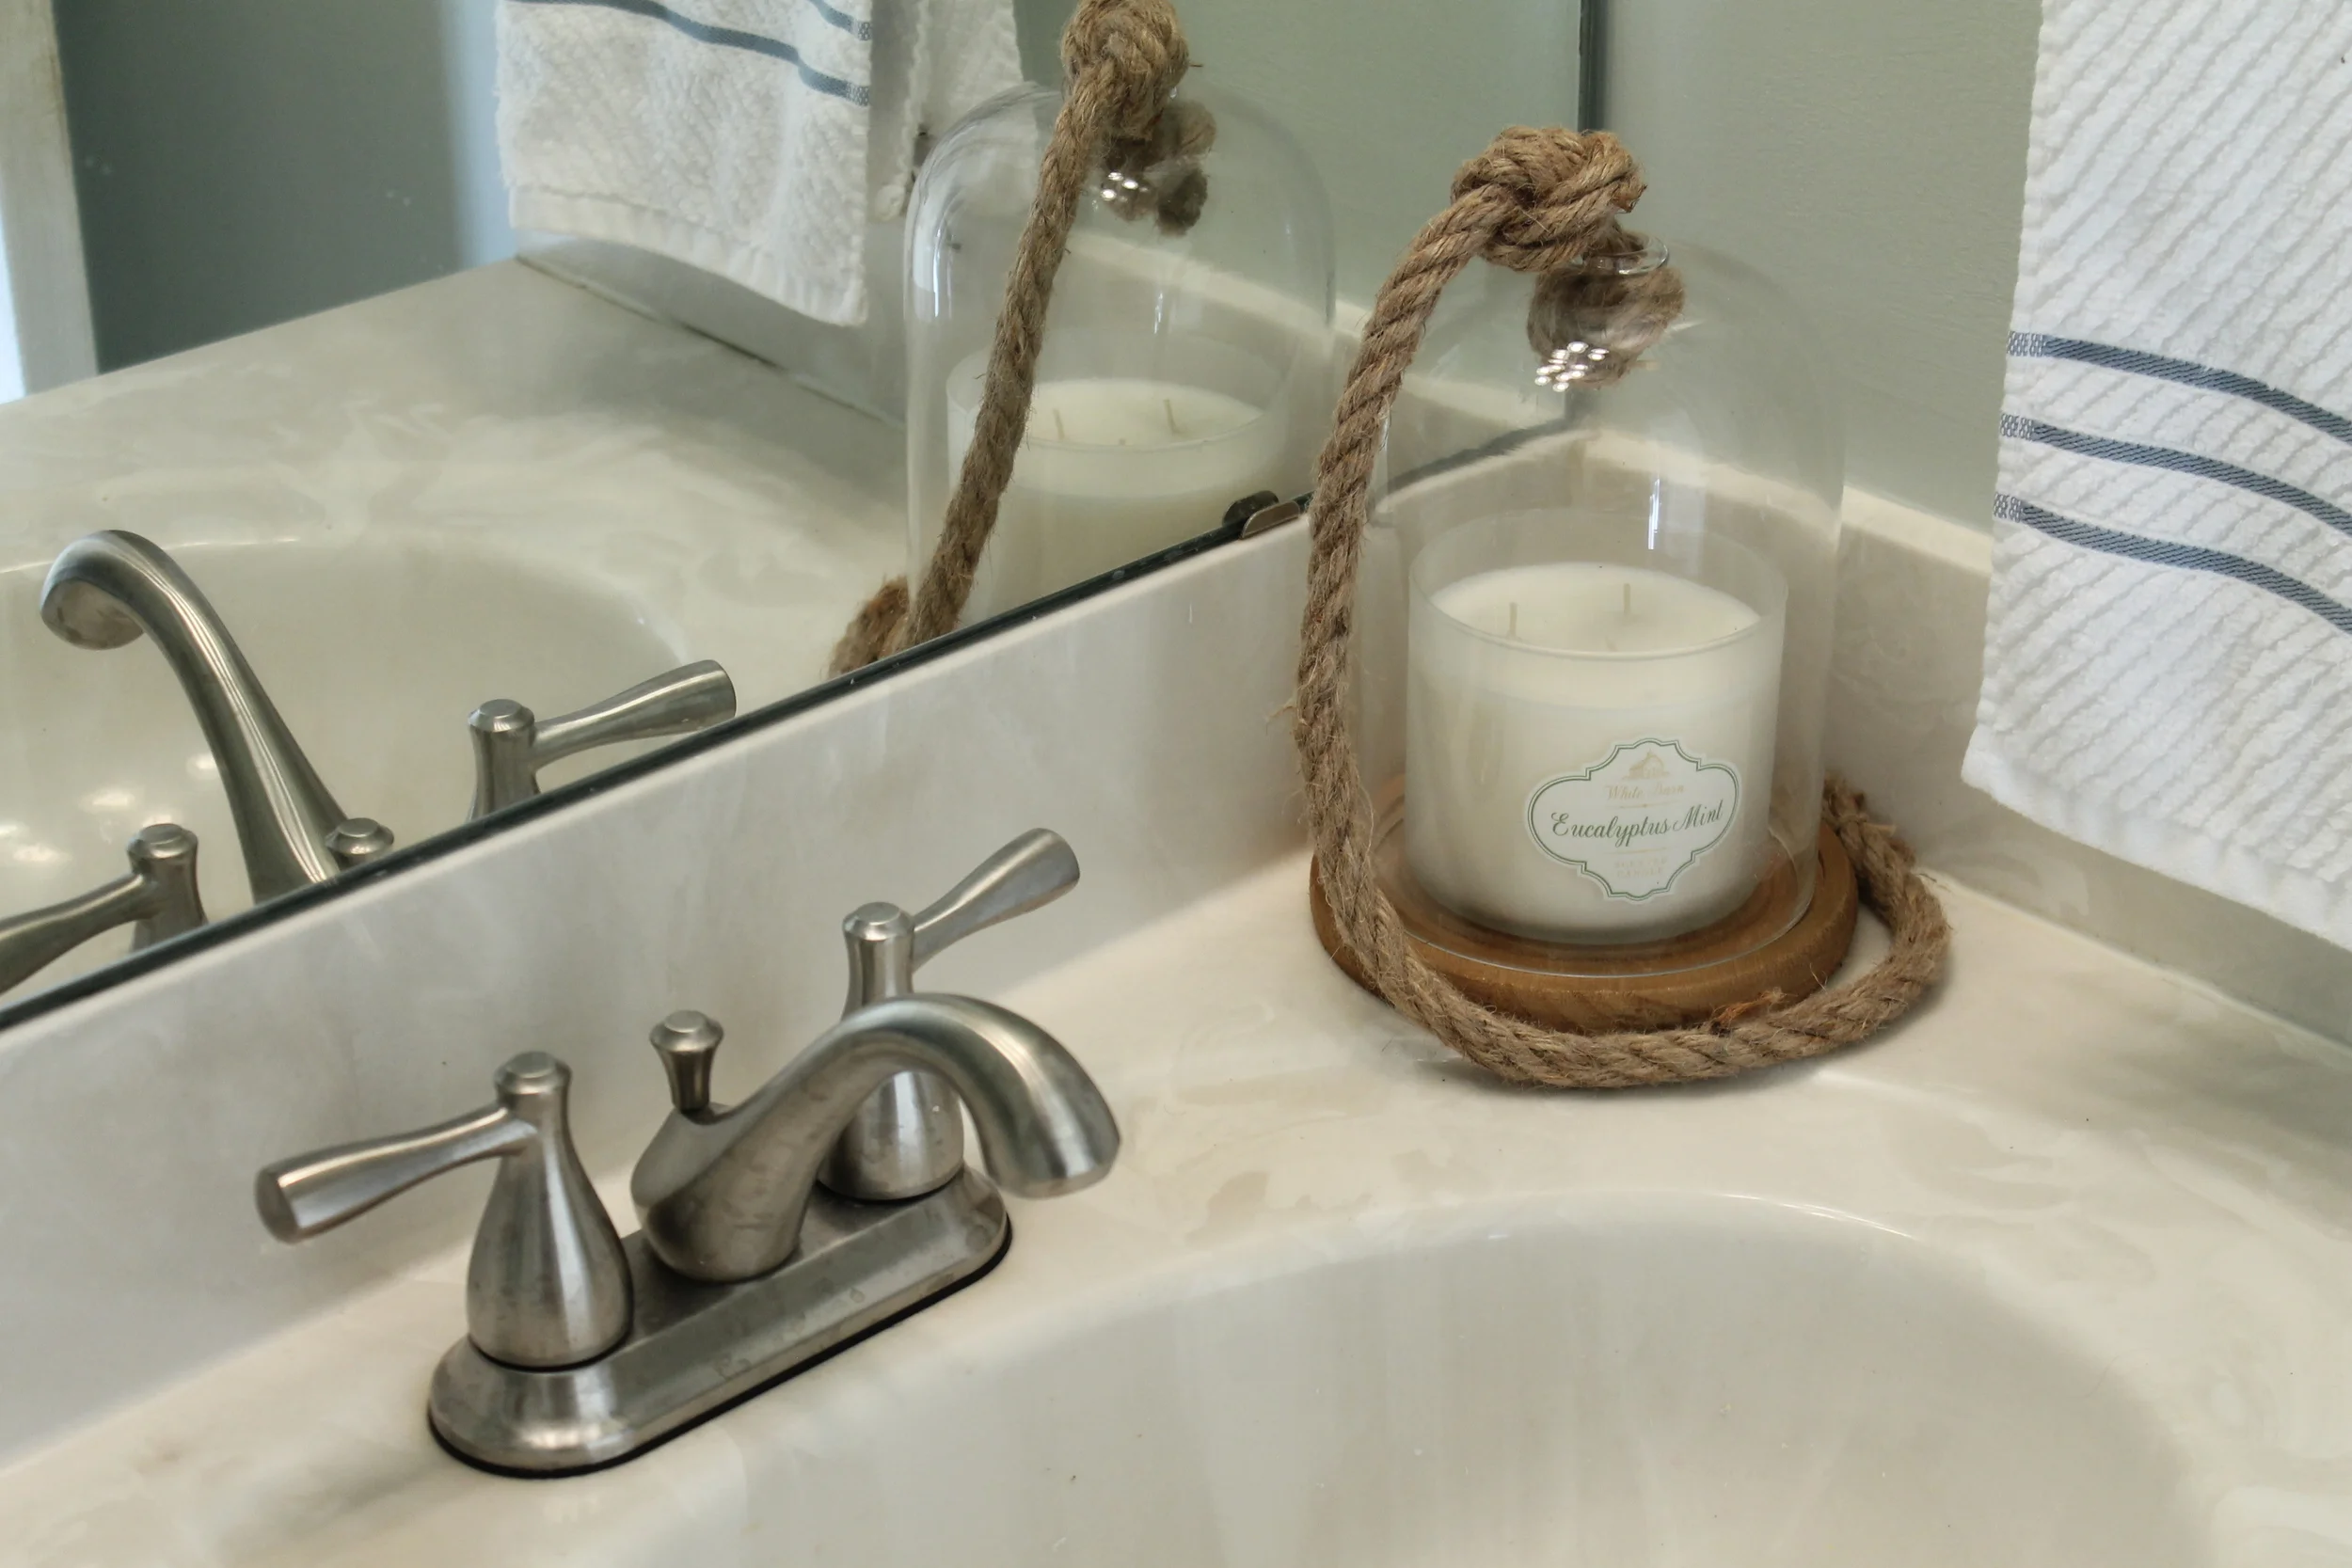
  • Rope cloche - $6.42 (Michaels)
  • Candle - $9.63 (Bath & Body Works)
  • Soap dispenser - $8.56 (Target)

We had leftover wall paint, a pair of spare cabinet knobs, the hand towel, and the vintage mason jar on hand, so we saved a little money there. All in all, we spent $218.50, which is a win in my book. This room seems SO much bigger and brighter and flows better with the rest of the house.

Elizabeth Burns Design | Budget Friendly Powder Room Makeover for Around $200

Our Utility Grade Oak Floors | Myrtle House

Elizabeth Burns Design | DIY Utility Grade Oak Flooring - How to install solid hardwood flooring

I know it has been a while since I last posted, and the reason for the little break is that we have a few things in the works but nothing quite finished yet. The kitchen appliances have arrived, the kitchen cabinets are on order, we have a new (to us) washer and dryer ready to be installed, but nothing blog post worthy. The one thing we have finally finished - mostly due to the fact that we hired out the last leg of the job - is the hardwood floor!!!

Our project was unique in the fact that we were able to salvage some of the original 100+ year old floors, but we also had to install new hardwood floors in a few rooms. The phrase "they don't make them like they used to" holds true for hardwood flooring. The existing floor is oak just like the new flooring, but you can see how much tighter the wood grain is comparatively. Also, the old boards are easily 4-5' in length whereas the Utility Grade Oak is about 1.5' in length on average. We used Lumber Liquidators 2.25" Utility Oak.

I posted parts one through three of installing the Utility Grade Flooring and you can go back and read those here if you'd like:

Part I
Part II
Part III

After the five weekends it took to install the new hardwoods, it was time to settle on a stain color. I am a big fan of dark floors but I am not a big fan of every spec of dust showing on the floor. So, with the really dark stains ruled out, then there were two: Minwax Dark Walnut and Minwax Provincial. I loved the color of Dark Walnut but was concerned that the old wood would soak it up like a sponge and make the floors look black. Provincial, on the other hand, had a lightness to it which I liked, but I was worried that the stain would have an orange hue. I tested a few on the White Oak, Red Oak, and "old" Oak boards to get a feel for color.

Elizabeth Burns Design | DIY Utility Grade Oak Flooring - How to install solid hardwood flooring

The left side is Dark Walnut. The middle is 50/50 Dark Walnut/Provincial. The right side is Provincial.

After talking it out with our contractor, he suggested going with the Dark Walnut, but he would only let it sit on the wood for a couple of seconds and would wipe it off immediately. This would give us the color we want but not the darkness. Done deal.

It took him a couple of days to sand, patch, install thresholds, and fill in deep knots before getting to the staining. Word to the wise - the sawdust from sanding is just as messy as drywall dust. Make sure to cover up anything you don't want to get dirty. Here is how the dining room/living room threshold looked after sanding. The old wood is on the top, the new wood on the bottom.

Elizabeth Burns Design | DIY Utility Grade Oak Flooring - How to install solid hardwood flooring

Color-wise, they sanded out pretty well! I was pleasantly surprised that the old wood sanded out so light. He then cleaned everything with Mineral Spirits before the staining commenced.

Elizabeth Burns Design | DIY Utility Grade Oak Flooring - How to install solid hardwood flooring

Our contractor created a threshold to join the old and the new, and I think it turned out great! Below is the before and after (old floor on the left, new floor on the right).

Elizabeth Burns Design | DIY Utility Grade Oak Flooring - How to install solid hardwood flooring

Natural wood right after installing (left) and with Dark Walnut stain (right). Lola loves the camera.

Elizabeth Burns Design | DIY Utility Grade Oak Flooring - How to install solid hardwood flooring

What I learned about Utility Grade Oak Flooring

  • One thing that surprised me was how much variation there is between bundles. Our order was a mix of White Oak and Red Oak. The White Oak seemed to have MUCH less waste, so if you purchase this flooring, I would try and see if you can get mostly this type.
  • I was adamant about using as much wood as possible, so I was pretty lenient on some pieces when it came to the imperfections and rough knots. One thing I didn't think about was the fact that these rough knots can tear up your sandpaper when you get to that stage, so in the end, those rougher pieces ended up costing me more rather than buying a few more pieces of wood.
Elizabeth Burns Design | DIY Utility Grade Oak Flooring - How to install solid hardwood flooring

Would I use Utility Grade Flooring again?

  • In a heartbeat. To have a solid wood floor for less than $1/square foot unfinished, it is really hard to top. If we were installing wood floors in a newer home where there wasn't existing wood floors, I would probably go with an engineered floor simply because it is pre-finished and so much faster and cheaper to install. However, for our 1901 Myrtle House, this floor was perfect.
Elizabeth Burns Design | DIY Utility Grade Oak Flooring - How to install solid hardwood flooring

Recommendations for Utility Grade Floors?

  • If you would consider yourself Type-A, this may not be the floor for you. There will be imperfections and knots which I think is what makes this floor beautiful. However, it is not for everyone. If you think all of the little knots and crevices will drive you crazy, maybe consider paying extra for a higher grade wood or going with a more uniform engineered flooring.
  • It was so worth it to pay someone to sand and refinish the floors. Installing is pretty easy, but sanding, cleaning, staining, and sealing these floors is something I will happily leave to the pros. From what I have read, this is the consensus from other DIYers on solid hardwood floors.

Any lingering questions on these floors? Any experience with it yourselves? I would love to hear!

P.S. This post is not sponsored by any company. I am just really happy with the products and companies we used for this project. :)

Utility Grade Floors - Part Three | Myrtle House

After four weekends working on nothing but the Myrtle House hardwoods, we have everything but the master closet done! I won't bore you with too many details (you can only talk about installing hardwoods so much), but here are a few photos of where we are at now, verses where we were just a few months ago.

Elizabeth Burns Design | Installing Utility Grade Oak Flooring, DIY

Once the hardwood saga is complete, I will write a more detailed post on our process and what we learned. Hopefully it will be helpful to those attempting this budget-friendly flooring option!

Repurposed Canvas Art | DIY

Elizabeth Burns Design | DIY Canvas Art, Beach House Decor

Art can make a huge statement in a room. However, said statement can be good, or bad, depending on the piece. :) The Sea Spray Condo art fell into the "bad" category.

Elizabeth Burns Design | DIY Canvas Art, Beach House Decor

The canvas shown above was purchased from Roses many moons ago, and was not doing the little beach escape any favors. The wall it is displayed on is quite large, so when we got around to sprucing up the condo, I knew we would need something of similar size. I started shopping and came to find out that large canvases are pricey! We were on a limited budget, so I opted to recycle the old art instead.

Elizabeth Burns Design | DIY Canvas Art, Beach House Decor

If this was an original work, I would not have painted over it. It was an inexpensive reproduction so I didn't feel too guilty. :) I took a few pots of the paint we used throughout the renovation and messily graduated the colors from dark to light, back to front, respectively.

Elizabeth Burns Design | DIY Canvas Art, Beach House Decor

Clearly, not perfect, but it works well as an inexpensive update. Plus, since I used the same paint colors in the space, it sort of effortlessly tied everything in together.

Elizabeth Burns Design | DIY Canvas Art, Beach House Decor

P.S. After eyeing it for months, I scored the little nautical cloche number at Michael's for 70% off this weekend. Great success!

Utility Grade Oak Floors - Part Two | Myrtle House

Another weekend in the books for the hardwood floors at the Myrtle House. Brian and I both made the trip this weekend and I have a whole new respect for the work he did by himself! While not difficult, laying these floors are time-consuming and quite labor intensive. I think I am more sore today than I was after my first half marathon.

On Saturday, we divvied up the tasks; I was the racker, Brian was the nailer. Basically, I would unpack the bundles, sort through the good and bad, and then lay them out in a way where there were no overlapping seams and the coloration was balanced. Brian would then come behind me and set and nail in each piece. He also laid the rosin paper while I opened and sorted bundles. This process worked great for a two man/woman team.

When researching utility grade flooring, the main concern that came up was the amount of waste. When we picked up our order, I noticed that some bundles had white ties, while others had yellow ties. I didn't think anything of it, but as we have gotten into the process, I noticed that the yellow tied bundles are MUCH better quality. Less bad ends, less splits. If we had all yellow tied bundles, our waste would be slim to none. However, the white bundles have about 30% waste. There are many knots that go all the way through the wood. There are splits that make the wood unstable. There are also ends that are unusable (either no tongue or no groove). I am not sure if we accidentally got an upgraded wood, but if we only had the white bundles to work with, the amount of waste would have been frustrating. You can see the difference between the two below.

Elizabeth Burns Design | Utility Grade Hardwood Flooring DIY Old House Renovstion
Elizabeth Burns Design | Utility Grade Hardwood Flooring DIY Old House Renovation

We were able to use a lot of the bad pieces of wood where the cabinets will be.

Elizabeth Burns Design | Utility Grade Hardwood Flooring DIY Old House Renovation

We laid the floor in the small remaining area in the dining room, around the fireplace, and then into the kitchen. Here is the before and after of where we started and then where we ended for the weekend. Getting there!

Elizabeth Burns Design | Utility Grade Hardwood Flooring DIY Old House Renovation


Utility Grade Oak Floors - Part One | Myrtle House

July has already been one busy month - we spent a whole week transforming the windows at the Myrtle House, and then I completed my first week at the new job. While all of these events are exciting, they can also feel exhausting. I really needed a weekend of downtime, but time is starting to slip away and our renovation completion date goal is sneaking up on us. Brian took one for the team and went back to work on the hardwoods this weekend. While he had hoped to complete the dining room, he finished a little shy.

As mentioned previously, we purchased Utility Grade Oak Flooring through Lumber Liquidators. They have been great to work with and we will definitely be ordering through them again. It took three trips in the truck to get all of the flooring for the house. Each bundle weighs about 50 pounds and they can weigh down a small truck quickly. We were advised to let the hardwoods acclimate to the house for at least five days. Lola did absolutely nothing to help during the entire installation process. Shocking.

Elizabeth Burns Design | Installing Utility Grade Oak Hardwood Flooring, DIY

We were cautioned that this particular floor has a lot of waste due to splits and knots. We ordered about 10% extra and so far that has been plenty.

Elizabeth Burns Design | Installing Utility Grade Oak Hardwood Flooring, DIY

Since Brian has done all of the work so far, I can't give a lot of insight into this project, but I am looking forward to getting my hands dirty this weekend and letting you all know how it goes! One thing he did have trouble with was working with the crooked walls in an old house. He spent the first night simply laying down the first straight row.

Elizabeth Burns Design | Installing Utility Grade Oak Hardwood Flooring, DIY

Below is where he stopped at the end of the weekend. It may not seem like it, but the flooring went down a lot faster than I had anticipated. When we picked up the flooring bundles, I noticed how short the hardwood pieces were and thought that might slow us down. Luckily, it hasn't made that much of a difference yet.

Elizabeth Burns Design | Installing Utility Grade Oak Hardwood Flooring, DIY

The original salvaged hardwoods are some sort of oak, so we are hopeful that after a good sanding, the old and the new floors will mesh beautifully. Having actual wood floors makes the house feel so much more like a home!