You guys have no idea how exciting it is to have an actual before and AFTER of the Myrtle House! I mean, as much as I love renovating (and I do), three years is quite a long time and we are ready for this baby to be ova! So, even though the bathroom is missing some paint, I'm writing it off as D-O-N-E. Finished, friends. So let's talk a quick walk down memory lane, shall we?


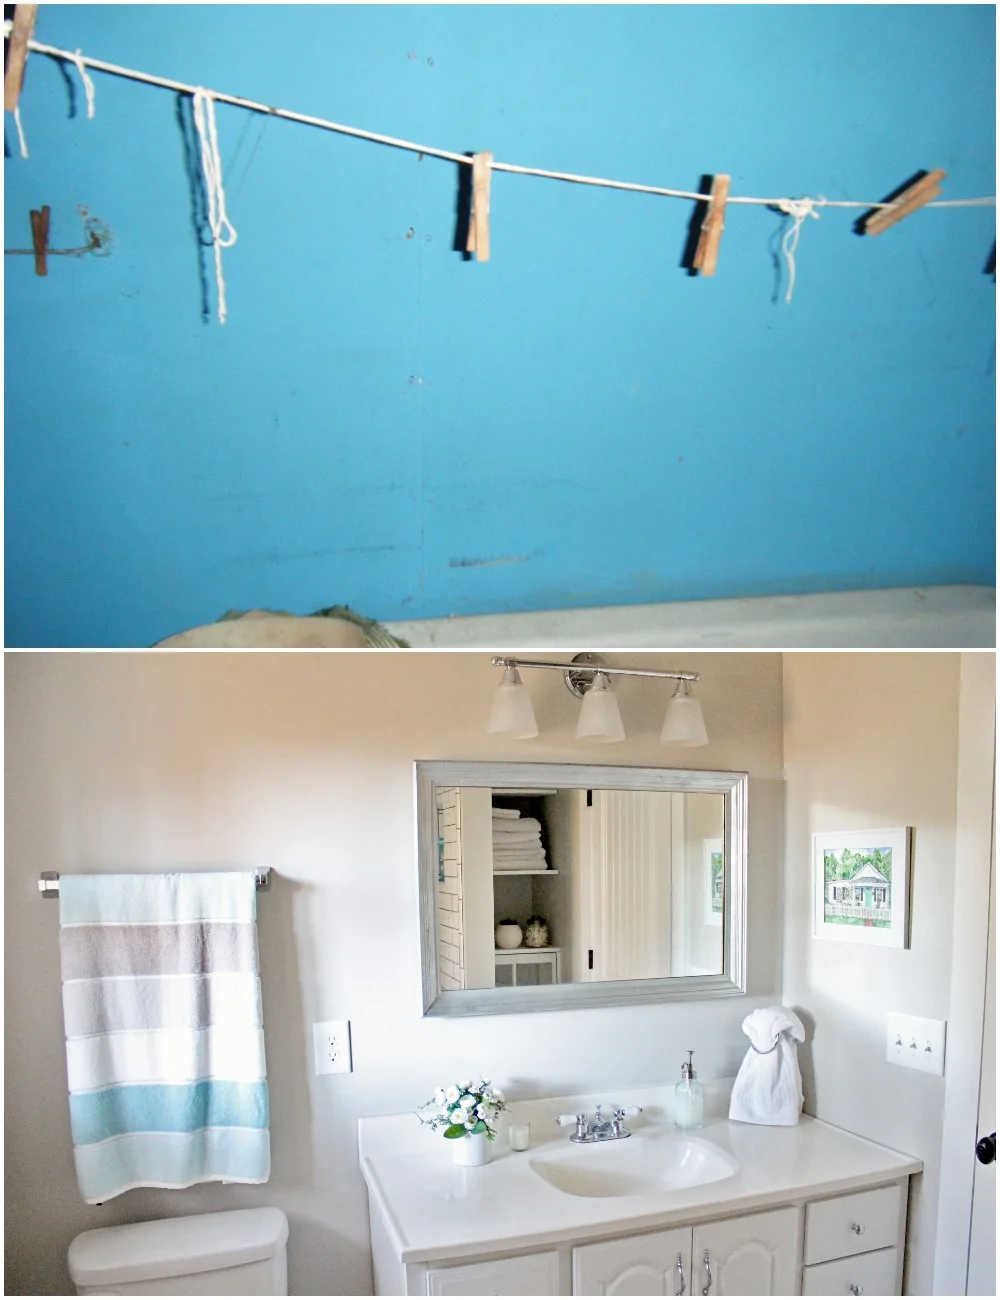
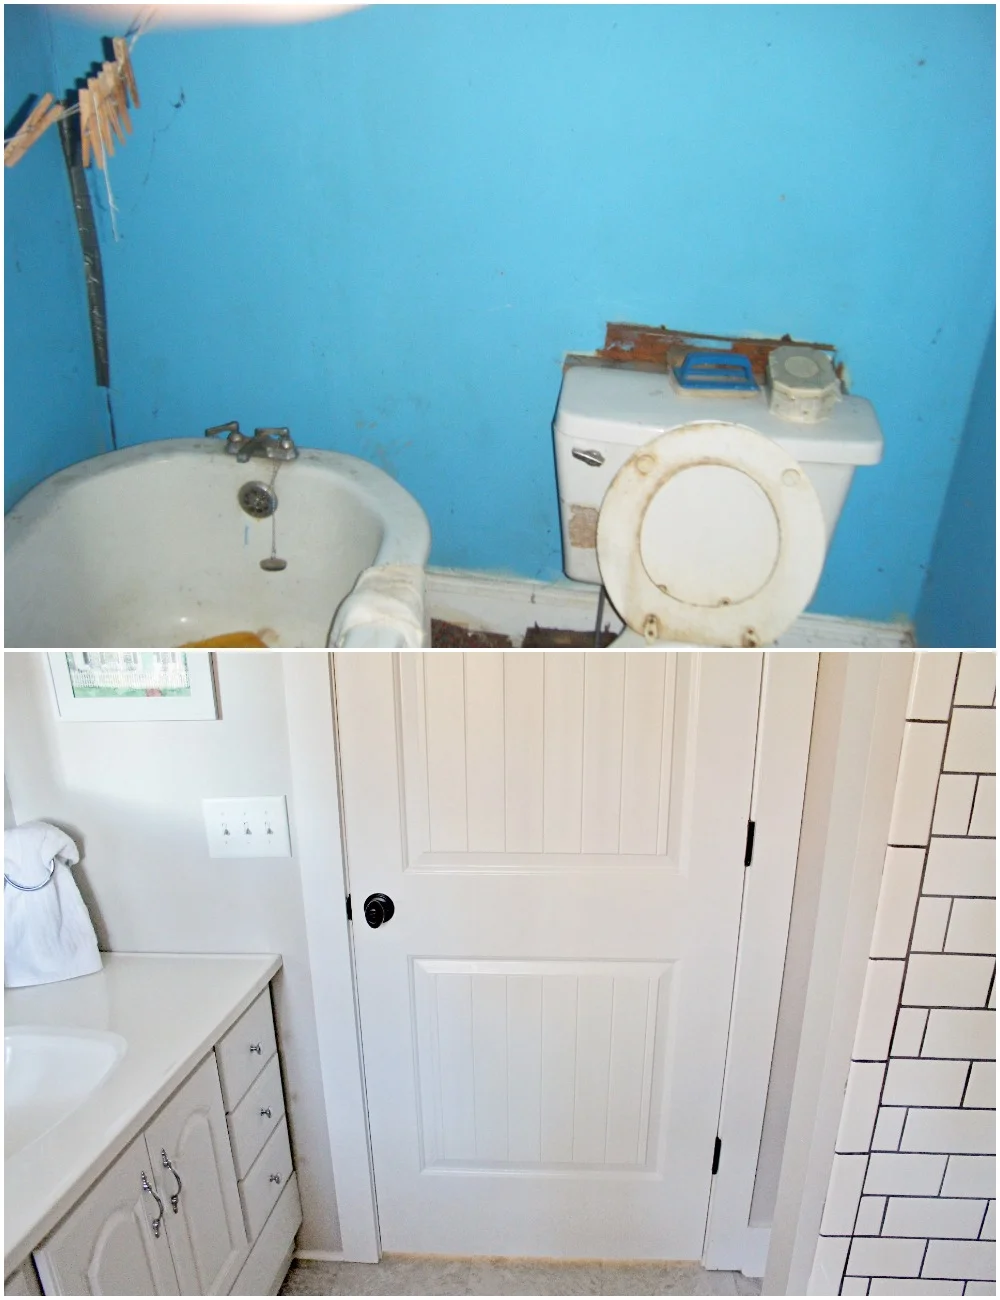
Lovely, right? We were sad to see it go - the blue was very spa like. A classic beauty. Just kidding. Some things don't get better with age. It took me a few weeks to muster up the courage to venture into the bathroom. Luckily, it wasn't too long before the whole space was gutted. Oh happy day! And then it looked like this.

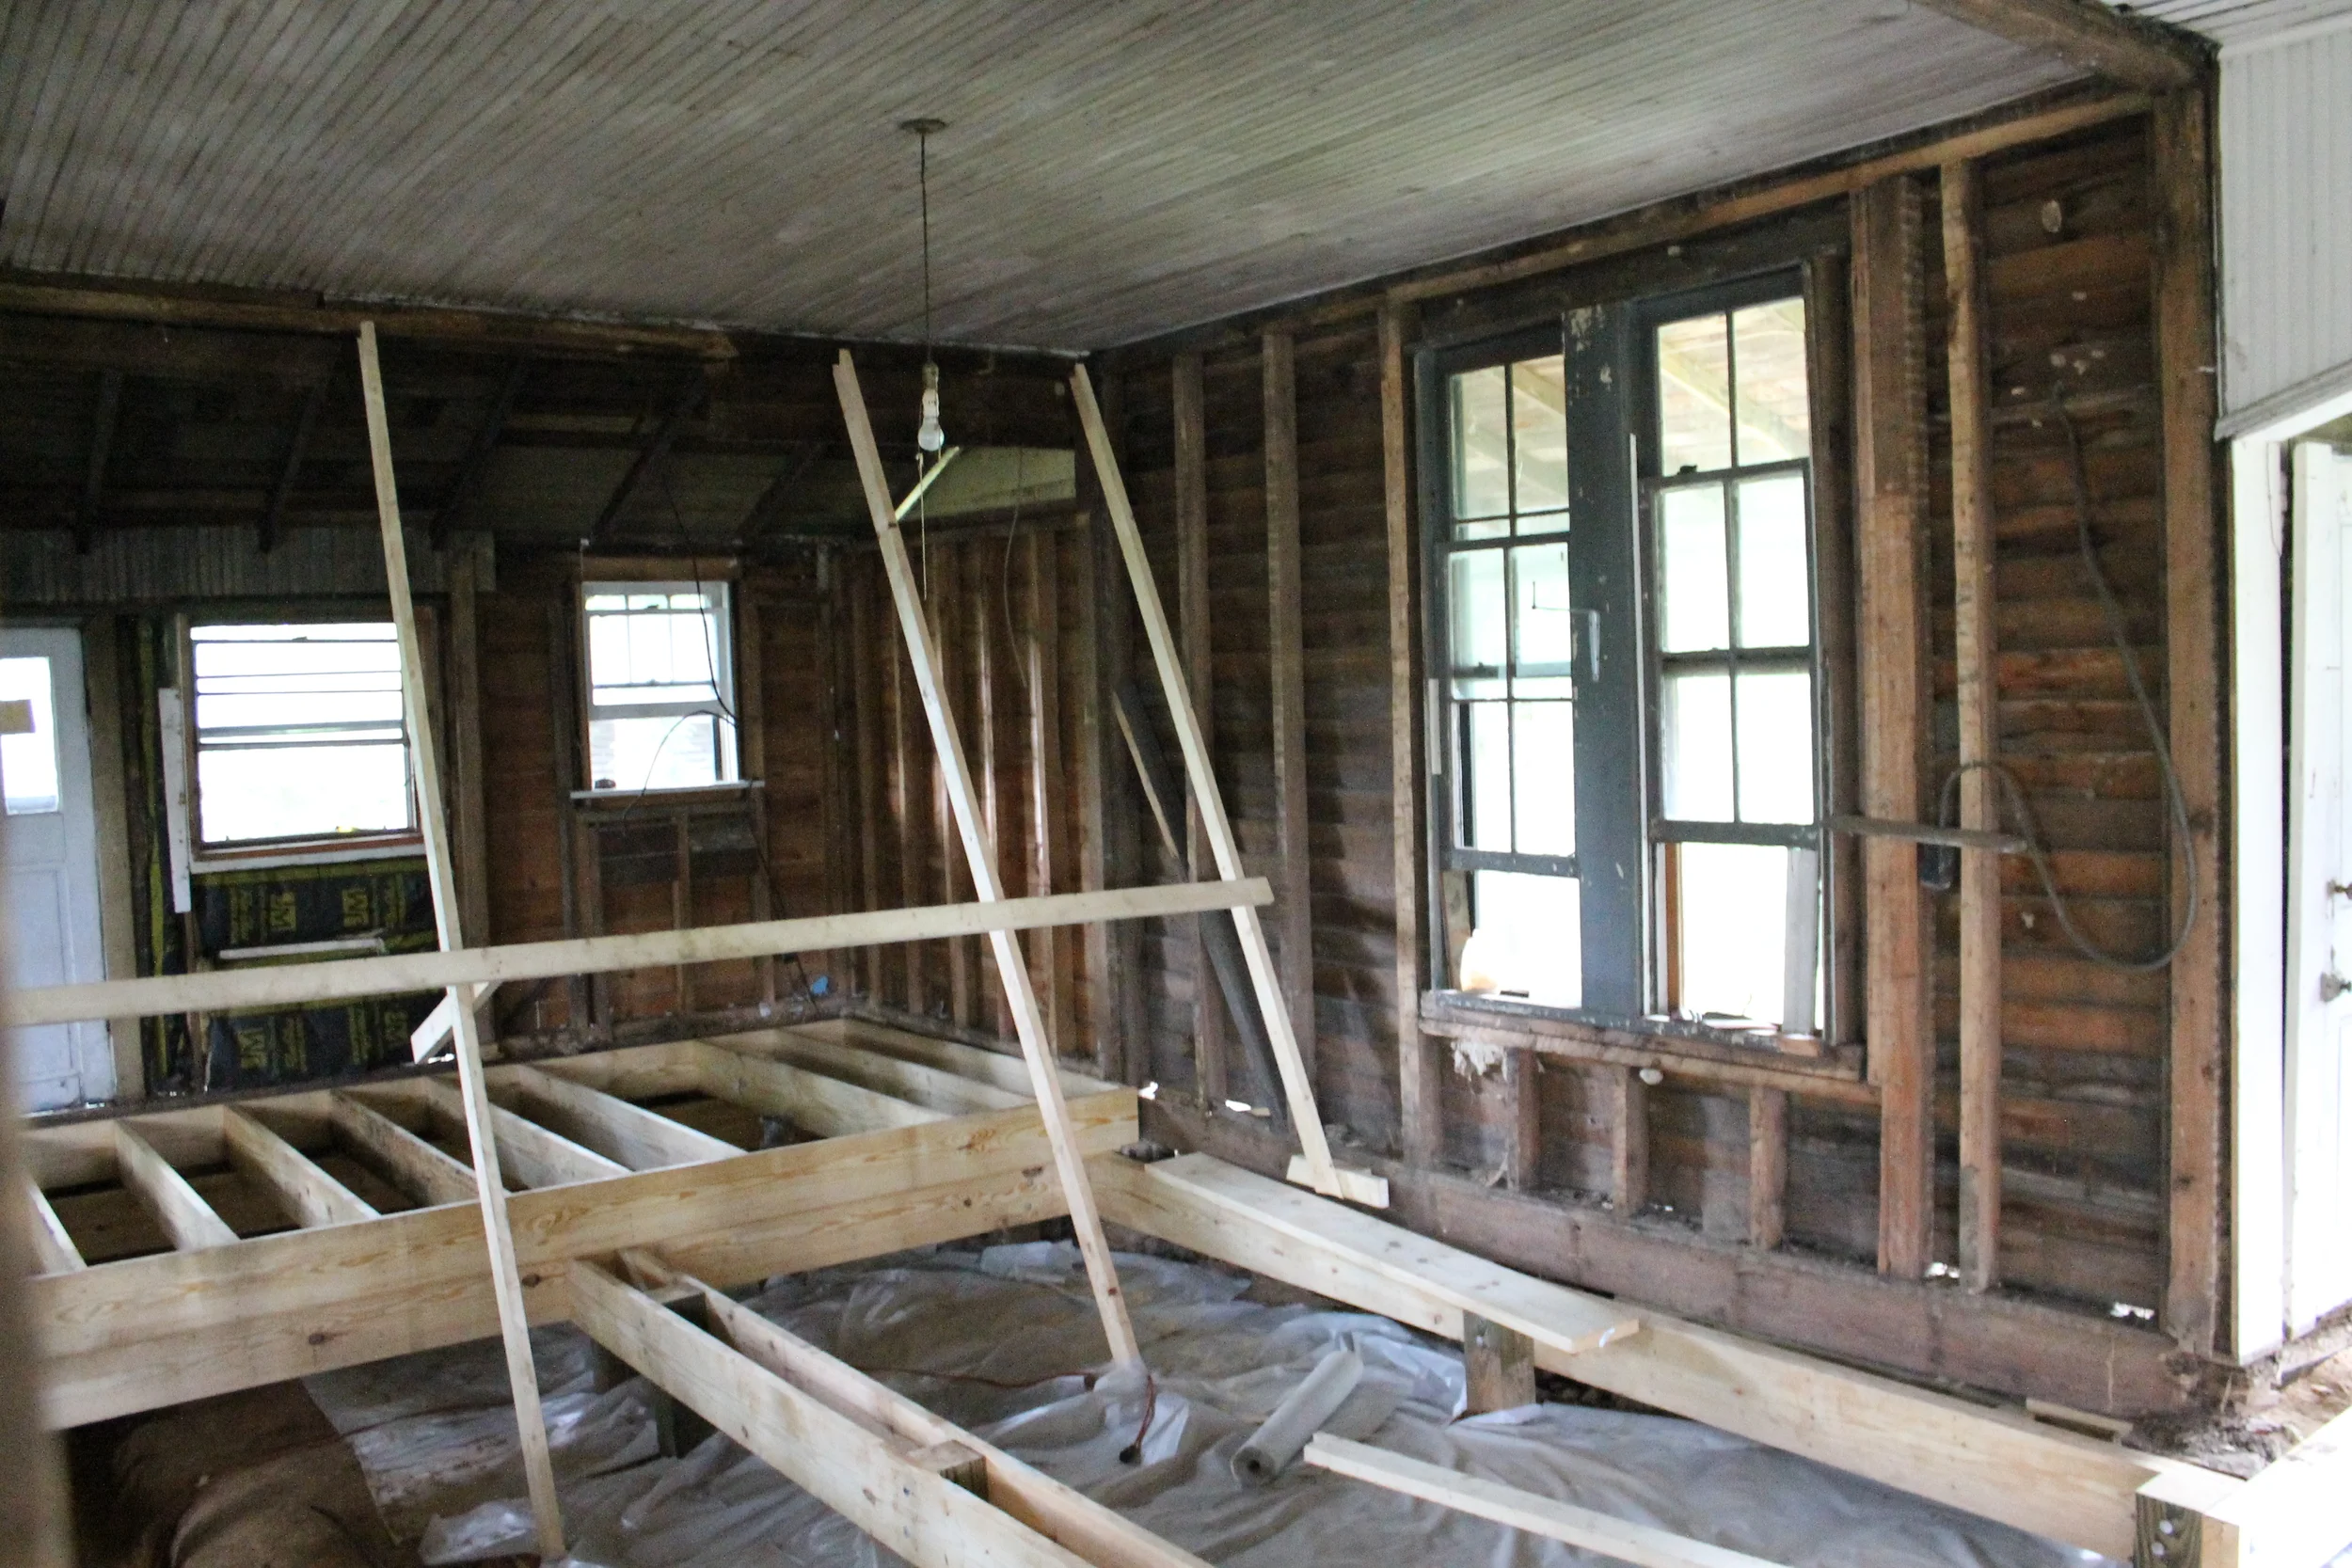
Oh boy. In case you were wondering - the photo on the left is really that crooked. The structure was sagging quite a bit due to our unwanted house guests: termites. Grrrr. So! Clearly, we had our work cut out for us. The new wood you see on the right is a temporary support that is holding up the house. The large hole in the dirt is for our new footers. Luckily, we had the help of Angi Construction on our side to make this 115 year old house of ours safe and sturdy again. Pretty soon, with a little bit of contractor fairy dust, it was looking like this!


We (and by we, I mean Jake, our fairy godcontractor) built a brand-spanking new support system and then the rest of the structure fell into place: subfloor, framing, electrical, plumbing, hvac, insulation, drywall, vinyl flooring, wall tile, vanity, toilet, trim. The whole shebang.


After drywall, it was up to us to finish out the space. The way you see it above is what Brian and I were working with. We slapped some paint on the walls (Sherwin Williams Agreeable Gray) and framed out the original window. Not to sound cliche, but it really is incredible what paint will do!


So maybe that wasn't such a quick walk down memory lane. More like a meandering stroll. If you're still with me, thanks. :) As you can see, this bathroom renovation wasn't a quick cosmetic fix. We literally built it back from the ground up. So when it came time to finishes (the fun part), our budget was basically nothing. Womp, womp. I enjoy the challenge of a tight budget so it was game on. For the flooring, I picked a vinyl. Hard to beat $1.24 a square foot! We tossed around the idea of a cheap tile, but due to time-constraints and my hatred of dirty grout lines, we opted for sheet vinyl. I LOVE this sheet vinyl from Home Depot. The color is spot on with white, cream, and gray tones. It also survived our renovation which means it most be ultra durable. I'm talking utility knives and screw drivers laying on the floor kind of durable. This one's a winner, for sure.

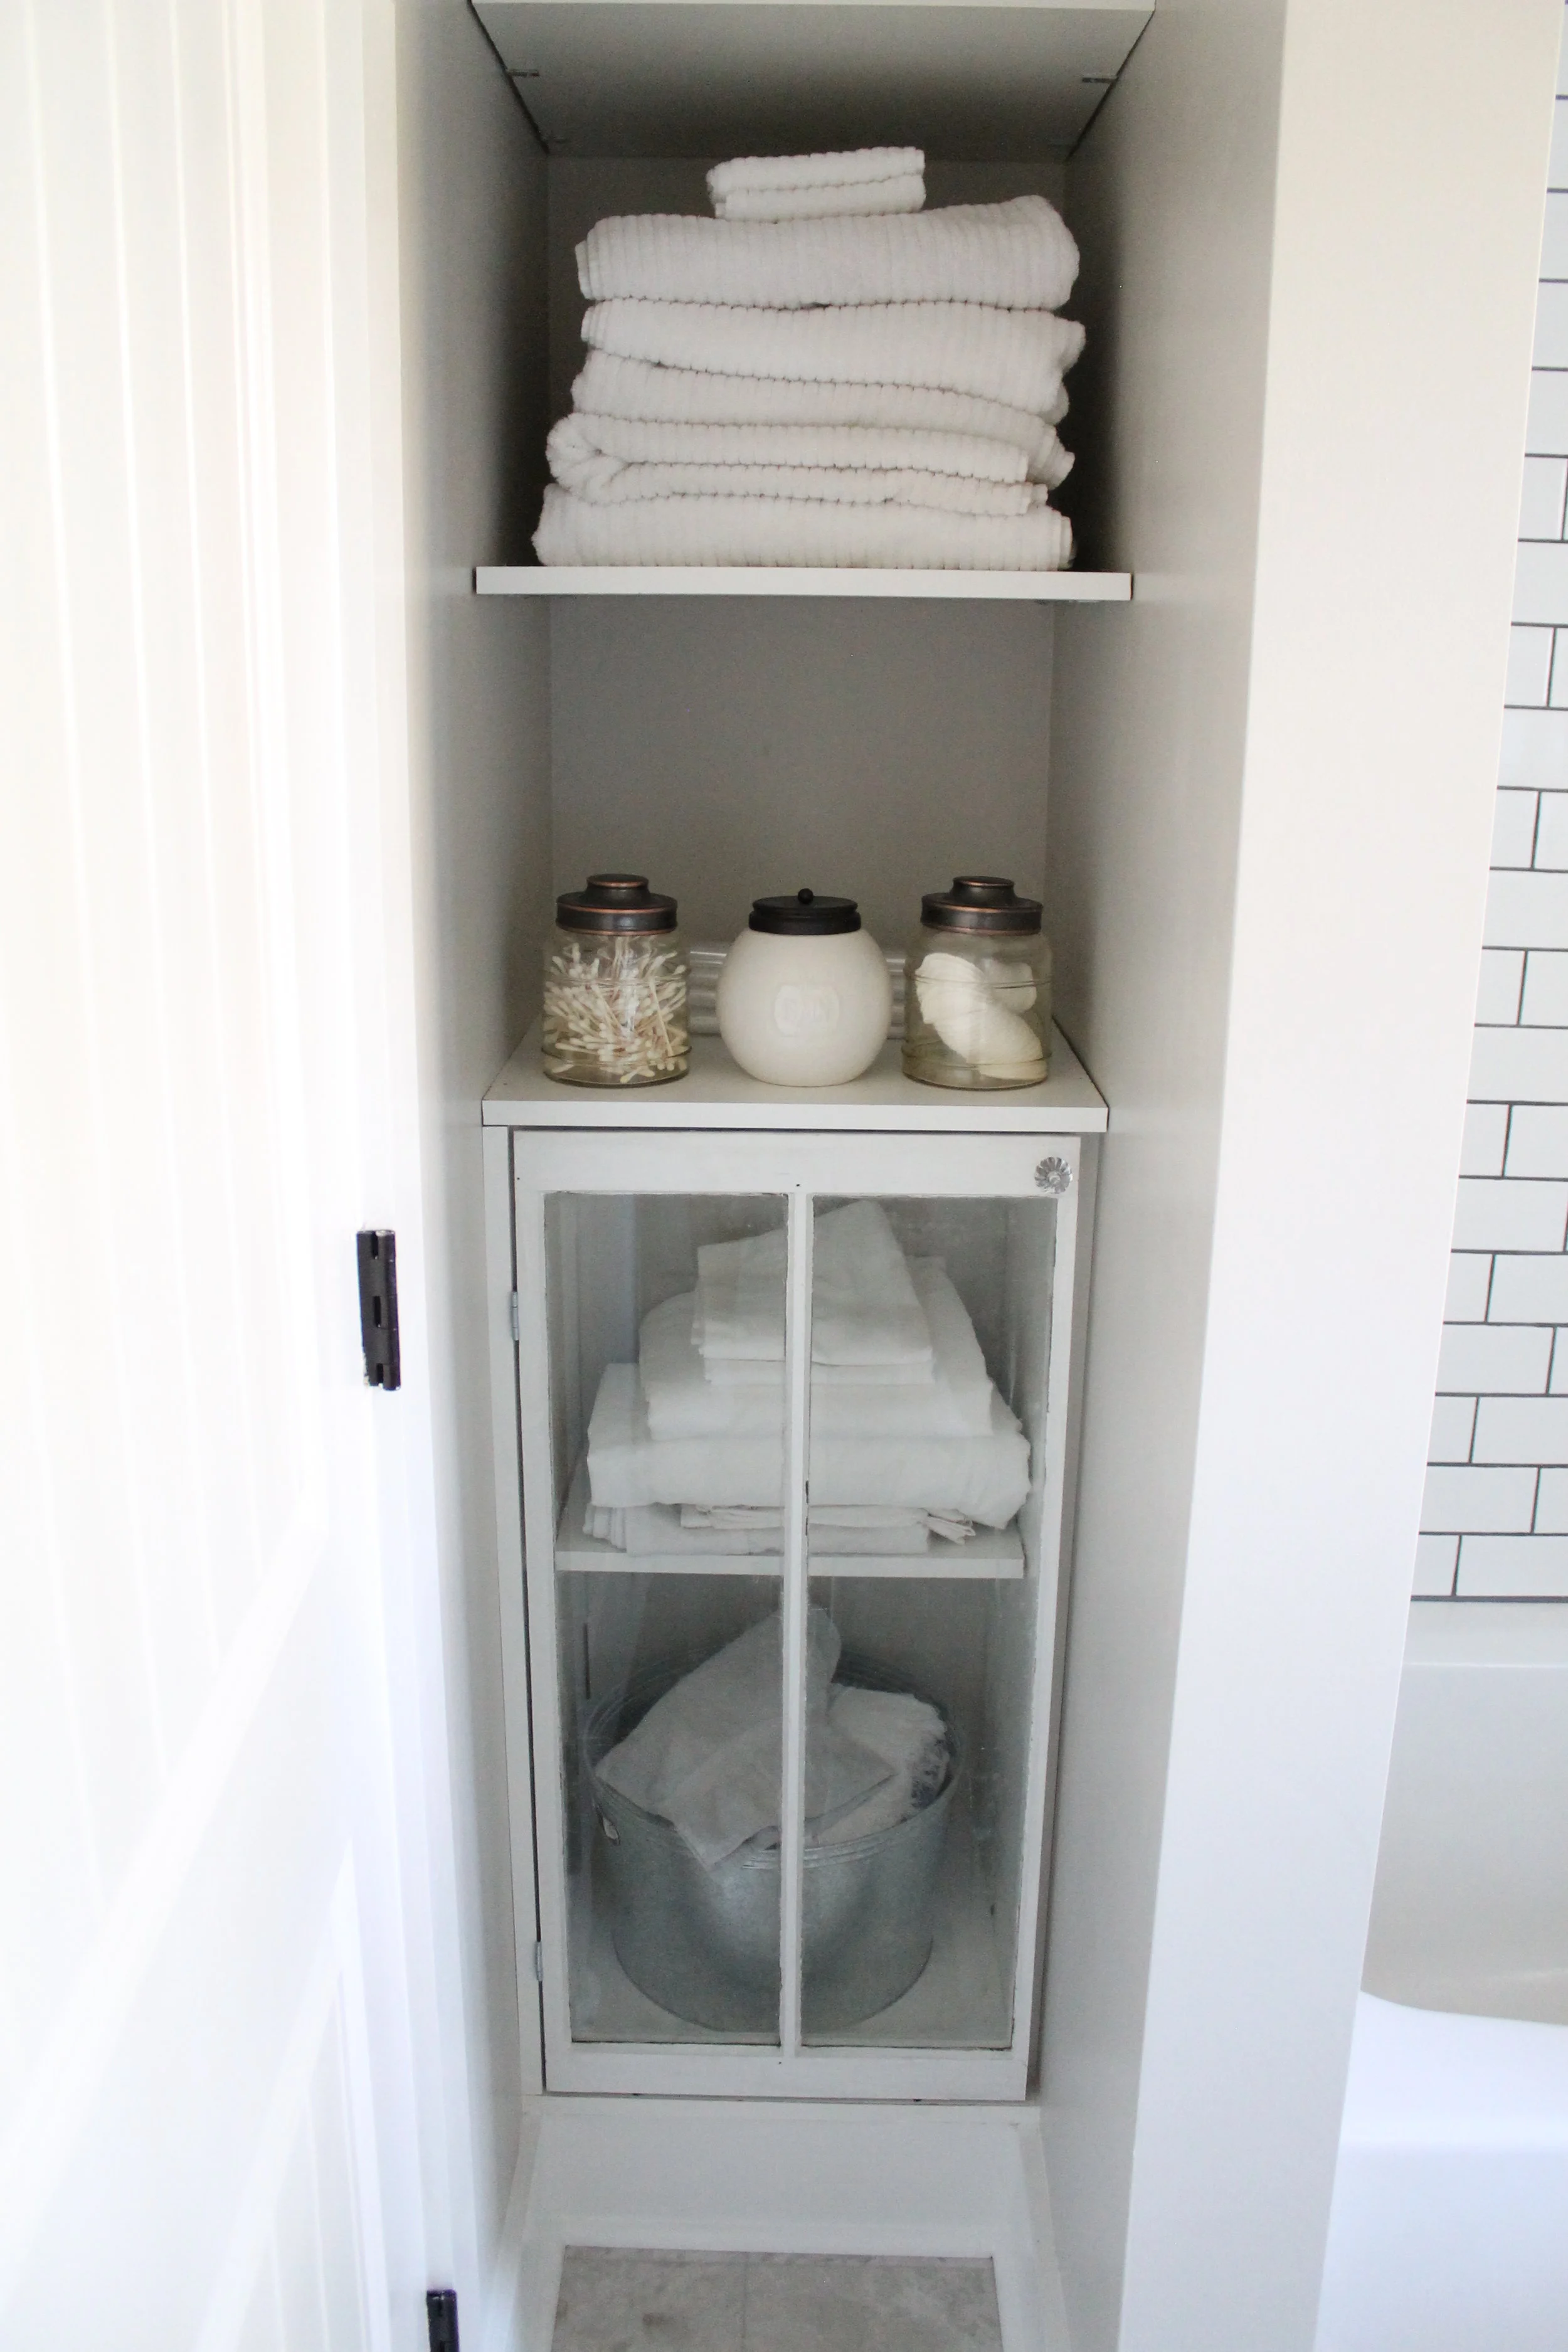
We also had this little nook between the tub and the bedroom wall that I wanted to use for shelving and storage. As we all know, built-ins mean cha-ching, cha-ching, so we looked for other options. I had been saving/hoarding this little window and we discovered that it was almost the exact same size of the opening! We had to trim it down just a hair on the table saw, but after some paint and pairing it with leftover melamine shelving, we had our own little diy bathroom built-in! The best part? It only cost about ten bucks in hardware.


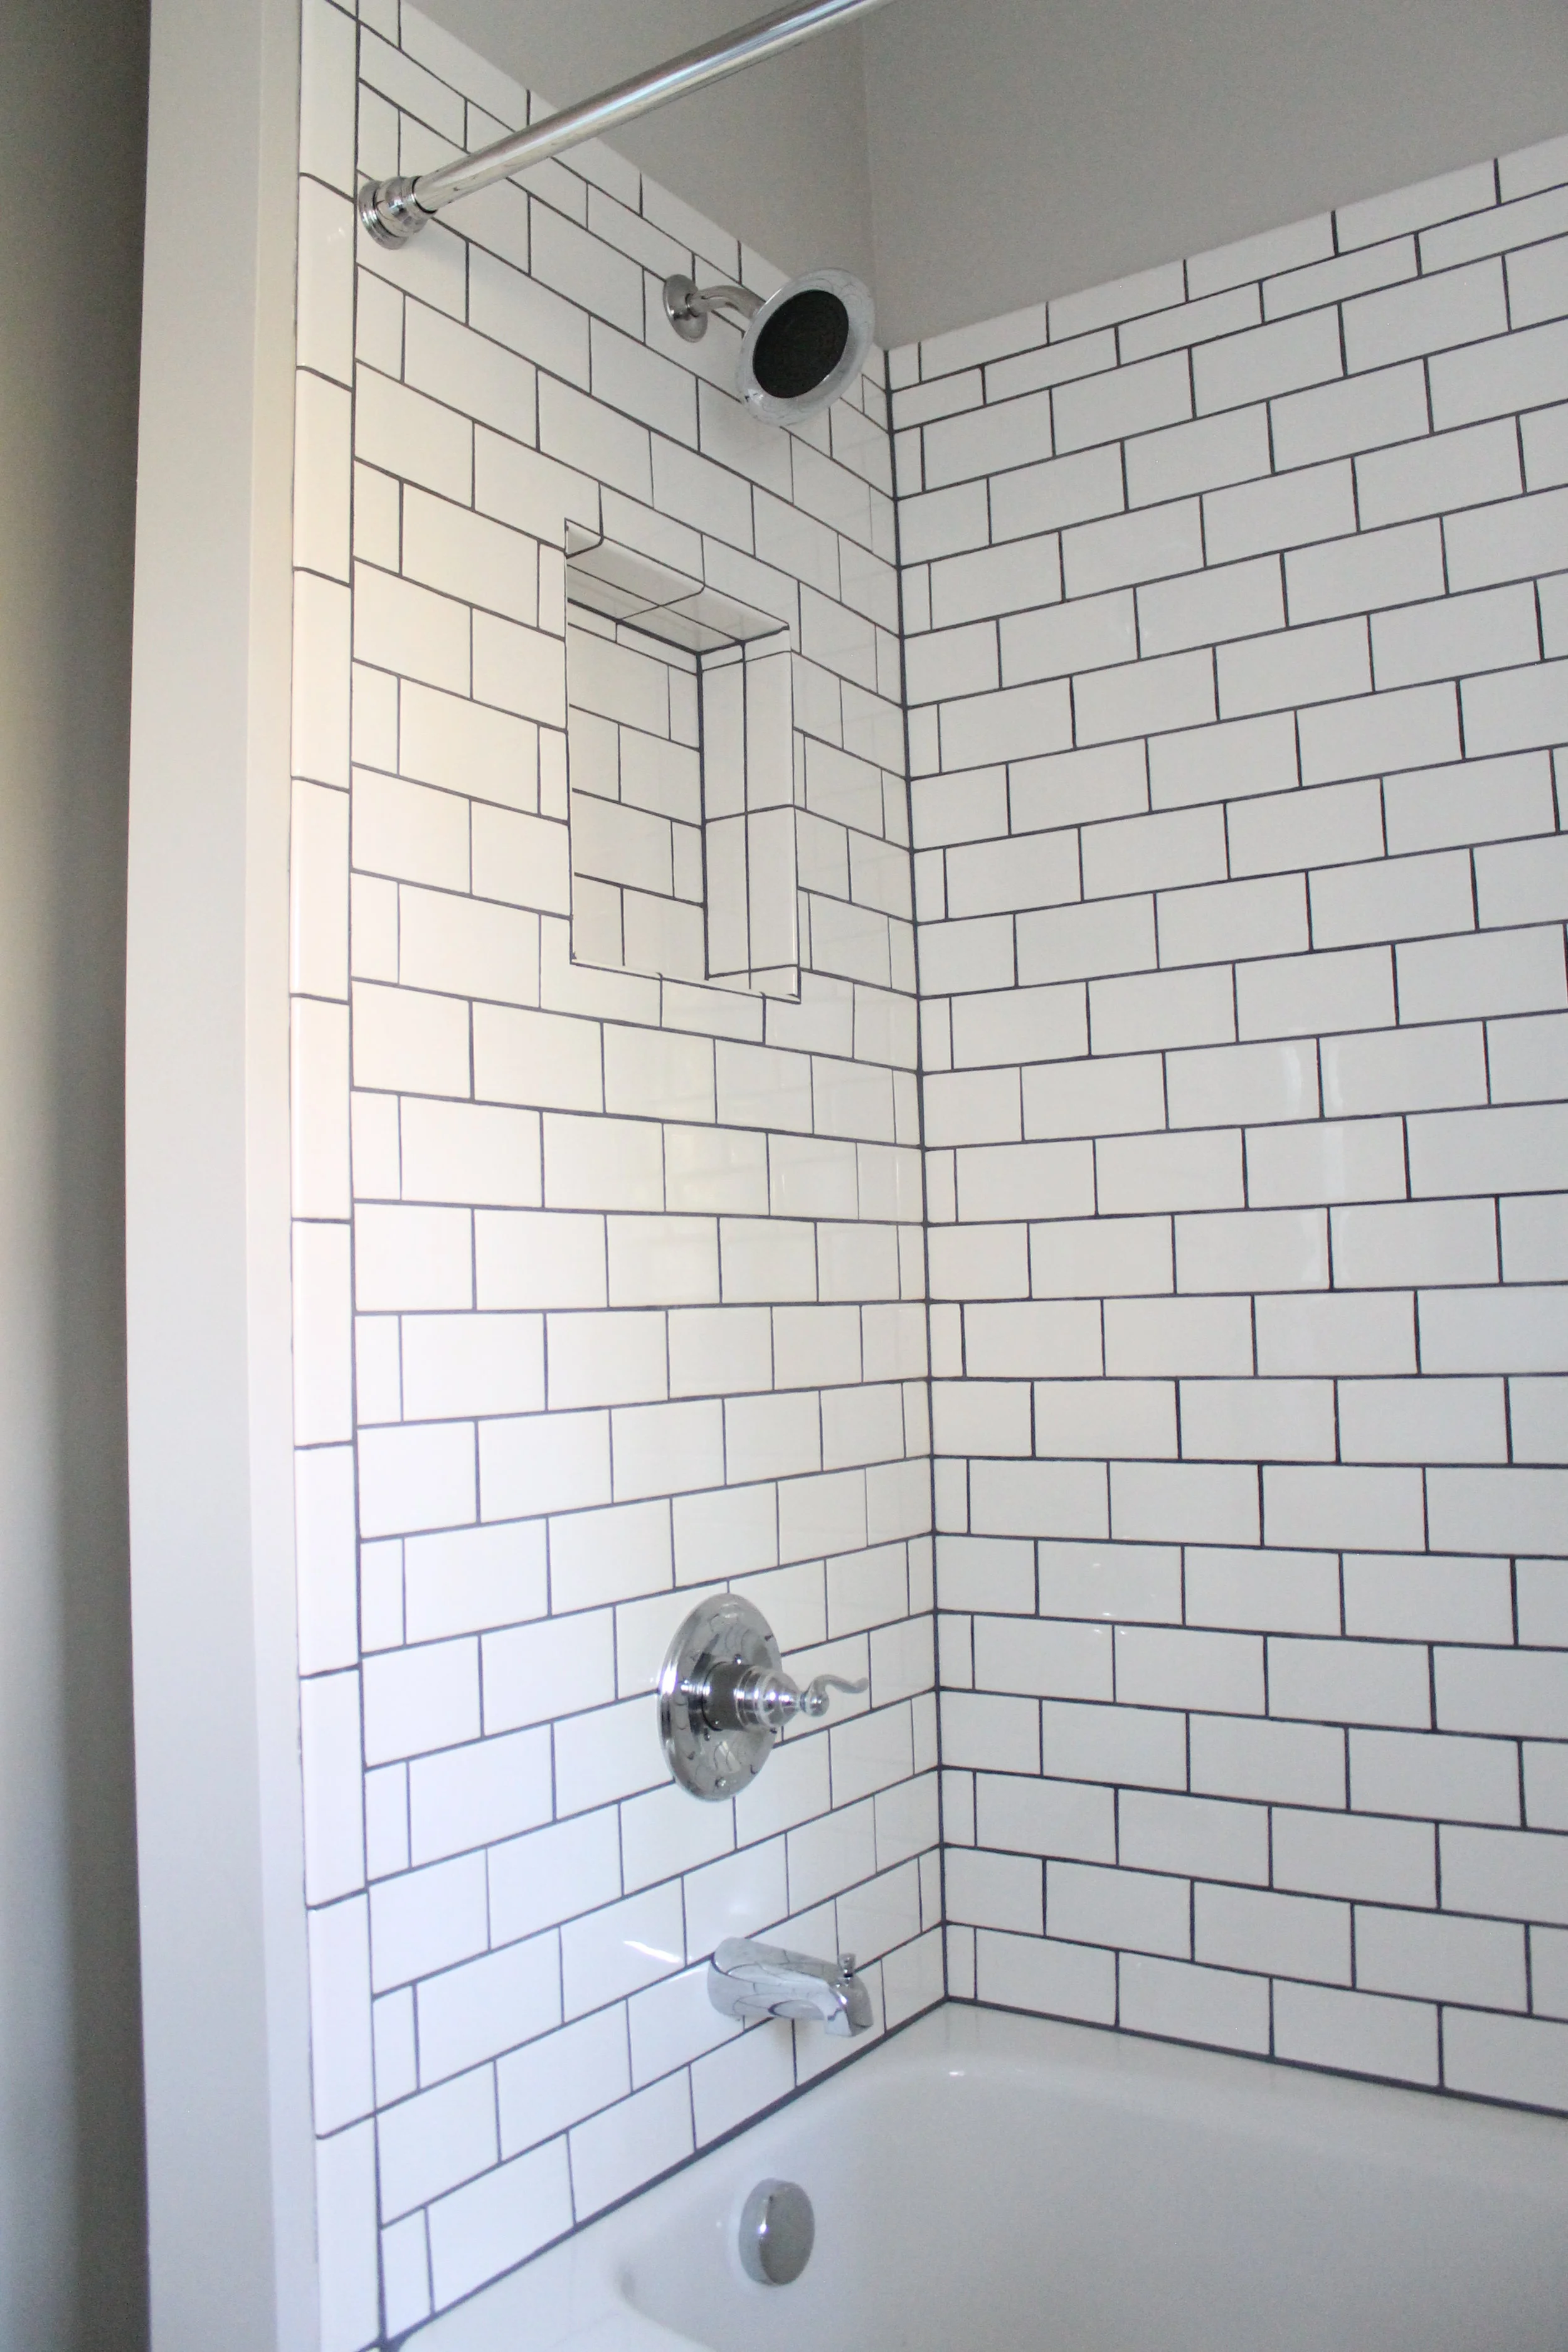
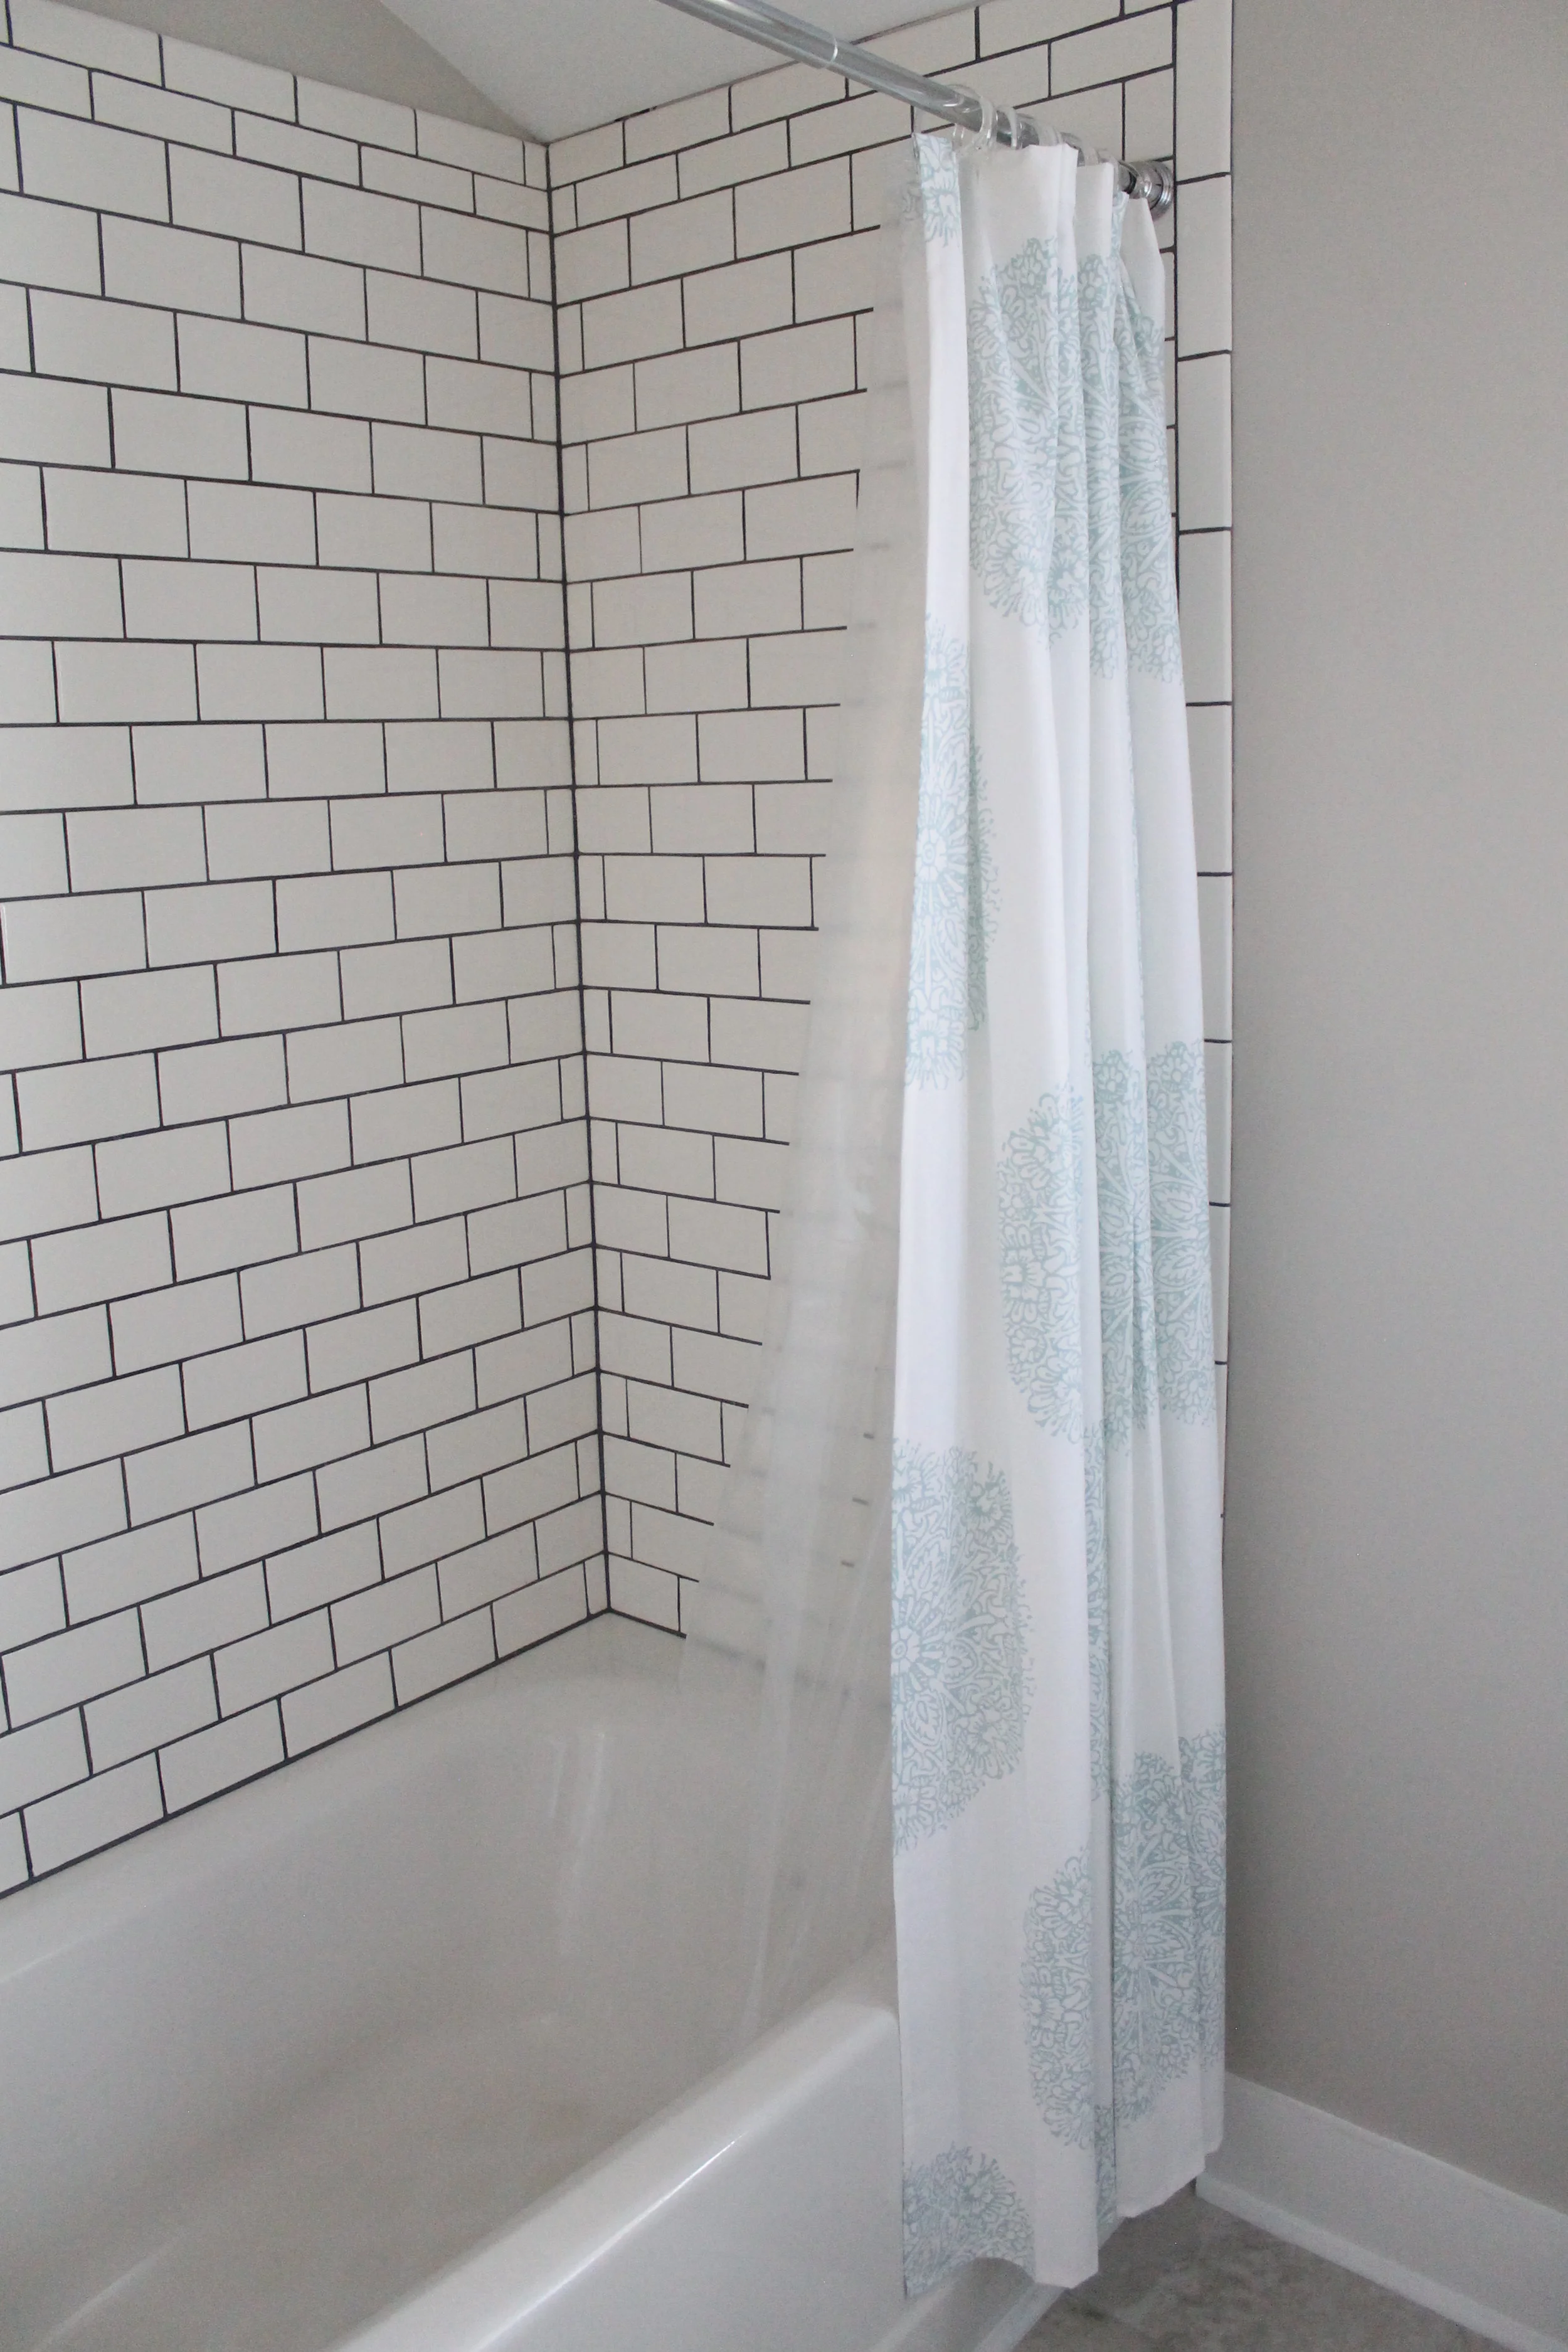
In retrospect, it would have been a heck of a lot faster to install a tub surround instead of subway tile but surprisingly not that much cheaper. While I cursed tiling this shower in particular (it was the third and final shower we tiled and included the terrible horrible thing that is a shower niche), I am glad we went with white subway tile. It really adds a lot to this little bath.
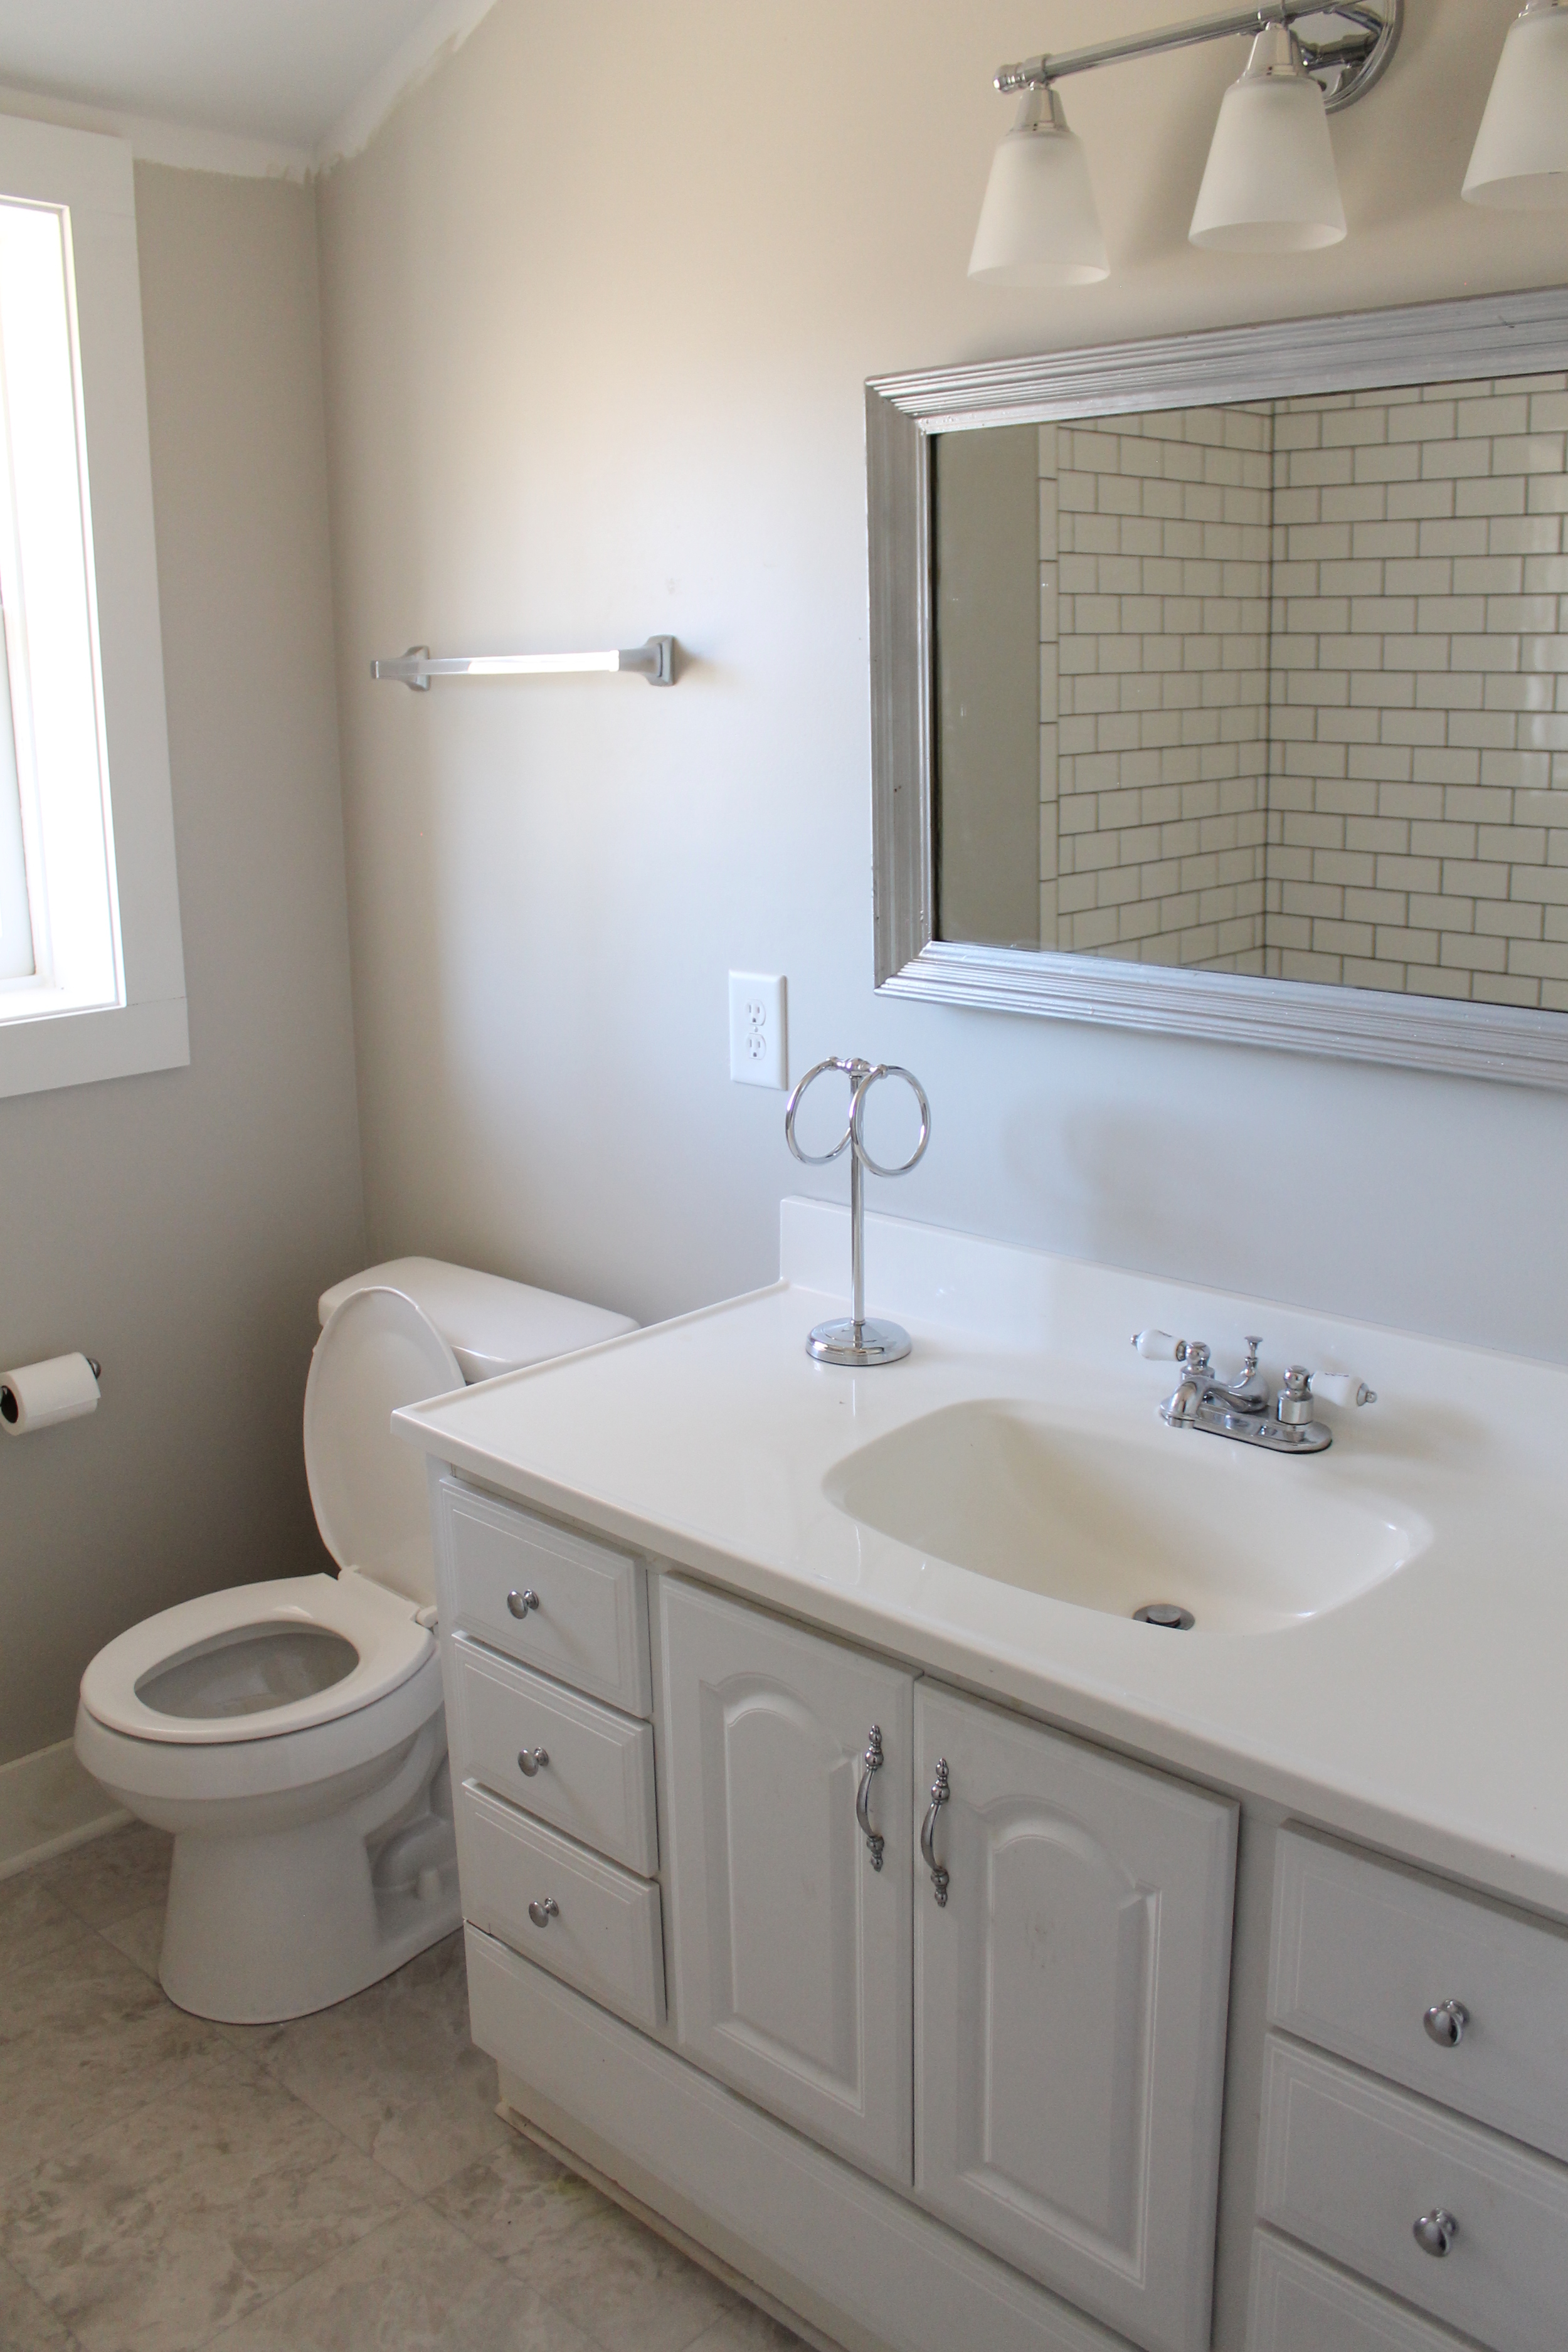
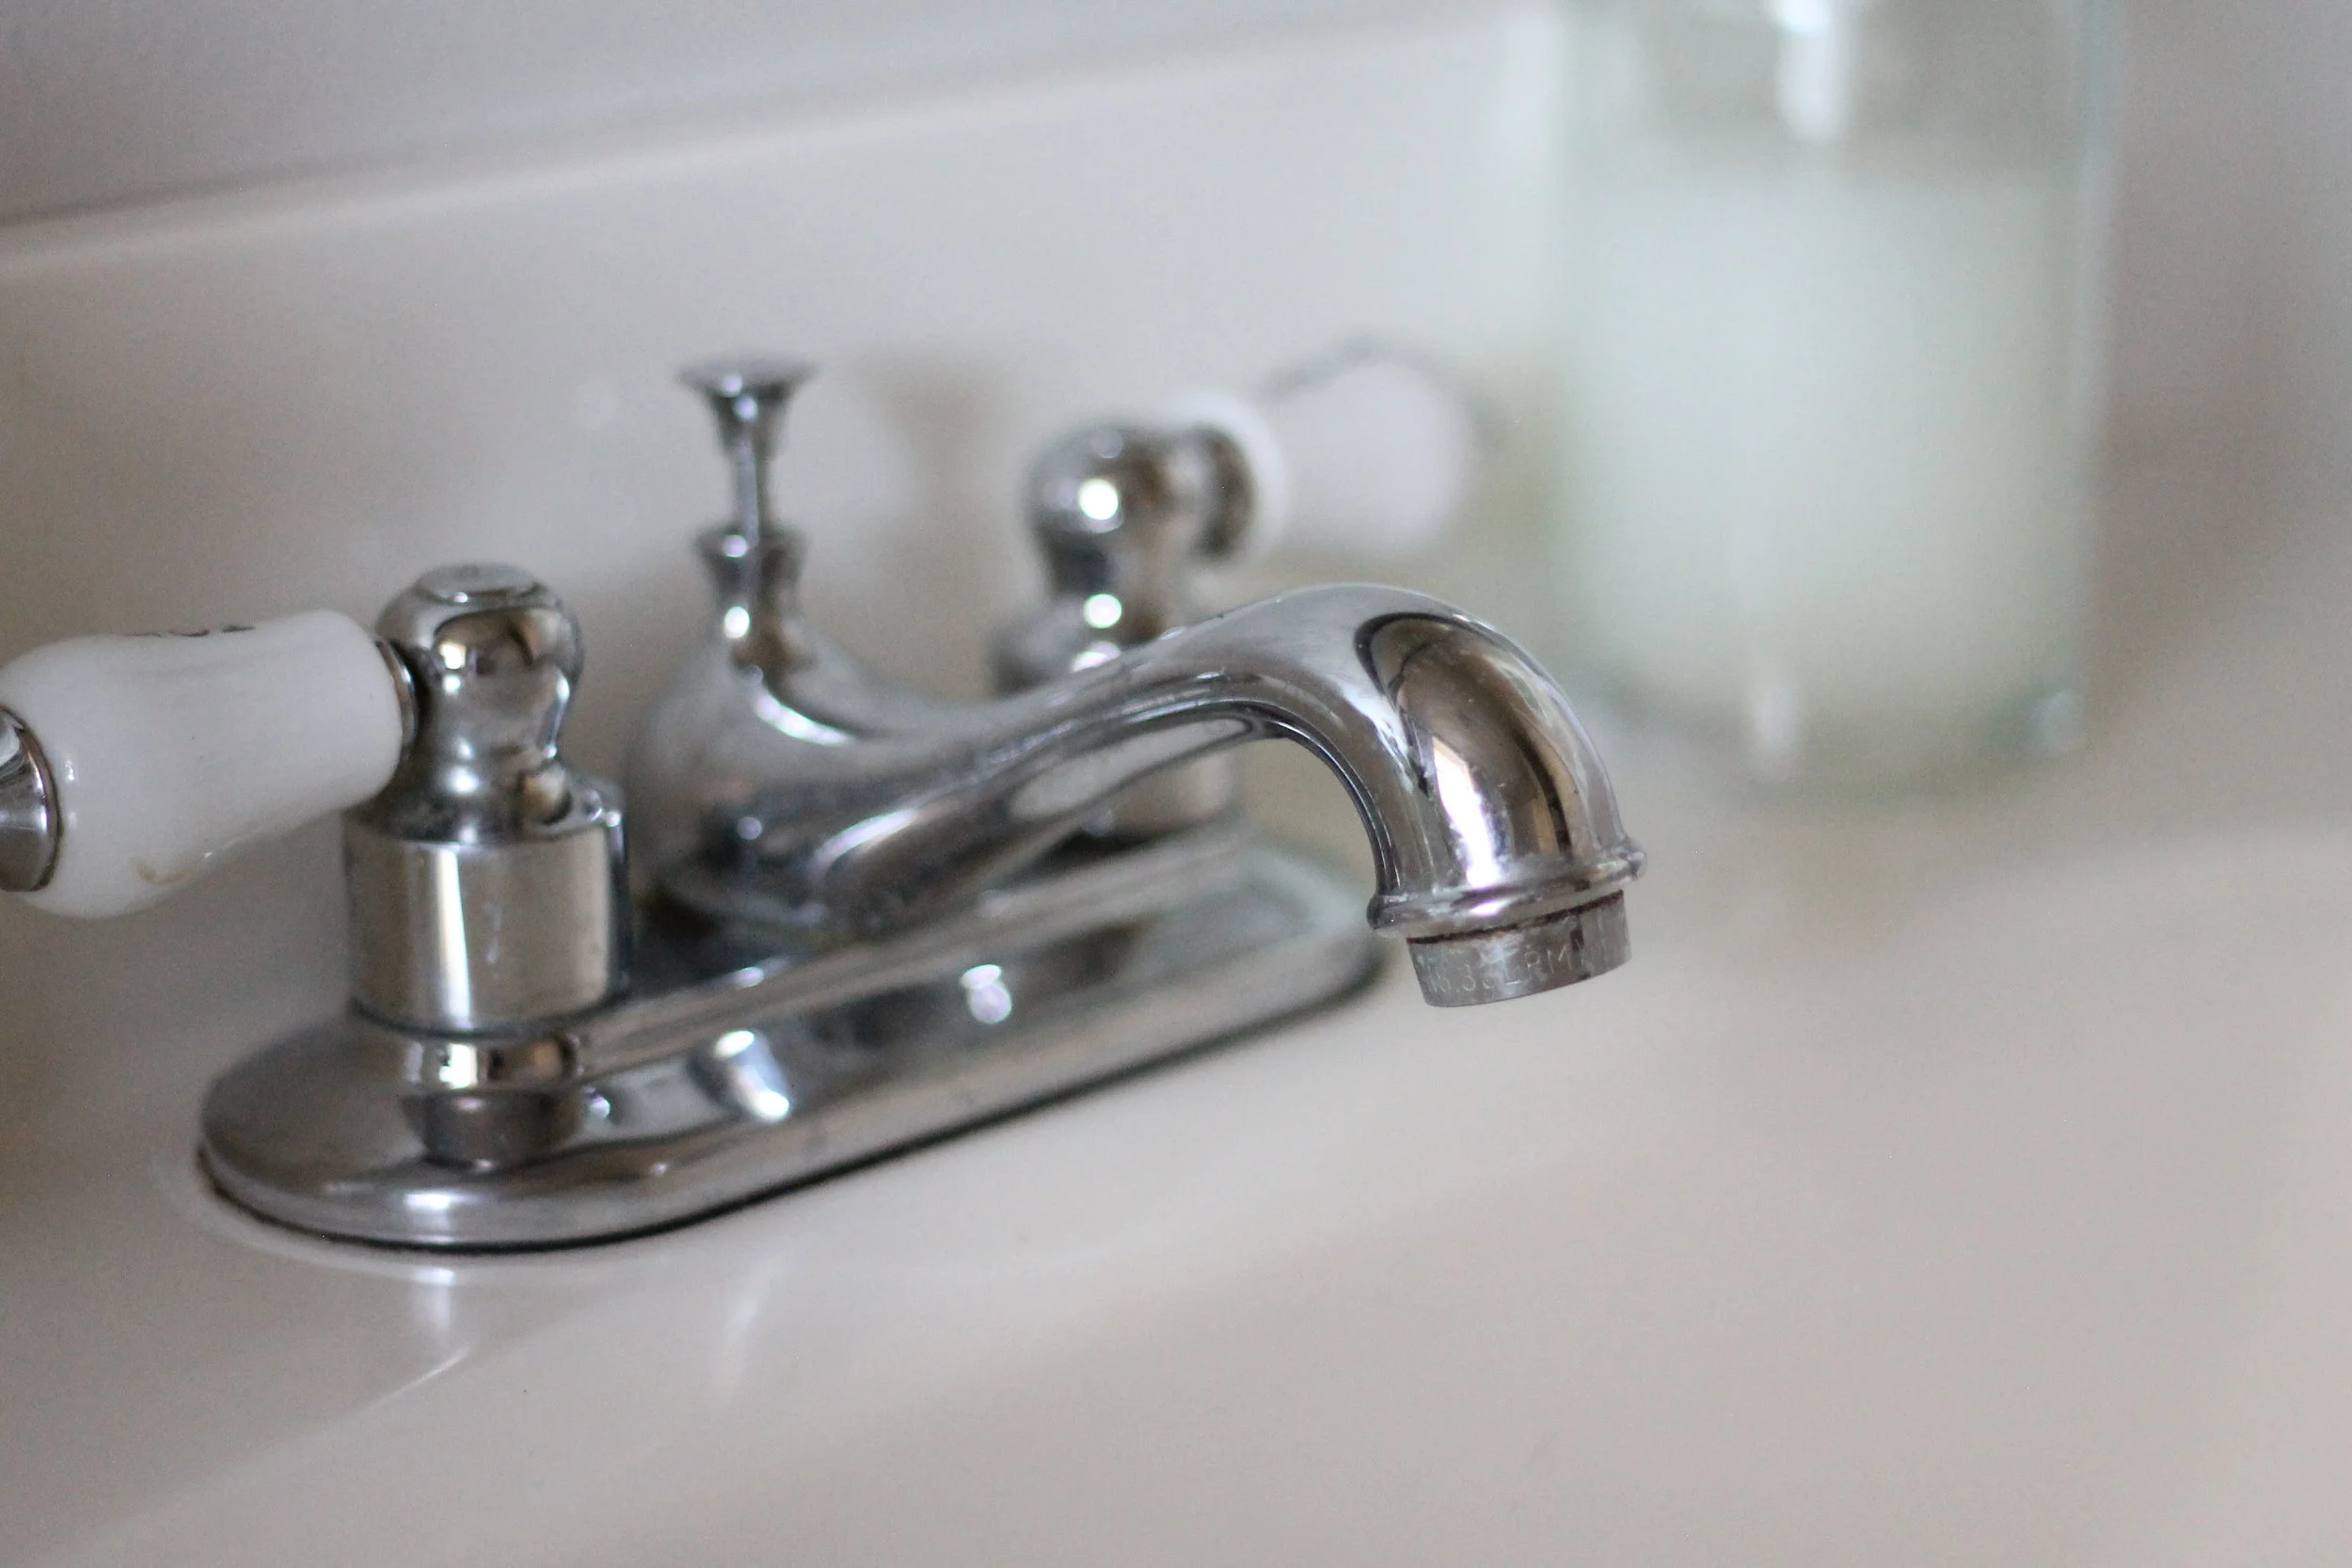
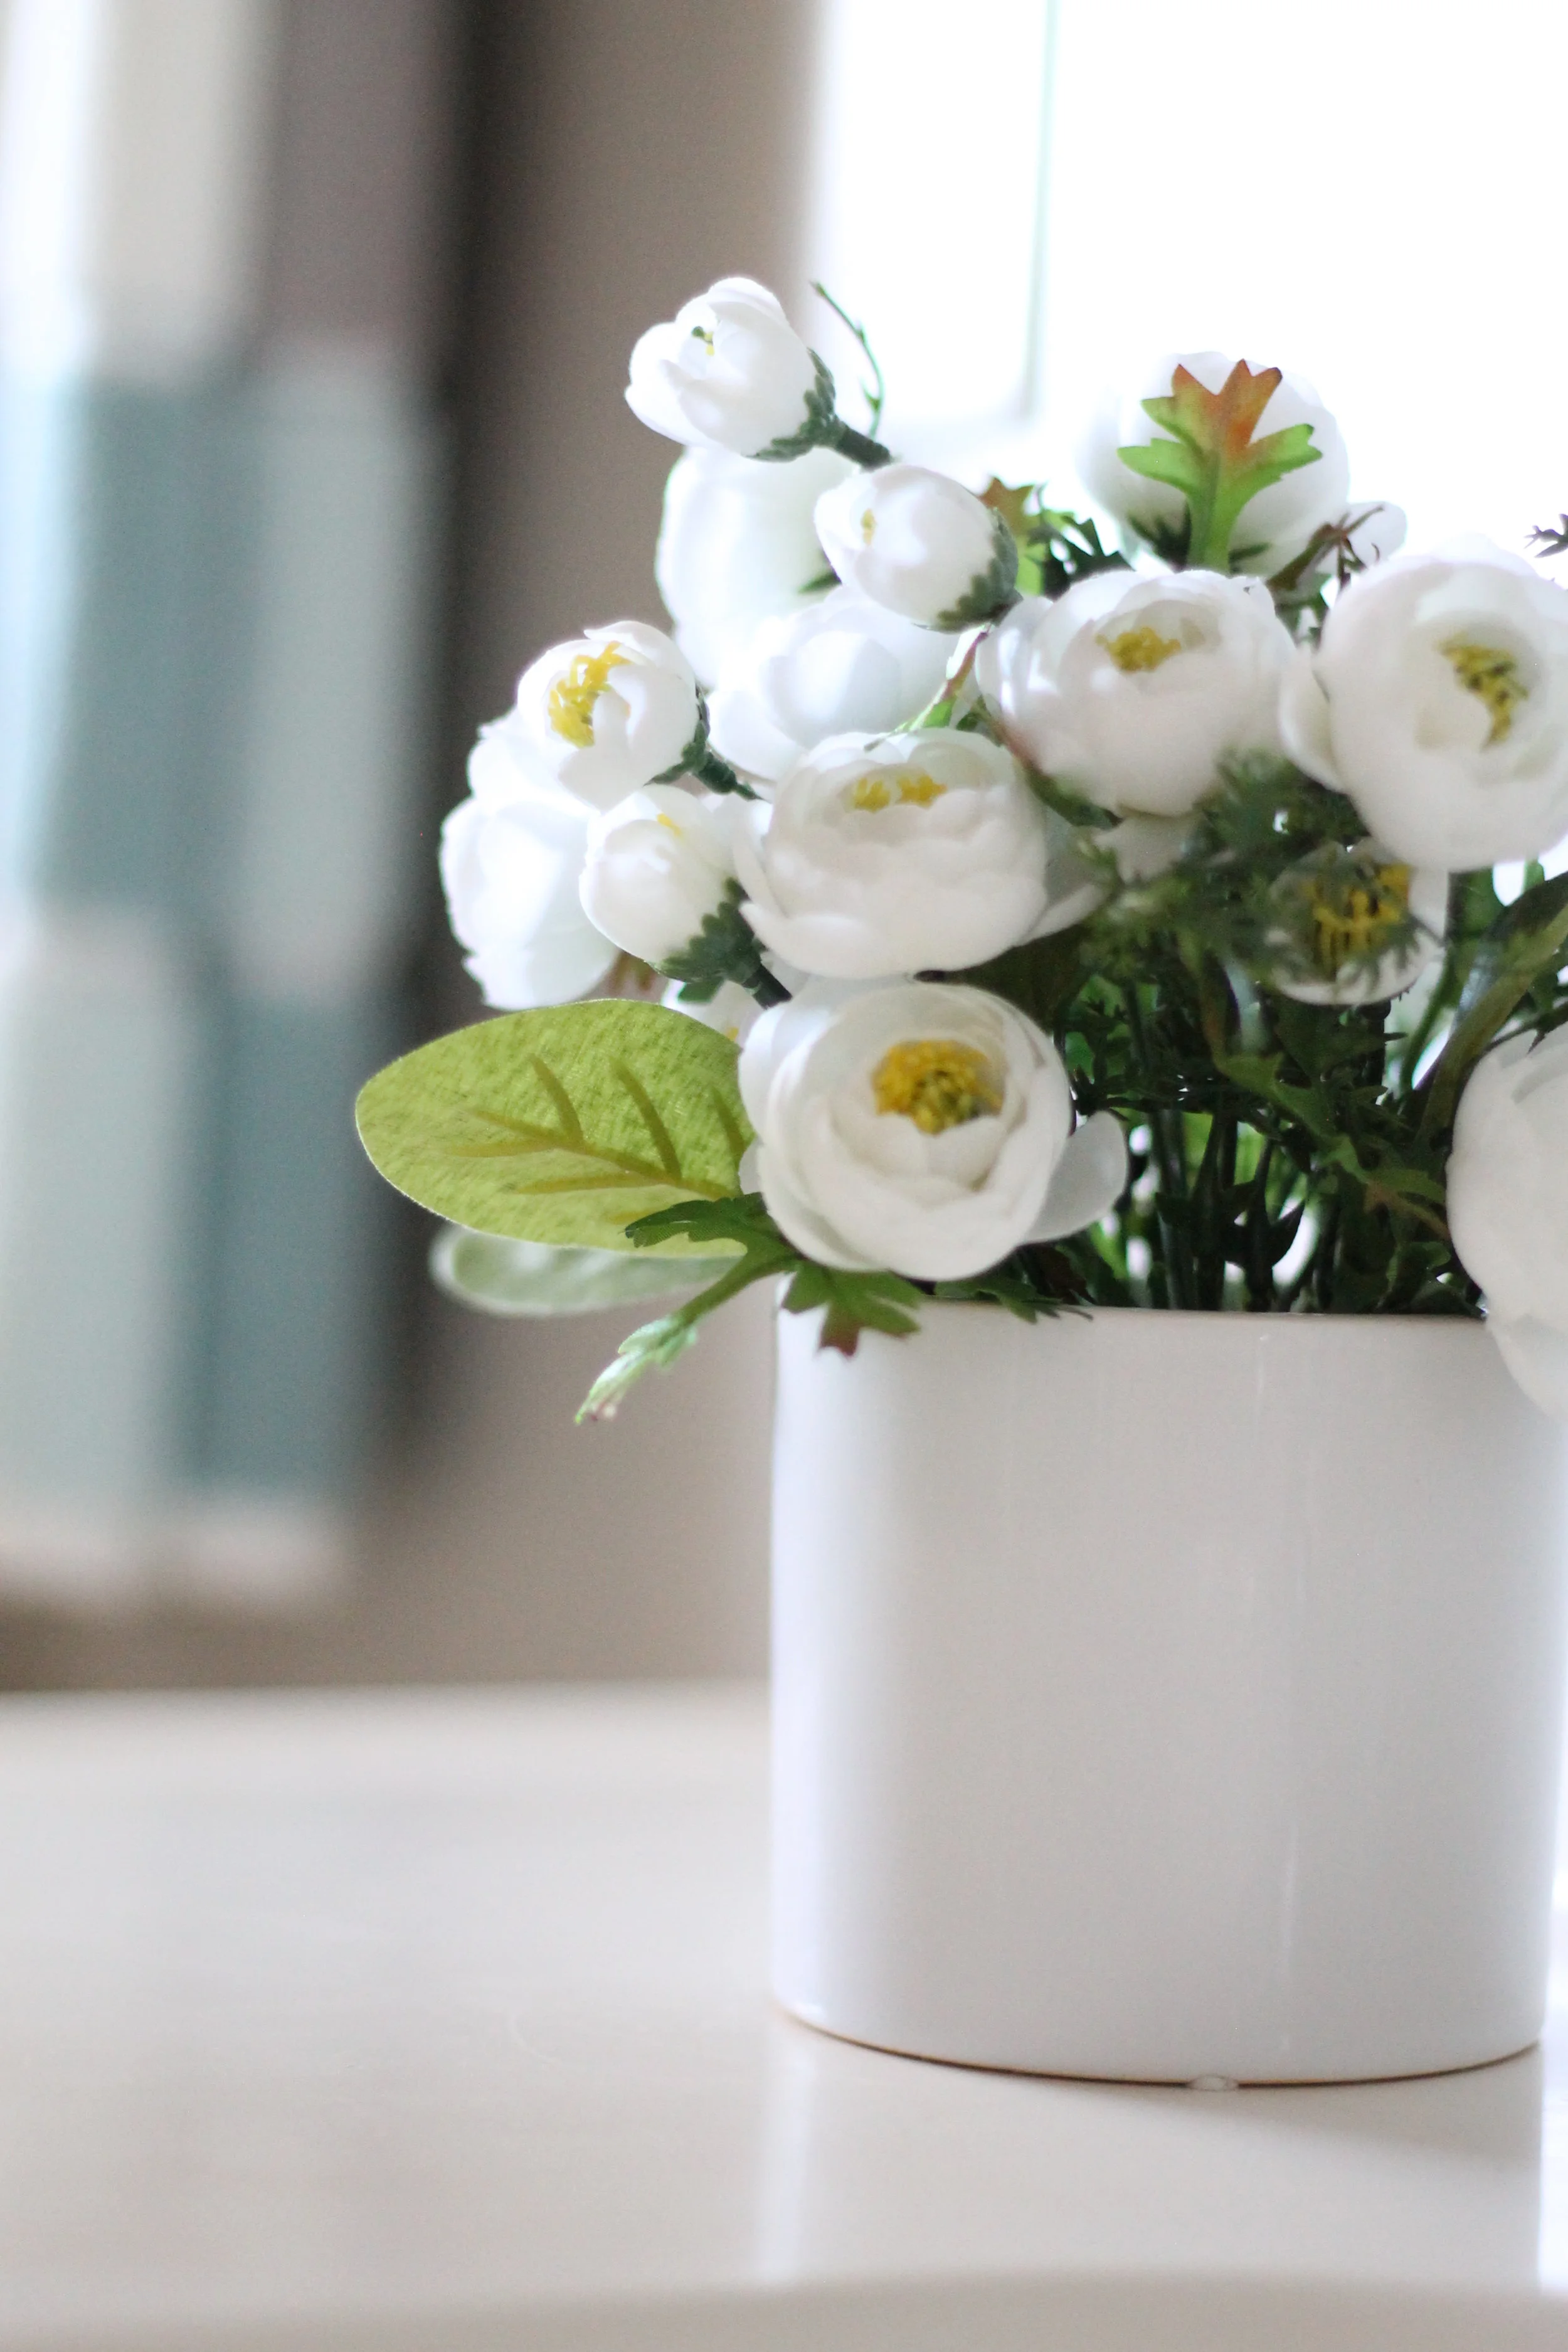
And here she is in all of her budget-friendly glory! The vanity was a $75 Craigslist find that included the faucet! The mirror was a $6 Goodwill purchase and the vanity light was $29 from Ebay. My only regret is the toilet. We went with the cheapest option and I wish we had splurged a little bit. We still need to dress it up with some towels, accessories, and touchup paint, but I'd call this complete. :) Thanks for making it to the end with me, friends! I hope your bathroom projects aren't nearly this extensive, but if they are, hopefully you can see the can still be finished out on a budget.