

**Here is week 1, week 2, and the analysis of Dalton before purchasing.**
Weeks three and four at the Dalton House flip were a little slow due to the holidays and snow, so I thought I would combine them into one post as to not bore you too much. Although I know how much you love redundant photos of drywall repair. ;)
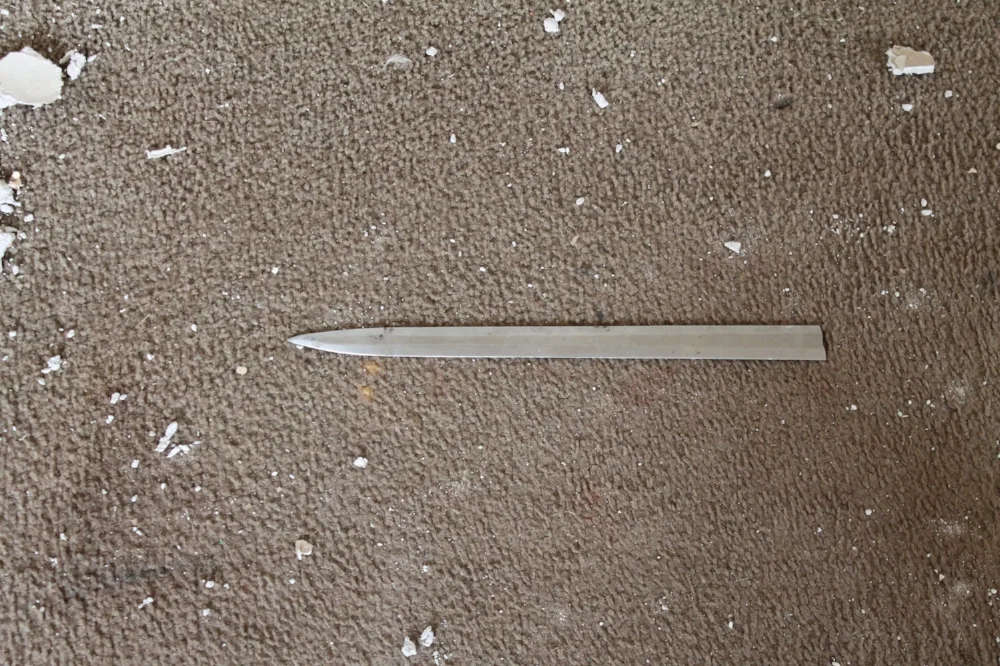
Over the weekend, the four of us worked on the flip house a full day on Saturday. The men sanded and worked on trim while the ladies primed. We had a bit of a bumpy start to the day when we discovered our 5 gallon bucket of primer was frozen. To thaw it out quickly, we used a gas heater outside to try and warm it up. A few moments later, we went out to discover the gas heater had melted a hole in the side of the bucket and primer was splattering all over the deck and siding. Ugh. Luckily we caught it in time and were able to wash away the paint while it was wet. Never a dull moment when renovating! Speaking of which, the guys found the culprit for the drywall damage hiding between the walls: a sword....
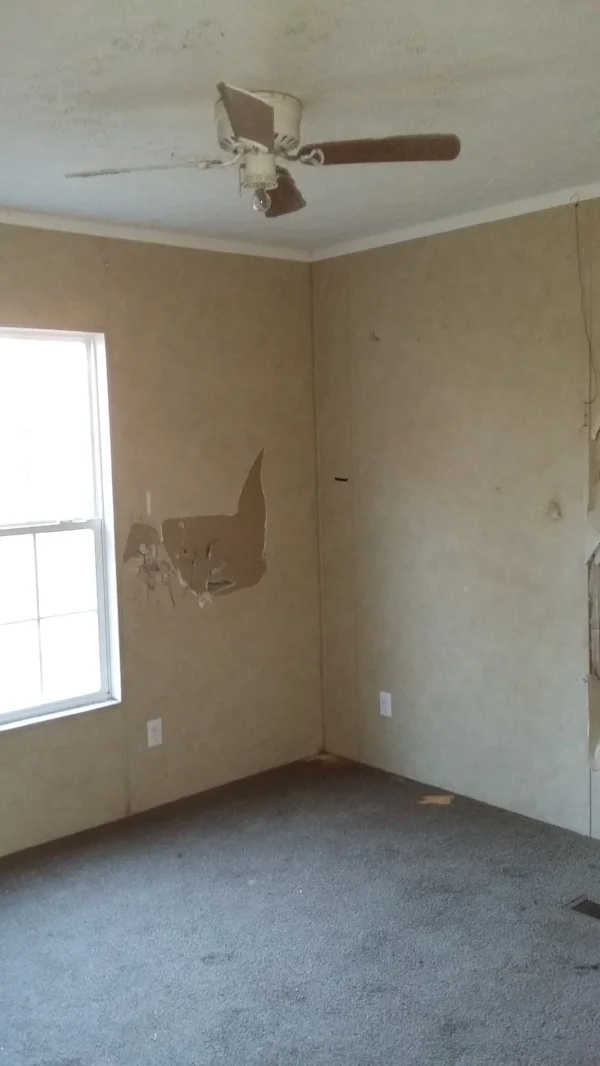
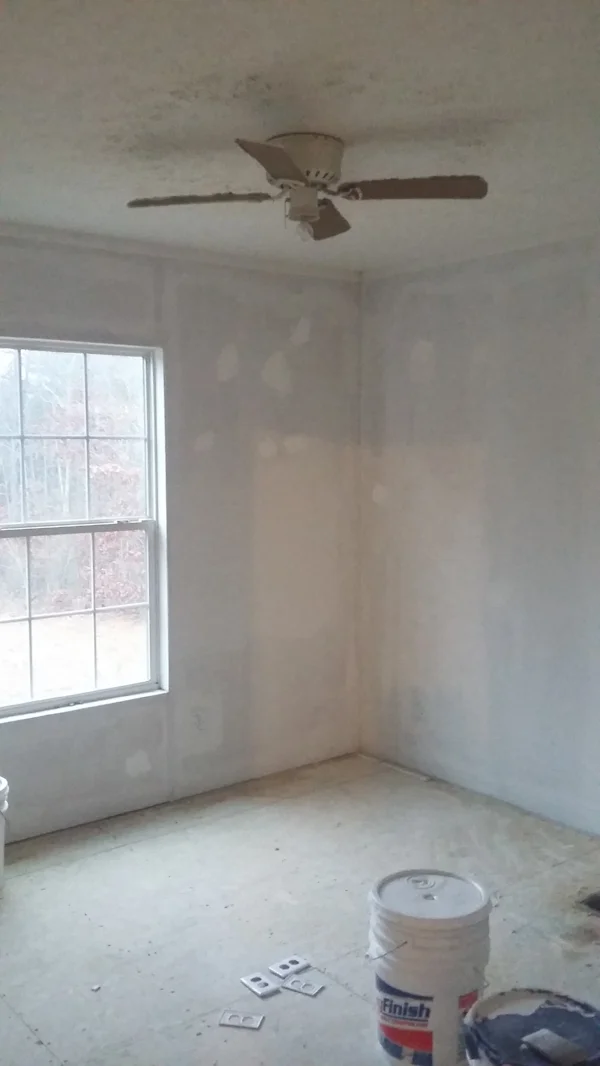
We were able to prime about half of the house and the boys finished up later that week with the rest of the priming. The house looks a lot brighter already with just primer on the walls! We also dumped that gross carpet. The subfloor is in pretty good shape with the exception of one or two spots. After a quick patch, the floor will be ready for carpet and laminate. Here is a before and after of one of the bedrooms. :)


The appliances were delivered and the boys got them installed shortly thereafter. I am SO glad we opted for new stainless instead of black. It helps make the kitchen feel brighter and a little more upscale, amiright?


Brian also finished repairing the built-in and got a coat of primer on it. I think it is going to be a neat focal point when you walk in the room.

Before

Repaired

Primed
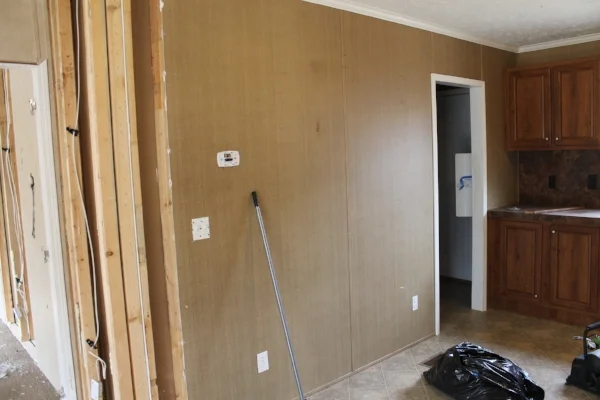
We also starting designing the board and batten accent wall in the eat in kitchen. The photo of the left below shows the long, plain wall which is the only place to put a kitchen table. To make it look a little less empty, I had the idea to create a wainscoting to not only define the space but to tie in the existing built-in. The built-in top has a trim detail that we are going to repeat in the wainscoting. Once the flooring in the living room is installed, we can install the trim and caulk/paint.

Speaking of flooring, the below two images show our final budget-friendly picks for the flip house. We are going to do a neutral beige carpet in the bedrooms that coordinates with the existing vinyl and the laminate in the living room. I think the laminate flooring will help to tie in the wood tones from the kitchen cabinets. Still debating on wall color (the swatch shown below in Benjamin Moore Manchester Tan which I am leaning towards)...


Week four marks our half-way point in order to keep on track with our schedule. We have made good progress, but still have a ways to go in order to meet our deadline! Since we saved a bit by doing the drywall ourselves, we are going to splurge and hire a painter for the interior walls, trim, and exterior decking. Painting one room is an easy DIY job, but painting an entire house is a huge time-suck. Here is what we have spent so far:
ITEM COST
Laminate Sample 0.24
Painting Accessories 29.83
Drywall Repair 401.21
Temporary Lights 2.82
Lightbulbs 31.33
Exterior Light 18.98
Cleaning Materials 39.45
Vanity Mirrors 66.47
Plumbing Repair 20.96
Exterior Door Hardware 28.48
Bathroom Hardware 17.09
Toilets 188.1
Blinds 10.96
Wainscoting 113.04
Appliance Accessories 77.24
Built-in Repair 30.55
AC/Heating Unit* 4000
Shipping* 15.35
Water deposit* 50
Appliances (with tax) 1961.19
Water bill 12/31/2016 21.01
TOTAL MATERIAL COST: $7196.88
TOTAL INVESTMENT: $34440.17