
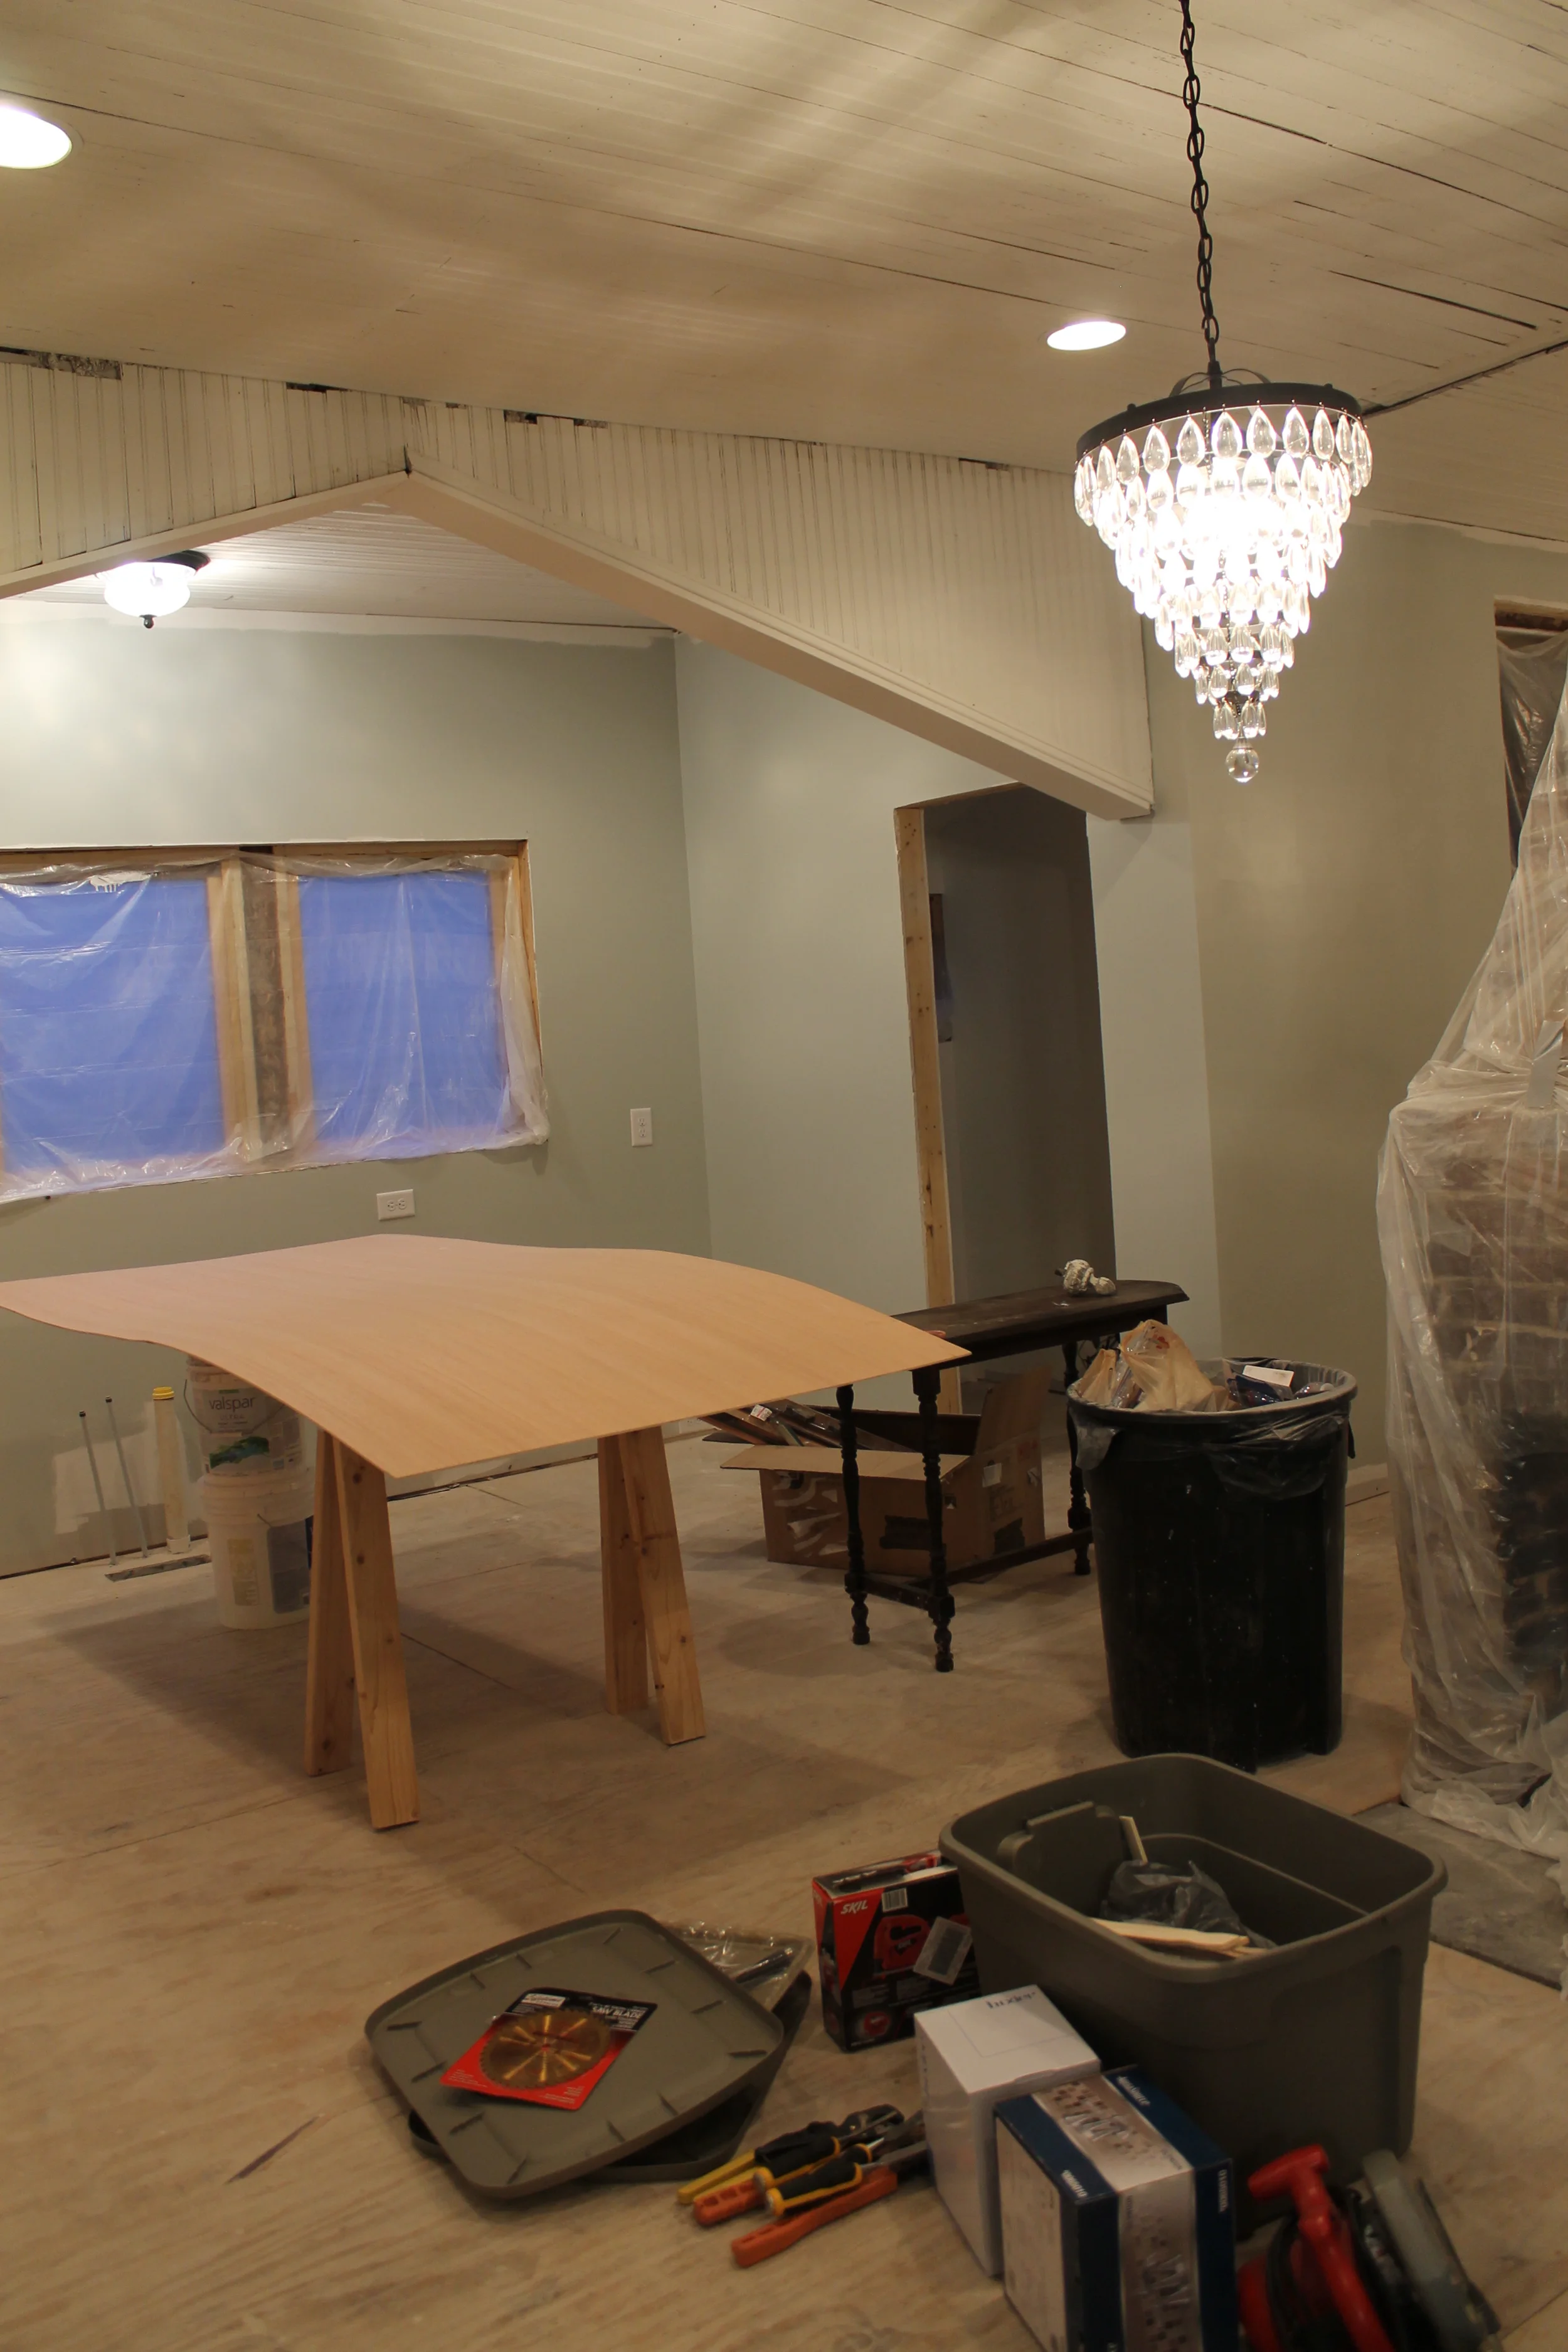
We were able to finally get all of the vinyl flooring down in the bathrooms and laundry room (hip-hip-hooray!), so I wanted to post a full and detailed tutorial on the process we used. Yet again, this project took twice as long and cost twice as much as I originally thought it would, but Brian and I are pretty thrilled with the outcome.
Please note, we followed the instructions from the manufacturer. Your particular flooring may require a different process, so I would be sure to follow those directions. These are just some guidelines. :) Brace yourself - this post turned into a novel.
Here are the supplies we used:
- Vinyl flooring
- Contractor paper
- Painters' tape
- 1/4" sanded plywood
- Jigsaw
- Saw horses
- Releasable sheet vinyl adhesive
- Wood filler
- Paint tray/roller kit
- Hammer
- Ring shank nails
- Scissors
- Tape measure
- Box cutter
- Straight edge
- Pen/pencil
Here is an overview of the steps we took. I would allow at least three hours per room for prep work and installation.
- Purchase your vinyl
- Acclimate the flooring to the new environment
- Create a template of your space
- Cut and install the sub-floor
- Put down the adhesive
- Cut the vinyl to fit the room
- Installation
purchase VINYL
Before heading to the store, make sure to measure (and measure again) the footprint of your space(s). If you are changing out the floor in multiple rooms like we did, I recommend drawing out the rooms dimensions to scale on graph paper, and then cutting them out and putting them together like a puzzle to determine the most efficient configuration. Feel free to email me if you have questions about measuring and figuring out how much to buy.
There are SO many options out there for vinyl flooring. We chose this sheet vinyl due to it's ease of installation, low cost, and durability. I also really loved the neutral marble look. A few things to note: most sheet vinyl comes in widths of 12', which is actually quite long when it comes to the logistics of getting it home! Plan ahead for the transportation of your new vinyl; it ain't going to fit in your four door sedan! Even in Brian's truck, we had to stick it through the window and off the tail gate. Also, make sure it is not going to rain during your transport.

ACCLIMATE flooring
They say you should let your vinyl flooring acclimate to the house for at least 24 hours. It also needs to flatten out from being rolled up. Find the biggest room in your house, and let the flooring flatten out while you go on to the next steps.
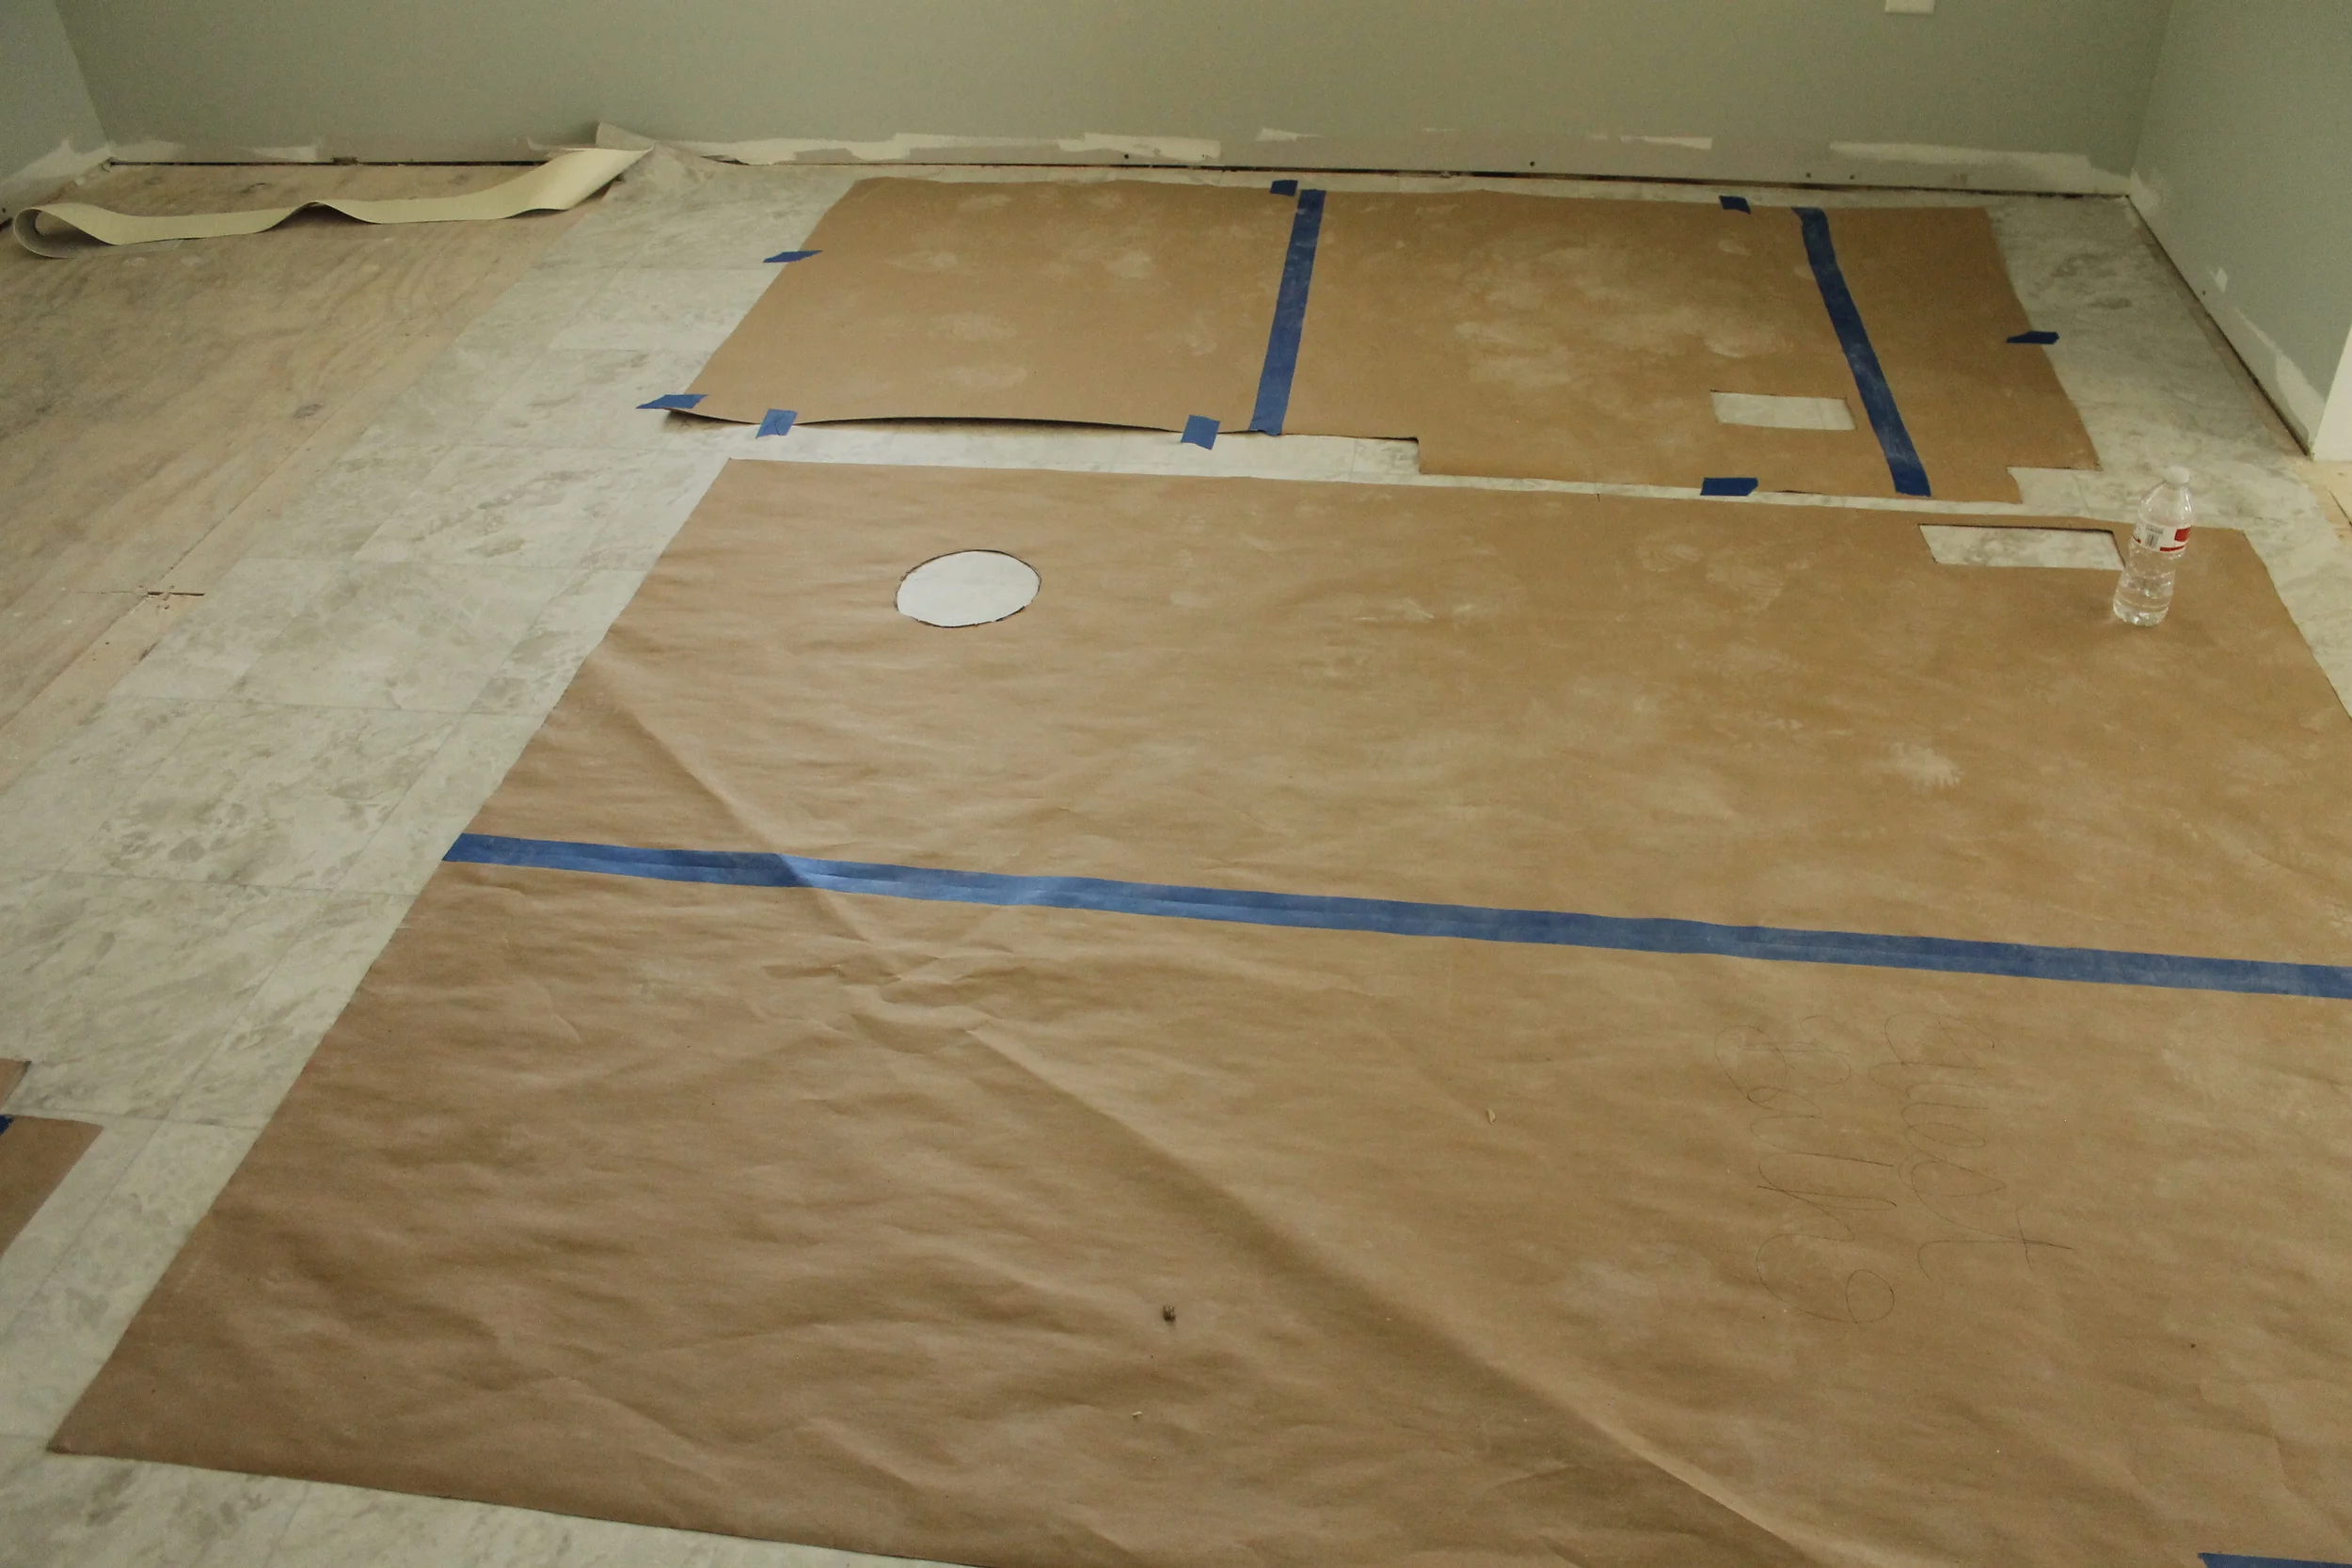
CREATE A TEMPLATE
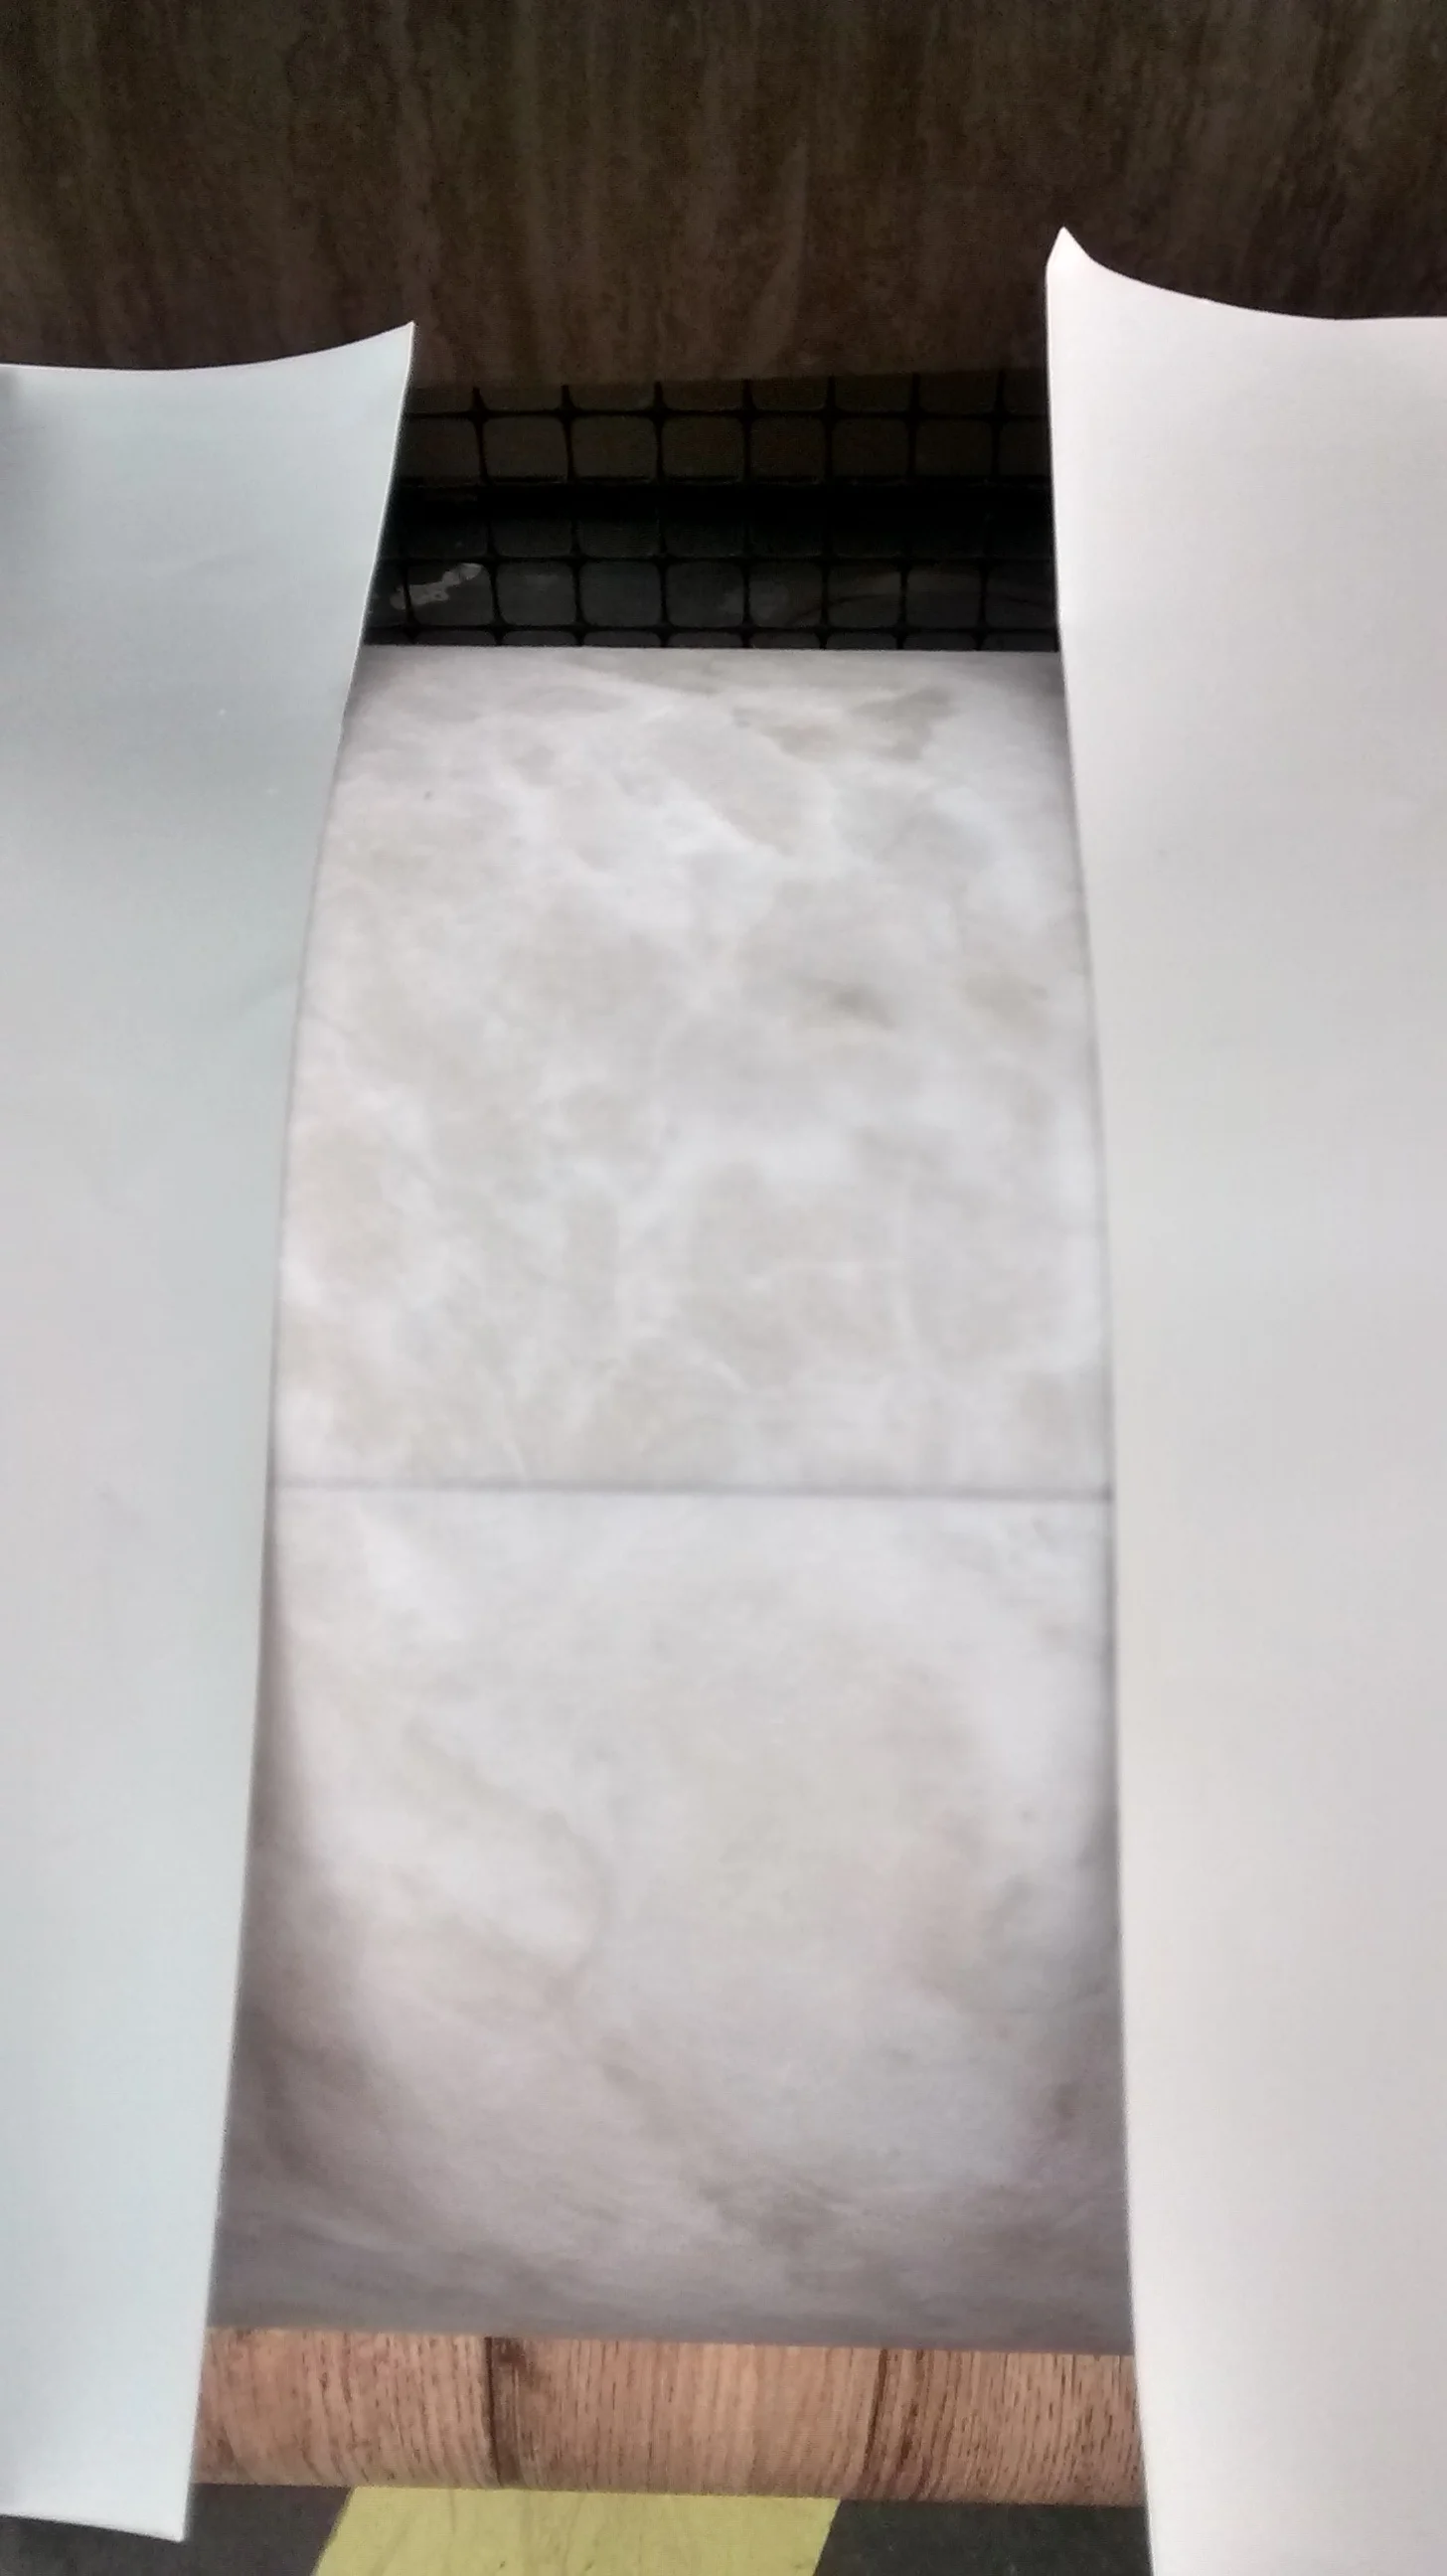
Next step is to create a template! This will save you so much time and measurement second-guessing. For this process, grab your contractors paper, measuring tape, pen, straight edge, scissors, and tape. If you have baseboards or trim already installed, make sure these are removed or else your cut vinyl will be too small. Measure the length of the area, mark on the paper to that length, and then use your straight edge to draw a line. Cut on this line and lay that paper in place on the floor.
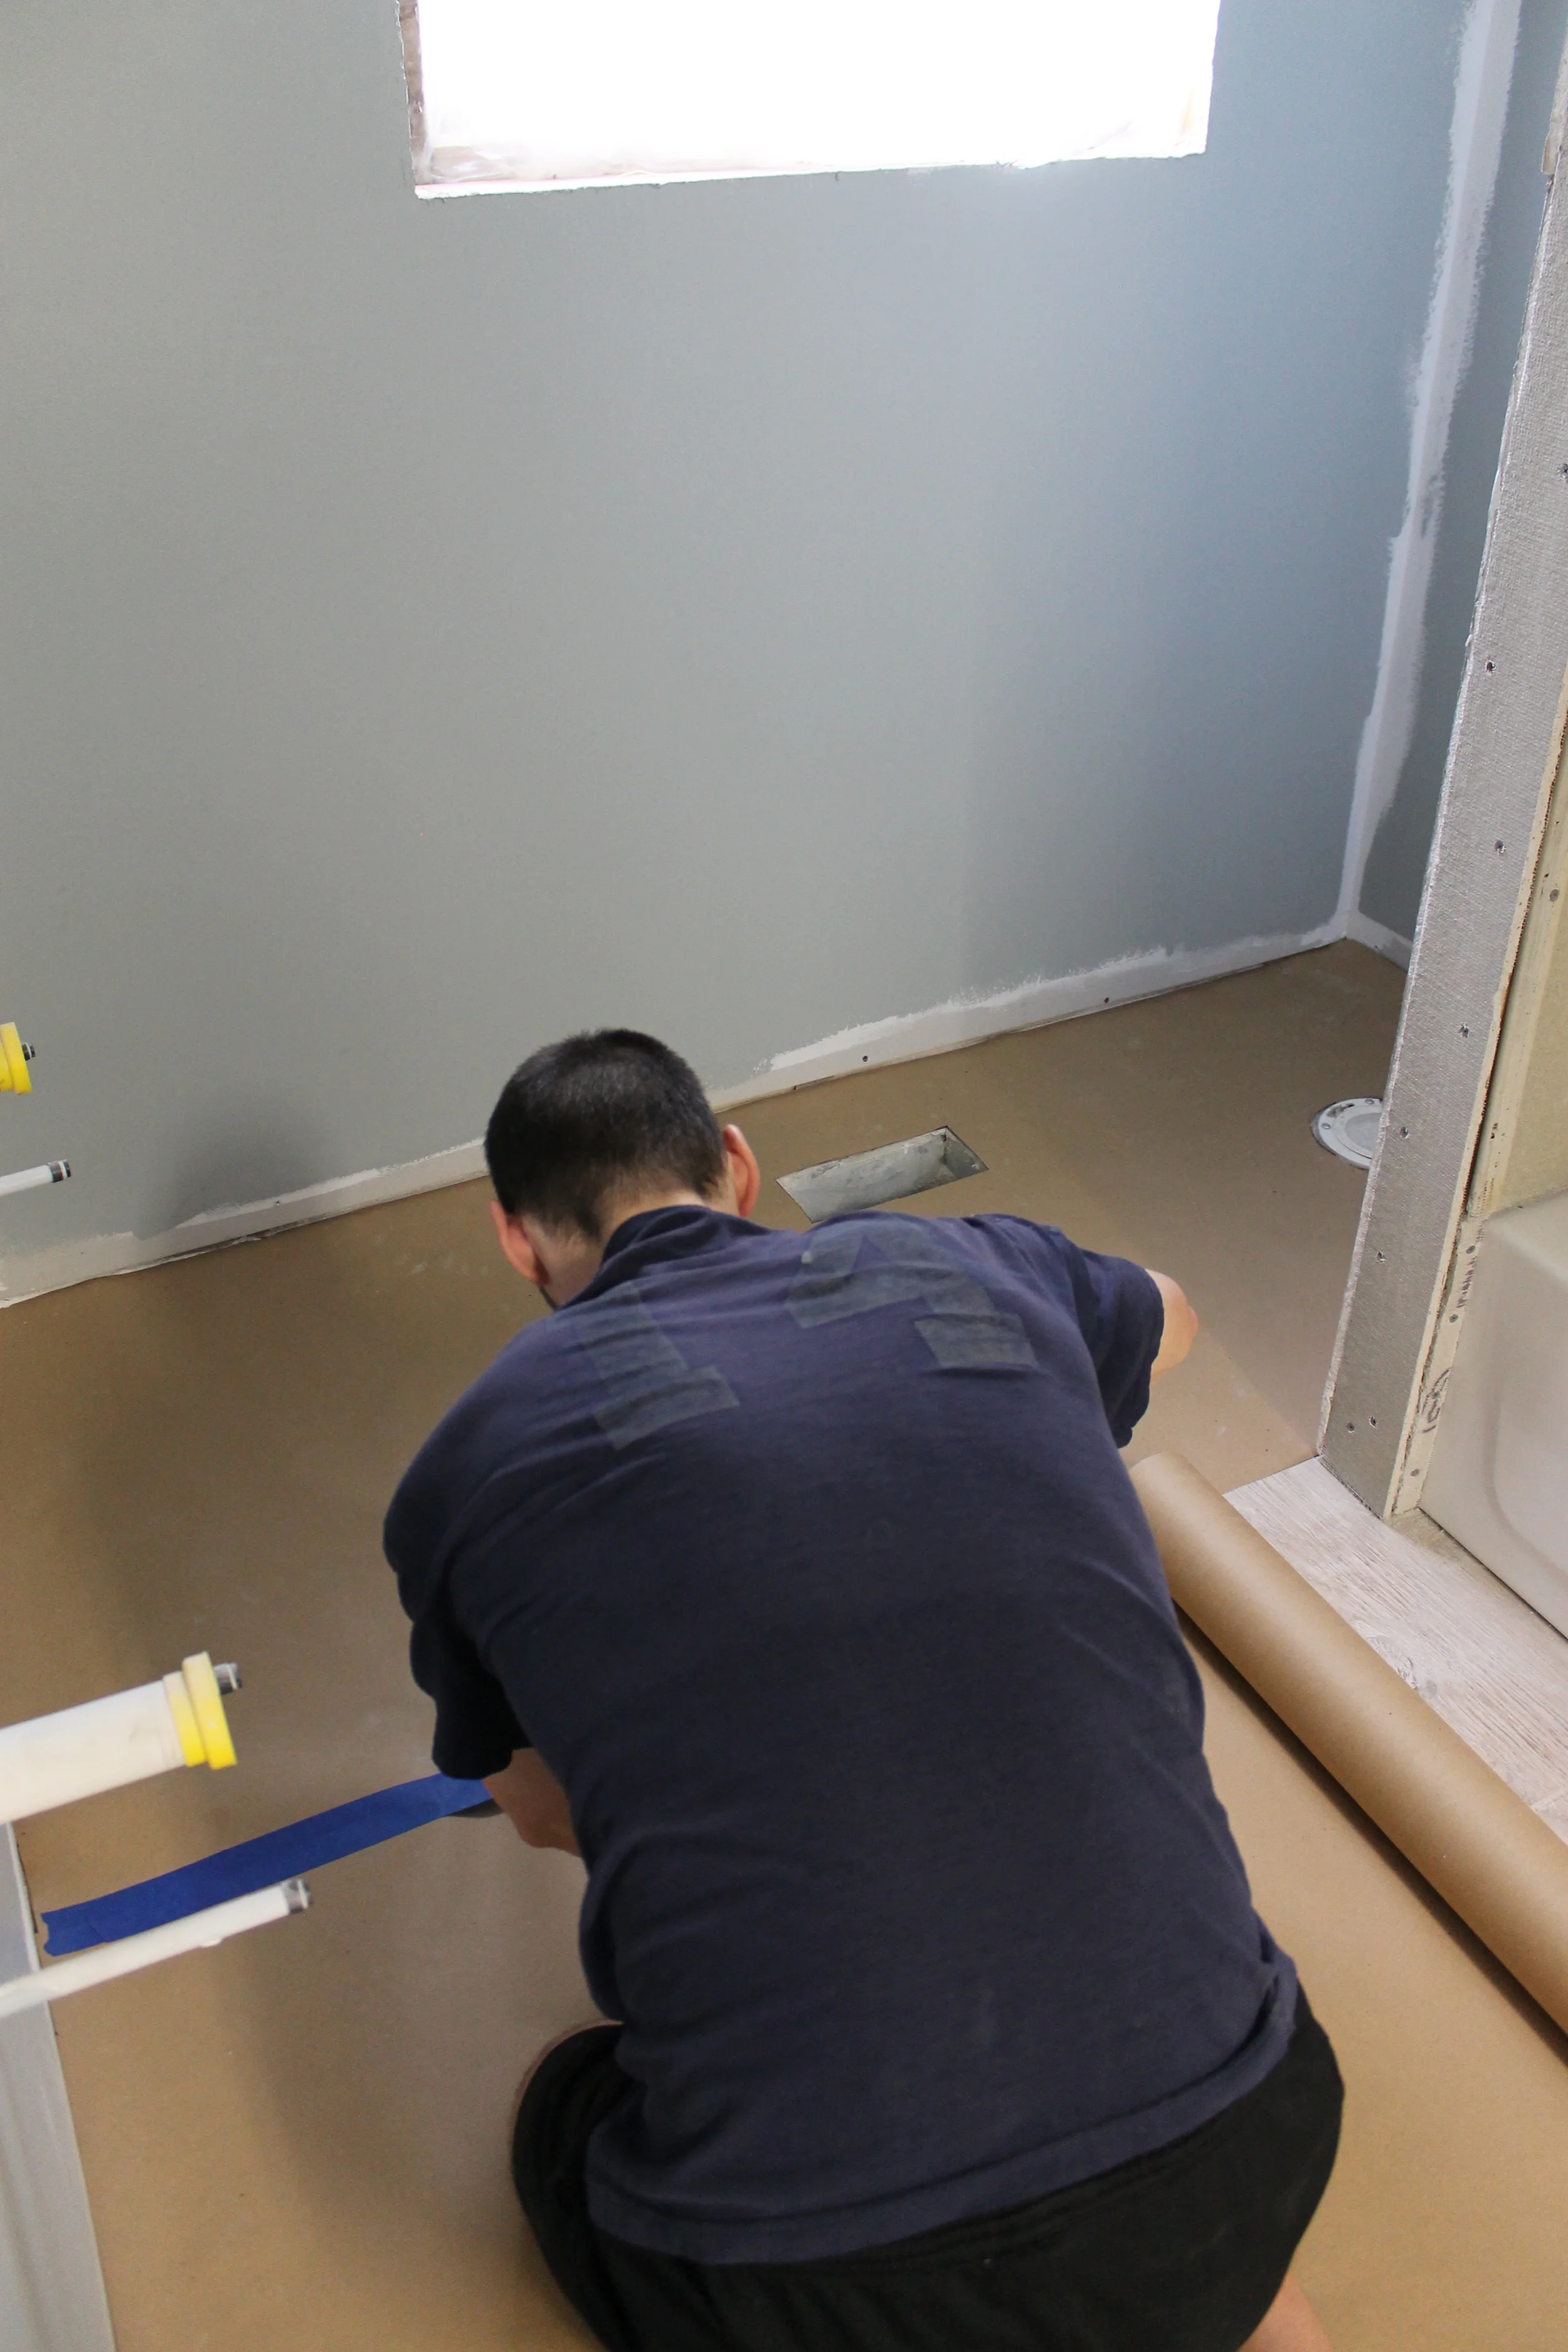
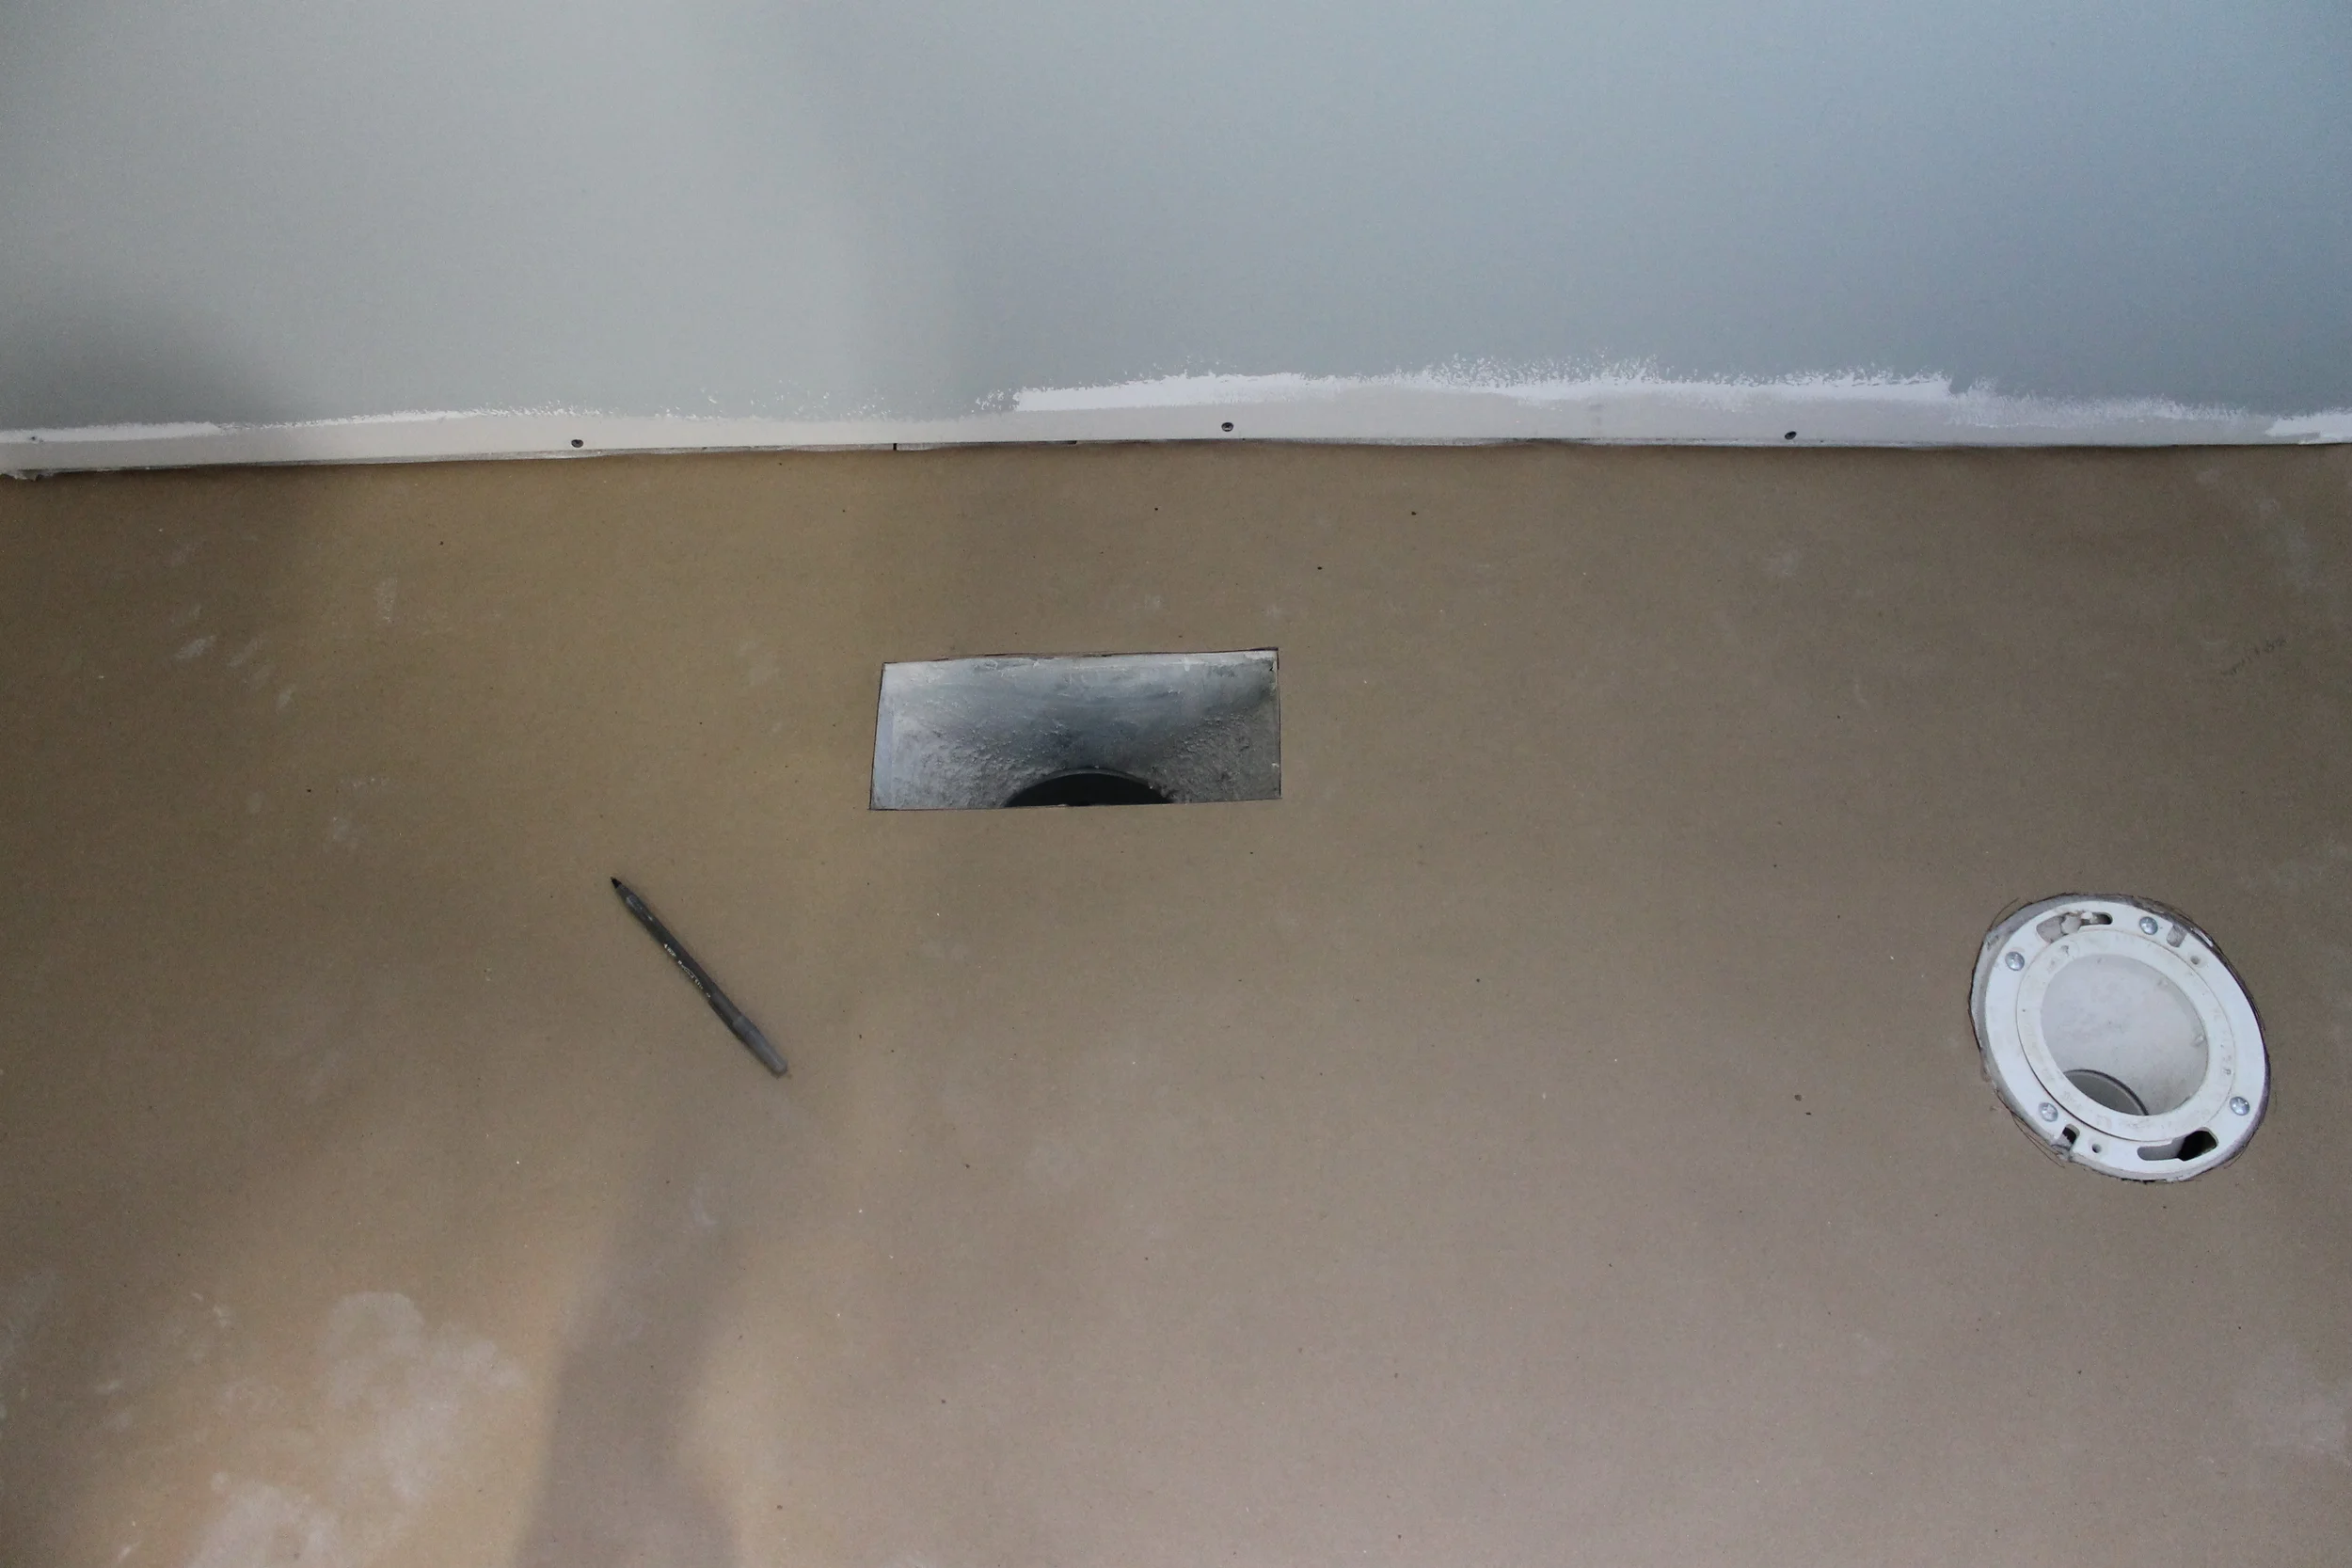
You may have to cut out obstacles such as air vents or plumbing fixtures.
Cut strips for the entire area using the same process, and then attach them all together with the painters tape. We taped the front and back for added stability. Make sure to label the top side so that you don't accidentally cut your vinyl layout upside down.

create the subfloor
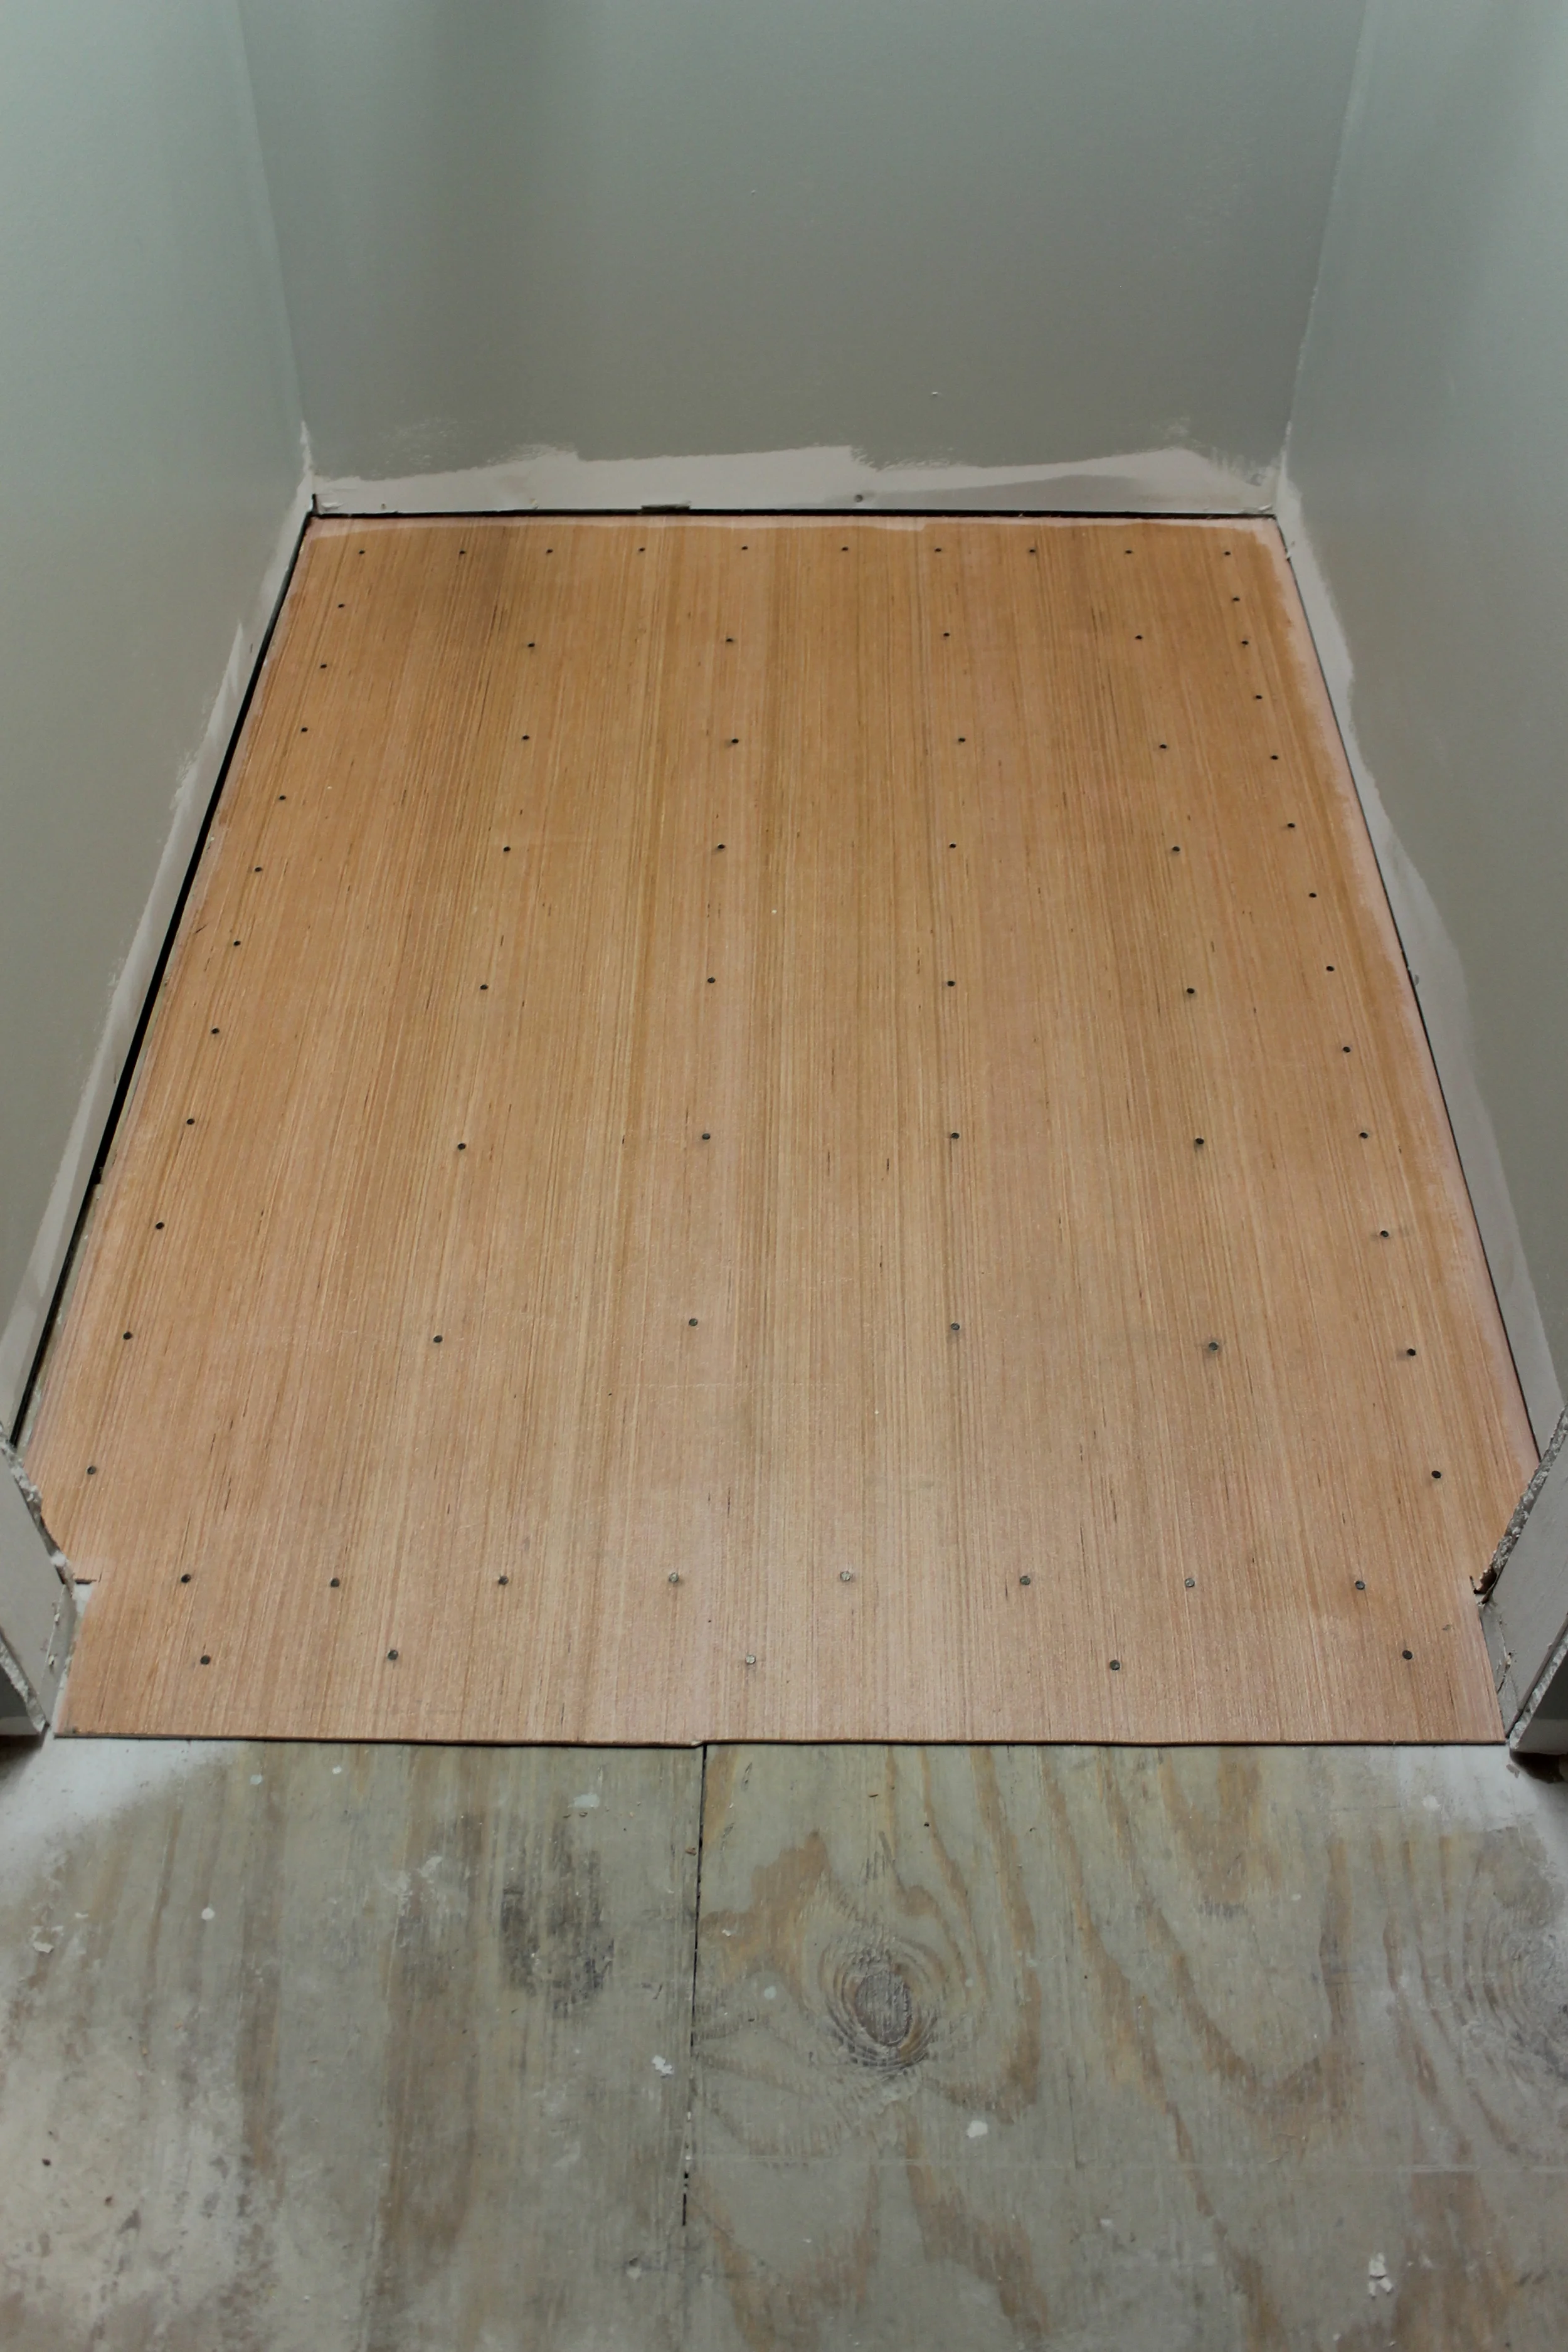
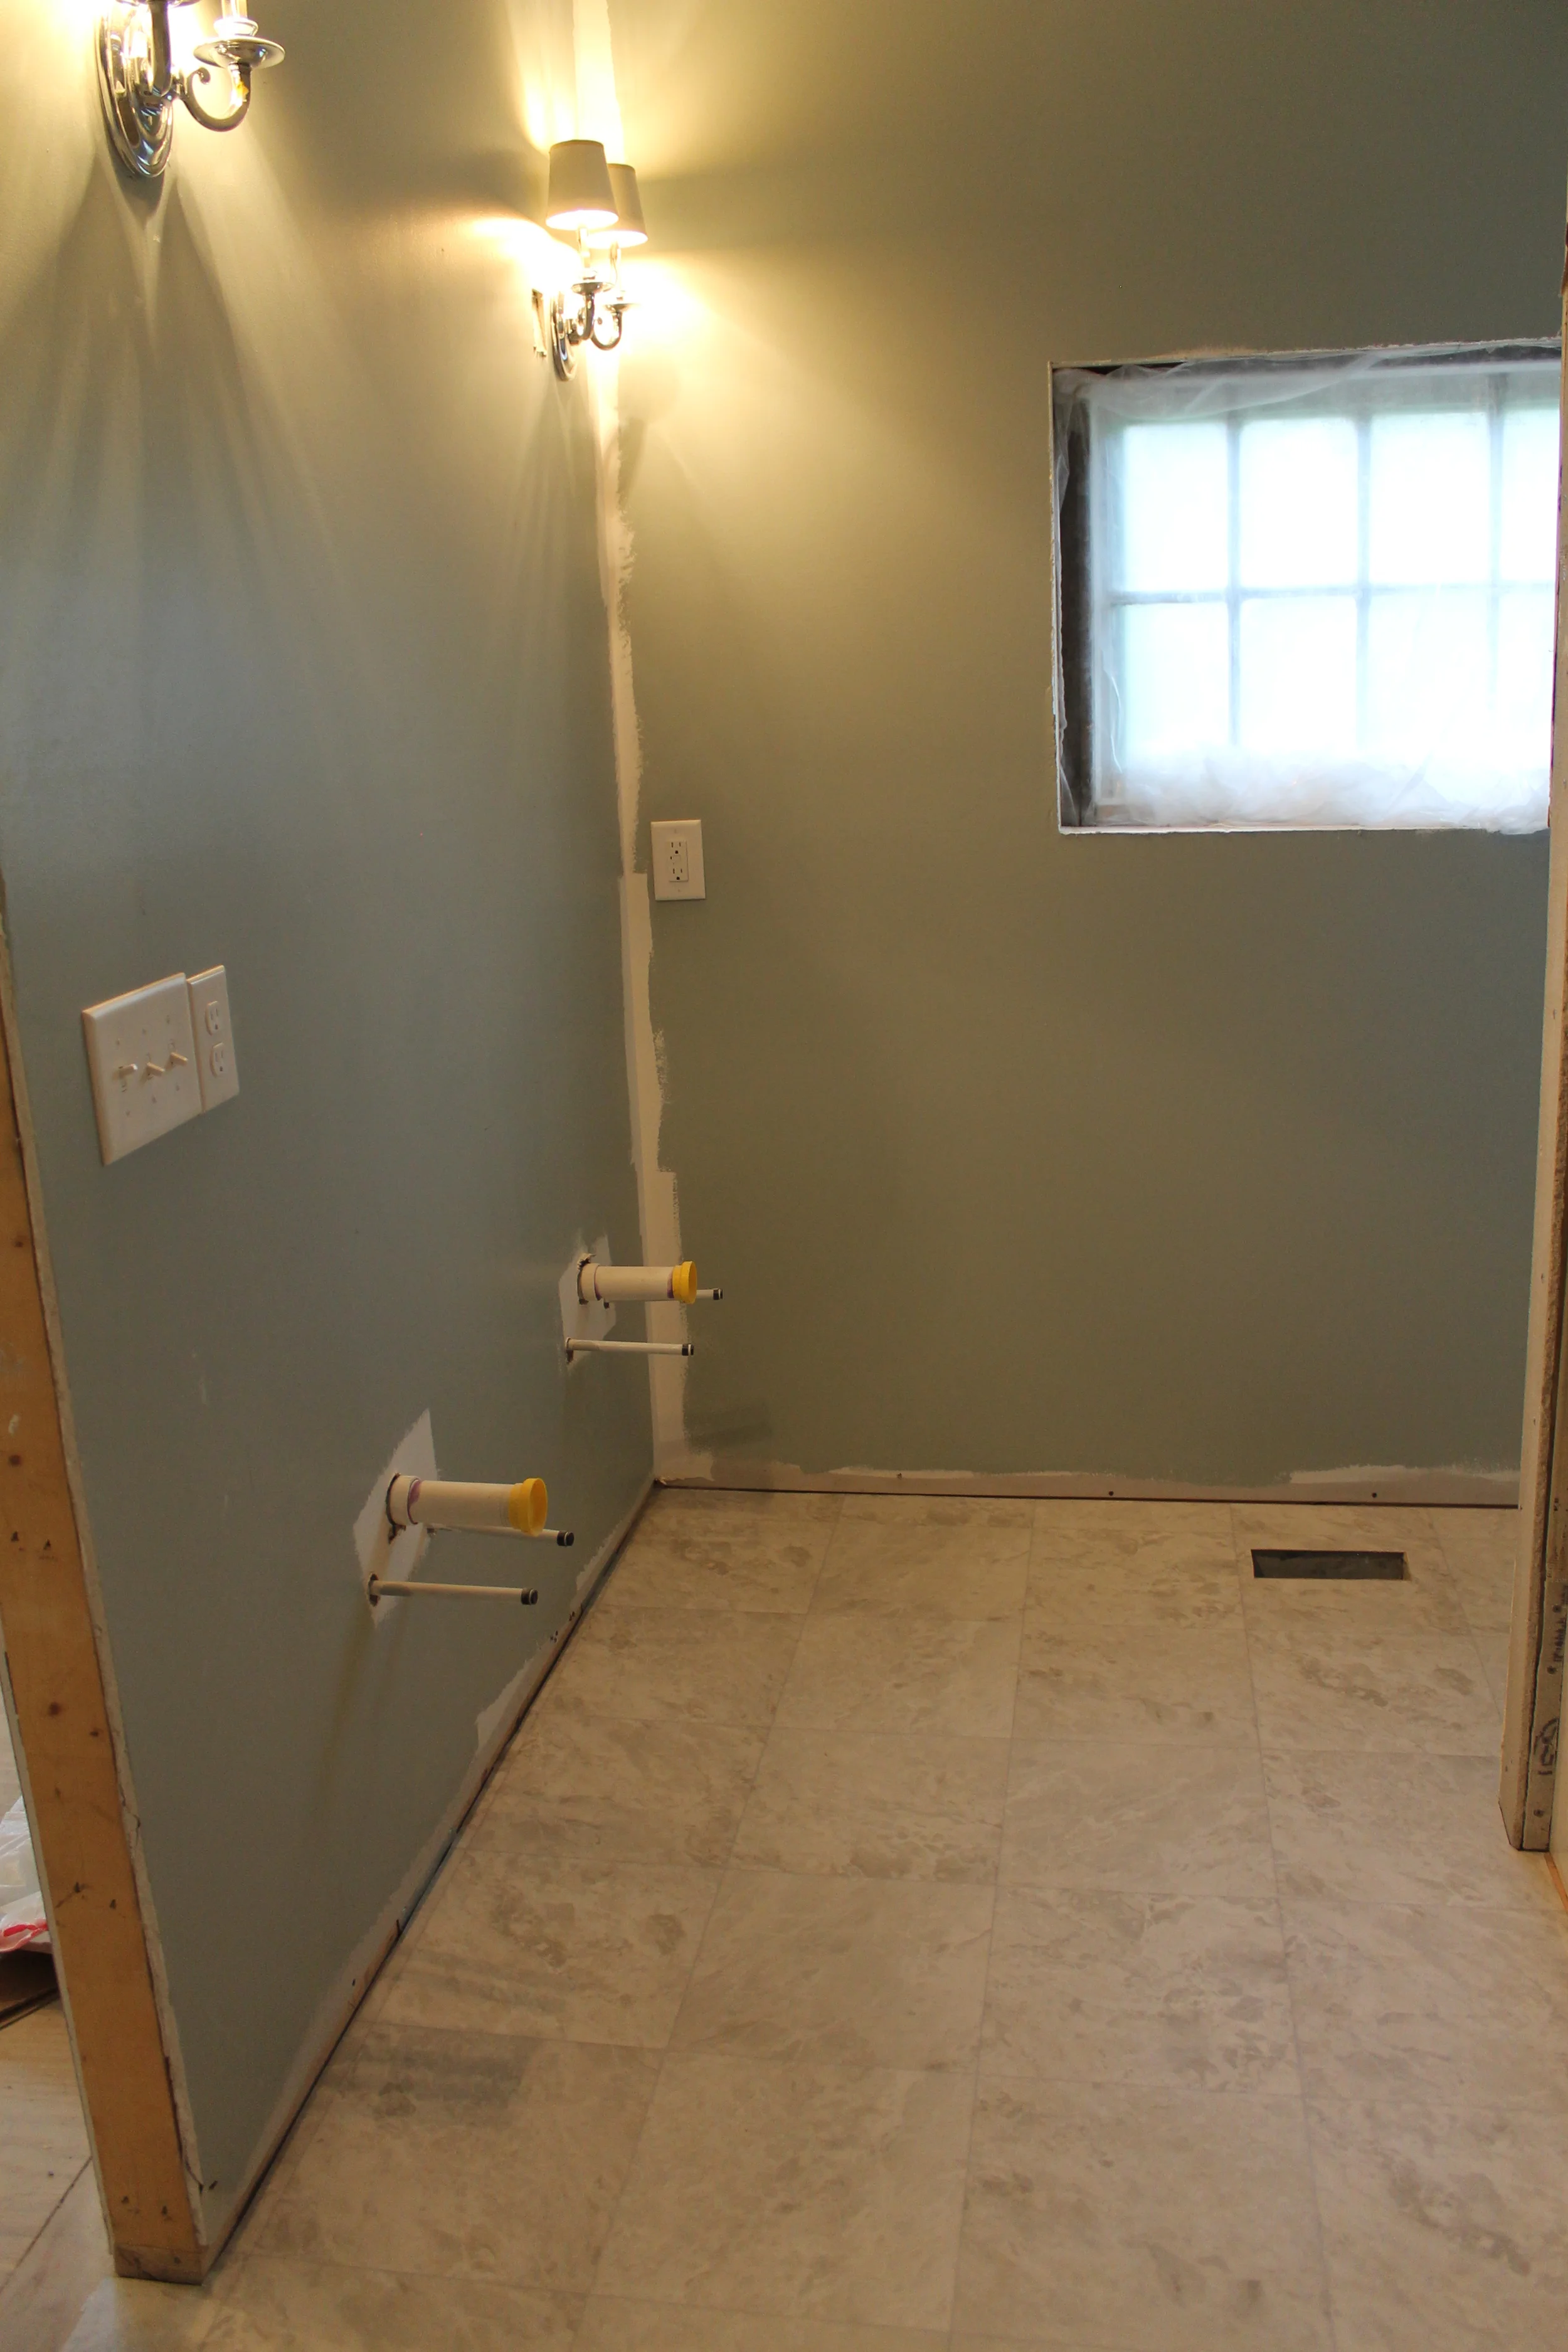
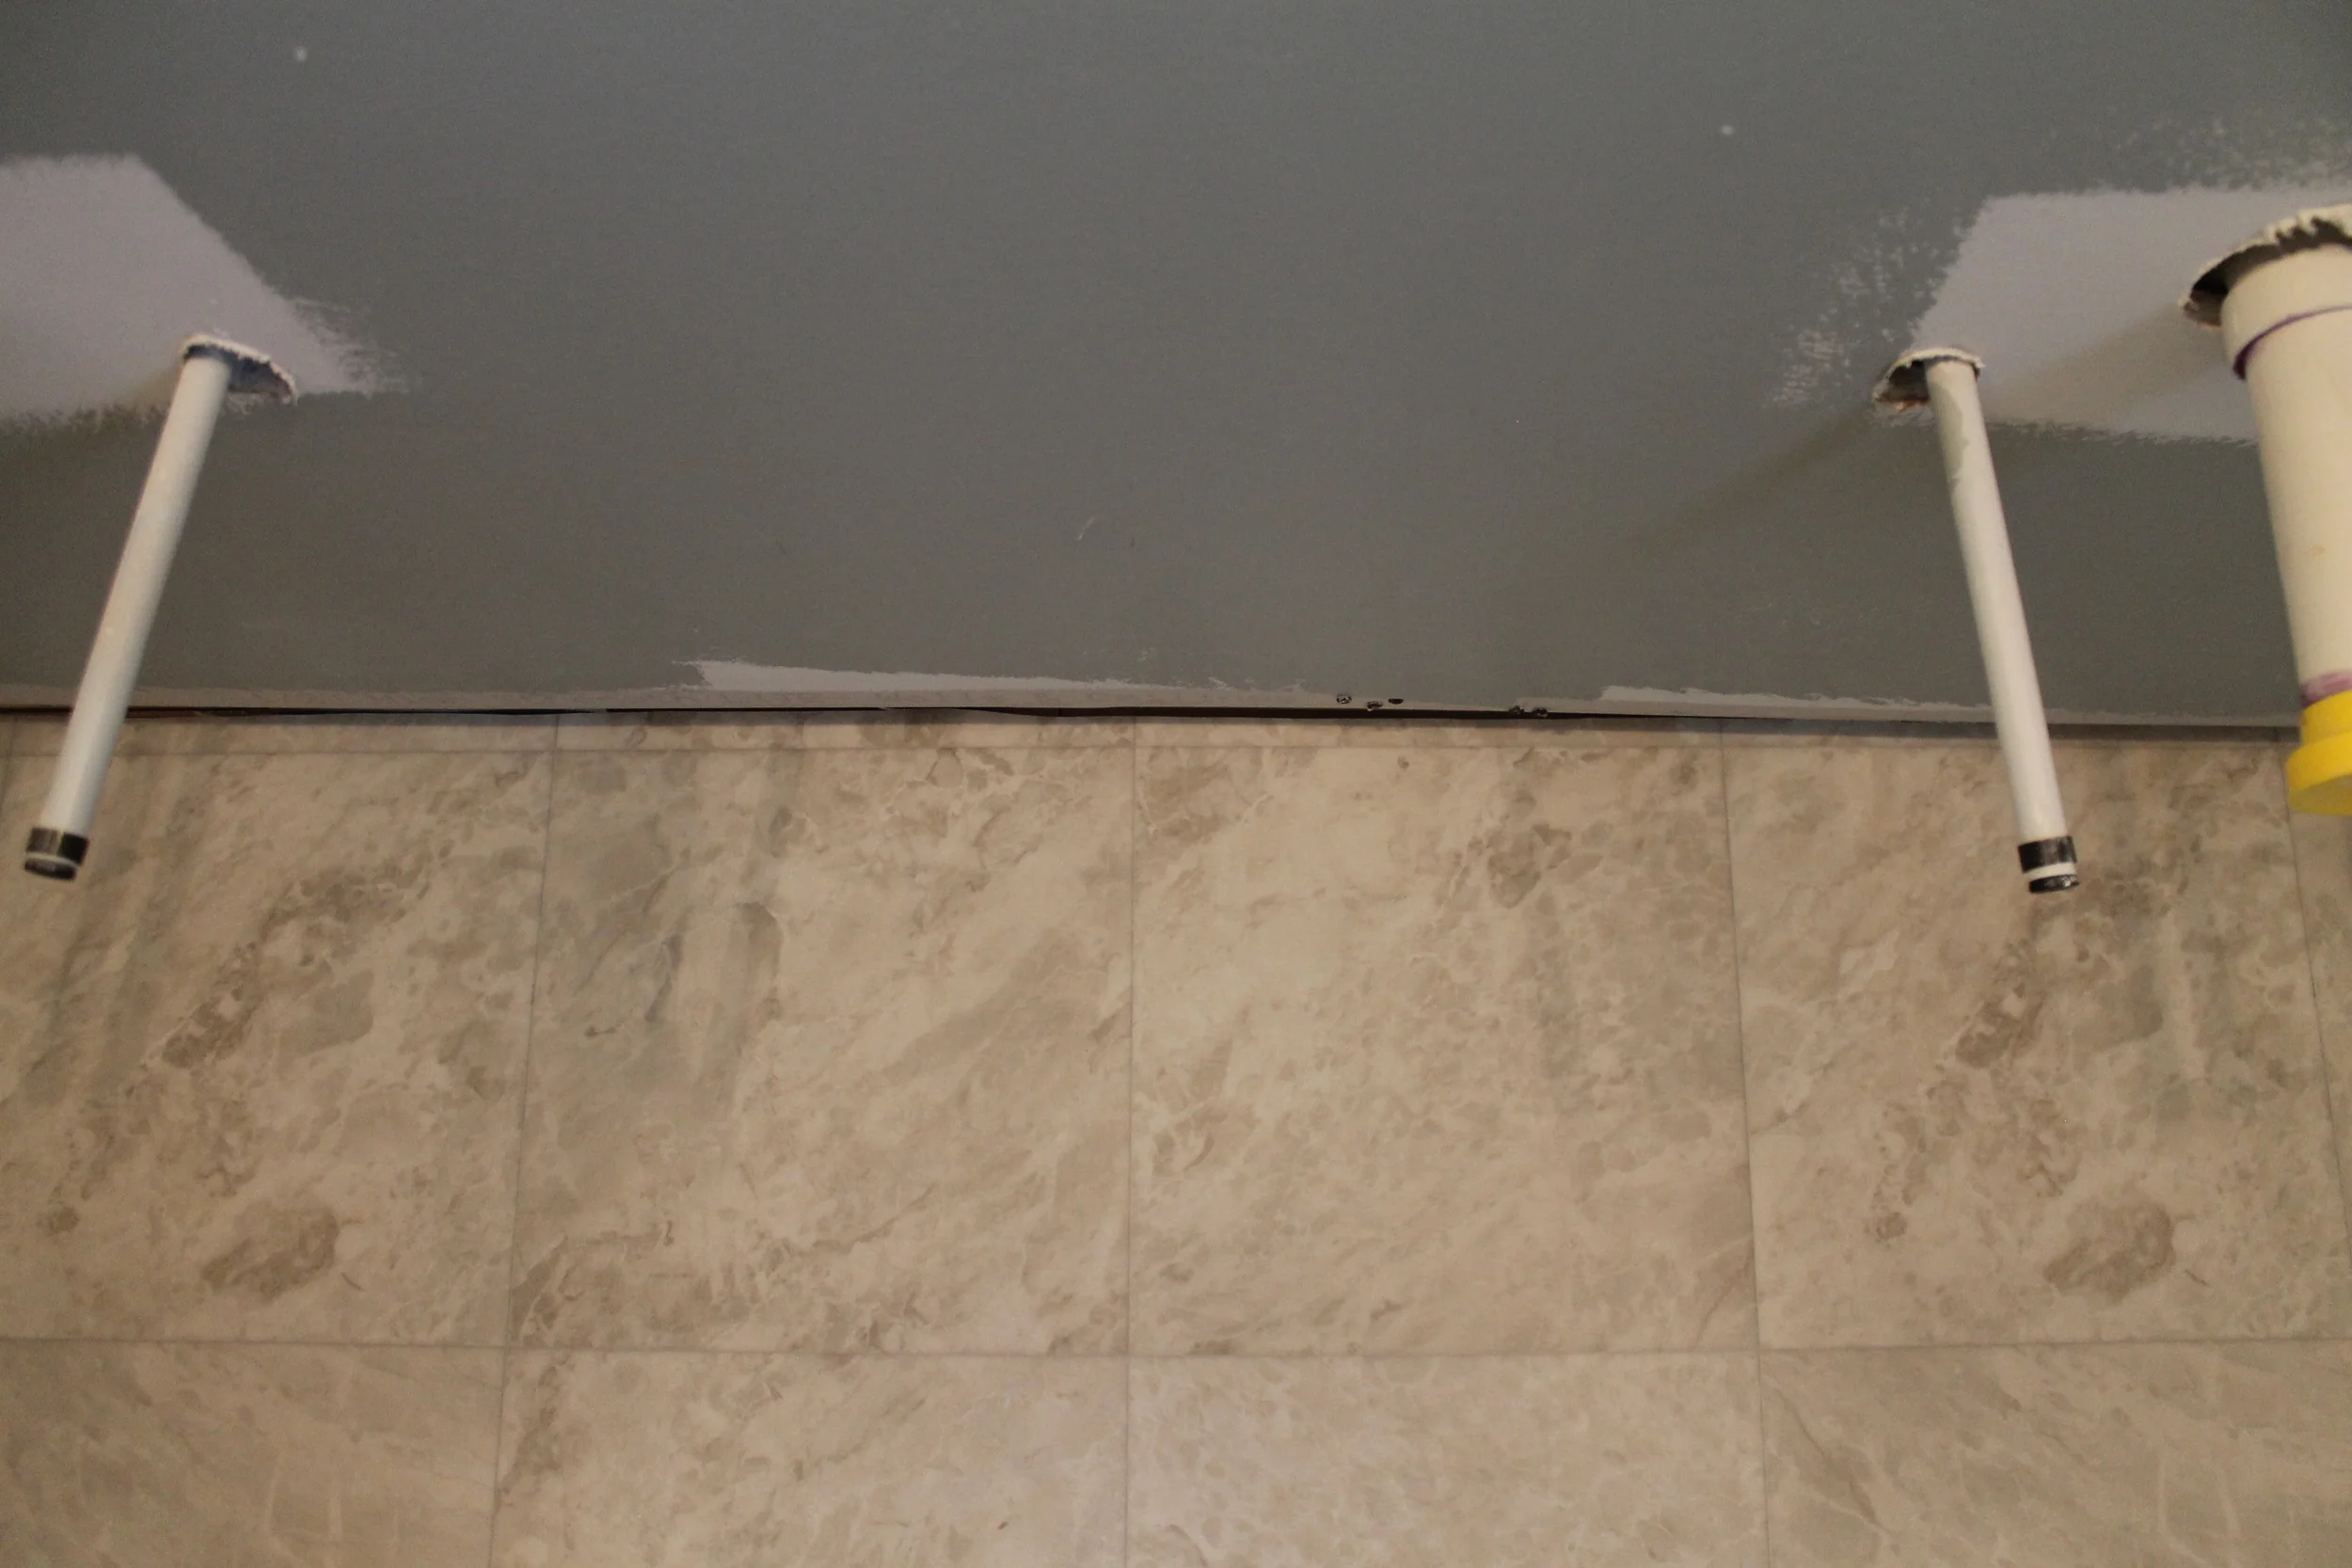
You will want to make sure the subfloor you are putting the new vinyl on is well-prepped. If you are putting vinyl over existing vinyl, then you can skip the new subfloor step. I would, however, recommend cleaning the existing vinyl VERY well (sweep, vacuum, mop, repeat). If you are like us and working with plywood subfloors, you will want to lay down another layer of subfloor (I know, trust me, I fought Brian on this step, too) in order to ensure that the surface the vinyl will lay on is free of imperfections that might show through. Any bumps, dips, or seams surprisingly WILL show through, and after doing all of this work, that is the last thing you want.
Lay your template on top of the 1/4" plywood, then trace around the template. Don't forget to trace those cutouts for the vent, toilets, etc, too. If you are working with a larger room, you may need to use multiple sheets of plywood. Once they are traced, set your plywood on top of the saw horses and use your jig saw to cut them out.
Once everything is cut out, you will want to fit it into place in the room. When you are happy with how everything fits, grab your hammer and nails. The manufacturer recommended placing nails 3" apart on the perimeter, and then 6" spacing throughout the rest of the sheet. It seems like overkill, but I am glad we followed the instructions as it will prevent squeaking down the road. This process is pretty dang loud.
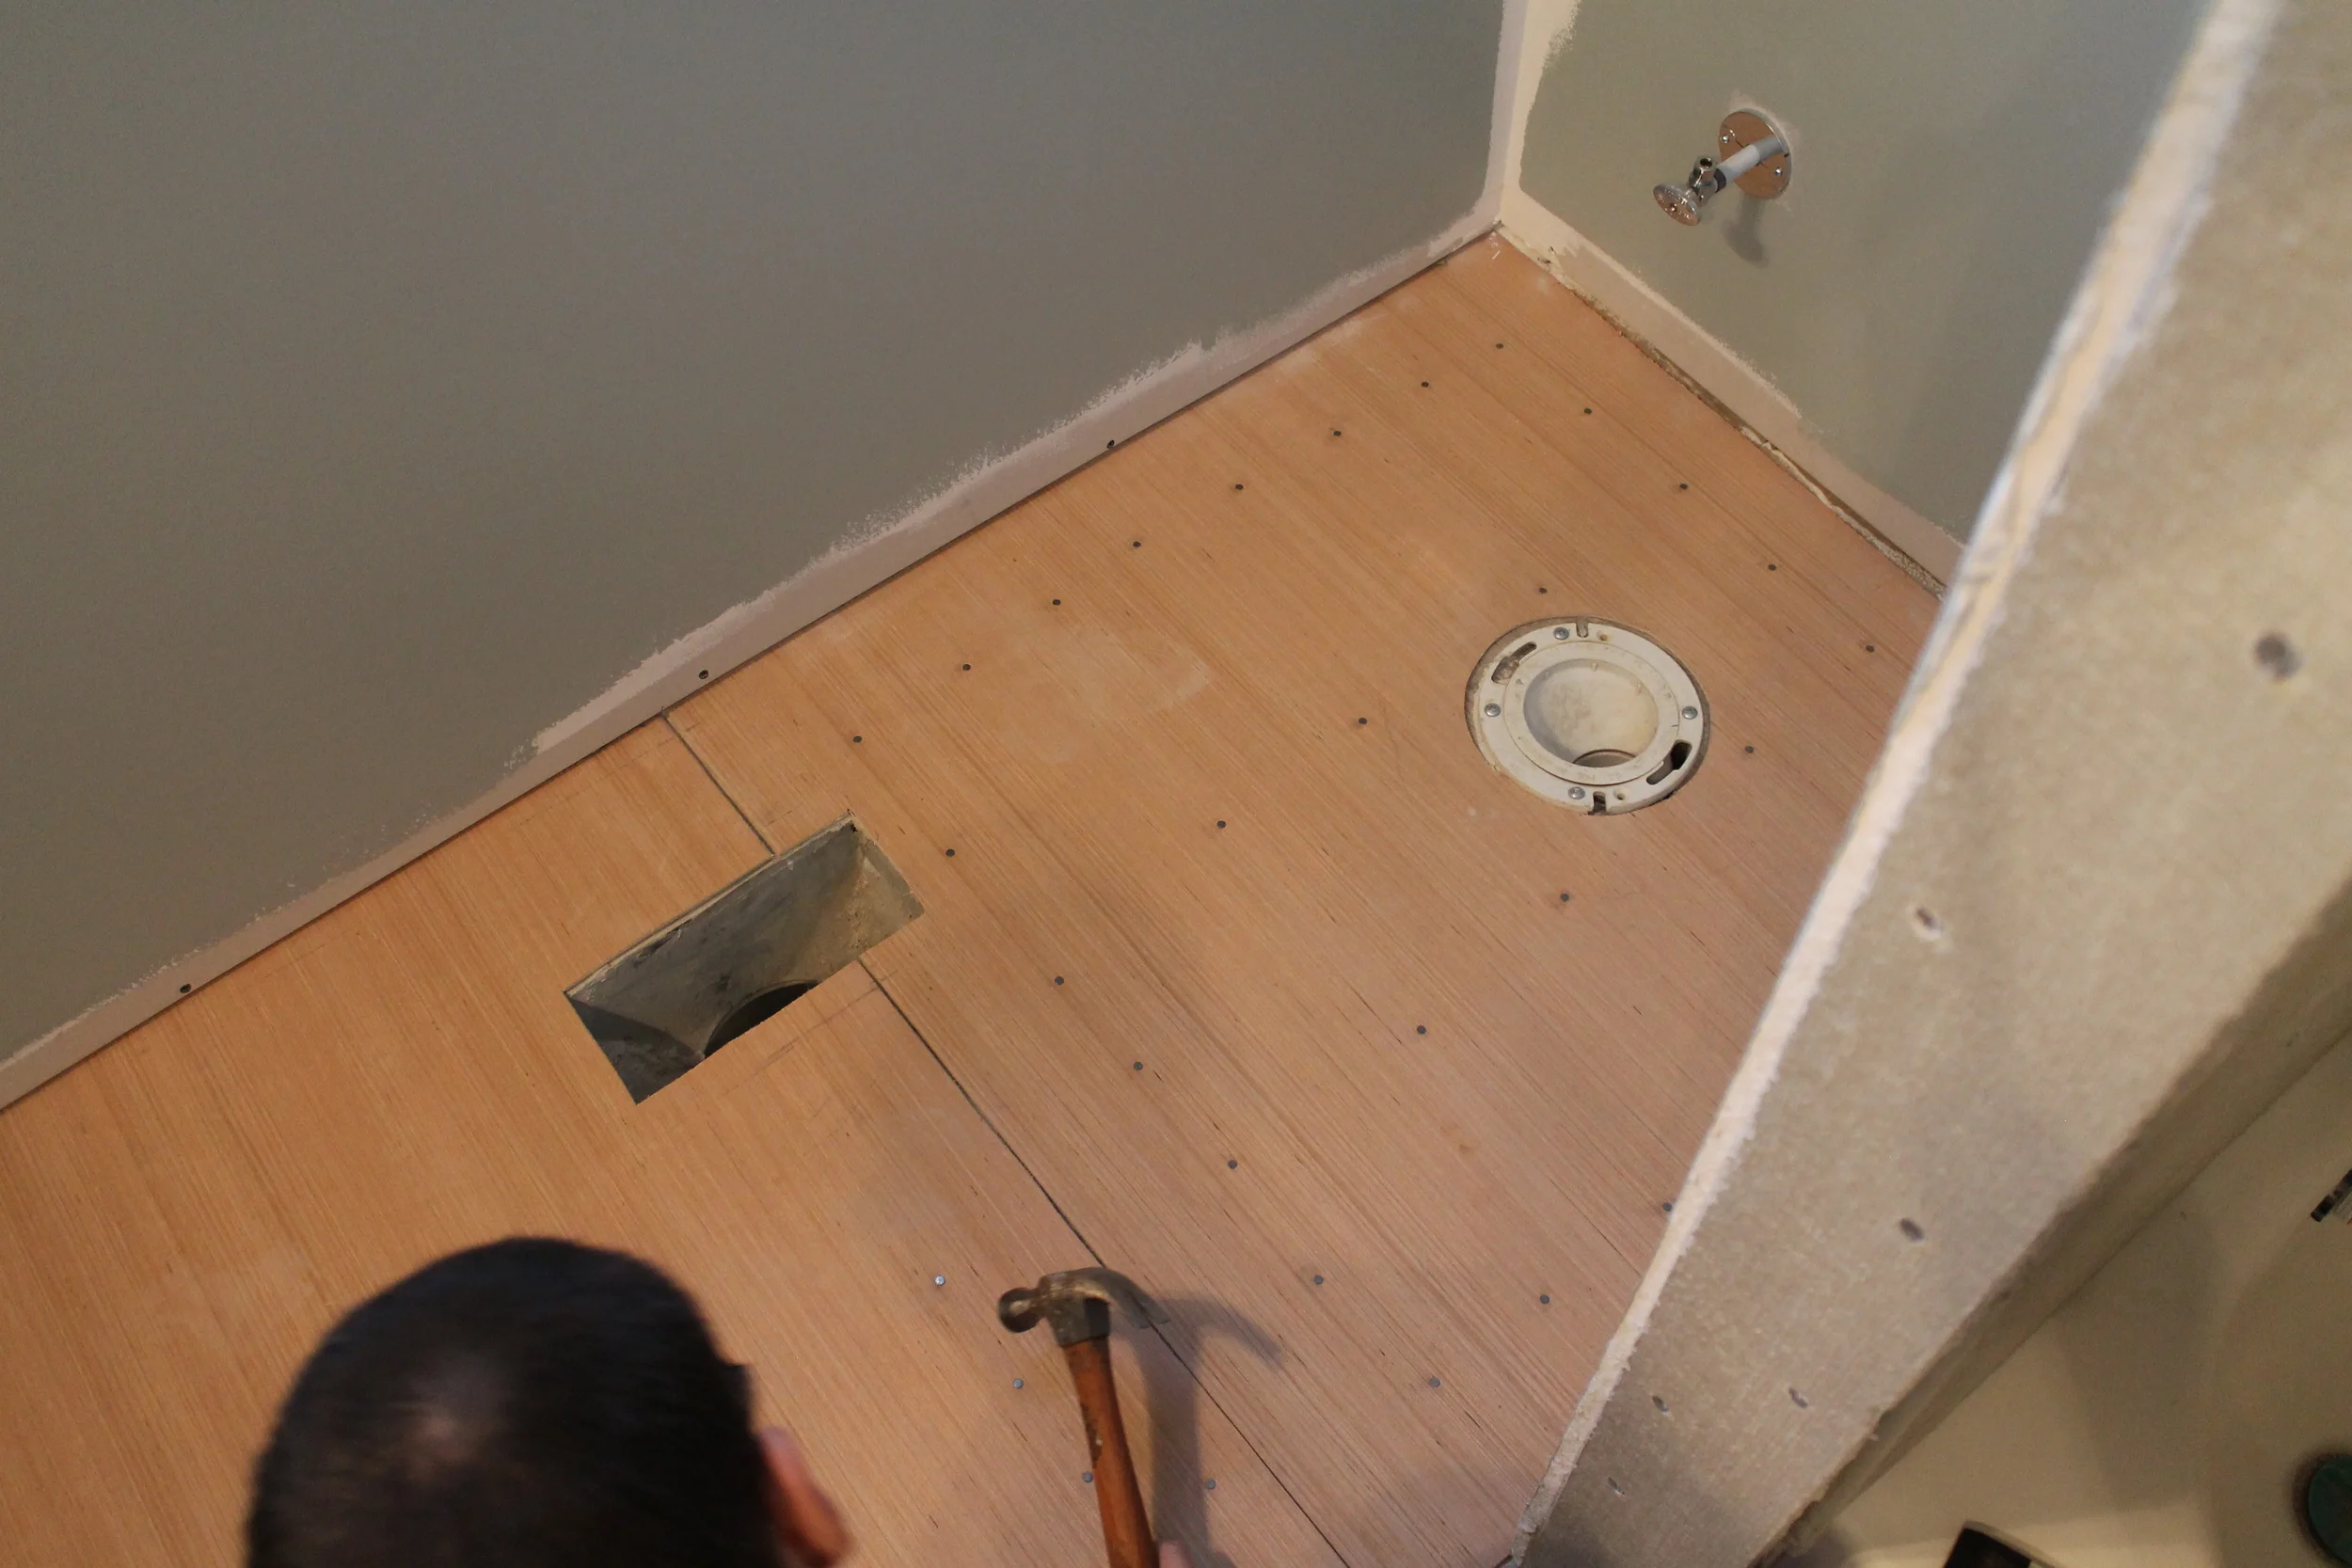
Once everything is nailed down and secure, fill in the cracks with wood filler. This will need to cure for at least six hours. Once dry, sand it down very well so that the gap is seamless. Any little hump or bump might show through.
put down adhesive
After everything has dried, it is time to paint on the releasable adhesive! This stuff is pretty cool as it acts like a glue, yet it allows the vinyl to be re-positioned and easily removed in the future. It is great for first-timers like us who are prone to make mistakes. In a weird way, it kind of smells like Egg Nog.
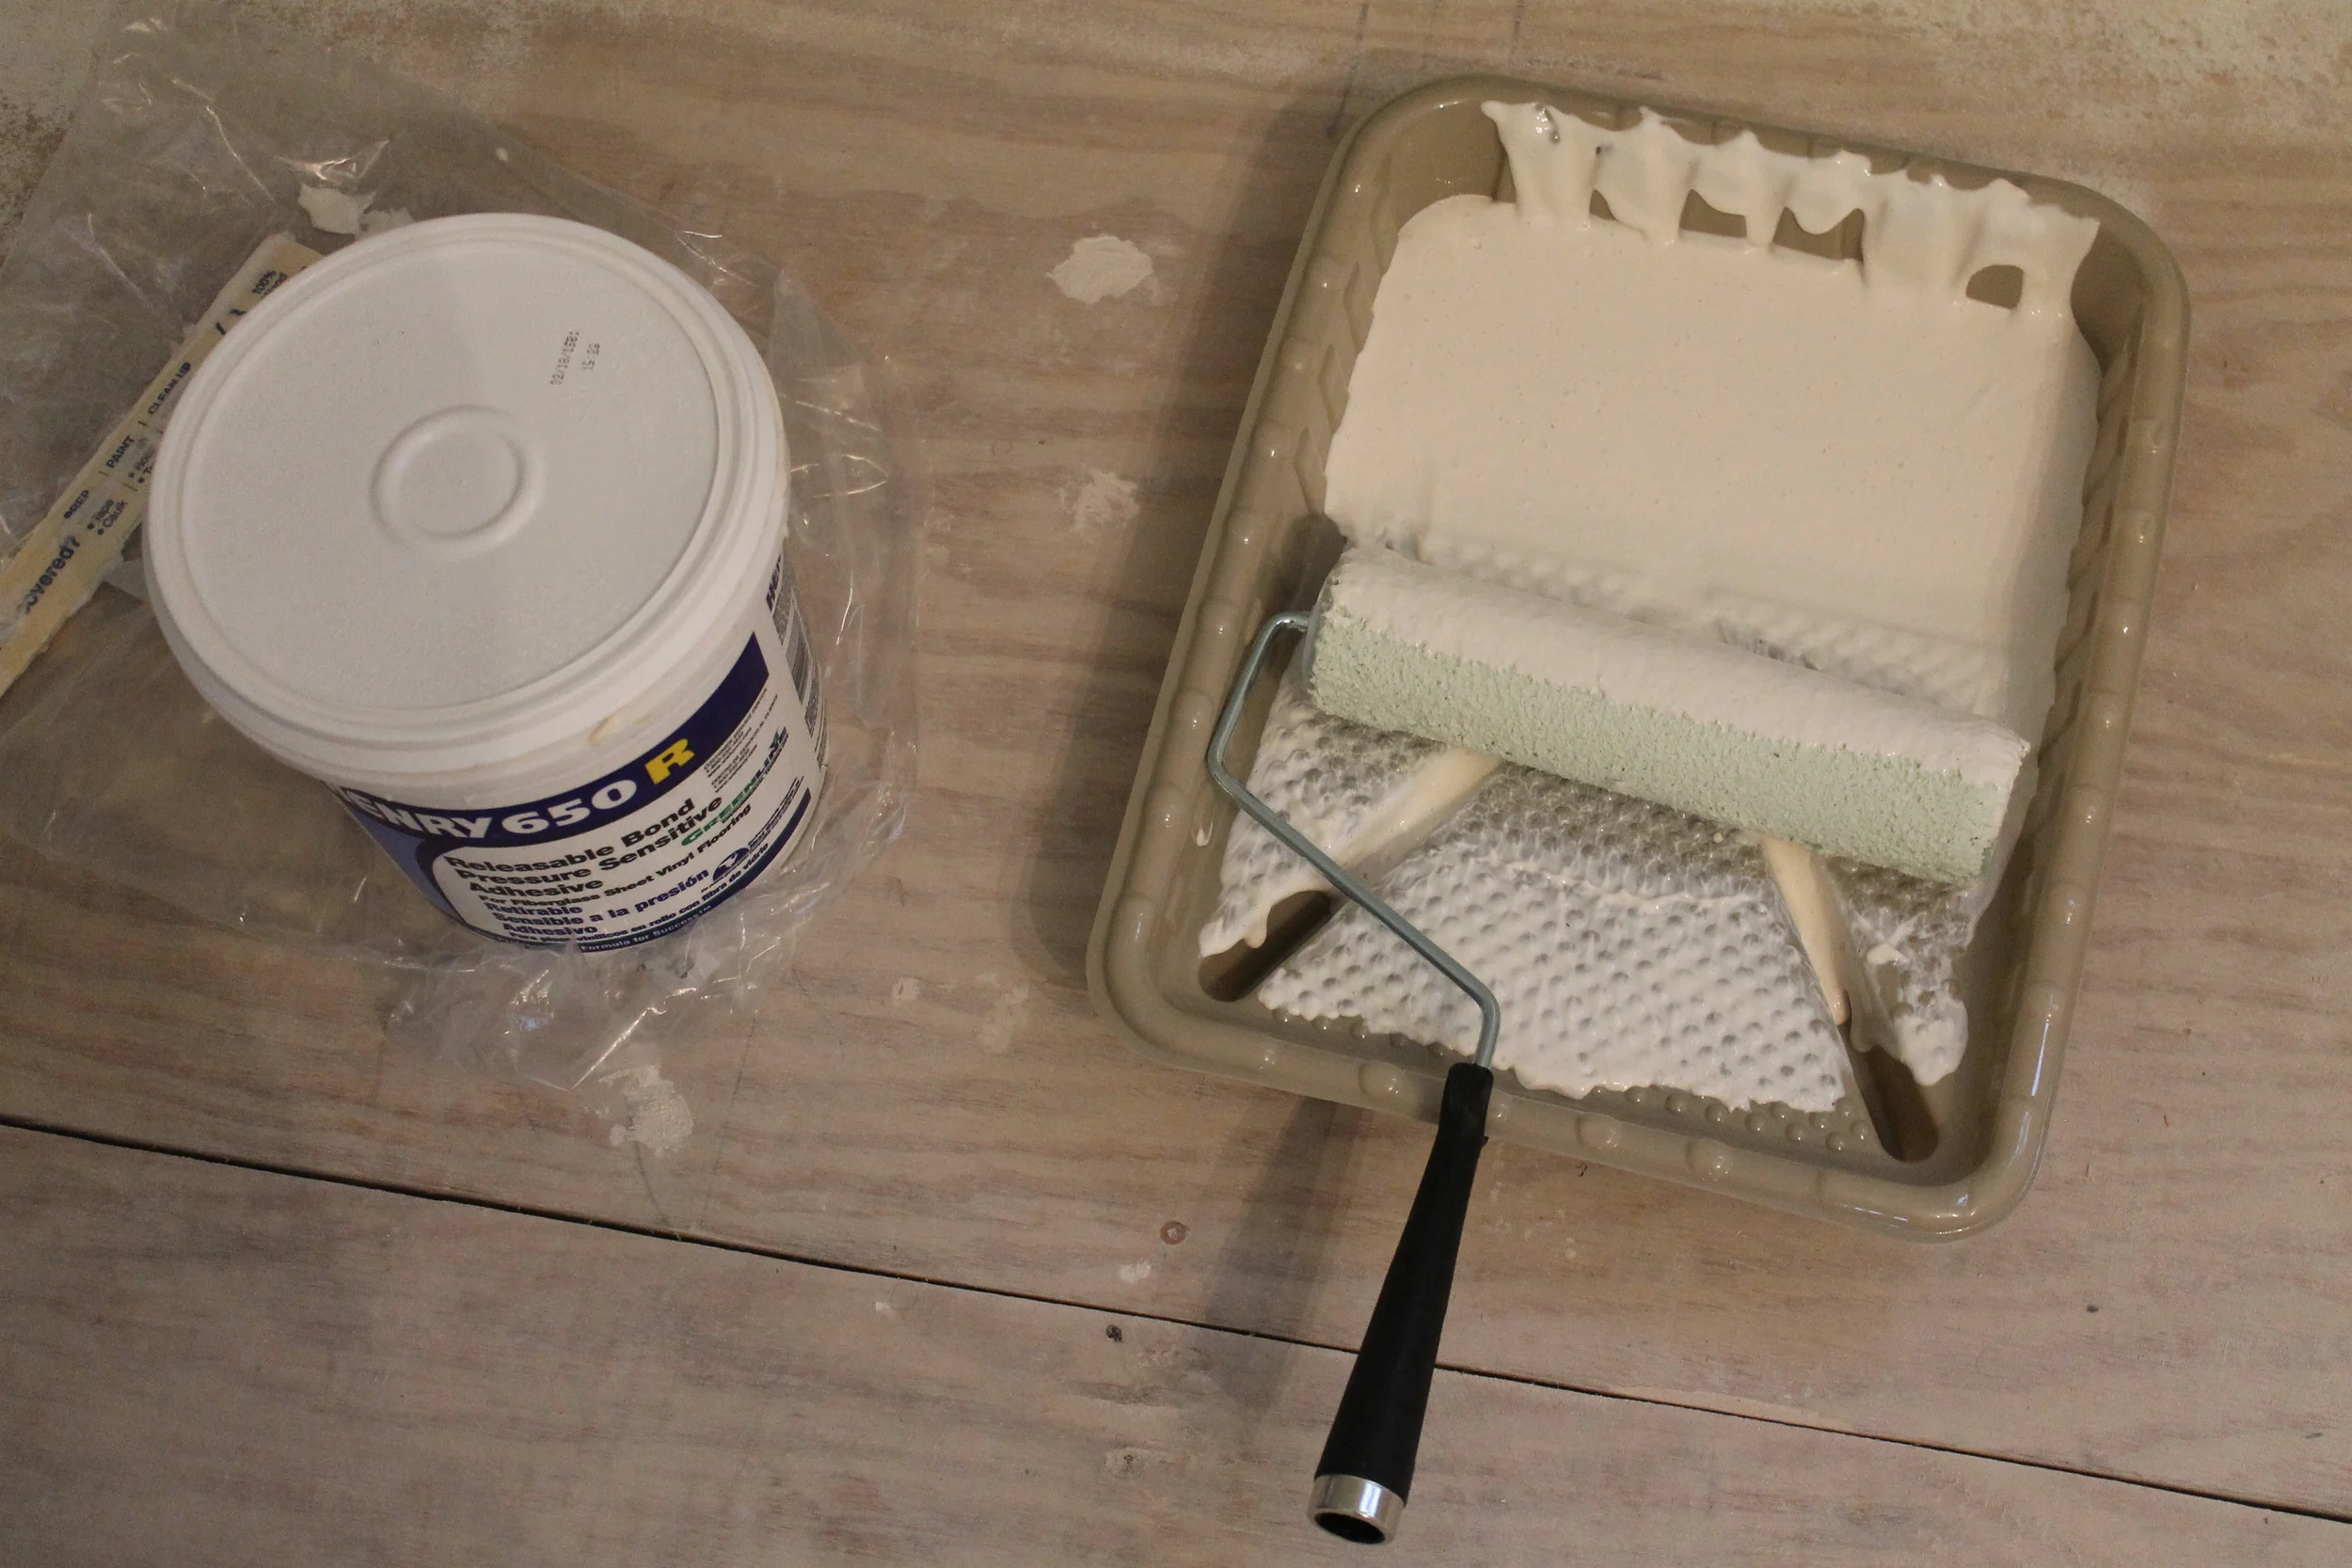
Roll the adhesive onto the floor just like you would roll paint on the walls. I would try to get as close to the edges as possible. Let this set for 45-60 minutes until it is tacky.
cut the vinyl
Now we can move on to the fun part! While the adhesive is drying, take the same templates from earlier and place them onto the large vinyl sheet. Make sure they are the right side up! Lightly tape them down to prevent sliding.
Using the box cutter, carefully cut around the template through the vinyl. I would leave about 1/4" extra on all sides. You can always trim down, but you can't add more vinyl back!
install the vinyl
Once everything is cut out, roll your vinyl up to make installation a bit easier. Starting in the corner, place the flap of the vinyl that is not rolled in place on the adhesive, and then slowly start rolling out. If the vinyl becomes unaligned, simply peel it back up, and start again. We used a scrap PVC pipe like a rolling pin to smooth out any air bubbles.
That's about it, friends! The last steps will be to install baseboards and quarter-round, and then caulk everything to make sure it is water tight. I will say, we had an unexpected flood of water while we were installing faucets, and this floor held up like a champ. :)
I hope this was helpful, and if you are reading this part, thanks for making it through with me to the end! Feel free to email me with any questions at all.