
I am sure you are sick of me talking about the floor plan (I am sick of it myself), but this is the last update, I promise! Framing starts in the next few weeks, so there is no turning back now. I am really excited for how it turned out. We managed to change this originally 2 bed/1 bath house into a 3 bed/3.5 bath, which I am pumped about.

This one is not nearly as neat (my apologies) but here is a rough idea of what the layout used to be.

As you can see, the previous layout was the epitome of compartmentalized. No flow whatsoever, just like an old house. I think it is a huge blessing in disguise that there was so much termite damage. To keep costs low, we had agreed to try and keep the layout as it was and just deal with the awkwardness. I am so glad we were able to move most of the walls in the end. The long wall going down the middle of house is the load-bearing wall, so we will keep most of this in place.
One thing we discussed with our contractor on our last trip is to remove the back door. It was making the layout impossible and we had to create a long hallway to keep access to it (i.e. lots of wasted space). For about $700 dollars, this door and two windows will be removed and replaced with new siding. We already have access to the back through a door in the new kitchen, and the windows that are going away are 1. ugly, and 2. located where closets will be. No harm, no foul. Here is a photo of what we are getting rid of.
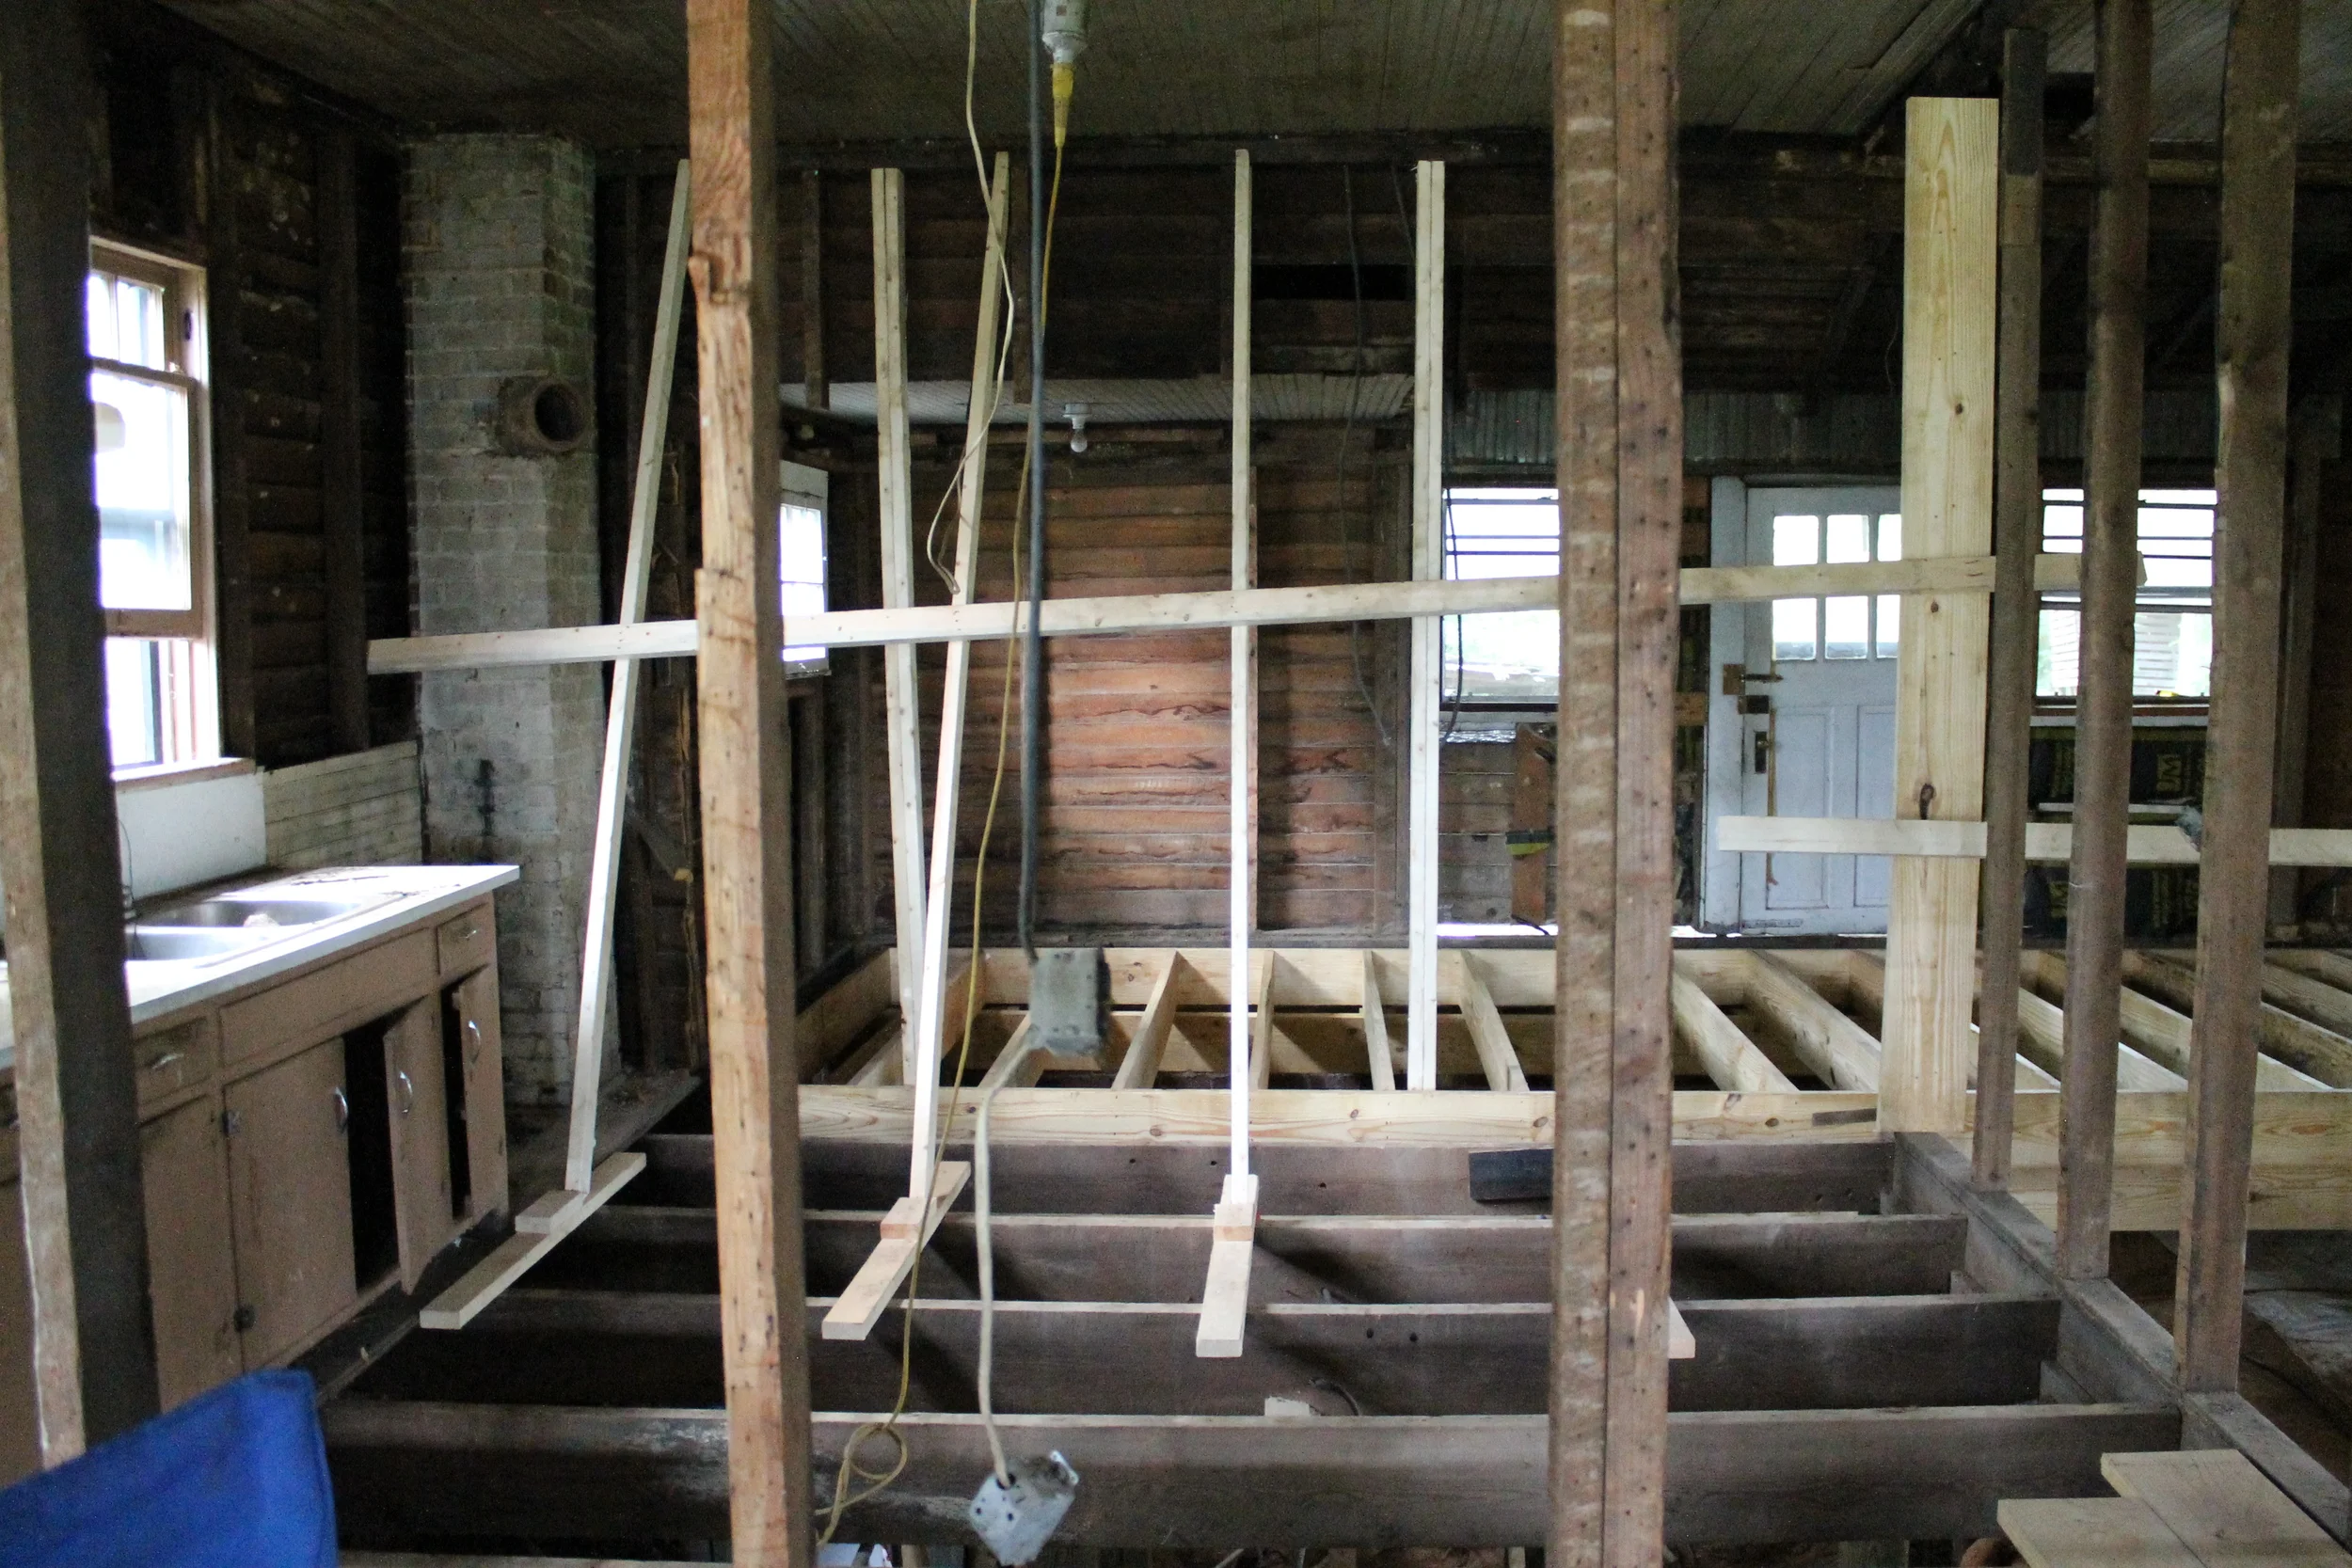
The door and the two windows flanking it are going away. We will still have a window in the master bath (the short window on the left) and guest bath (out of sight in this photo). Where the door is now is where the new master closet will be. :) P.S. Do you notice the NEW wood going in? It is odd, but even having the new stuff in is starting to brighten up the space.

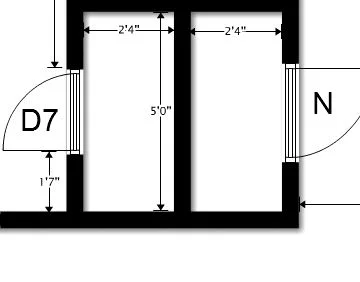
Another joy of working with an old house is retrofitting the old doors. Brian, Jake (our contractor), and I spent Sunday measuring the salvageable doors, taking photos, labeling, and then I had to try and match them to appropriate places in the house. Since all of the doors are different sizes (of course), the crew had to know the dimensions of each for framing. D7 stands for Door #7. :) What is behind Door #7 you may wonder? A closet - exciting, I know. :)
Now I get to try and find a few "new" doors for the house from a Habitat Store. Any Raleigh people seen a good/affordable selection of antique doors locally?