

I know it has been a while since I last posted, and the reason for the little break is that we have a few things in the works but nothing quite finished yet. The kitchen appliances have arrived, the kitchen cabinets are on order, we have a new (to us) washer and dryer ready to be installed, but nothing blog post worthy. The one thing we have finally finished - mostly due to the fact that we hired out the last leg of the job - is the hardwood floor!!!
Our project was unique in the fact that we were able to salvage some of the original 100+ year old floors, but we also had to install new hardwood floors in a few rooms. The phrase "they don't make them like they used to" holds true for hardwood flooring. The existing floor is oak just like the new flooring, but you can see how much tighter the wood grain is comparatively. Also, the old boards are easily 4-5' in length whereas the Utility Grade Oak is about 1.5' in length on average. We used Lumber Liquidators 2.25" Utility Oak.
I posted parts one through three of installing the Utility Grade Flooring and you can go back and read those here if you'd like:
Part I
Part II
Part III
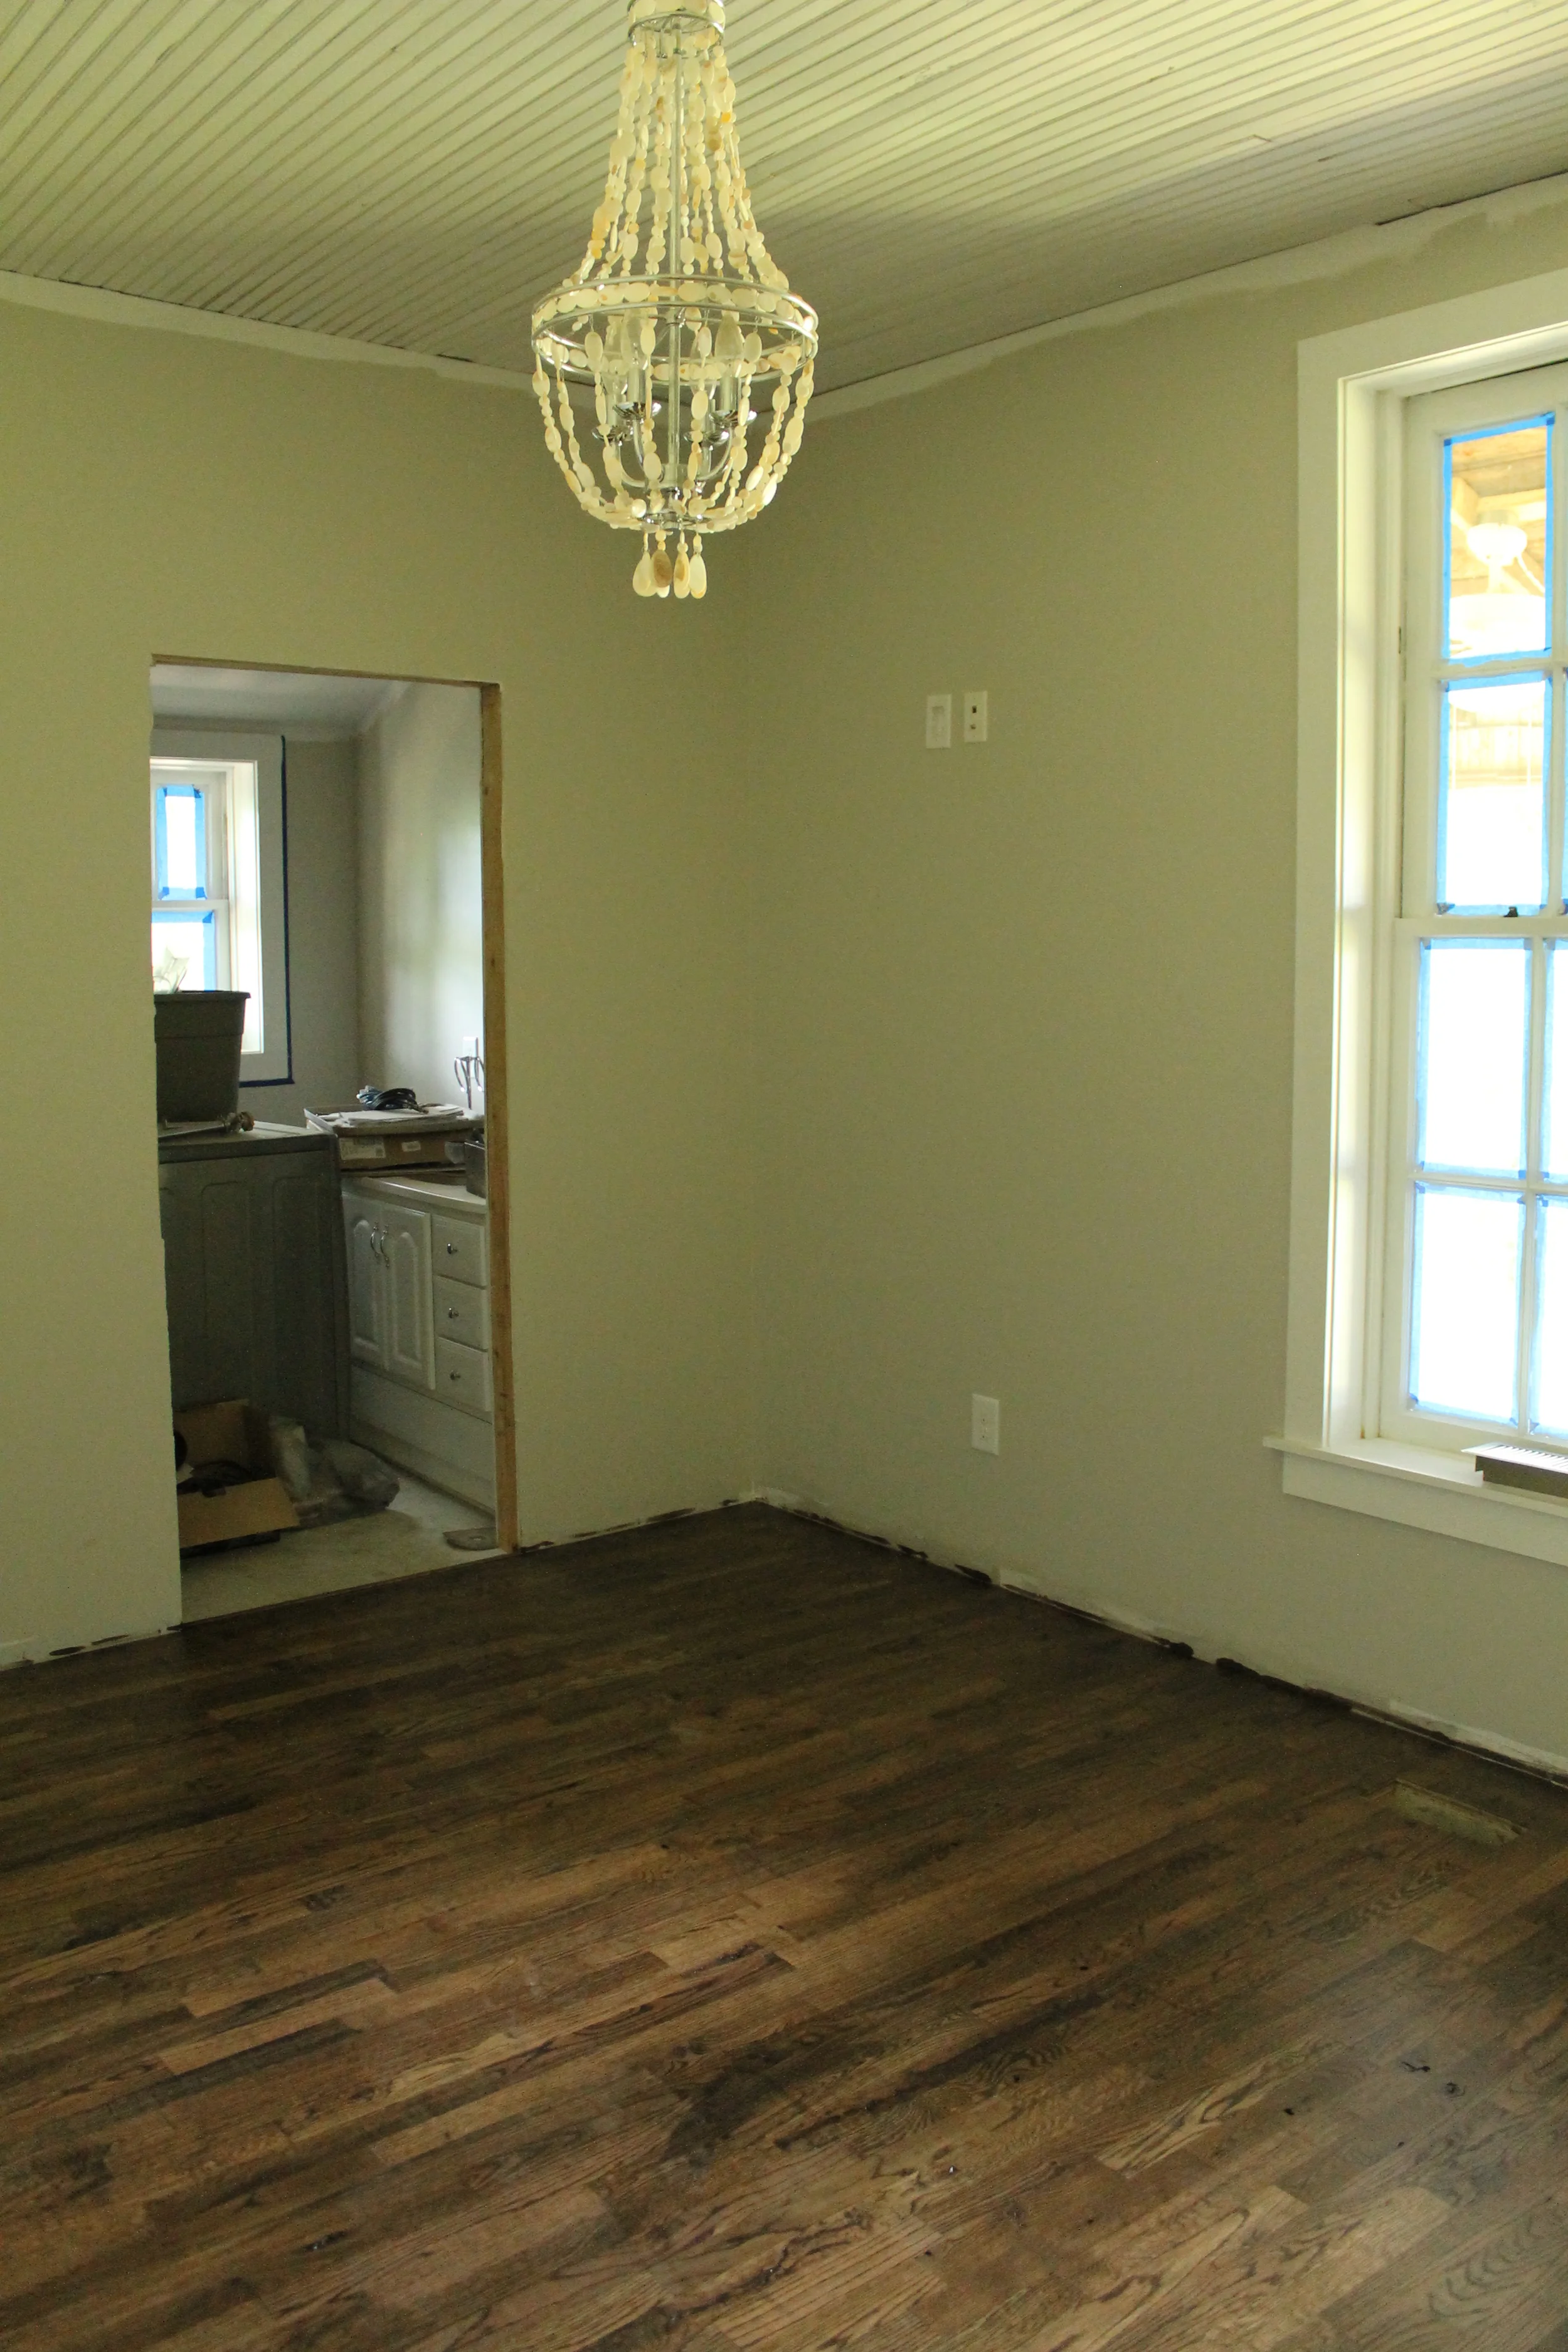
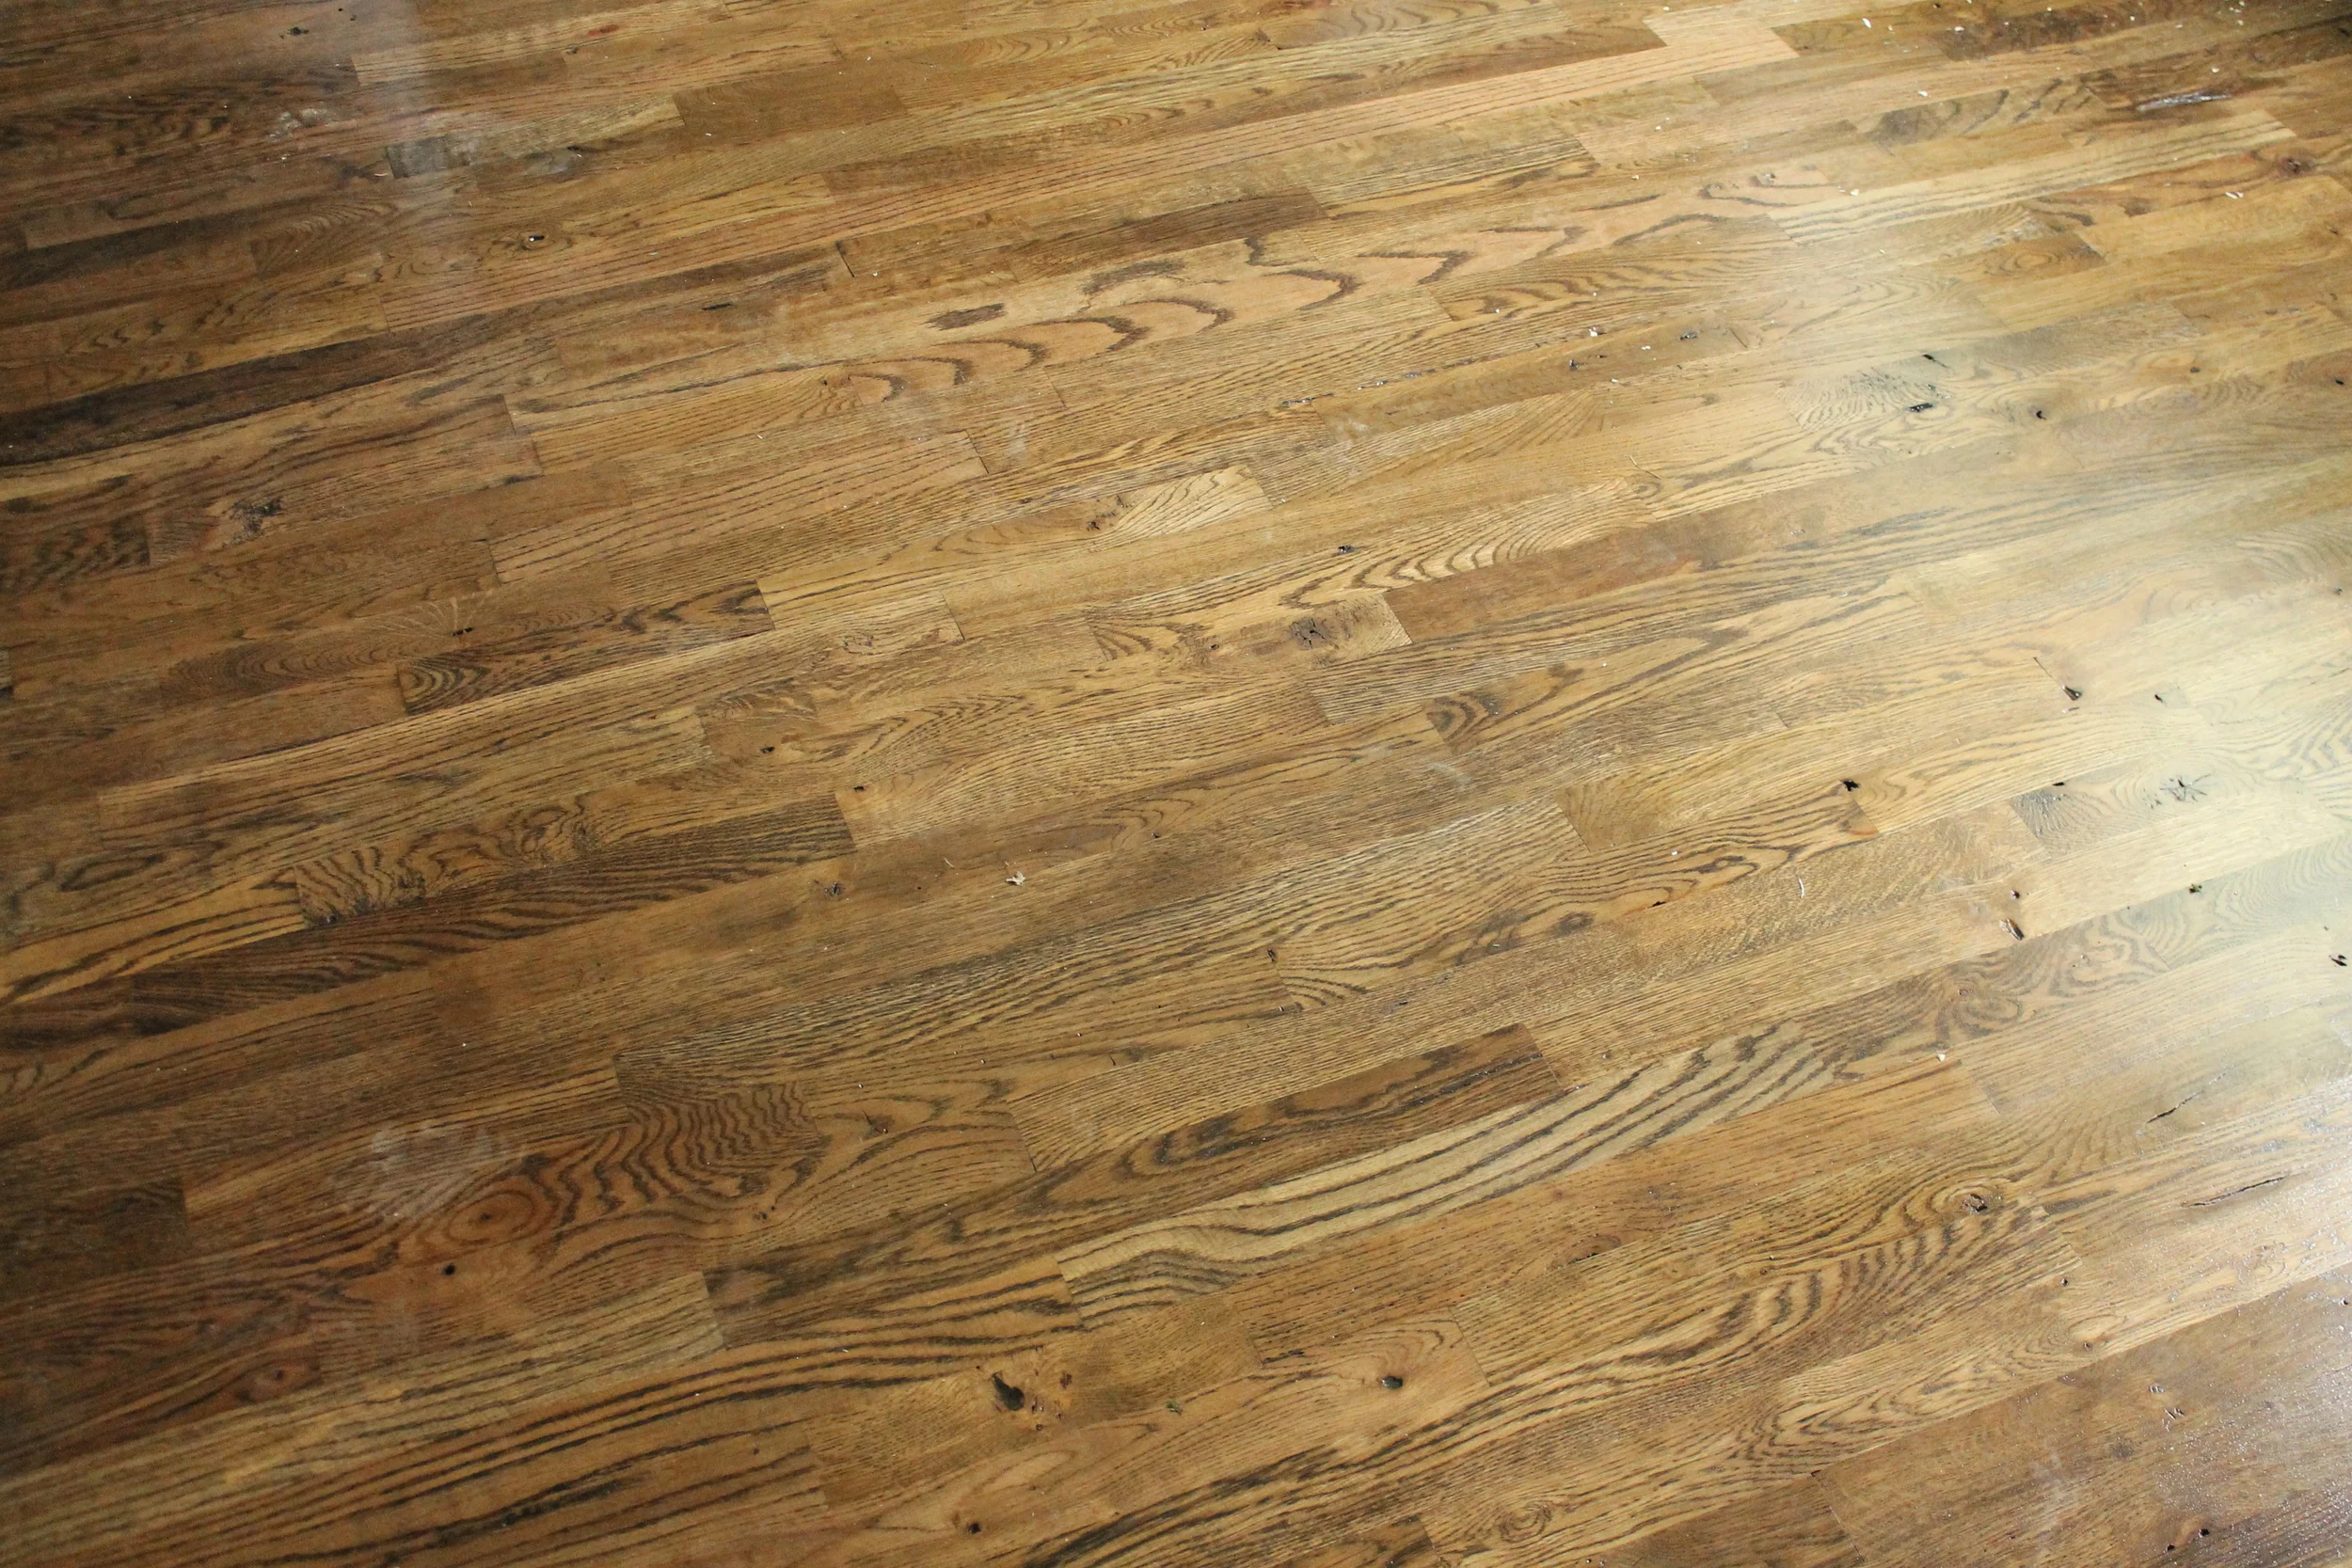
After the five weekends it took to install the new hardwoods, it was time to settle on a stain color. I am a big fan of dark floors but I am not a big fan of every spec of dust showing on the floor. So, with the really dark stains ruled out, then there were two: Minwax Dark Walnut and Minwax Provincial. I loved the color of Dark Walnut but was concerned that the old wood would soak it up like a sponge and make the floors look black. Provincial, on the other hand, had a lightness to it which I liked, but I was worried that the stain would have an orange hue. I tested a few on the White Oak, Red Oak, and "old" Oak boards to get a feel for color.
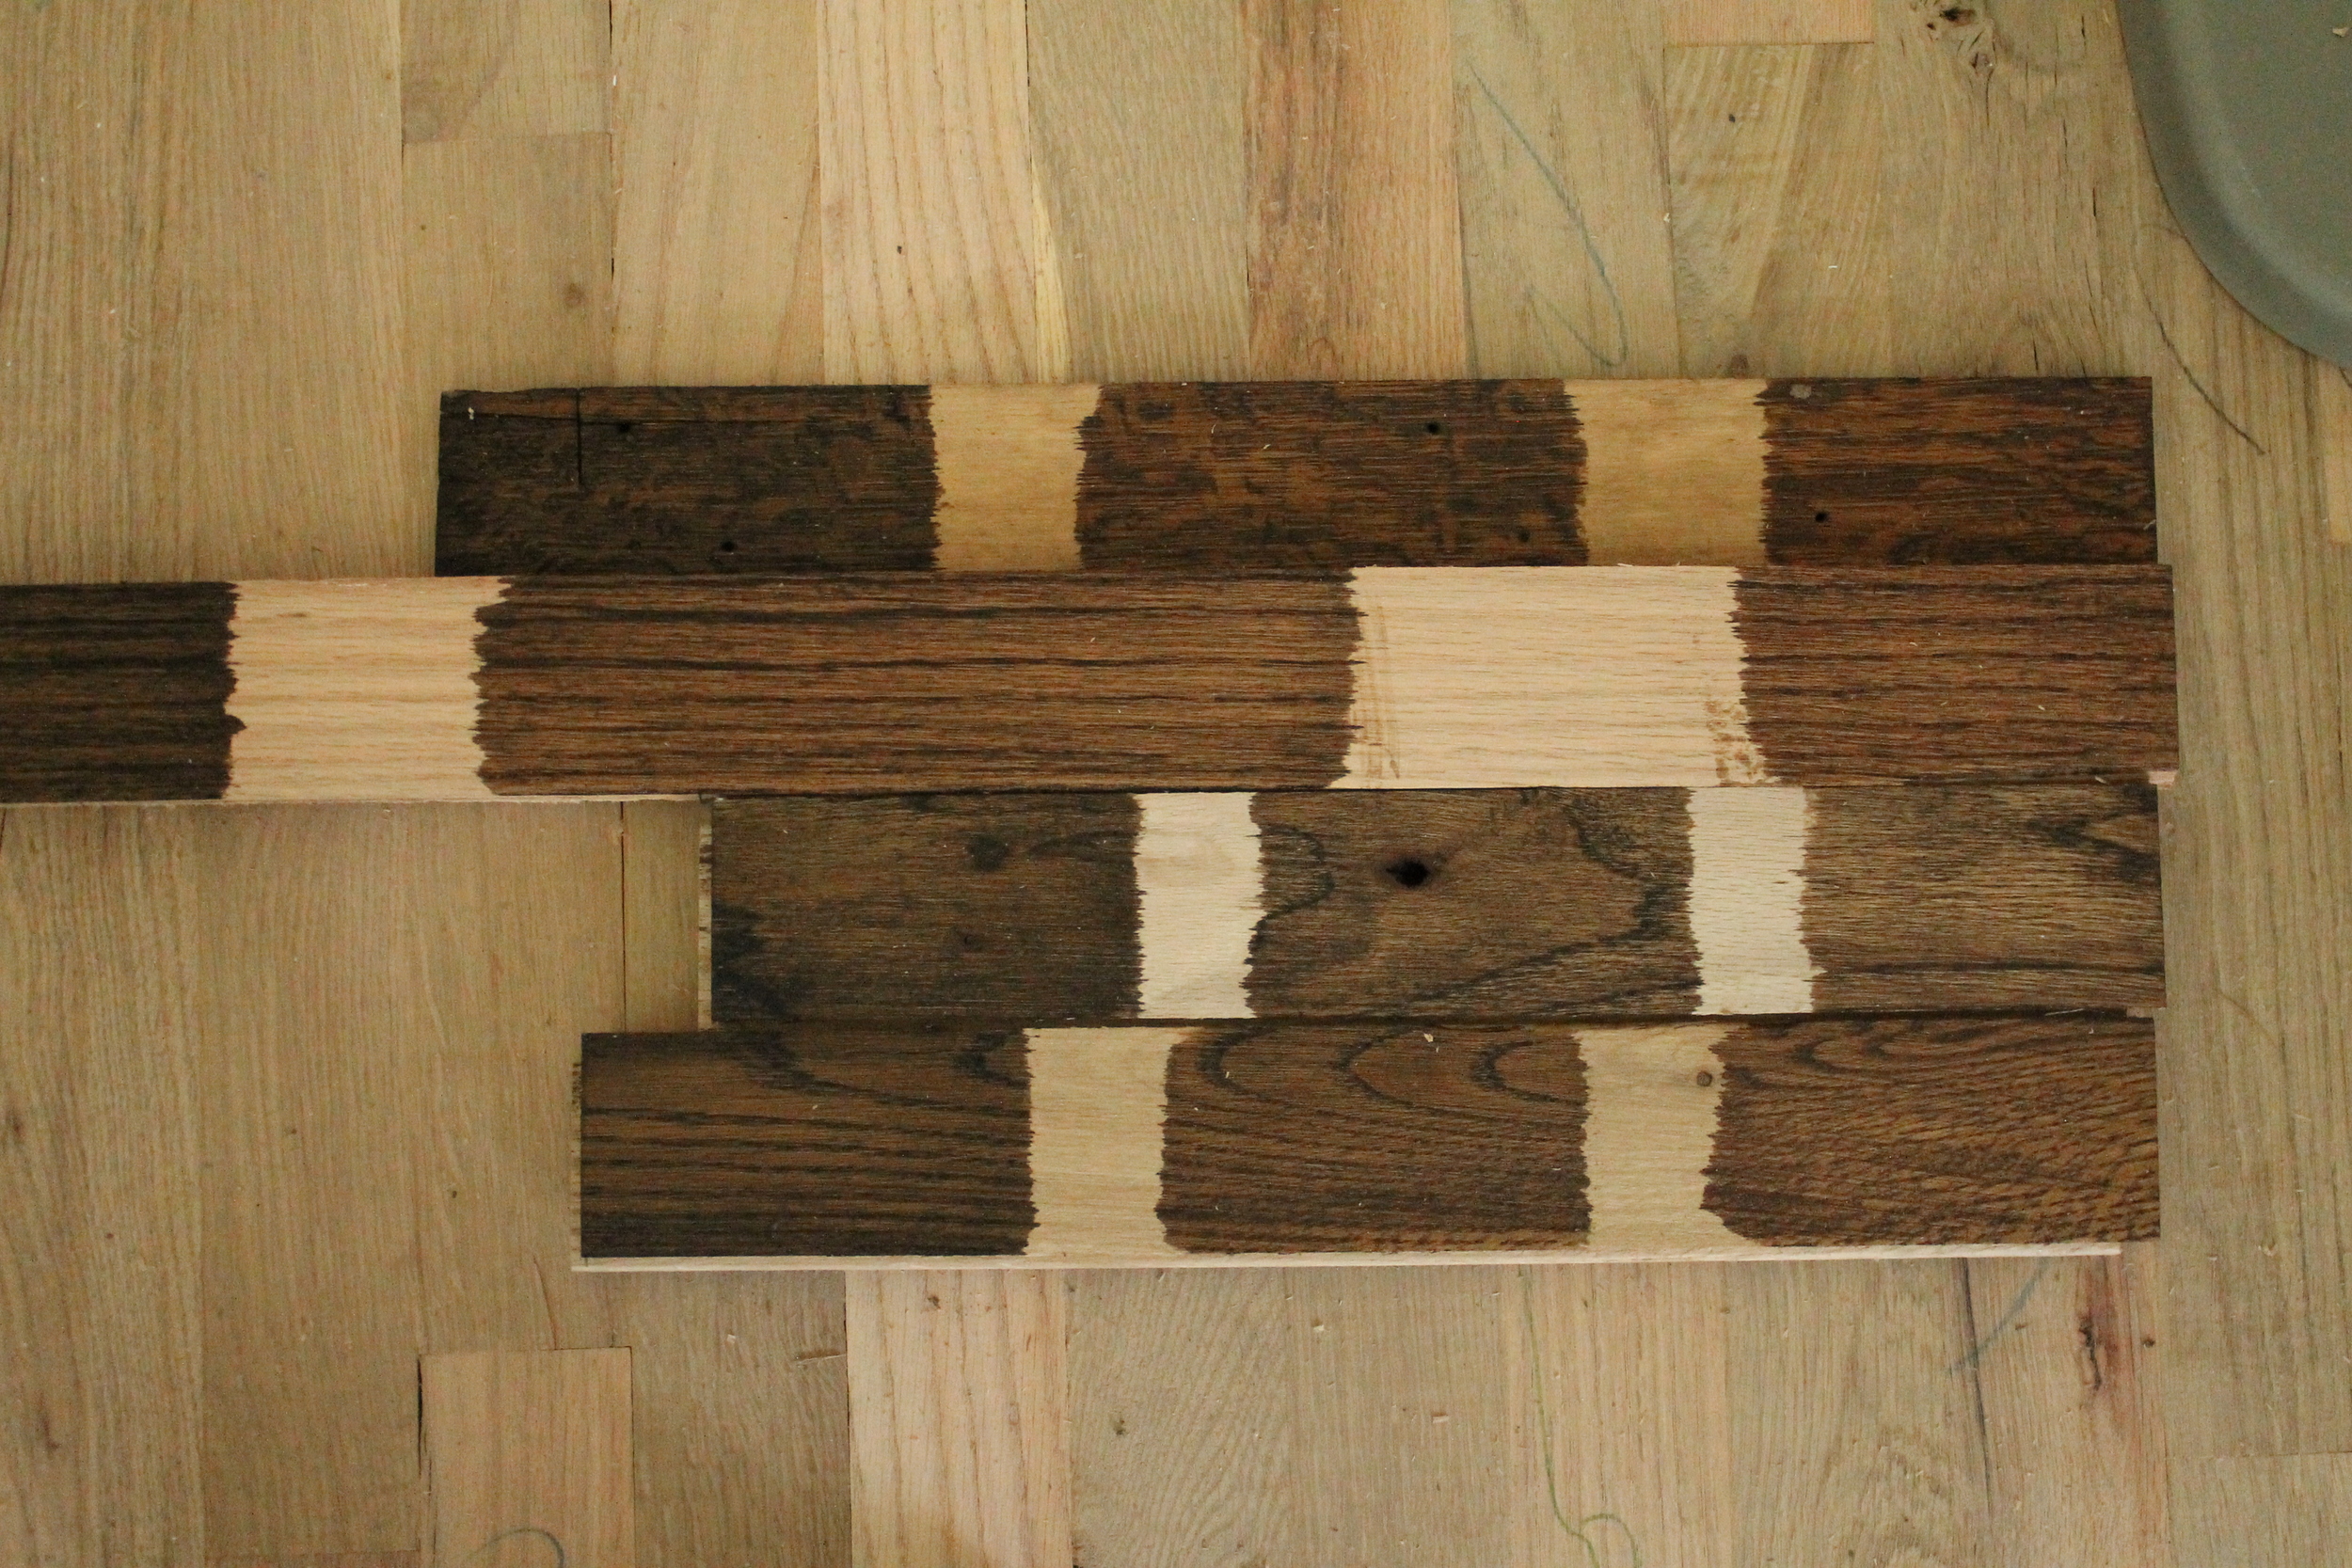
The left side is Dark Walnut. The middle is 50/50 Dark Walnut/Provincial. The right side is Provincial.
After talking it out with our contractor, he suggested going with the Dark Walnut, but he would only let it sit on the wood for a couple of seconds and would wipe it off immediately. This would give us the color we want but not the darkness. Done deal.
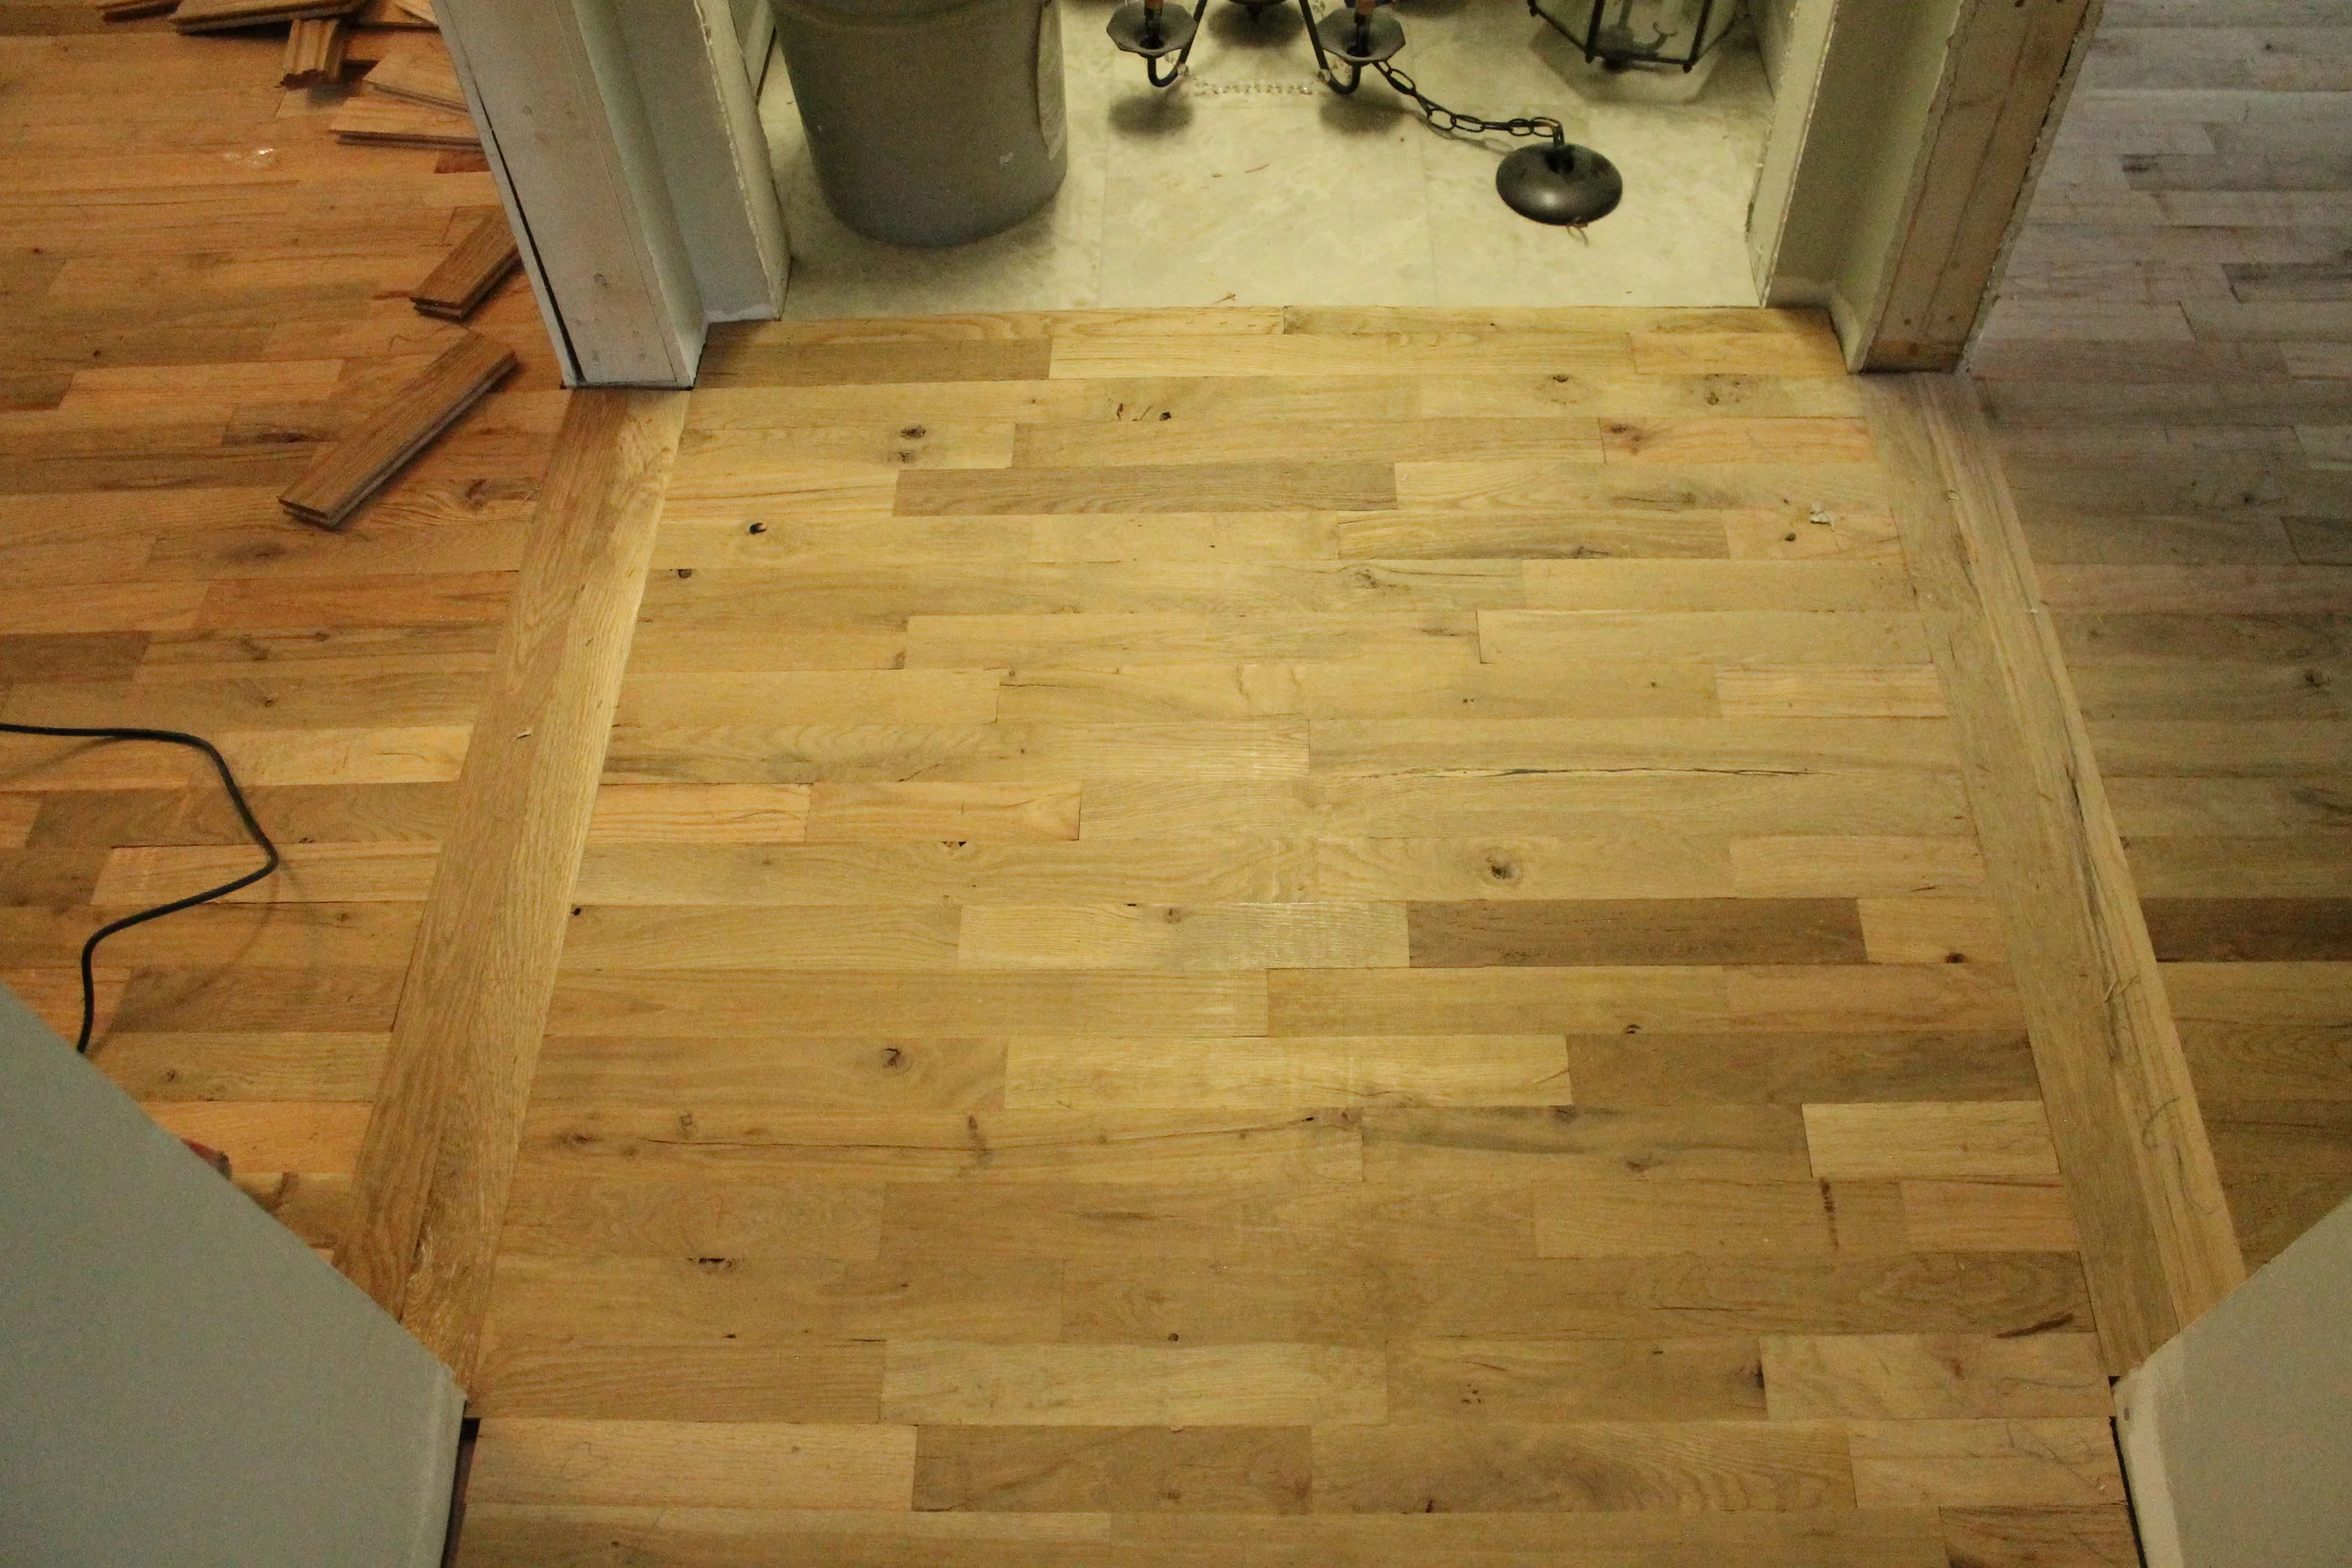
It took him a couple of days to sand, patch, install thresholds, and fill in deep knots before getting to the staining. Word to the wise - the sawdust from sanding is just as messy as drywall dust. Make sure to cover up anything you don't want to get dirty. Here is how the dining room/living room threshold looked after sanding. The old wood is on the top, the new wood on the bottom.
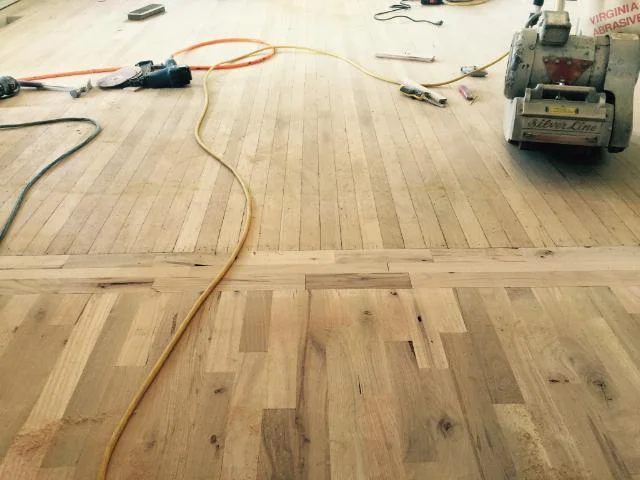
Color-wise, they sanded out pretty well! I was pleasantly surprised that the old wood sanded out so light. He then cleaned everything with Mineral Spirits before the staining commenced.
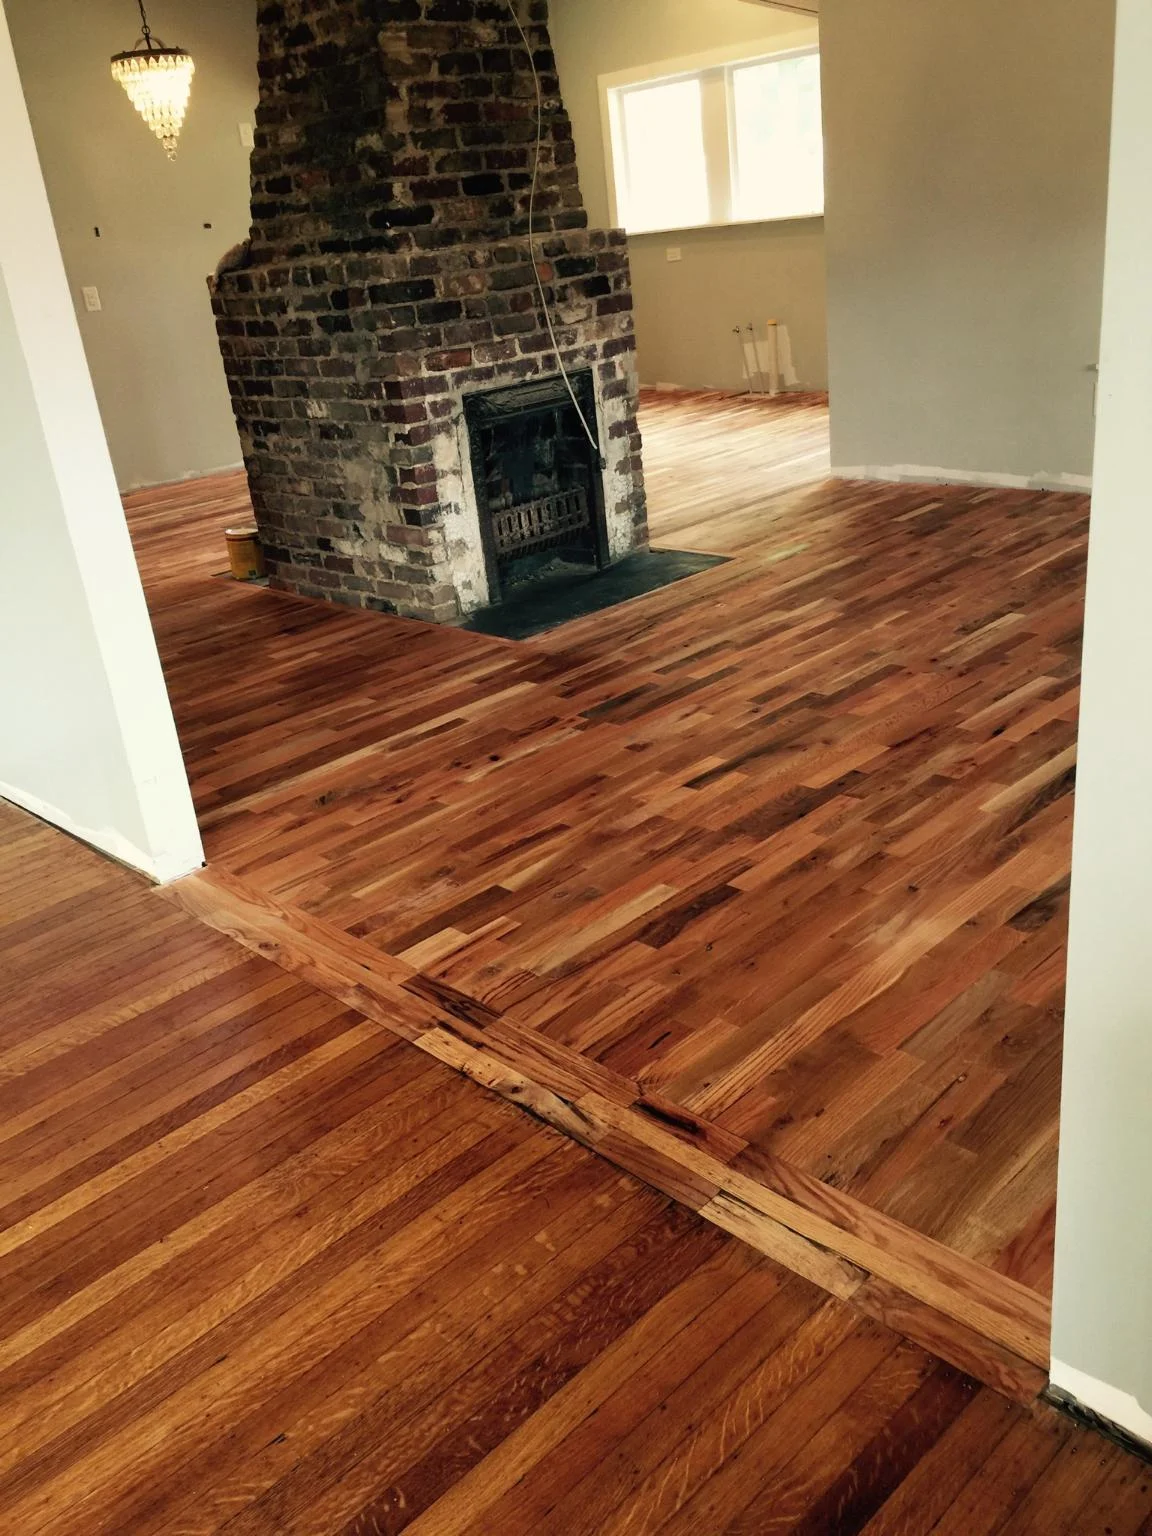
Our contractor created a threshold to join the old and the new, and I think it turned out great! Below is the before and after (old floor on the left, new floor on the right).


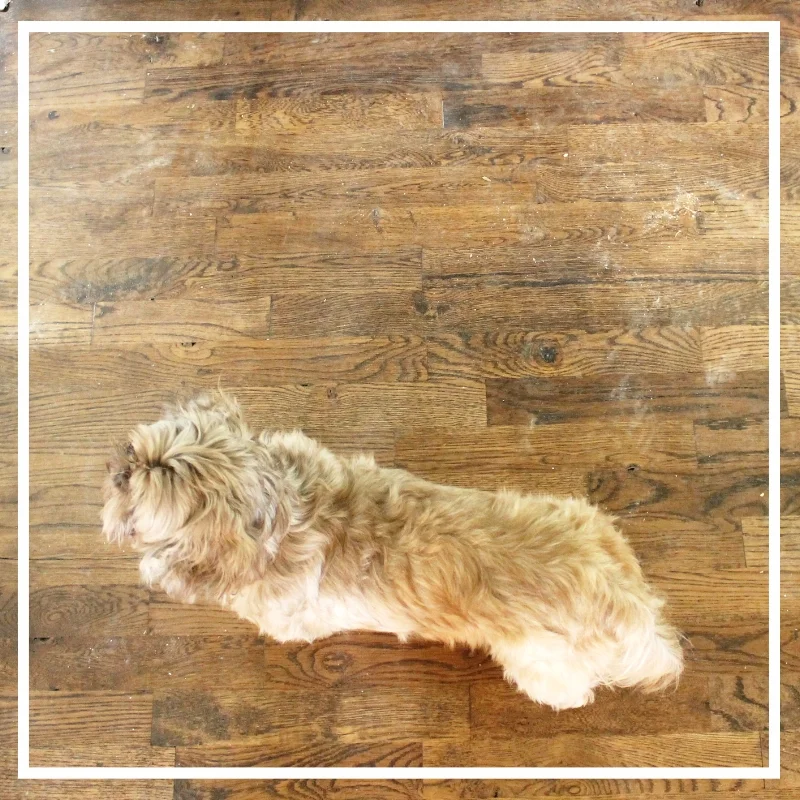
Natural wood right after installing (left) and with Dark Walnut stain (right). Lola loves the camera.


What I learned about Utility Grade Oak Flooring
- One thing that surprised me was how much variation there is between bundles. Our order was a mix of White Oak and Red Oak. The White Oak seemed to have MUCH less waste, so if you purchase this flooring, I would try and see if you can get mostly this type.
- I was adamant about using as much wood as possible, so I was pretty lenient on some pieces when it came to the imperfections and rough knots. One thing I didn't think about was the fact that these rough knots can tear up your sandpaper when you get to that stage, so in the end, those rougher pieces ended up costing me more rather than buying a few more pieces of wood.
Would I use Utility Grade Flooring again?
- In a heartbeat. To have a solid wood floor for less than $1/square foot unfinished, it is really hard to top. If we were installing wood floors in a newer home where there wasn't existing wood floors, I would probably go with an engineered floor simply because it is pre-finished and so much faster and cheaper to install. However, for our 1901 Myrtle House, this floor was perfect.

Recommendations for Utility Grade Floors?
- If you would consider yourself Type-A, this may not be the floor for you. There will be imperfections and knots which I think is what makes this floor beautiful. However, it is not for everyone. If you think all of the little knots and crevices will drive you crazy, maybe consider paying extra for a higher grade wood or going with a more uniform engineered flooring.
- It was so worth it to pay someone to sand and refinish the floors. Installing is pretty easy, but sanding, cleaning, staining, and sealing these floors is something I will happily leave to the pros. From what I have read, this is the consensus from other DIYers on solid hardwood floors.
Any lingering questions on these floors? Any experience with it yourselves? I would love to hear!
P.S. This post is not sponsored by any company. I am just really happy with the products and companies we used for this project. :)