Repurposed Canvas Art | DIY

Elizabeth Burns Design | DIY Canvas Art, Beach House Decor

Art can make a huge statement in a room. However, said statement can be good, or bad, depending on the piece. :) The Sea Spray Condo art fell into the "bad" category.

Elizabeth Burns Design | DIY Canvas Art, Beach House Decor

The canvas shown above was purchased from Roses many moons ago, and was not doing the little beach escape any favors. The wall it is displayed on is quite large, so when we got around to sprucing up the condo, I knew we would need something of similar size. I started shopping and came to find out that large canvases are pricey! We were on a limited budget, so I opted to recycle the old art instead.

Elizabeth Burns Design | DIY Canvas Art, Beach House Decor

If this was an original work, I would not have painted over it. It was an inexpensive reproduction so I didn't feel too guilty. :) I took a few pots of the paint we used throughout the renovation and messily graduated the colors from dark to light, back to front, respectively.

Elizabeth Burns Design | DIY Canvas Art, Beach House Decor

Clearly, not perfect, but it works well as an inexpensive update. Plus, since I used the same paint colors in the space, it sort of effortlessly tied everything in together.

Elizabeth Burns Design | DIY Canvas Art, Beach House Decor

P.S. After eyeing it for months, I scored the little nautical cloche number at Michael's for 70% off this weekend. Great success!

Utility Grade Oak Floors - Part Two | Myrtle House

Another weekend in the books for the hardwood floors at the Myrtle House. Brian and I both made the trip this weekend and I have a whole new respect for the work he did by himself! While not difficult, laying these floors are time-consuming and quite labor intensive. I think I am more sore today than I was after my first half marathon.

On Saturday, we divvied up the tasks; I was the racker, Brian was the nailer. Basically, I would unpack the bundles, sort through the good and bad, and then lay them out in a way where there were no overlapping seams and the coloration was balanced. Brian would then come behind me and set and nail in each piece. He also laid the rosin paper while I opened and sorted bundles. This process worked great for a two man/woman team.

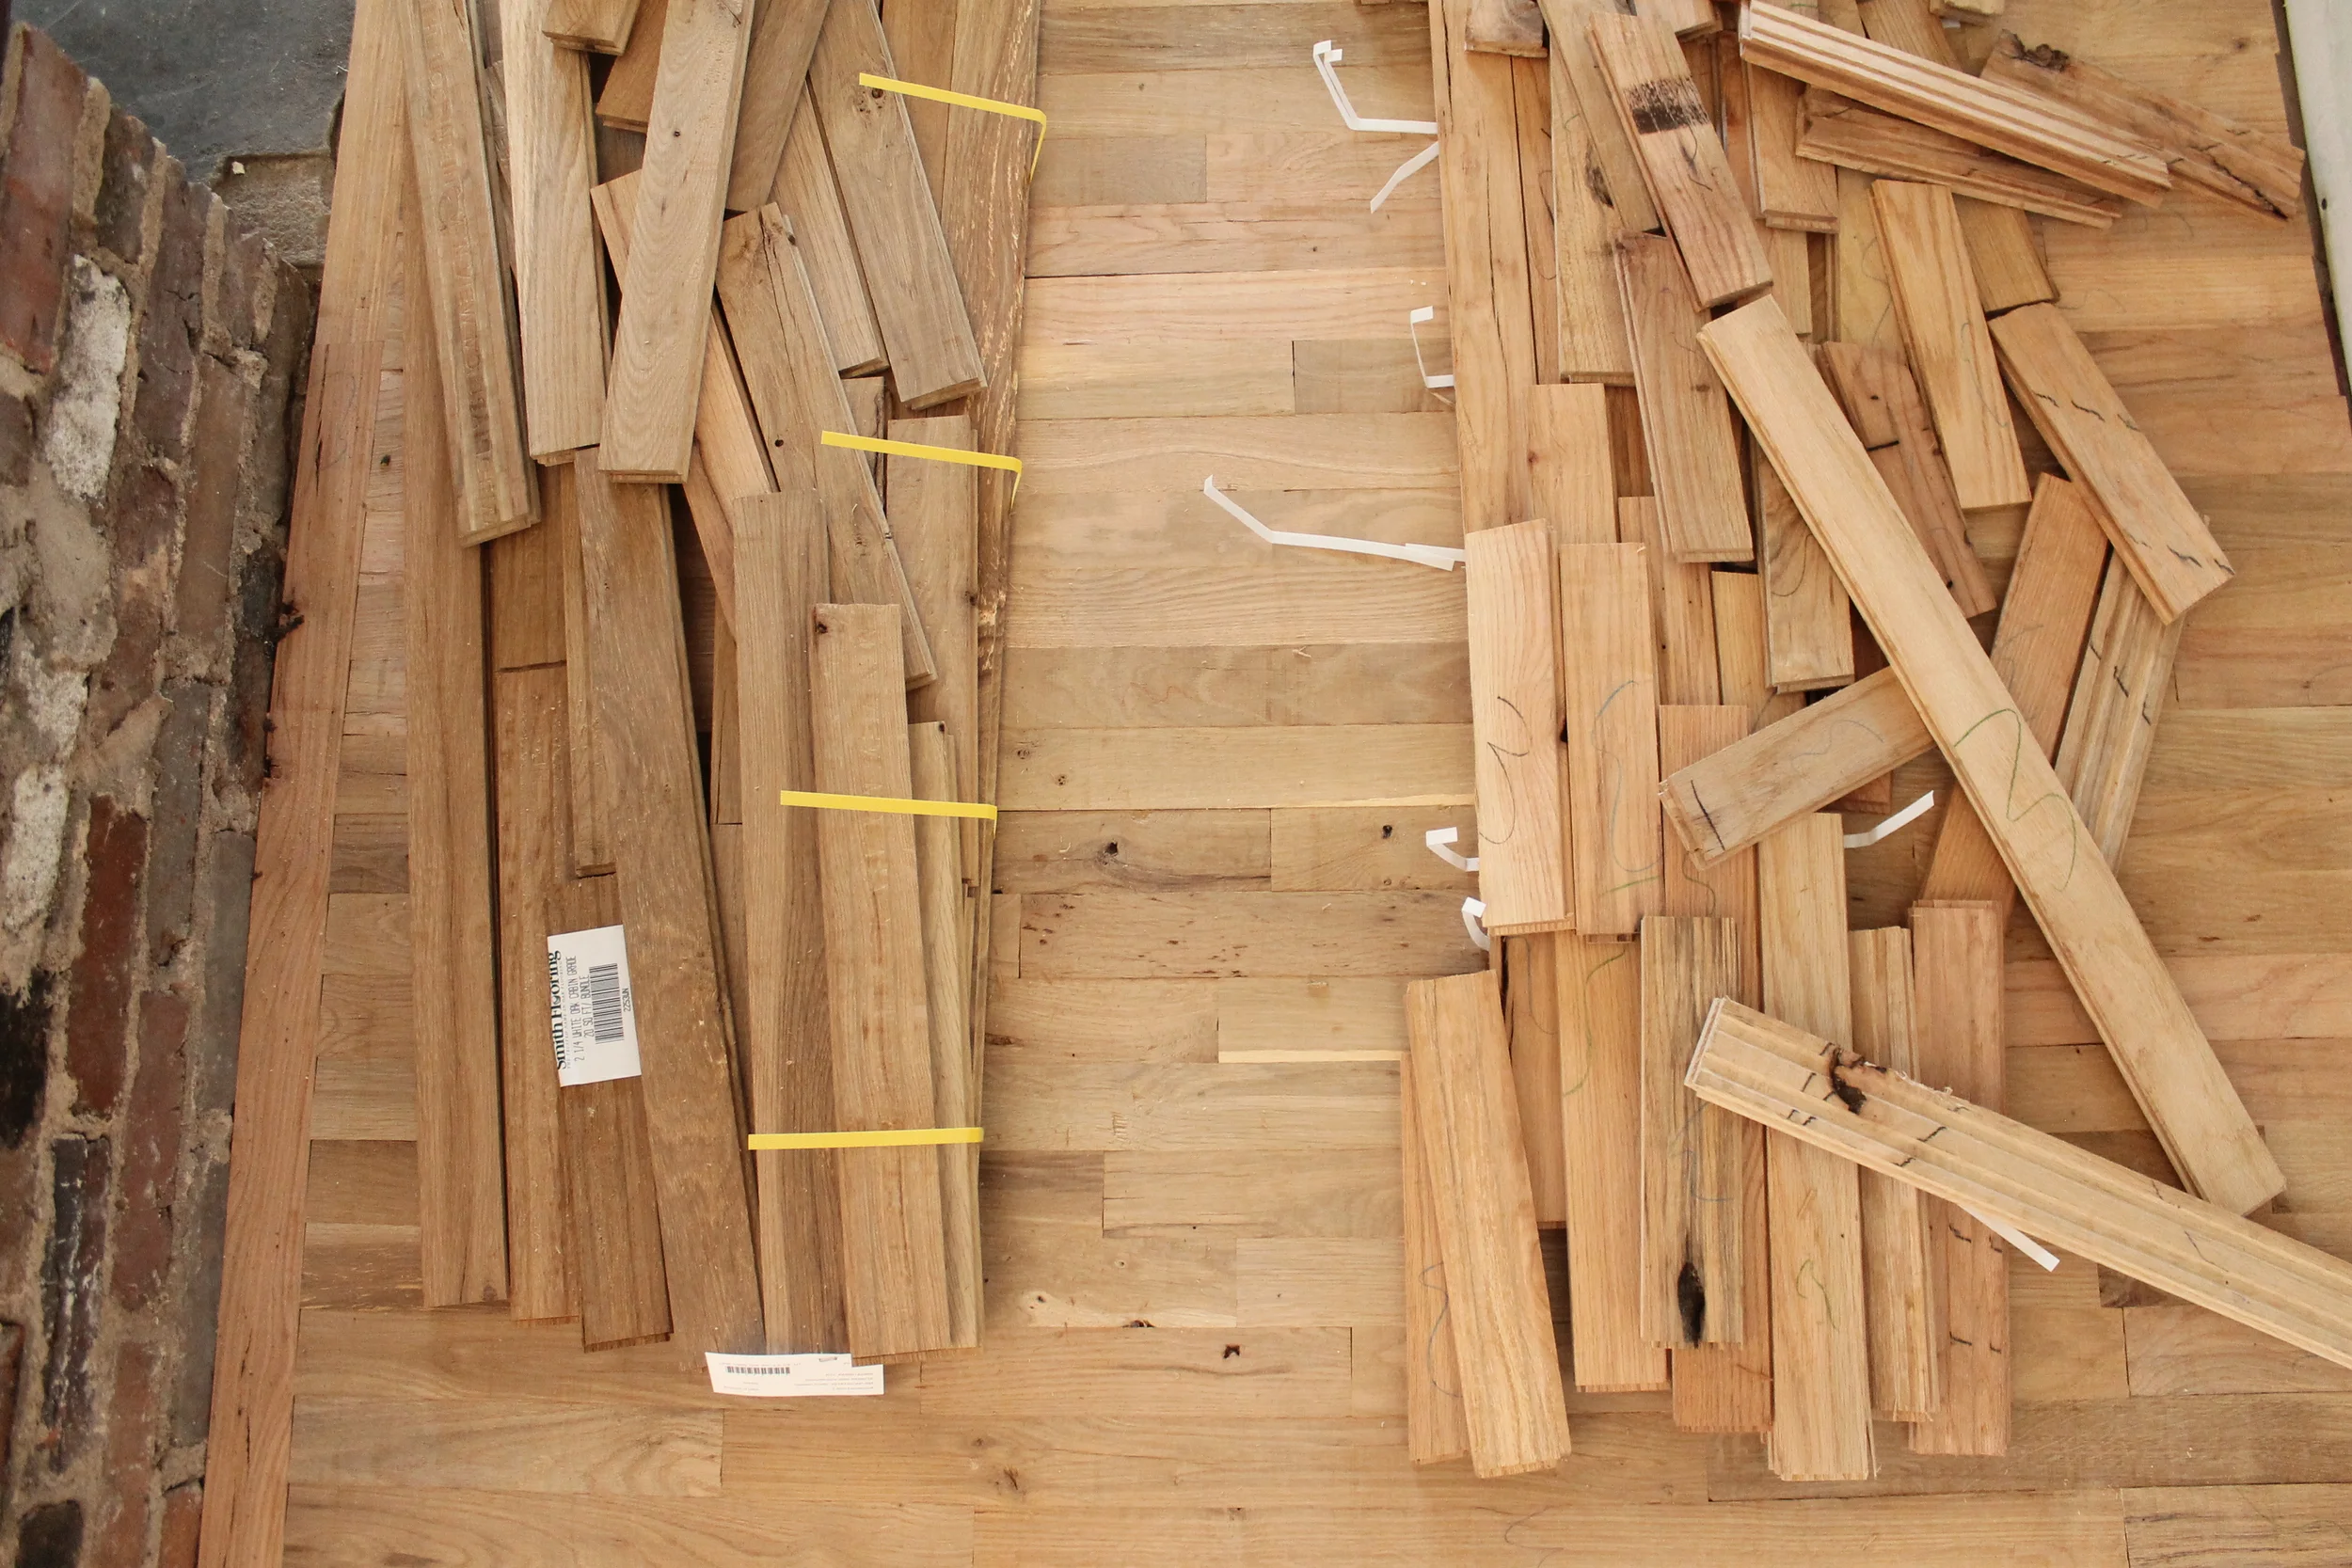
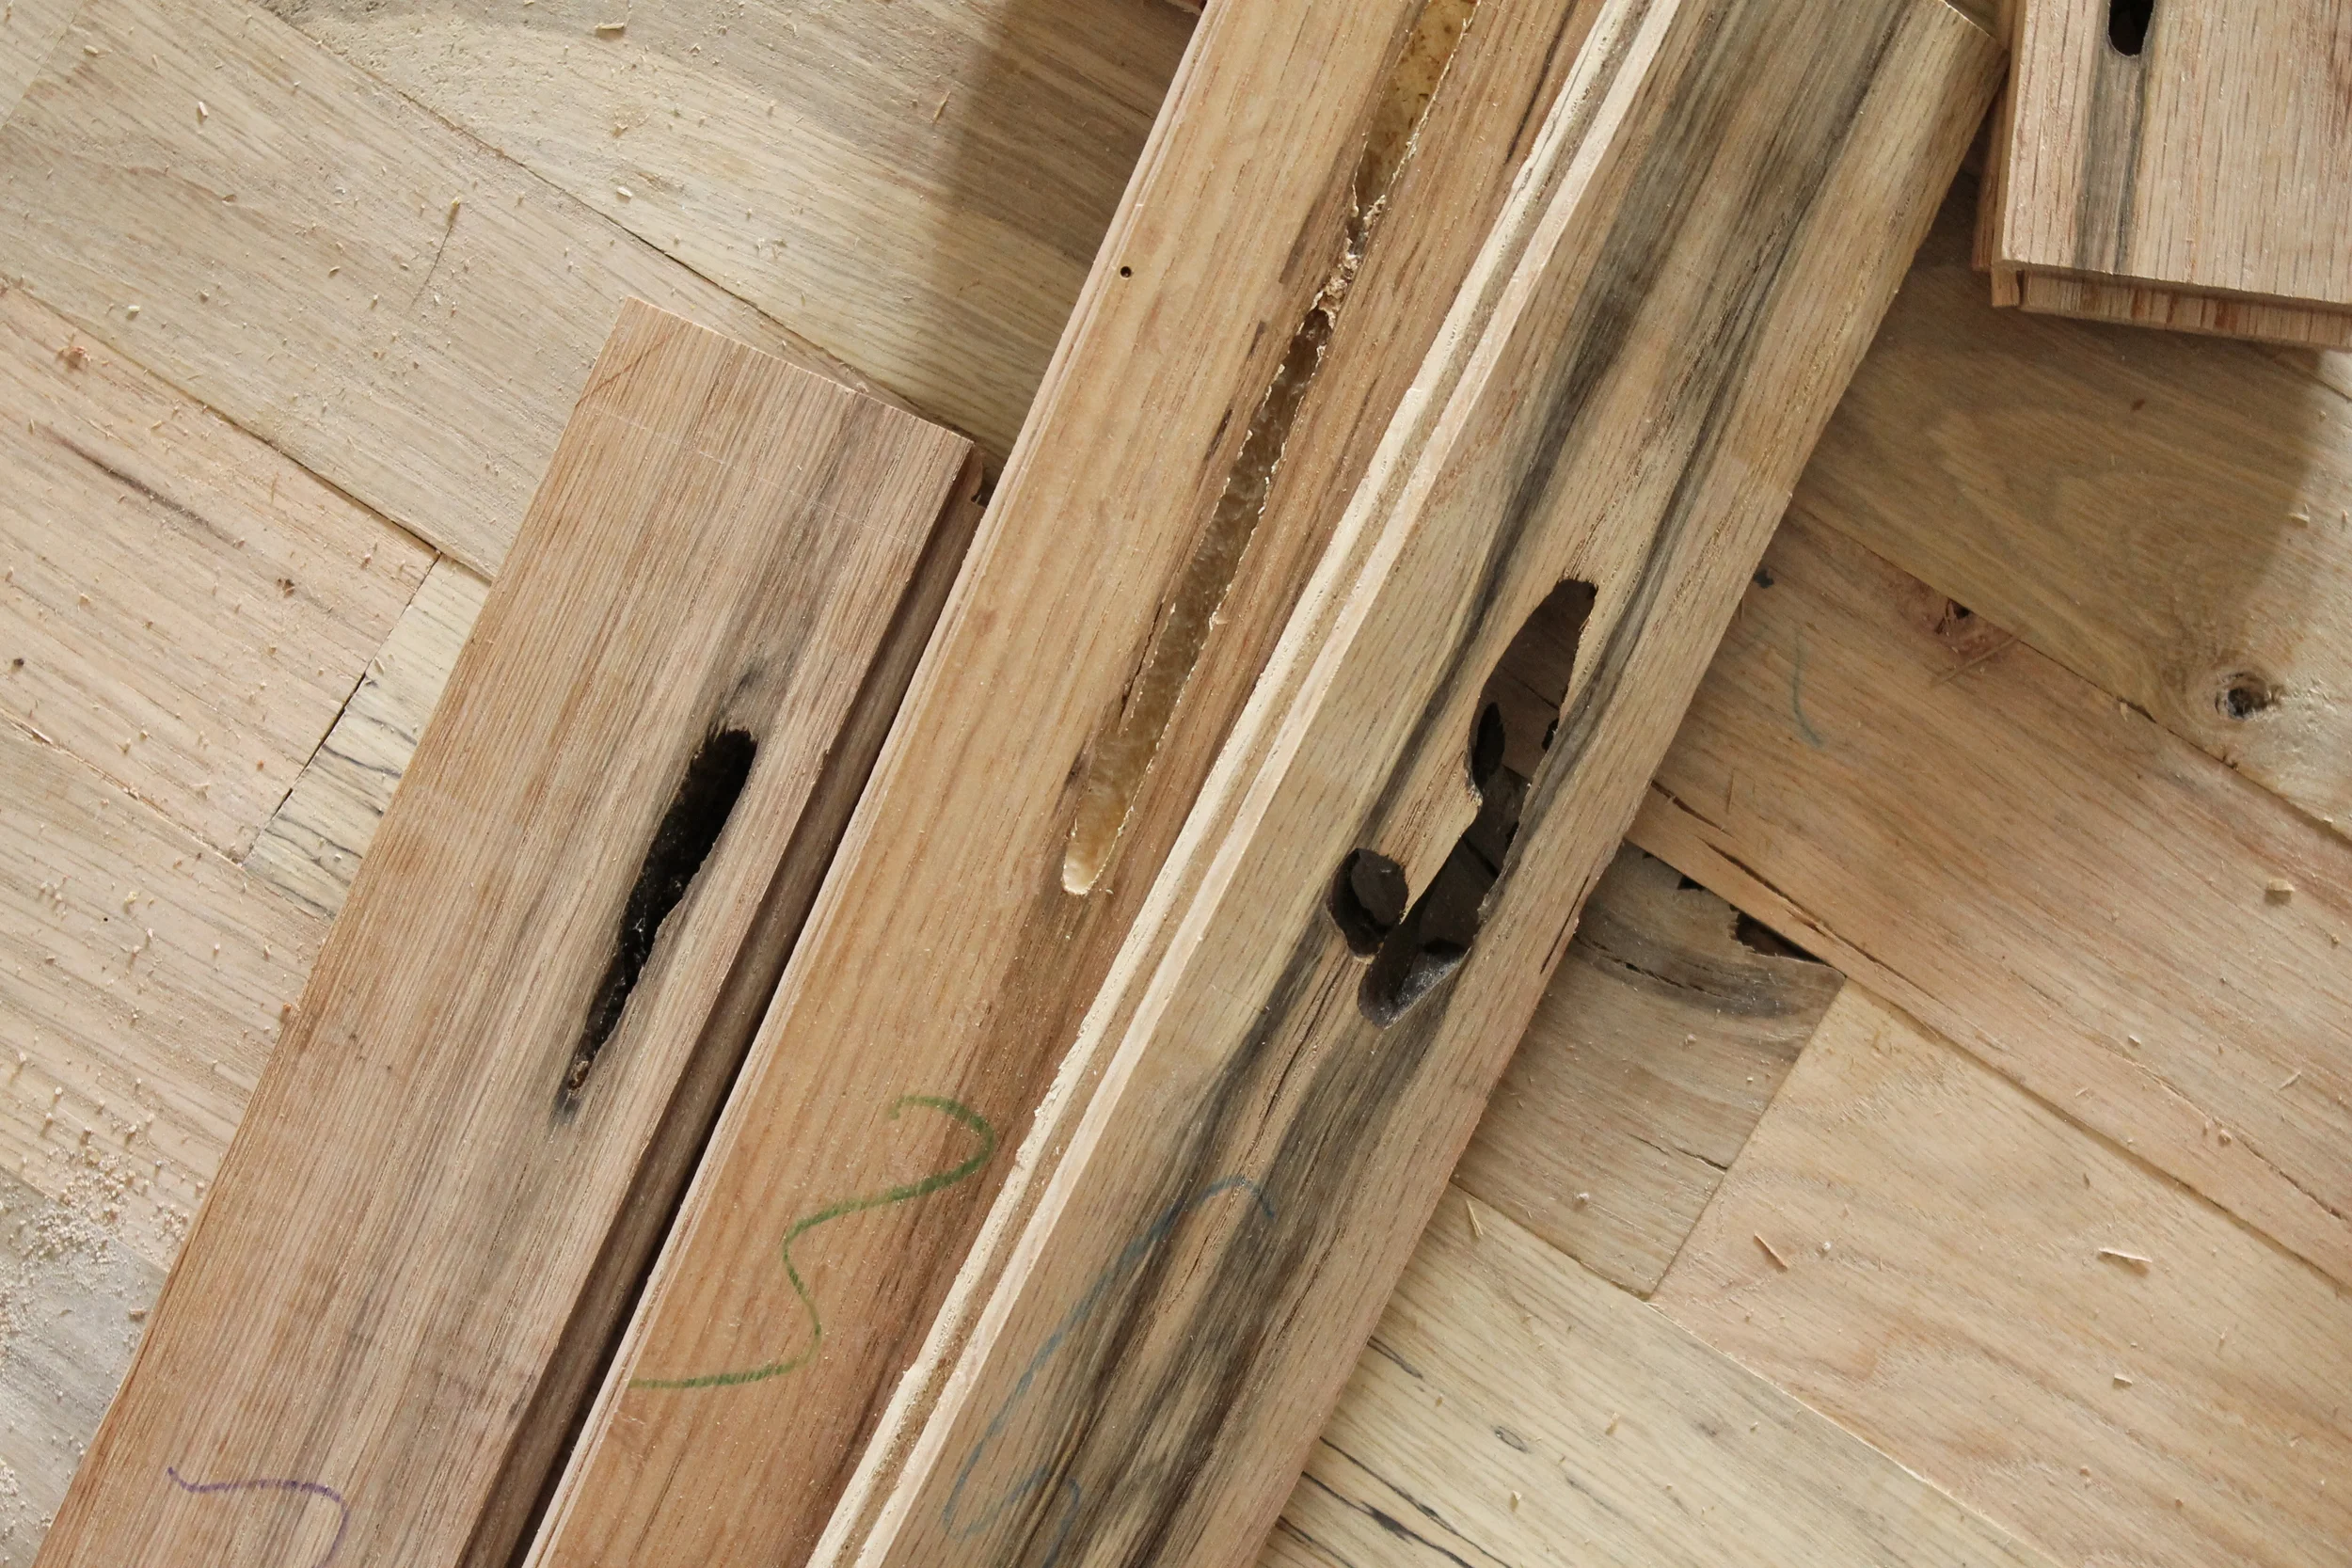
When researching utility grade flooring, the main concern that came up was the amount of waste. When we picked up our order, I noticed that some bundles had white ties, while others had yellow ties. I didn't think anything of it, but as we have gotten into the process, I noticed that the yellow tied bundles are MUCH better quality. Less bad ends, less splits. If we had all yellow tied bundles, our waste would be slim to none. However, the white bundles have about 30% waste. There are many knots that go all the way through the wood. There are splits that make the wood unstable. There are also ends that are unusable (either no tongue or no groove). I am not sure if we accidentally got an upgraded wood, but if we only had the white bundles to work with, the amount of waste would have been frustrating. You can see the difference between the two below.

Elizabeth Burns Design | Utility Grade Hardwood Flooring DIY Old House Renovstion
Elizabeth Burns Design | Utility Grade Hardwood Flooring DIY Old House Renovation

We were able to use a lot of the bad pieces of wood where the cabinets will be.

Elizabeth Burns Design | Utility Grade Hardwood Flooring DIY Old House Renovation

We laid the floor in the small remaining area in the dining room, around the fireplace, and then into the kitchen. Here is the before and after of where we started and then where we ended for the weekend. Getting there!

Elizabeth Burns Design | Utility Grade Hardwood Flooring DIY Old House Renovation


Utility Grade Oak Floors - Part One | Myrtle House

July has already been one busy month - we spent a whole week transforming the windows at the Myrtle House, and then I completed my first week at the new job. While all of these events are exciting, they can also feel exhausting. I really needed a weekend of downtime, but time is starting to slip away and our renovation completion date goal is sneaking up on us. Brian took one for the team and went back to work on the hardwoods this weekend. While he had hoped to complete the dining room, he finished a little shy.

As mentioned previously, we purchased Utility Grade Oak Flooring through Lumber Liquidators. They have been great to work with and we will definitely be ordering through them again. It took three trips in the truck to get all of the flooring for the house. Each bundle weighs about 50 pounds and they can weigh down a small truck quickly. We were advised to let the hardwoods acclimate to the house for at least five days. Lola did absolutely nothing to help during the entire installation process. Shocking.

Elizabeth Burns Design | Installing Utility Grade Oak Hardwood Flooring, DIY

We were cautioned that this particular floor has a lot of waste due to splits and knots. We ordered about 10% extra and so far that has been plenty.

Elizabeth Burns Design | Installing Utility Grade Oak Hardwood Flooring, DIY

Since Brian has done all of the work so far, I can't give a lot of insight into this project, but I am looking forward to getting my hands dirty this weekend and letting you all know how it goes! One thing he did have trouble with was working with the crooked walls in an old house. He spent the first night simply laying down the first straight row.

Elizabeth Burns Design | Installing Utility Grade Oak Hardwood Flooring, DIY

Below is where he stopped at the end of the weekend. It may not seem like it, but the flooring went down a lot faster than I had anticipated. When we picked up the flooring bundles, I noticed how short the hardwood pieces were and thought that might slow us down. Luckily, it hasn't made that much of a difference yet.

Elizabeth Burns Design | Installing Utility Grade Oak Hardwood Flooring, DIY

The original salvaged hardwoods are some sort of oak, so we are hopeful that after a good sanding, the old and the new floors will mesh beautifully. Having actual wood floors makes the house feel so much more like a home!

Window Trim | Myrtle House

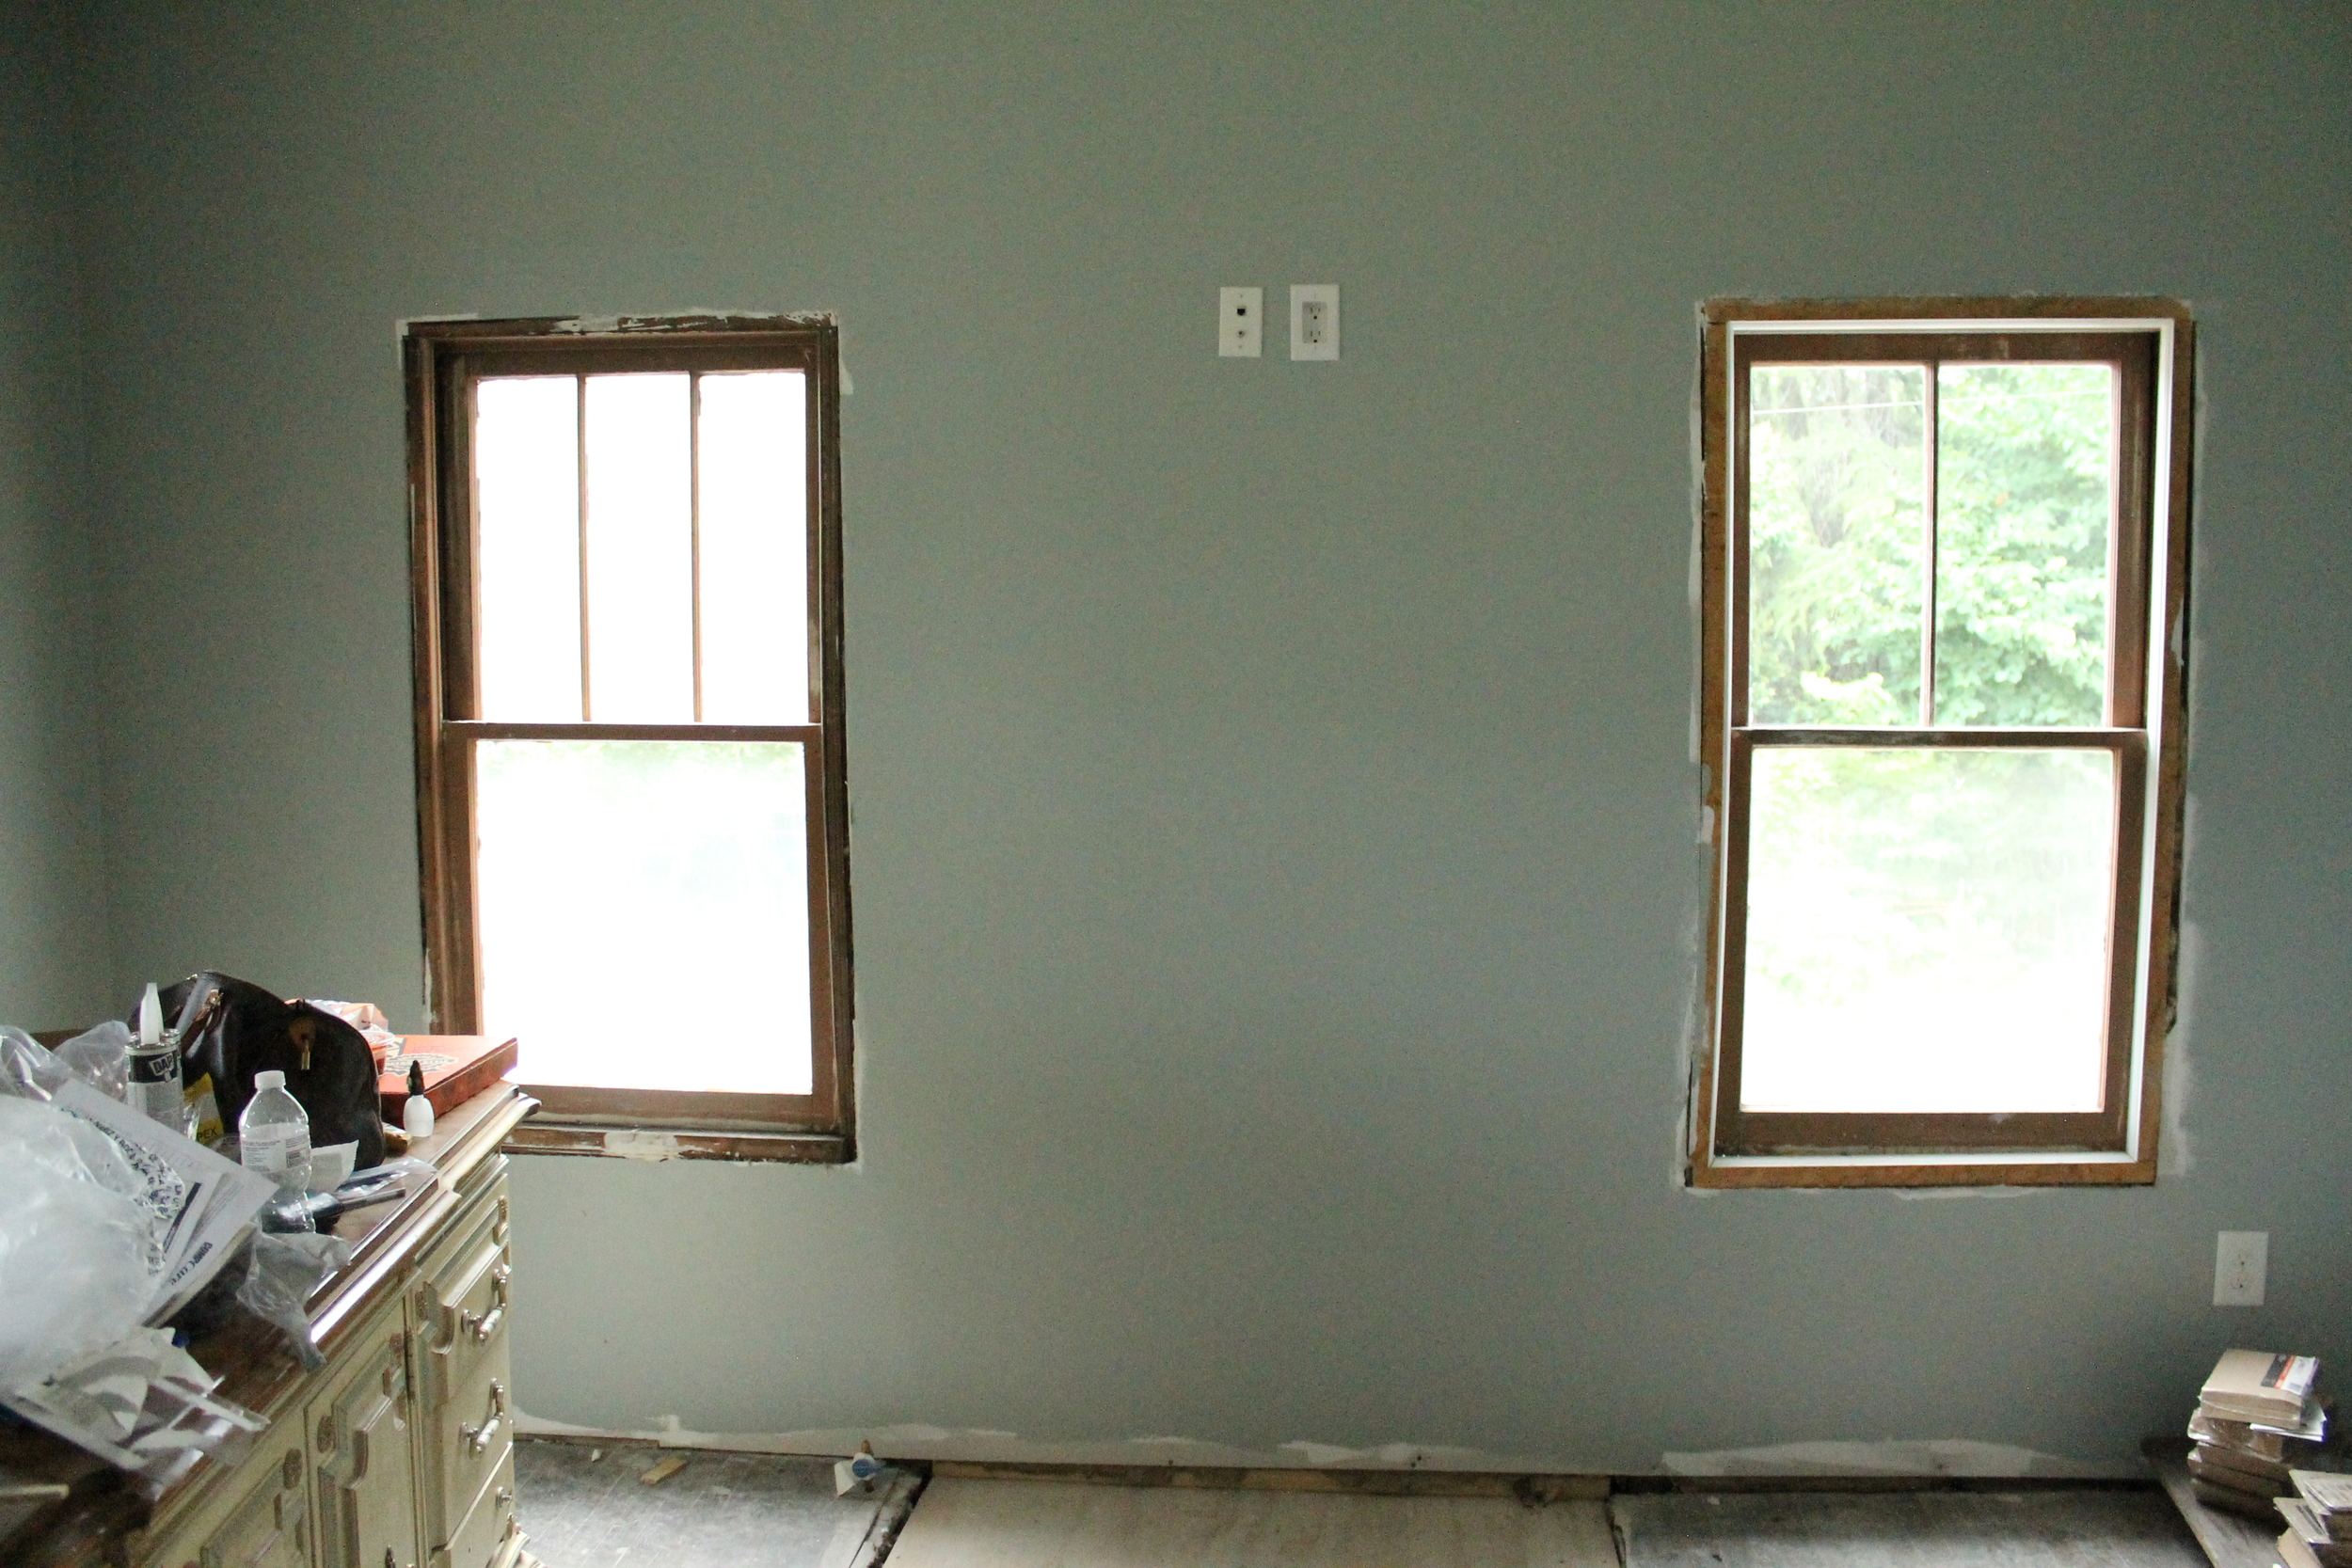
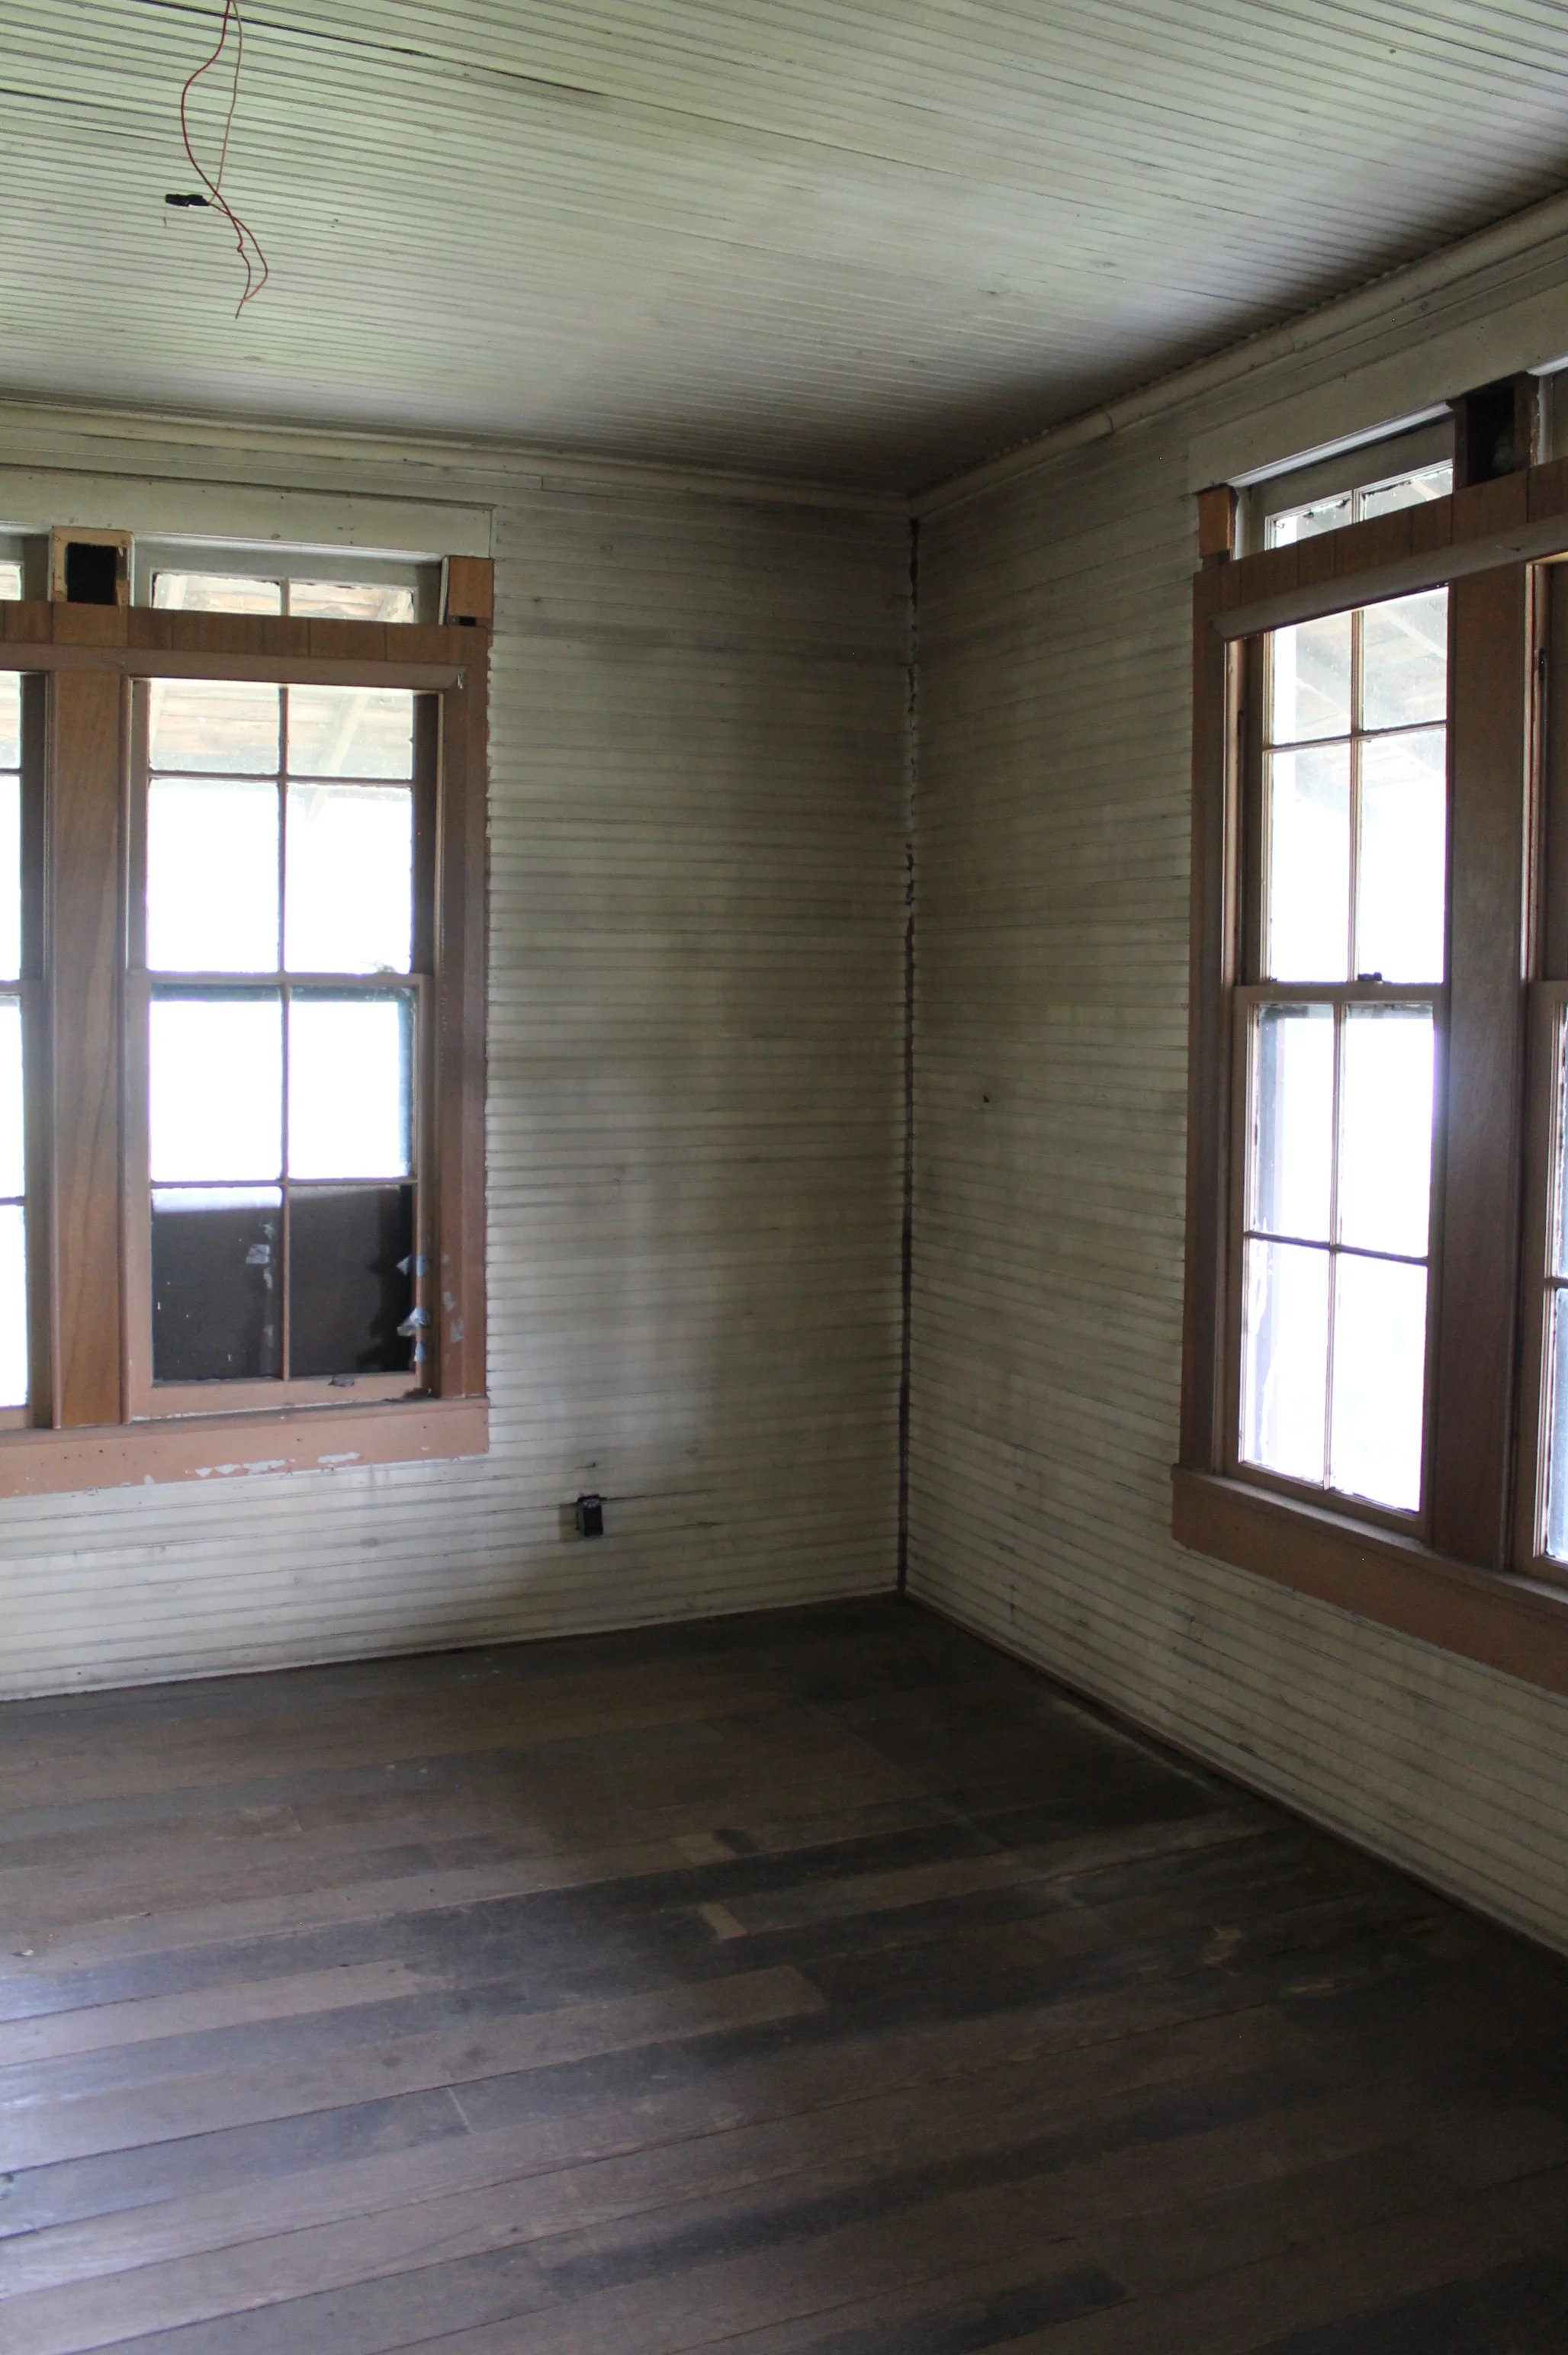
Since the hardwoods didn't arrive in time to properly acclimate to the house, we turned our attention to the windows for our week of work on the Myrtle House. I totally underestimated this project! It took Brian, myself, and my sister six straight days to frame, prime, and paint all 12 of the windows. While I underestimated the work, I also underestimated what a difference this project would make in how the house feels. Here are the before and afters of our old windows. Please excuse the painters' tape - still another coat left to do!

Elizabeth Burns Design | Adding Shaker Style Trim to Restored Windows

Hardwood Floors | Myrtle House

I get a little sick to my stomach when I think of the beautiful, century-old wood floors in the Myrtle House that we were forced to rip out due to termite damage. The wide-plank pine floors were gorgeous to the eyes, but underneath, they looked like corrugated cardboard. Have I mentioned how much I hate termites?

Elizabeth Burns Design | Old House Renovation - Wide Plank Pine Floors

Due to a job change, I have the Fourth of July week off, so Brian and I have decided to tackle the hardwood floors. We are going to have to put in new flooring in all but two rooms (about 1000 square feet total).

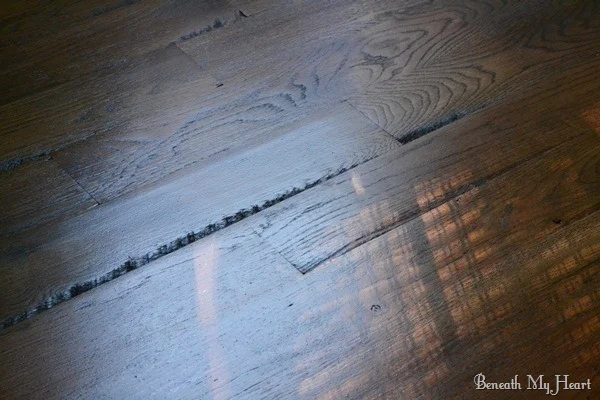
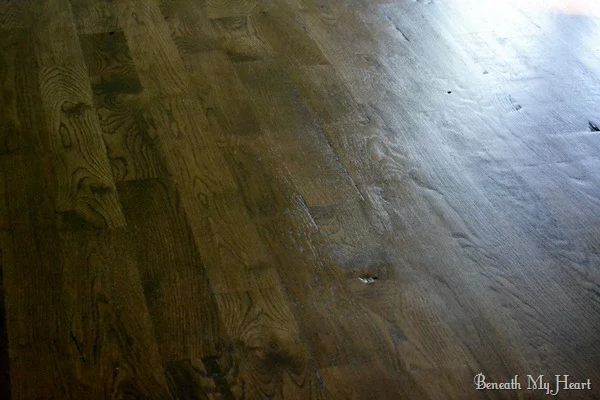
Since the floors that are left are "rustic" to put it nicely, we have decided to try out the Utility Grade Oak Flooring by Lumber Liquidators. Our contractor had a good experience with it, and with it being so economical $.89 a square foot (on sale now!), it seems to be our best option. Beneath My Heart has a great outline of her experience installing this floor.

You can really see the imperfections in the wood above. I think the knots and grooves add so much character to the floor. Look at how lovely her floors look!

It may be a little quiet around these parts as we tackle this daunting project and I transition into my new position. I hope y'alls summer is off to a great start!

Knock, Knock | Myrtle House

Please excuse my sad attempt at a clever blog post title. I am running on fumes at this point in the day and may or may not be eating a bowl of ice cream as I write this (gotta treat yo'self). We spent yet another busy two days working on the Myrtle House this past weekend. It was the last trip for a while, so I am glad we got a few things checked off of the to-do list.

We were able to grout the master bath tile, which is quite a TERRIFYING process. Right after you get done putting up your squeaky clean white tile, you get to slather it with what is essentially black mud that hardens quickly. Luckily, we did get it all cleaned up and it looks pretty good. Last step in that process is sealer, and then we will be able to shower!

Another item on the checklist was re-installing the original front door. While I have thoroughly enjoyed the "custom wood door" that our contractor made for us, I was ready to get it out of there. Brian had mentioned that it makes our house look like a crack house, and I had to agree with him.

Elizabeth Burns Design | Old Front Door, Farmhouse Renovation
Elizabeth Burns Design | Old Front Door, Farmhouse Renovation, Benjamin Moore Wythe Blue Door

Clearly, it still needs some work. The original glass pane is cracked and held together by scotch tape, so that needs to be remedied. I do LOVE how the new outdoor lights coordinate with the door hardware. So fancy. I can't wait to paint the windows black and really tie it all in.

The hardest part of this door was not installing it, like I had anticipated. What took the longest was sanding this darned thing. I put in a solid five hours of intense sanding to get it in paintable shape. You should see my biceps now. ;)

SAND

SAND

PRIME

PRIME

PAINT

PAINT

While the door is solid wood and potentially could be stained, there were so many holes from various door knobs and patch jobs that we had to fill quite a bit of it with Bond-O, so we painted it instead. You can see the terrible shape it was in, and why it took so... much... sanding.

Elizabeth Burns Design | Old Front Door, Farmhouse Renovation
Elizabeth Burns Design | Old Front Door, Farmhouse Renovation, Benjamin Moore Wythe Blue

In case you haven't noticed, a minty blue door is kind of my thing. :)