Getting French | Myrtle House

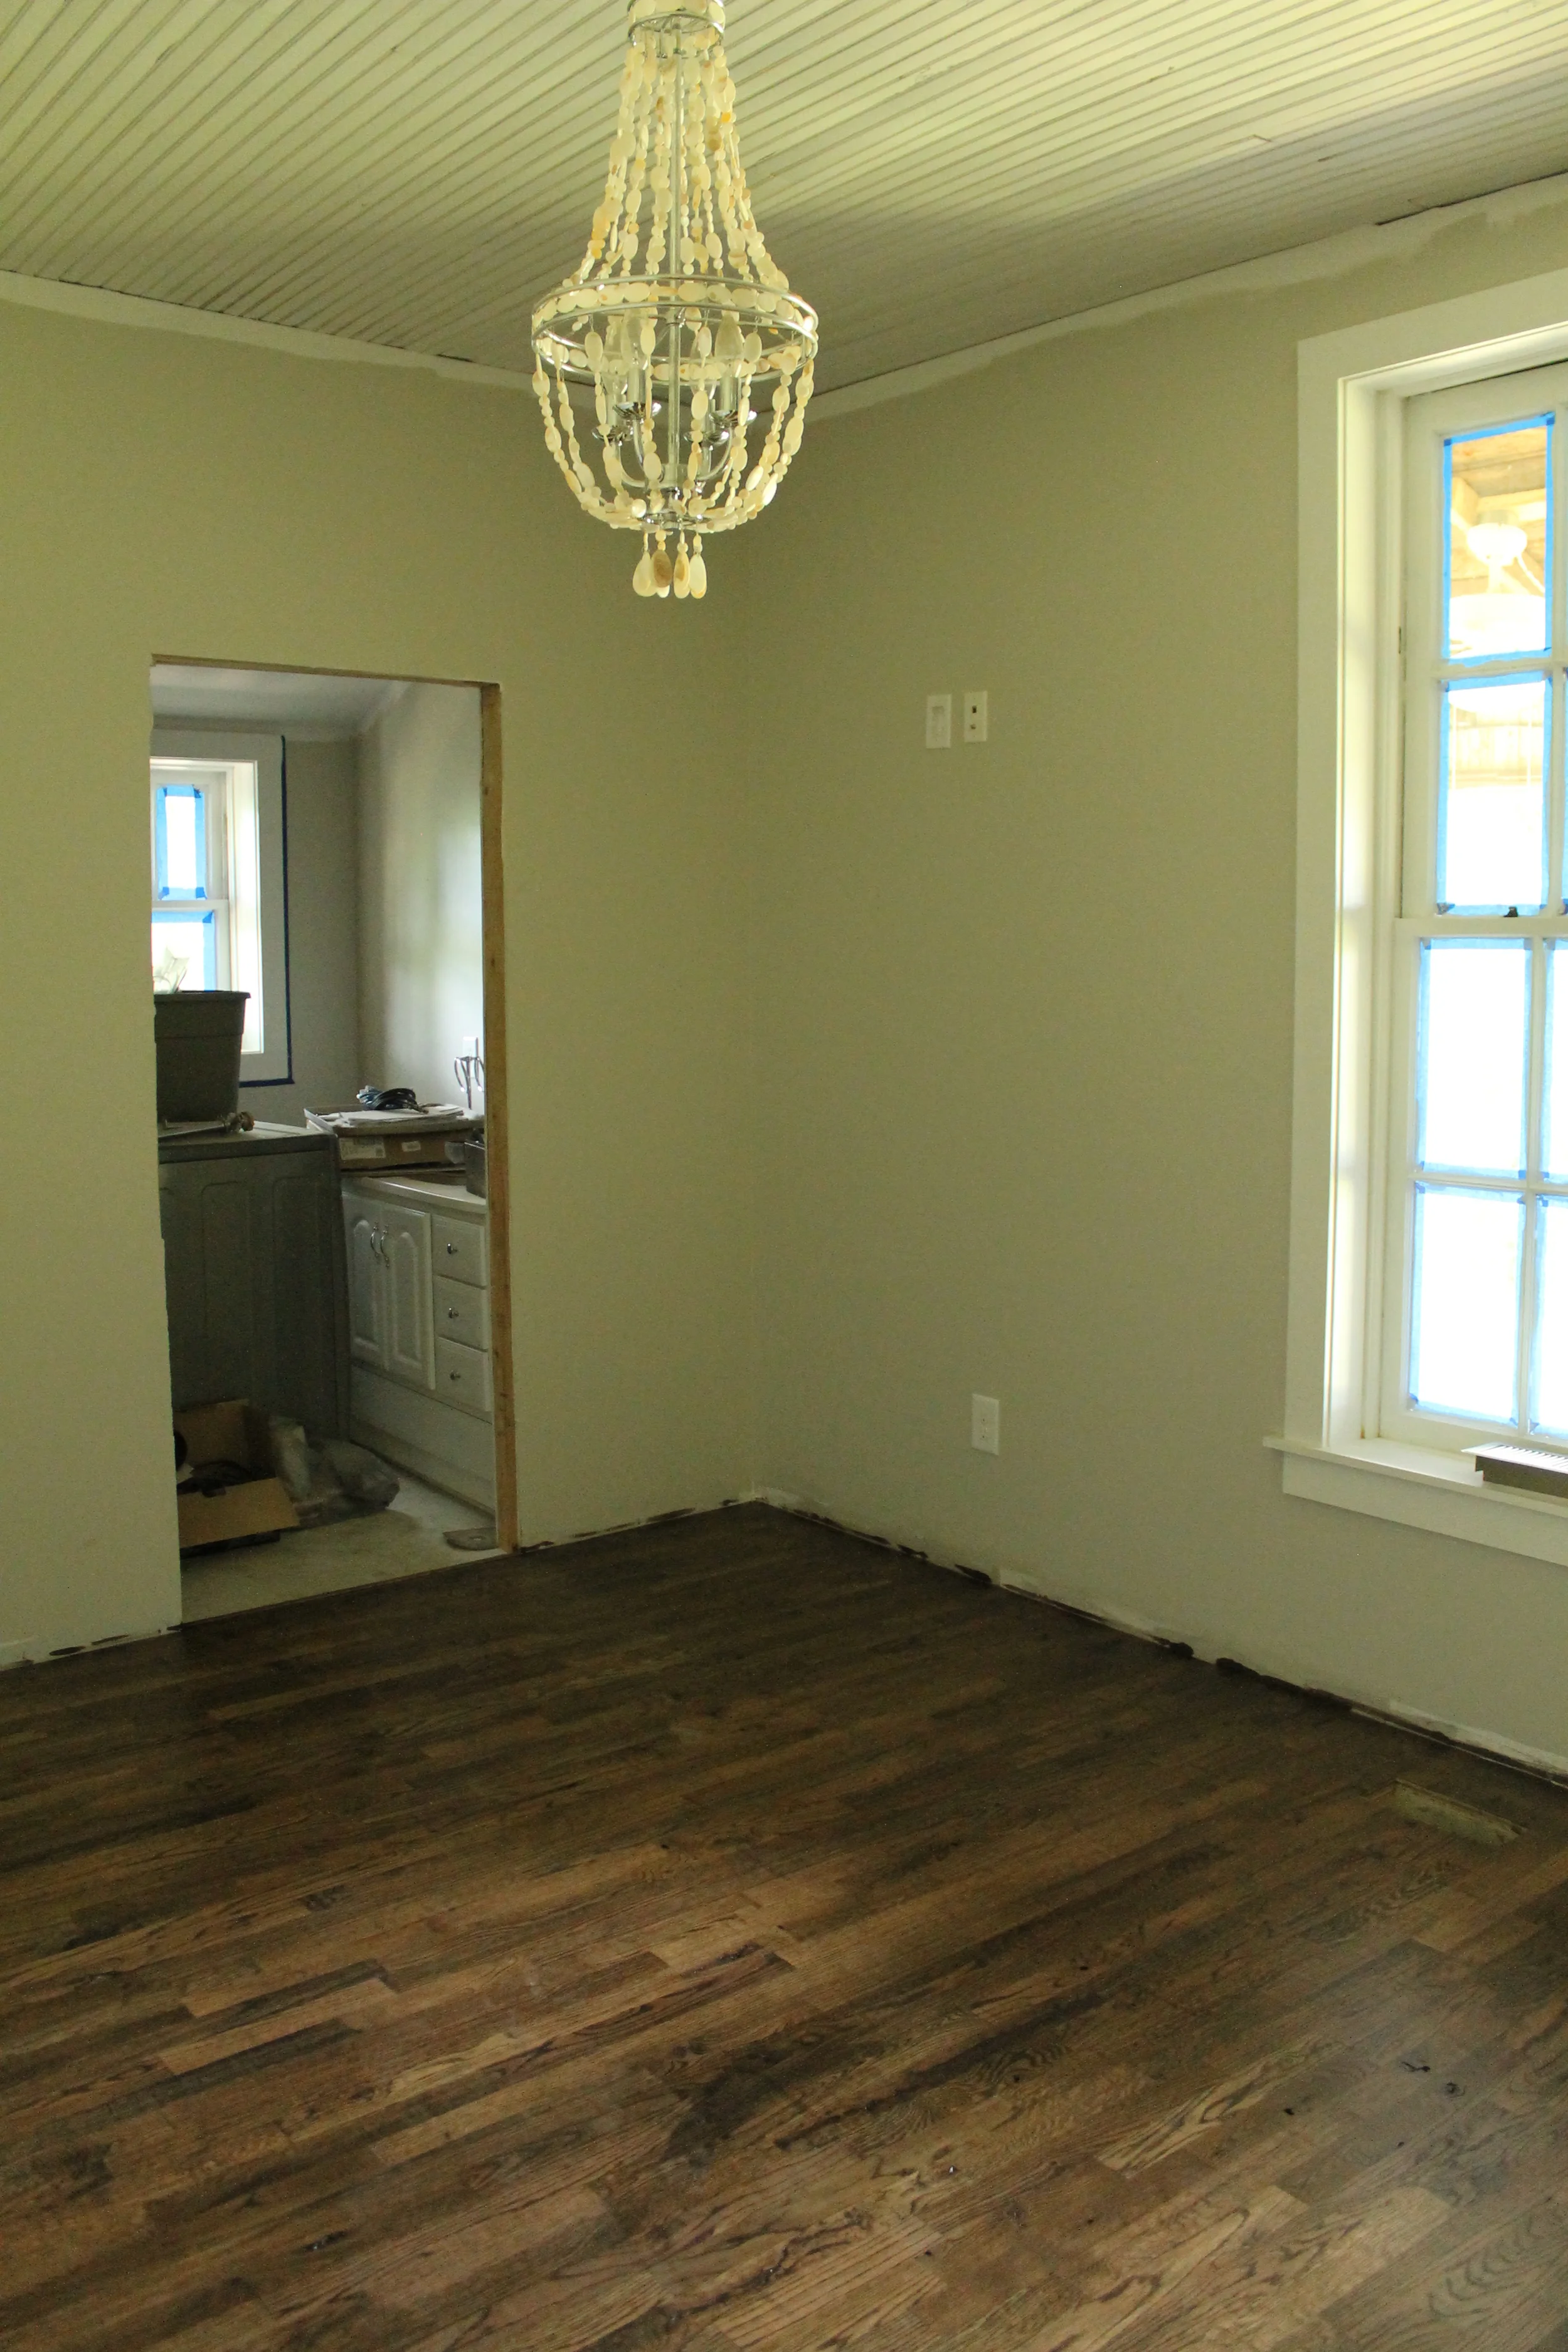
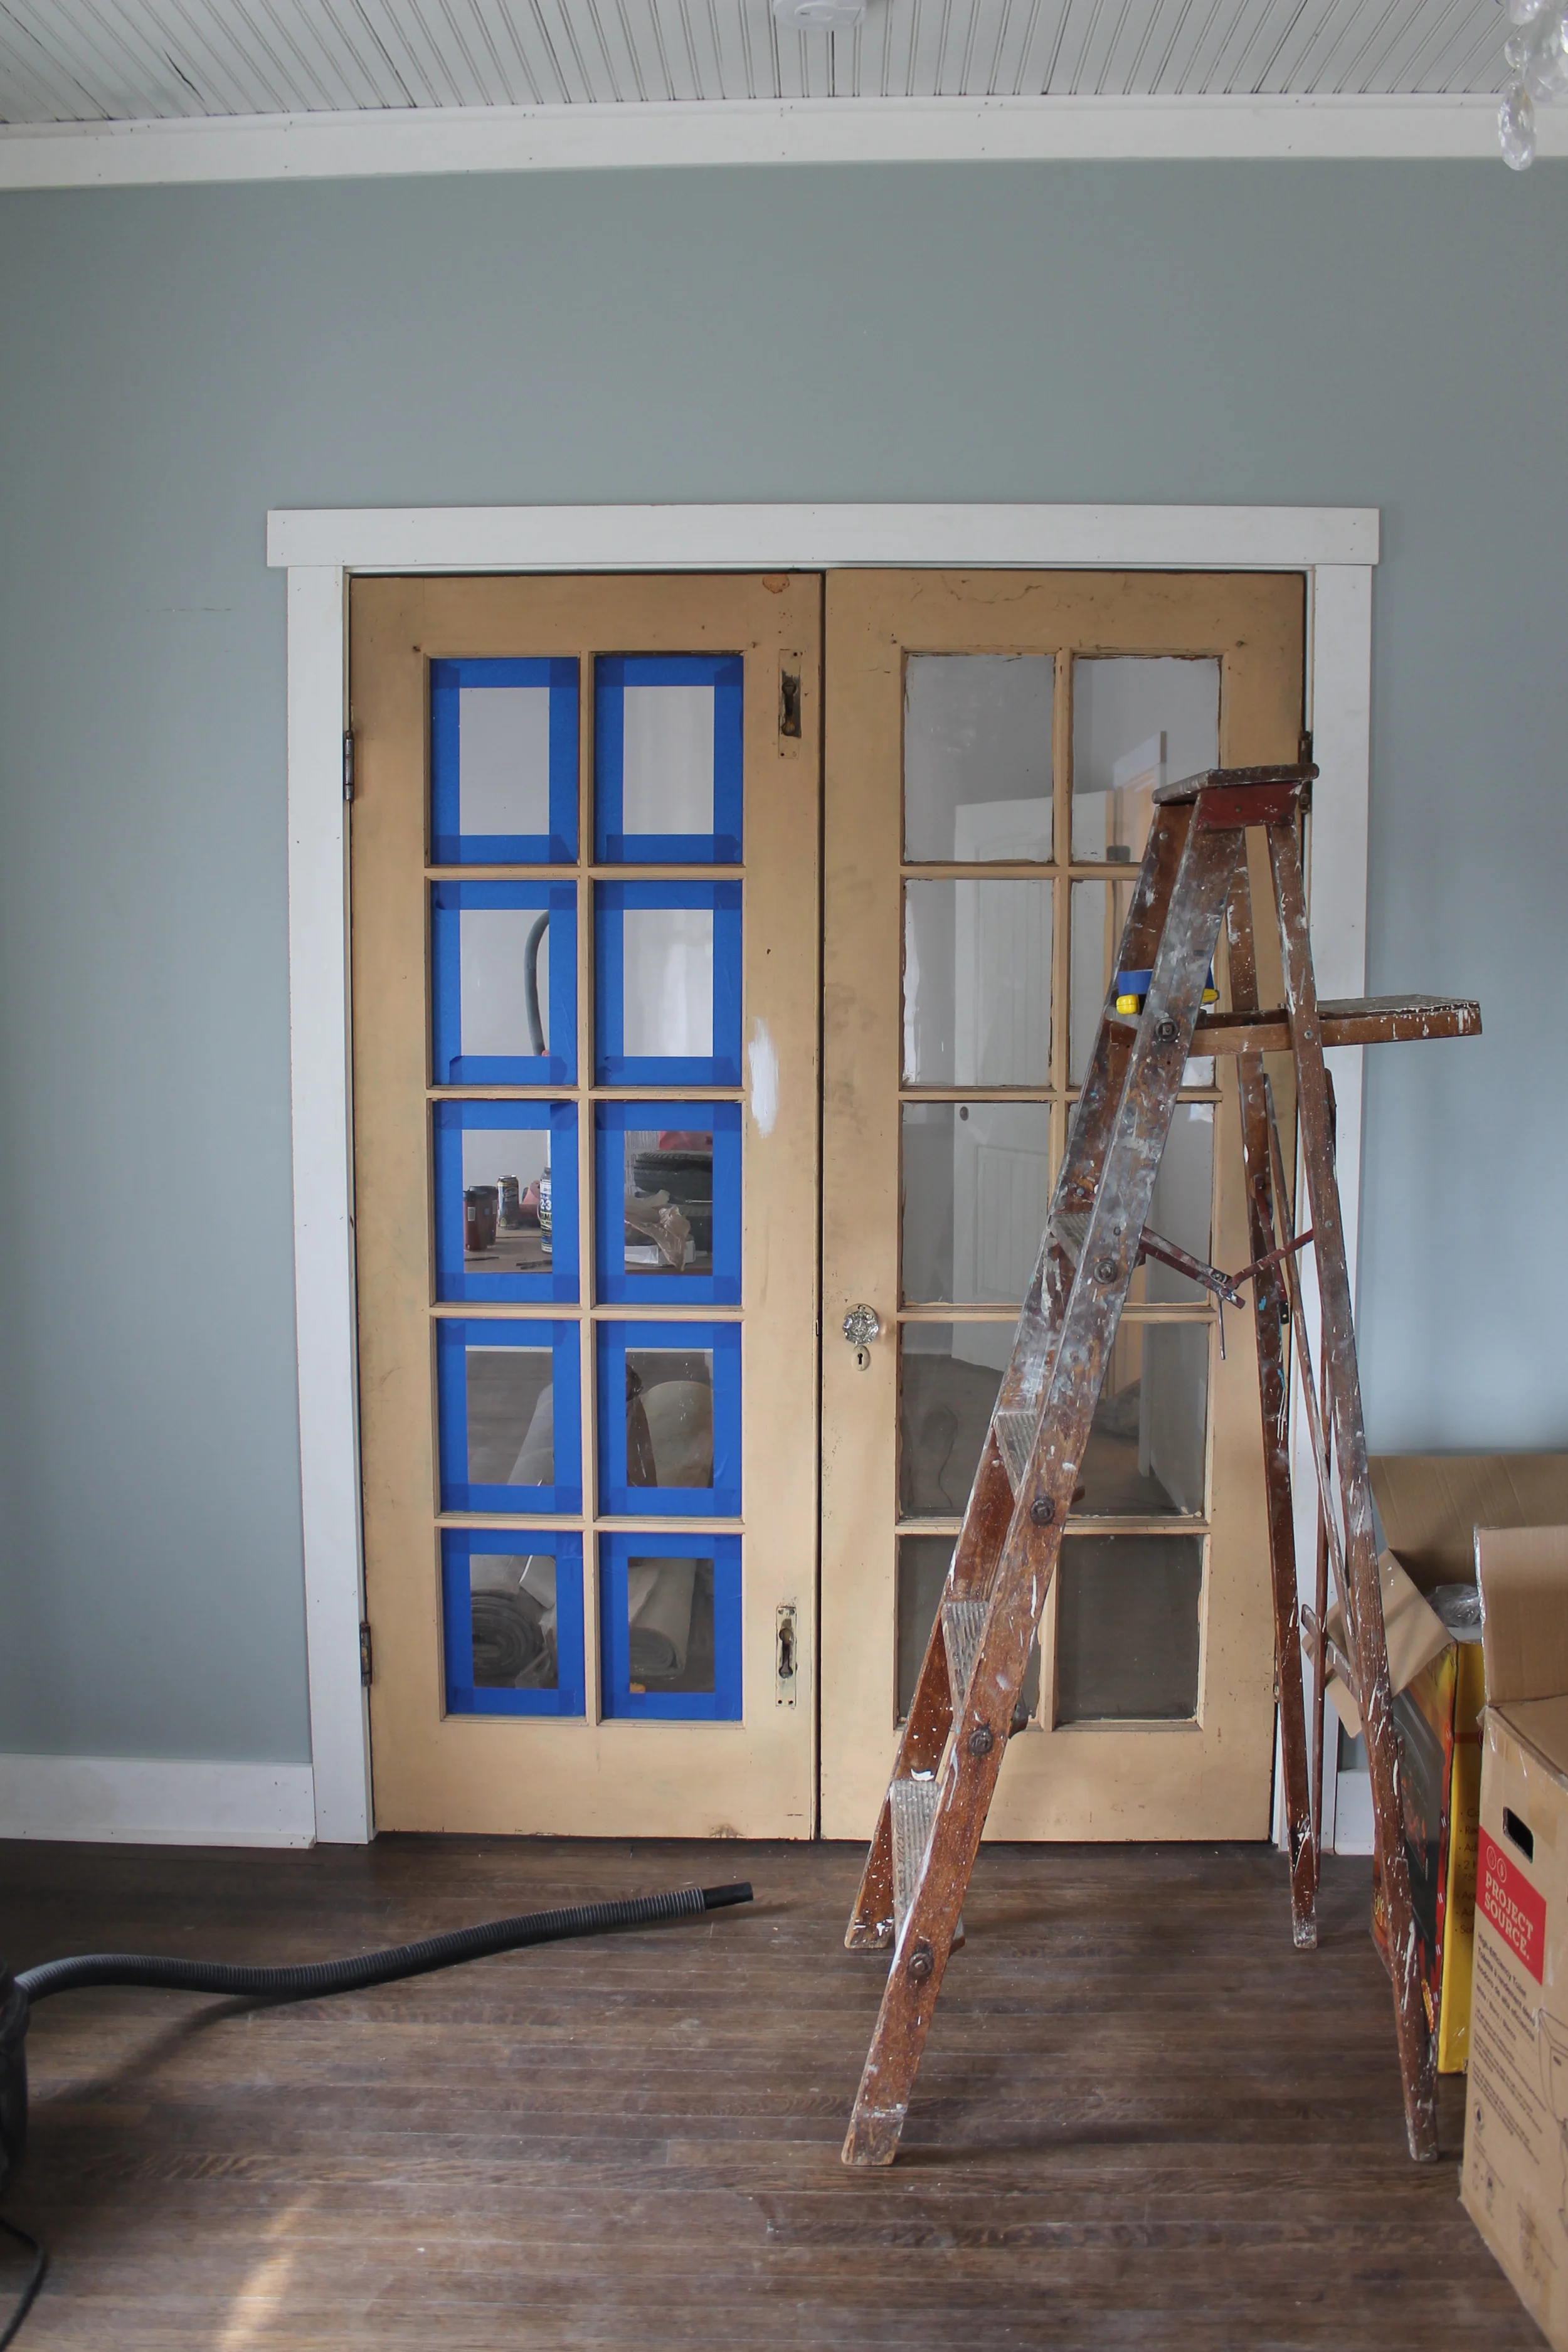
One of my most very favorite things about the Myrtle House were the original French doors that connected the living room to the previous dining room. We switched things up (as we tend to do) and the old dining room was divided into the now office and guest bath to make this little house a 3 bed/3 bath abode. We did (surprisingly) keep the location of the French doors original, but that lovely, pinkish-brownish-orangeish paint color had got to go.

Elizabeth Burns Design | Painting French Doors, Old House Renovation

I knew that this wasn't going to be a quick one-coat kind of project. Since the windows were the same color and took four coats of paint, I resigned to the fact that this job would probably consume the entire weekend. And I was correct. :) BUT, it was totally worth it since that shade of who knows what is gone and replaced by a pearly white! And that hardware with the antique glass knobs now sparkle again after some careful spray painting.

Elizabeth Burns Design | Painting French Doors, Old House Renovation

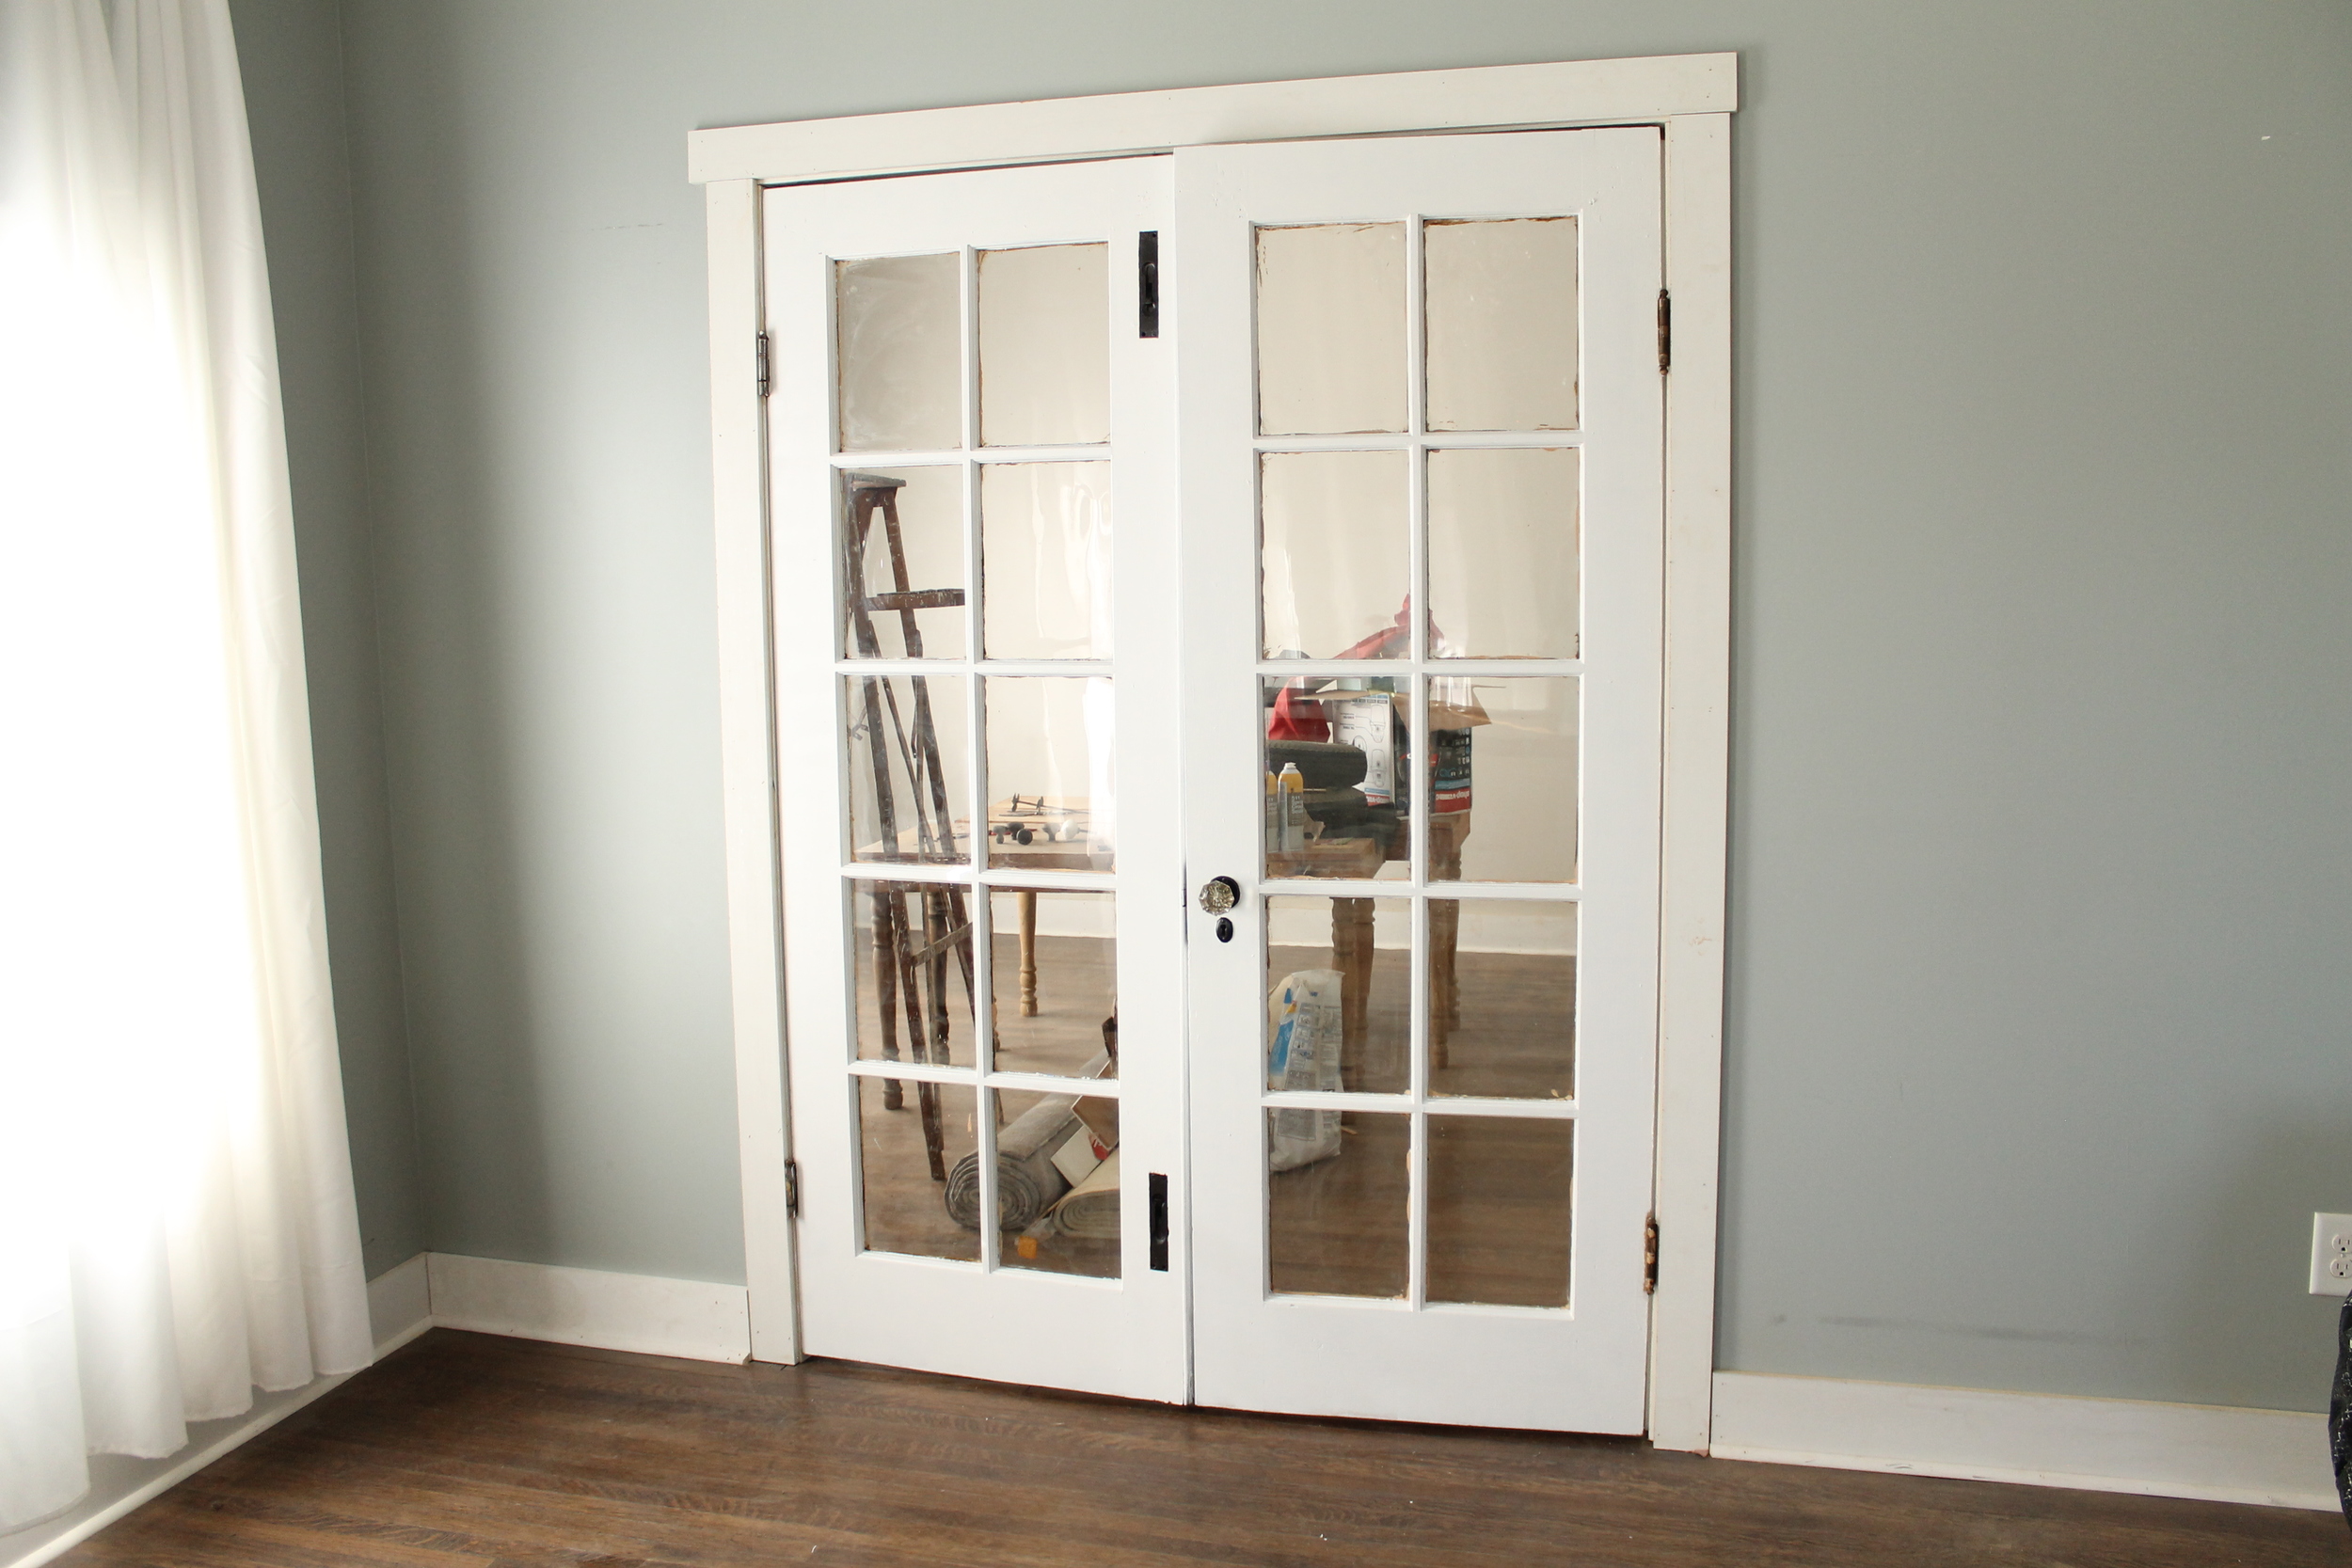
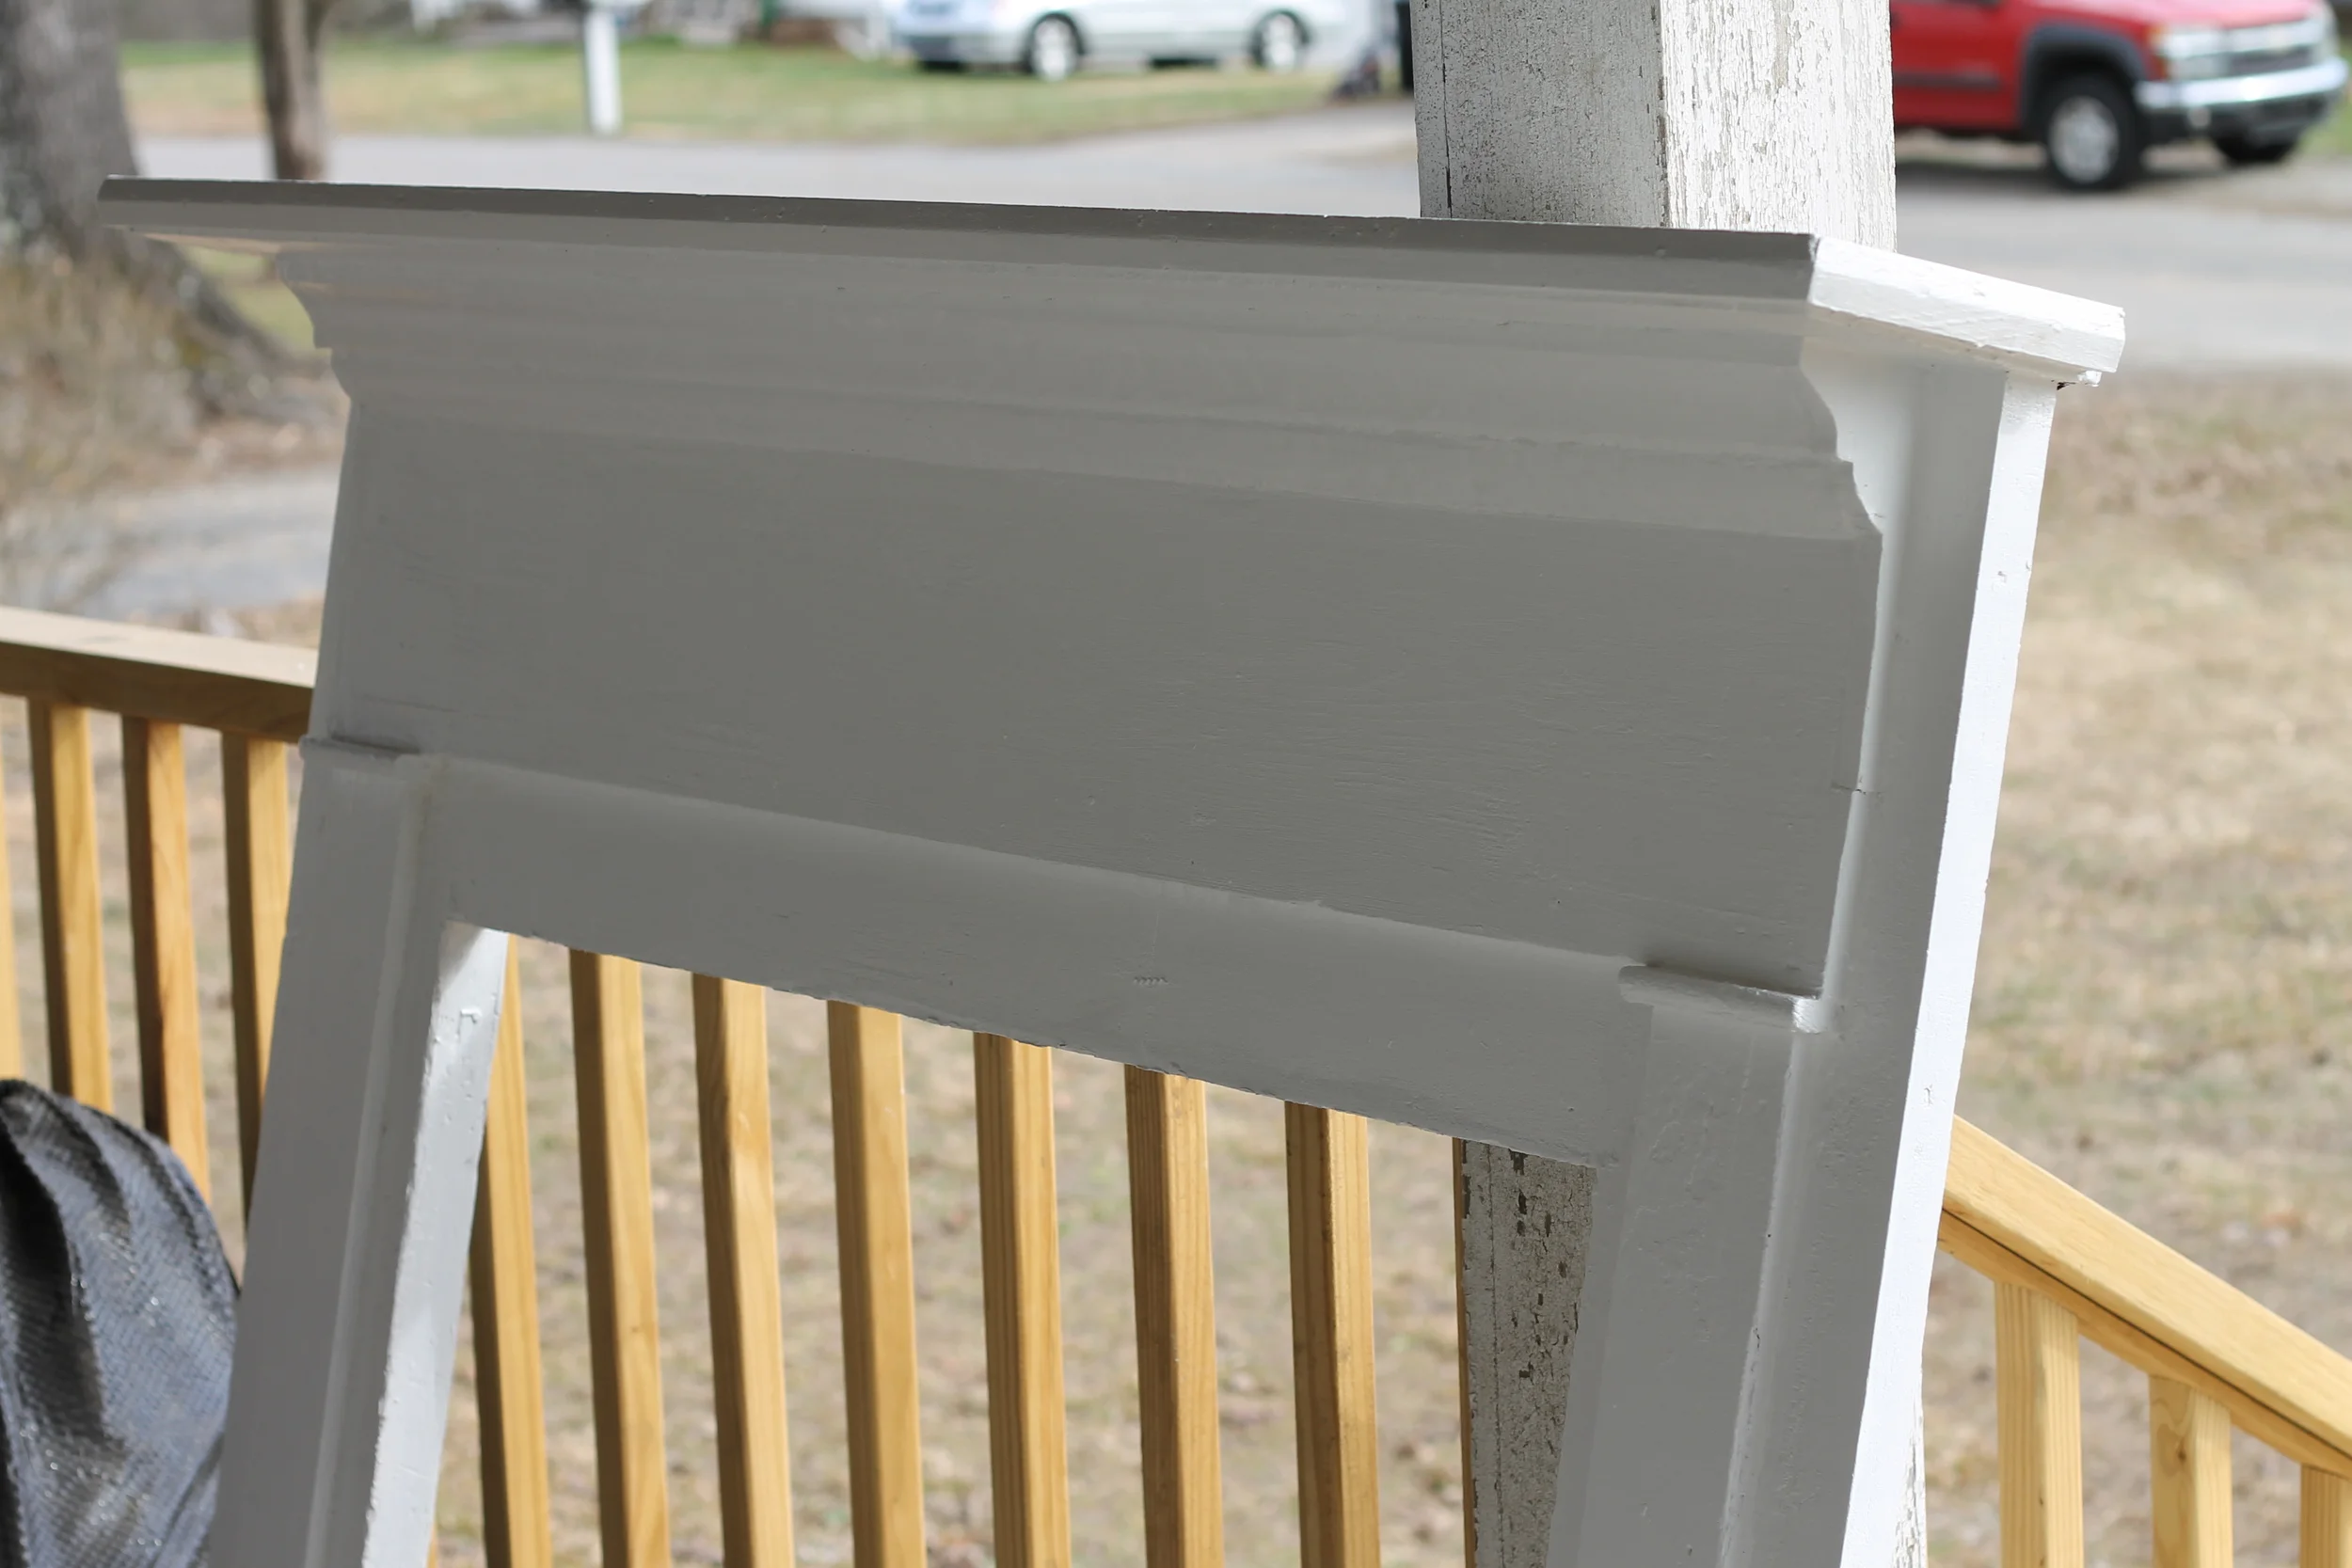
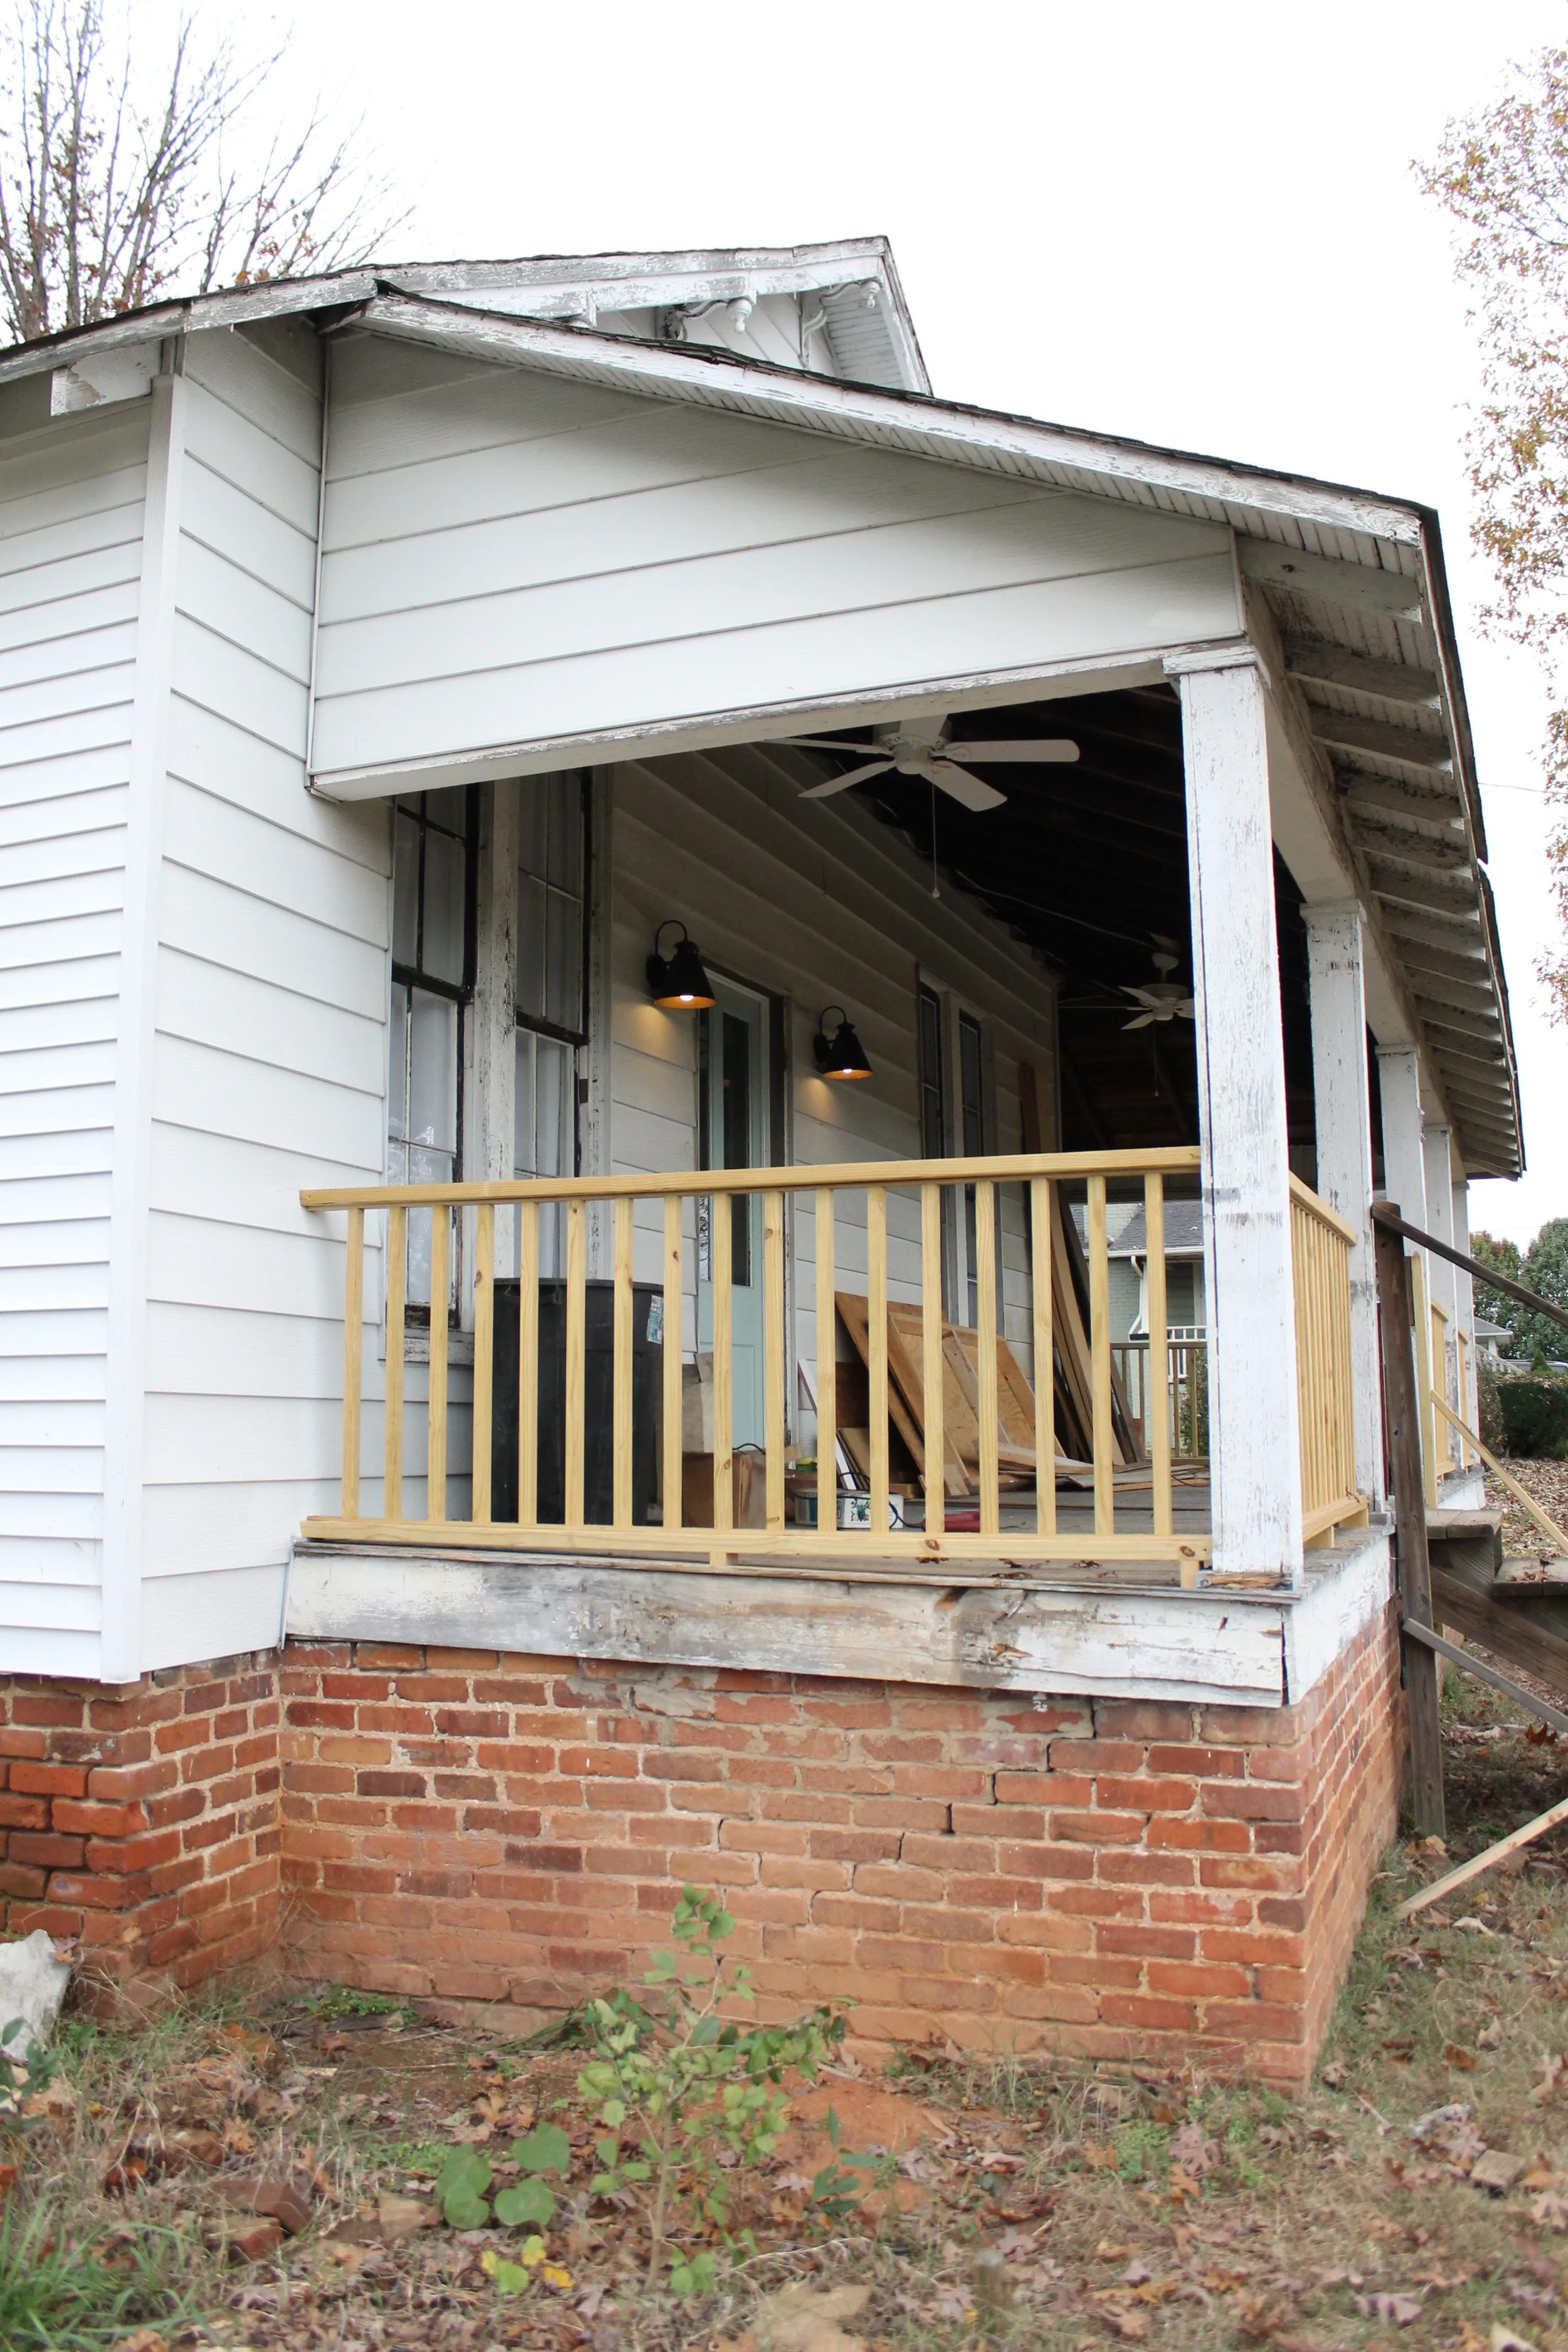
There was a little miscommunication with the contractor about the design of the trim, but once those door casings are squared off we can move on to endless caulking and painting. Since we are expecting a near heat wave here in NC (i.e. over 50 degrees) we are thinking about tackling the porch this weekend and adding some paint! Happy hump day, y'all. :)

Faux Fireplace | Myrtle House

I know I have probably mentioned 101 times how bummed I was to lose the crumbling fireplace at the Myrtle House. With a $6,000 price tag to repair, it was way out of the budget for this little town. So we opted to demo the brick, repurpose it as a walkway, and place siding over the hole where the fireplace was. Since we were able to salvage the original oak floors, we had an empty area where the brick hearth used to be. We still had three original mantles from the house (one where the demo-ed fireplace used to be and two from the now exposed double-sided fireplace). I took one of the mantles, sanded the heck out of it, then repainted it.

Elizabeth Burns Design | Faux Brick Fireplace

It was a pain in the rear to get this mantle in somewhat decent shape. Once the old, chipped paint was blasted off, I focused on the hearth and surround. Originally we were going to pay our contractor to fill the hearth with concrete to match the double-sided fireplace, but I stumbled upon this brick paneling at Lowes that I thought would do just the trick. For $27/panel, this DIY project was way cheaper than paying a contractor and would add some interest to the wall.

I wasn't crazy about the super dark red brick color and black grout, so I tested some painting options on the panel before cutting the sections down to size. Bright white paint seemed too stark and unrealistic, so I grabbed leftover wall paint tinted Agreeable Gray and that did the trick. The gray paint looked more like grout and gave a softer contrast. I paint the grout lines first and made sure to follow the uneven edges of the brick so it didn't look super fake. I then dry brushed the paint onto each brick making sure to get paint into the nooks and crannies. I used a paper towel dipped in water to remove excess paint and give the brick a white washed effect. I tried to vary the amount of paint each brick received for a less perfect finish.

Elizabeth Burns Design | Faux Brick Fireplace
IMG_20160131_143704255_HDR.jpg
Elizabeth Burns Design | Faux Brick Fireplace

Once the faux brick was painted and all of the pieces were installed, I found this cutie-patootie heater for $100 to complete our little faux fireplace. Since the Myrtle House is 115 years old, it can be a bit drafty and this electric stove makes the open space feel warm and toasty. For a grand total of $127, we have a new focal point in the room and some extra heat to boot! I'll take that over six grand any day. :)

Elizabeth Burns Design | Faux Brick Fireplace

Here is the before and the current state of the living room. The ceiling used to end at the top of the windows, but we removed the dropped ceiling to expose the original 9' ceilings. There is still touch up to do, but the finish line is in sight!

Elizabeth Burns Design | Faux Brick Fireplace

Update | Myrtle House

Hello. It's me. (As if you weren't sick enough of that song.) Apologies for the silence. 2016 has been equally busy and crazy so far, so I have been putting off writing a new post until I had some concrete completed projects to share. We have set a self-imposed completion date of early April for the Myrtle House (can you believe it?), therefore we have been running around like maniacs trying to get the hundreds of little things checked off of the list before our impending deadline. With the "blizzard of 2016" hitting us this weekend, we are already a week behind. Hopefully we can pull this off!

We have enlisted the troops (specifically, a contractor) to help get us to the end with the bigger projects. The most recent task to be crossed off the list is the exterior porch railings, stairs, and decking. Below are before and after photos showing the changes. It is so nice to finally be able to walk on that side porch! We just need some fresh paint and the exterior will be looking a thousand times better.

Elizabeth Burns Design | Farmhouse Cottage Renovation
Elizabeth Burns Design | Farmhouse Renovation

$200 Powder Room Makeover | Raleigh NC Interior Design

Elizabeth Burns Design | Raleigh NC Interior Designer - Budget Friendly Bathroom Makeover; Powder Room Renovation for $200

We had a weekend where we weren't going to work on the Myrtle House so we were looking forward to a relaxing weekend with a little R & R. But of course, we can't NOT work on a renovation for a whole weekend. :) My parents have been renovating their 1992 home, and the powder room was one of the last areas on the first floor to be updated. The sad truth is that I helped decorate this room back in the day. Brass fixtures + wallpaper border + sponge painting was on point circa 1999. Nowadays, this look is not so pretty, so Brian and I peeled away (literally) the dated look and went for a cooler, more updated look. The best part is that this little makeover only cost about $200. For a room that gets as much action as a powder room, I think it was money well spent! Here are the before and afters.

BEFORE

Elizabeth Burns Desgin | Budget Friendly Powder Room Makeover for $200

AFTER

Elizabeth Burns Desgin | Budget Friendly Powder Room Makeover for $200

We knew the brass had to go, so a lot of the budget went towards replacing the faucet and light fixture. I think these finishes can really make a home look more high-end, so it is worth it to splurge a little on these items. I am kind of obsessed with this vanity light; the etched glass globes make this fixture look way more expensive than it was and it provides a ton of light. Here is a breakdown of the budget:

  • Sand paper - $2.67
  • Spray paint for bath accessories - $6.19
  • Paint roller kit - $2.68
  • Light bulbs - $5.83
  • Plumbers putty - $2.69
  • Almond switch plate - $1.42
  • Cabinet paint - $15.28
  • Plumbing supplies - $27.89
  • Brushed nickel faucet - $39.58 (Lowes)
  • Brushed nickel vanity light - $62.98 (Lowes)
  • Hydrangea canvas art - $26.68 (Homegoods)
  • Rope cloche - $6.42 (Michaels)
  • Candle - $9.63 (Bath & Body Works)
  • Soap dispenser - $8.56 (Target)

We had leftover wall paint, a pair of spare cabinet knobs, the hand towel, and the vintage mason jar on hand, so we saved a little money there. All in all, we spent $218.50, which is a win in my book. This room seems SO much bigger and brighter and flows better with the rest of the house.

Elizabeth Burns Design | Budget Friendly Powder Room Makeover for Around $200

Our Utility Grade Oak Floors | Myrtle House

Elizabeth Burns Design | DIY Utility Grade Oak Flooring - How to install solid hardwood flooring

I know it has been a while since I last posted, and the reason for the little break is that we have a few things in the works but nothing quite finished yet. The kitchen appliances have arrived, the kitchen cabinets are on order, we have a new (to us) washer and dryer ready to be installed, but nothing blog post worthy. The one thing we have finally finished - mostly due to the fact that we hired out the last leg of the job - is the hardwood floor!!!

Our project was unique in the fact that we were able to salvage some of the original 100+ year old floors, but we also had to install new hardwood floors in a few rooms. The phrase "they don't make them like they used to" holds true for hardwood flooring. The existing floor is oak just like the new flooring, but you can see how much tighter the wood grain is comparatively. Also, the old boards are easily 4-5' in length whereas the Utility Grade Oak is about 1.5' in length on average. We used Lumber Liquidators 2.25" Utility Oak.

I posted parts one through three of installing the Utility Grade Flooring and you can go back and read those here if you'd like:

Part I
Part II
Part III

After the five weekends it took to install the new hardwoods, it was time to settle on a stain color. I am a big fan of dark floors but I am not a big fan of every spec of dust showing on the floor. So, with the really dark stains ruled out, then there were two: Minwax Dark Walnut and Minwax Provincial. I loved the color of Dark Walnut but was concerned that the old wood would soak it up like a sponge and make the floors look black. Provincial, on the other hand, had a lightness to it which I liked, but I was worried that the stain would have an orange hue. I tested a few on the White Oak, Red Oak, and "old" Oak boards to get a feel for color.

Elizabeth Burns Design | DIY Utility Grade Oak Flooring - How to install solid hardwood flooring

The left side is Dark Walnut. The middle is 50/50 Dark Walnut/Provincial. The right side is Provincial.

After talking it out with our contractor, he suggested going with the Dark Walnut, but he would only let it sit on the wood for a couple of seconds and would wipe it off immediately. This would give us the color we want but not the darkness. Done deal.

It took him a couple of days to sand, patch, install thresholds, and fill in deep knots before getting to the staining. Word to the wise - the sawdust from sanding is just as messy as drywall dust. Make sure to cover up anything you don't want to get dirty. Here is how the dining room/living room threshold looked after sanding. The old wood is on the top, the new wood on the bottom.

Elizabeth Burns Design | DIY Utility Grade Oak Flooring - How to install solid hardwood flooring

Color-wise, they sanded out pretty well! I was pleasantly surprised that the old wood sanded out so light. He then cleaned everything with Mineral Spirits before the staining commenced.

Elizabeth Burns Design | DIY Utility Grade Oak Flooring - How to install solid hardwood flooring

Our contractor created a threshold to join the old and the new, and I think it turned out great! Below is the before and after (old floor on the left, new floor on the right).

Elizabeth Burns Design | DIY Utility Grade Oak Flooring - How to install solid hardwood flooring

Natural wood right after installing (left) and with Dark Walnut stain (right). Lola loves the camera.

Elizabeth Burns Design | DIY Utility Grade Oak Flooring - How to install solid hardwood flooring

What I learned about Utility Grade Oak Flooring

  • One thing that surprised me was how much variation there is between bundles. Our order was a mix of White Oak and Red Oak. The White Oak seemed to have MUCH less waste, so if you purchase this flooring, I would try and see if you can get mostly this type.
  • I was adamant about using as much wood as possible, so I was pretty lenient on some pieces when it came to the imperfections and rough knots. One thing I didn't think about was the fact that these rough knots can tear up your sandpaper when you get to that stage, so in the end, those rougher pieces ended up costing me more rather than buying a few more pieces of wood.
Elizabeth Burns Design | DIY Utility Grade Oak Flooring - How to install solid hardwood flooring

Would I use Utility Grade Flooring again?

  • In a heartbeat. To have a solid wood floor for less than $1/square foot unfinished, it is really hard to top. If we were installing wood floors in a newer home where there wasn't existing wood floors, I would probably go with an engineered floor simply because it is pre-finished and so much faster and cheaper to install. However, for our 1901 Myrtle House, this floor was perfect.
Elizabeth Burns Design | DIY Utility Grade Oak Flooring - How to install solid hardwood flooring

Recommendations for Utility Grade Floors?

  • If you would consider yourself Type-A, this may not be the floor for you. There will be imperfections and knots which I think is what makes this floor beautiful. However, it is not for everyone. If you think all of the little knots and crevices will drive you crazy, maybe consider paying extra for a higher grade wood or going with a more uniform engineered flooring.
  • It was so worth it to pay someone to sand and refinish the floors. Installing is pretty easy, but sanding, cleaning, staining, and sealing these floors is something I will happily leave to the pros. From what I have read, this is the consensus from other DIYers on solid hardwood floors.

Any lingering questions on these floors? Any experience with it yourselves? I would love to hear!

P.S. This post is not sponsored by any company. I am just really happy with the products and companies we used for this project. :)

Utility Grade Floors - Part Three | Myrtle House

After four weekends working on nothing but the Myrtle House hardwoods, we have everything but the master closet done! I won't bore you with too many details (you can only talk about installing hardwoods so much), but here are a few photos of where we are at now, verses where we were just a few months ago.

Elizabeth Burns Design | Installing Utility Grade Oak Flooring, DIY

Once the hardwood saga is complete, I will write a more detailed post on our process and what we learned. Hopefully it will be helpful to those attempting this budget-friendly flooring option!