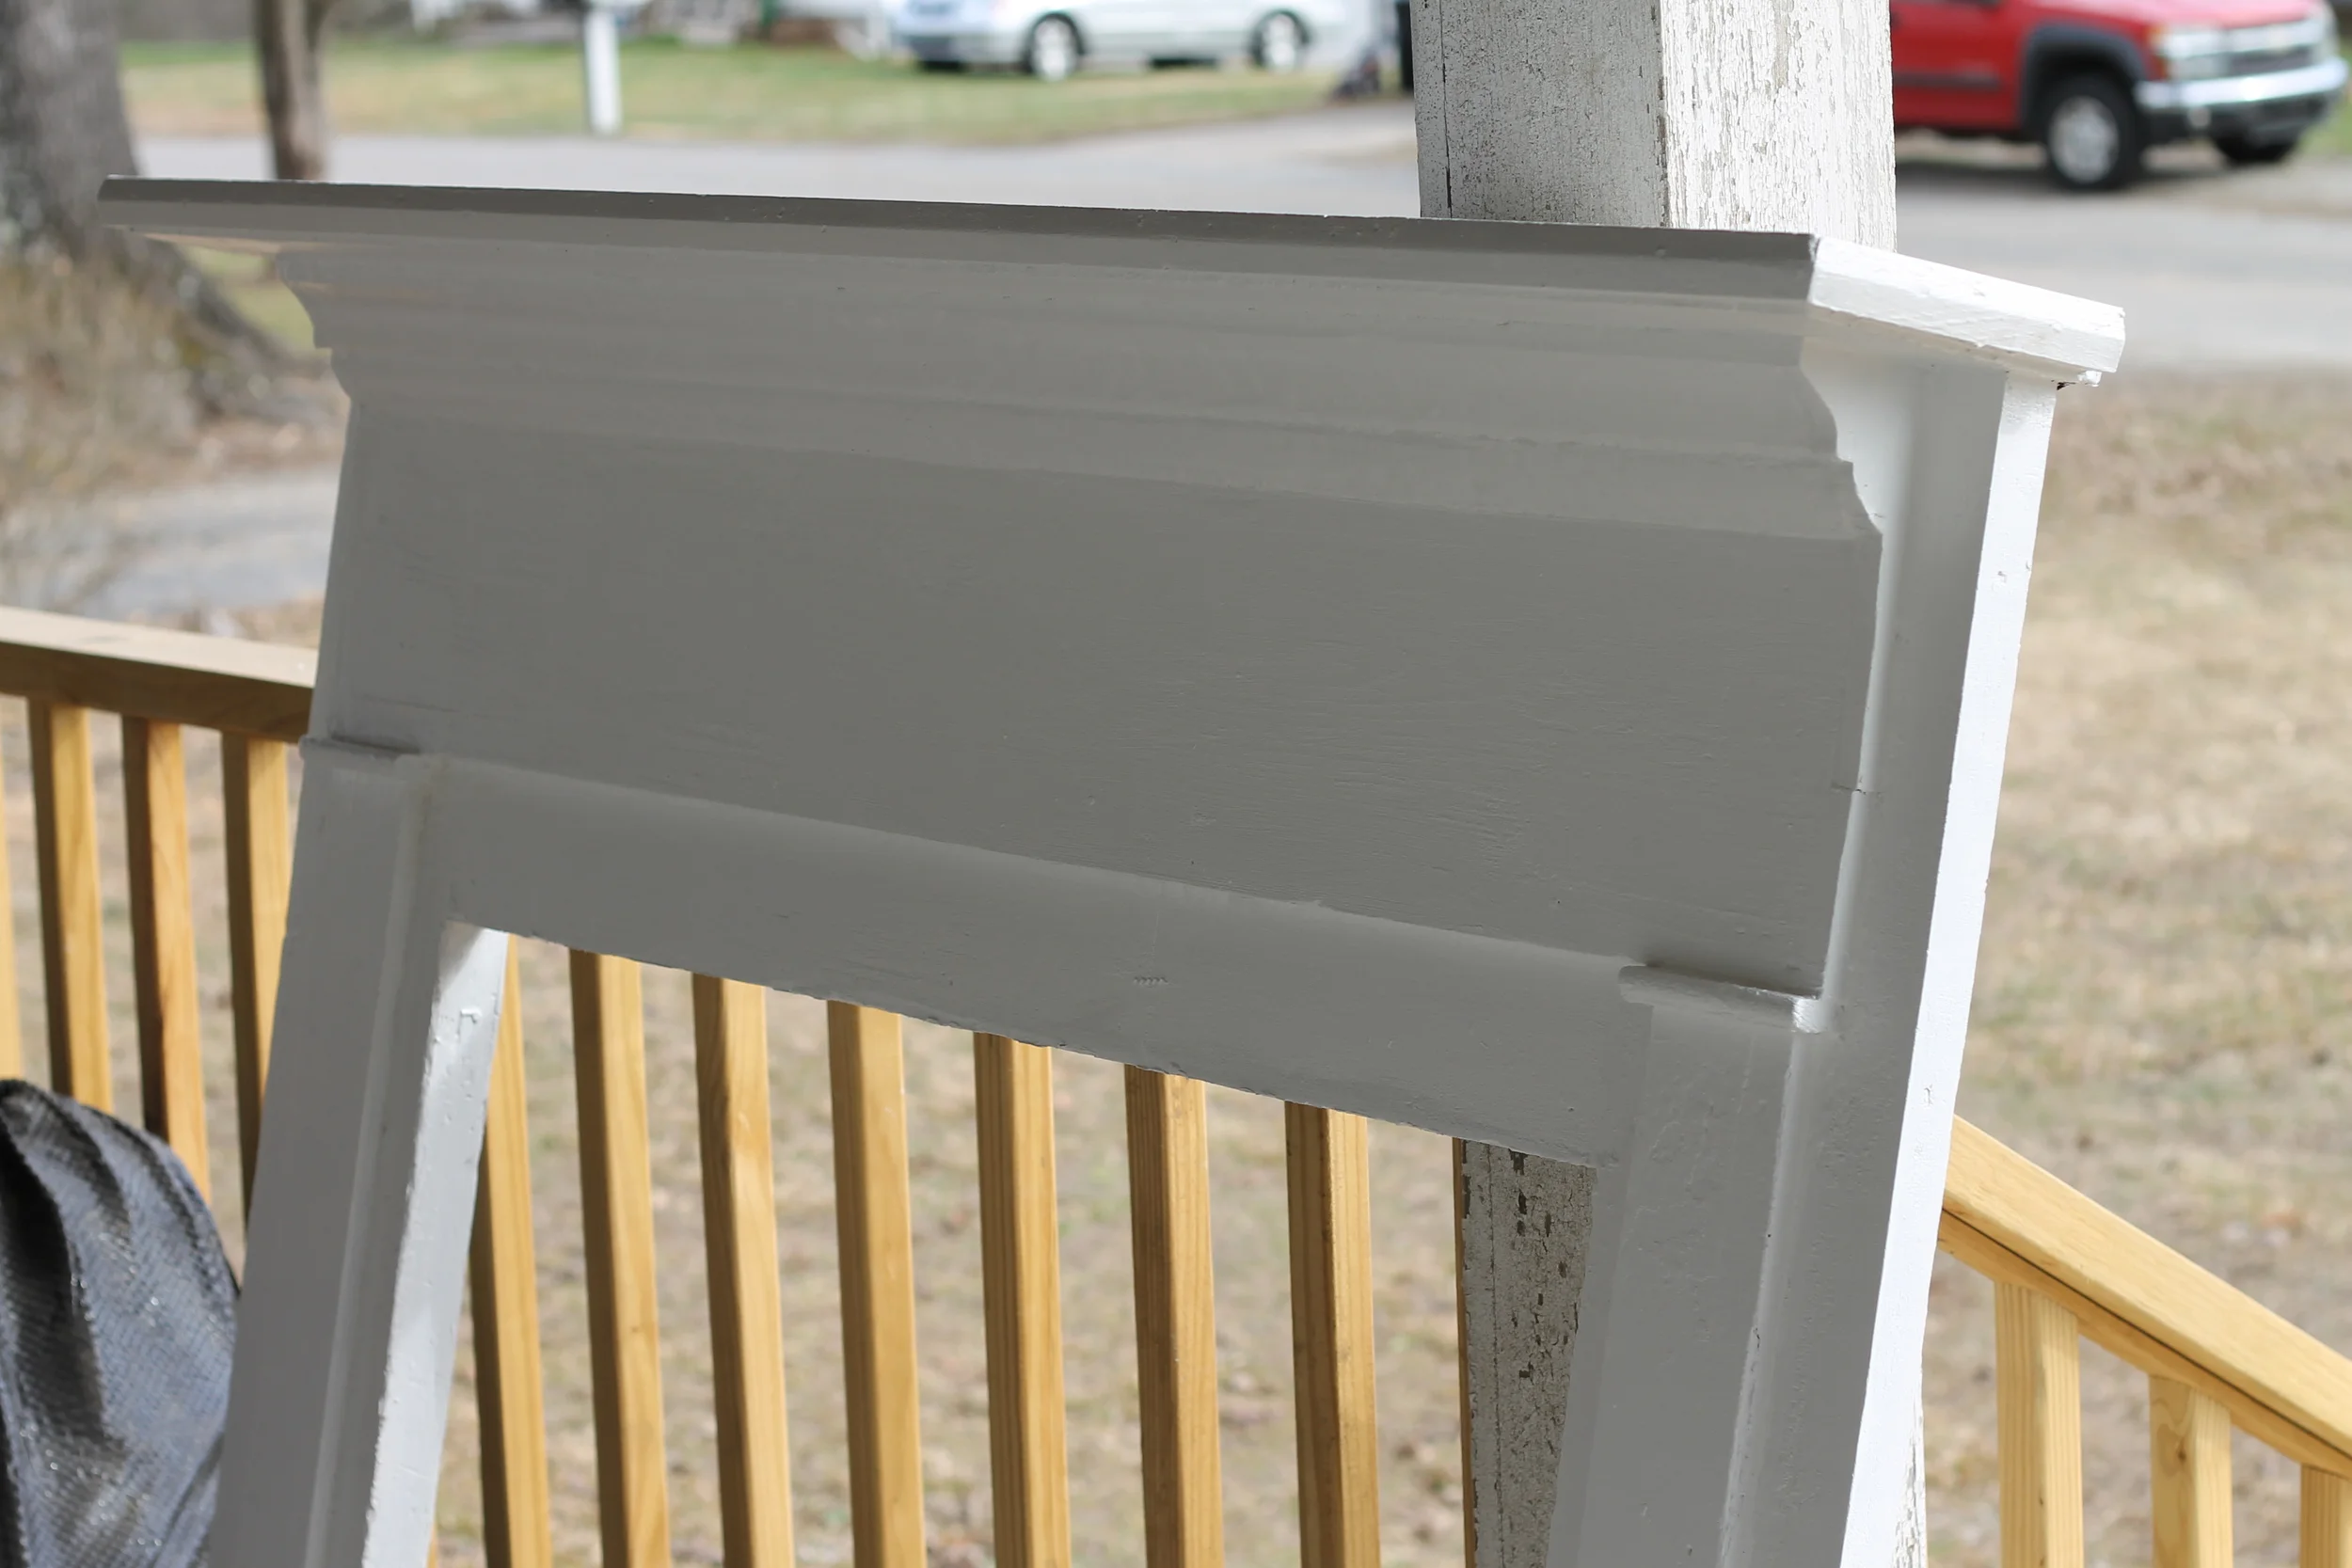
I know I have probably mentioned 101 times how bummed I was to lose the crumbling fireplace at the Myrtle House. With a $6,000 price tag to repair, it was way out of the budget for this little town. So we opted to demo the brick, repurpose it as a walkway, and place siding over the hole where the fireplace was. Since we were able to salvage the original oak floors, we had an empty area where the brick hearth used to be. We still had three original mantles from the house (one where the demo-ed fireplace used to be and two from the now exposed double-sided fireplace). I took one of the mantles, sanded the heck out of it, then repainted it.

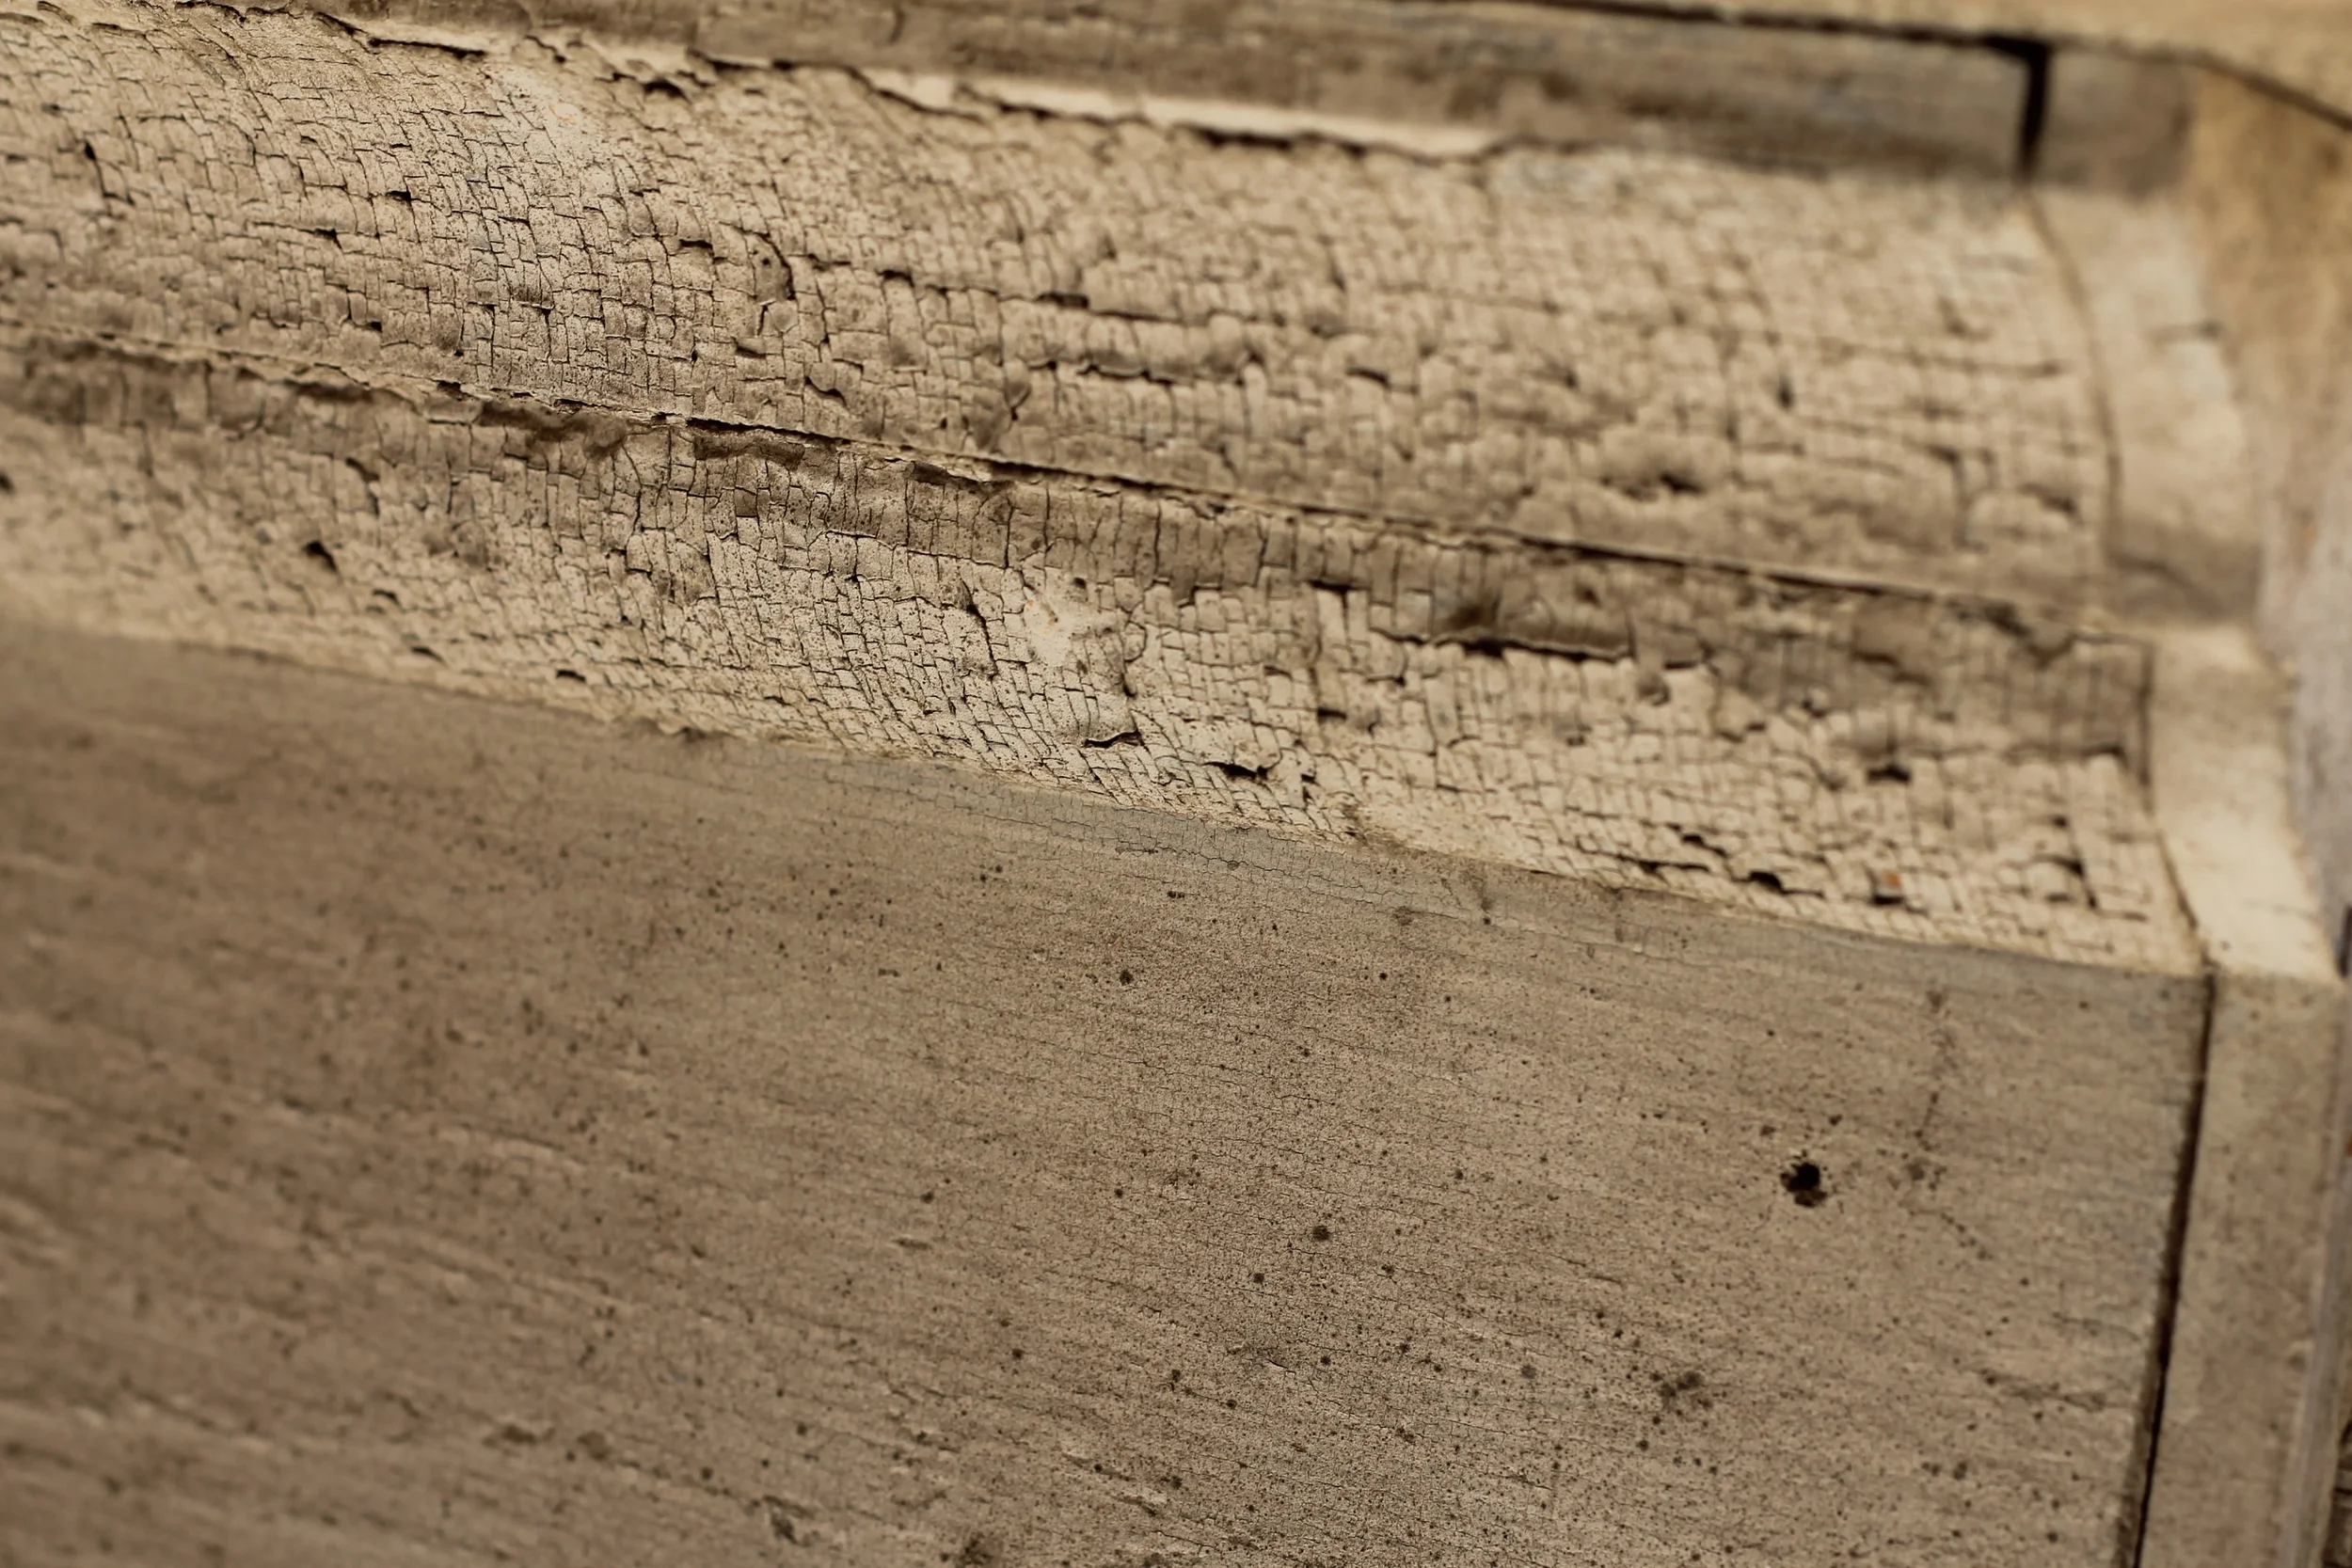

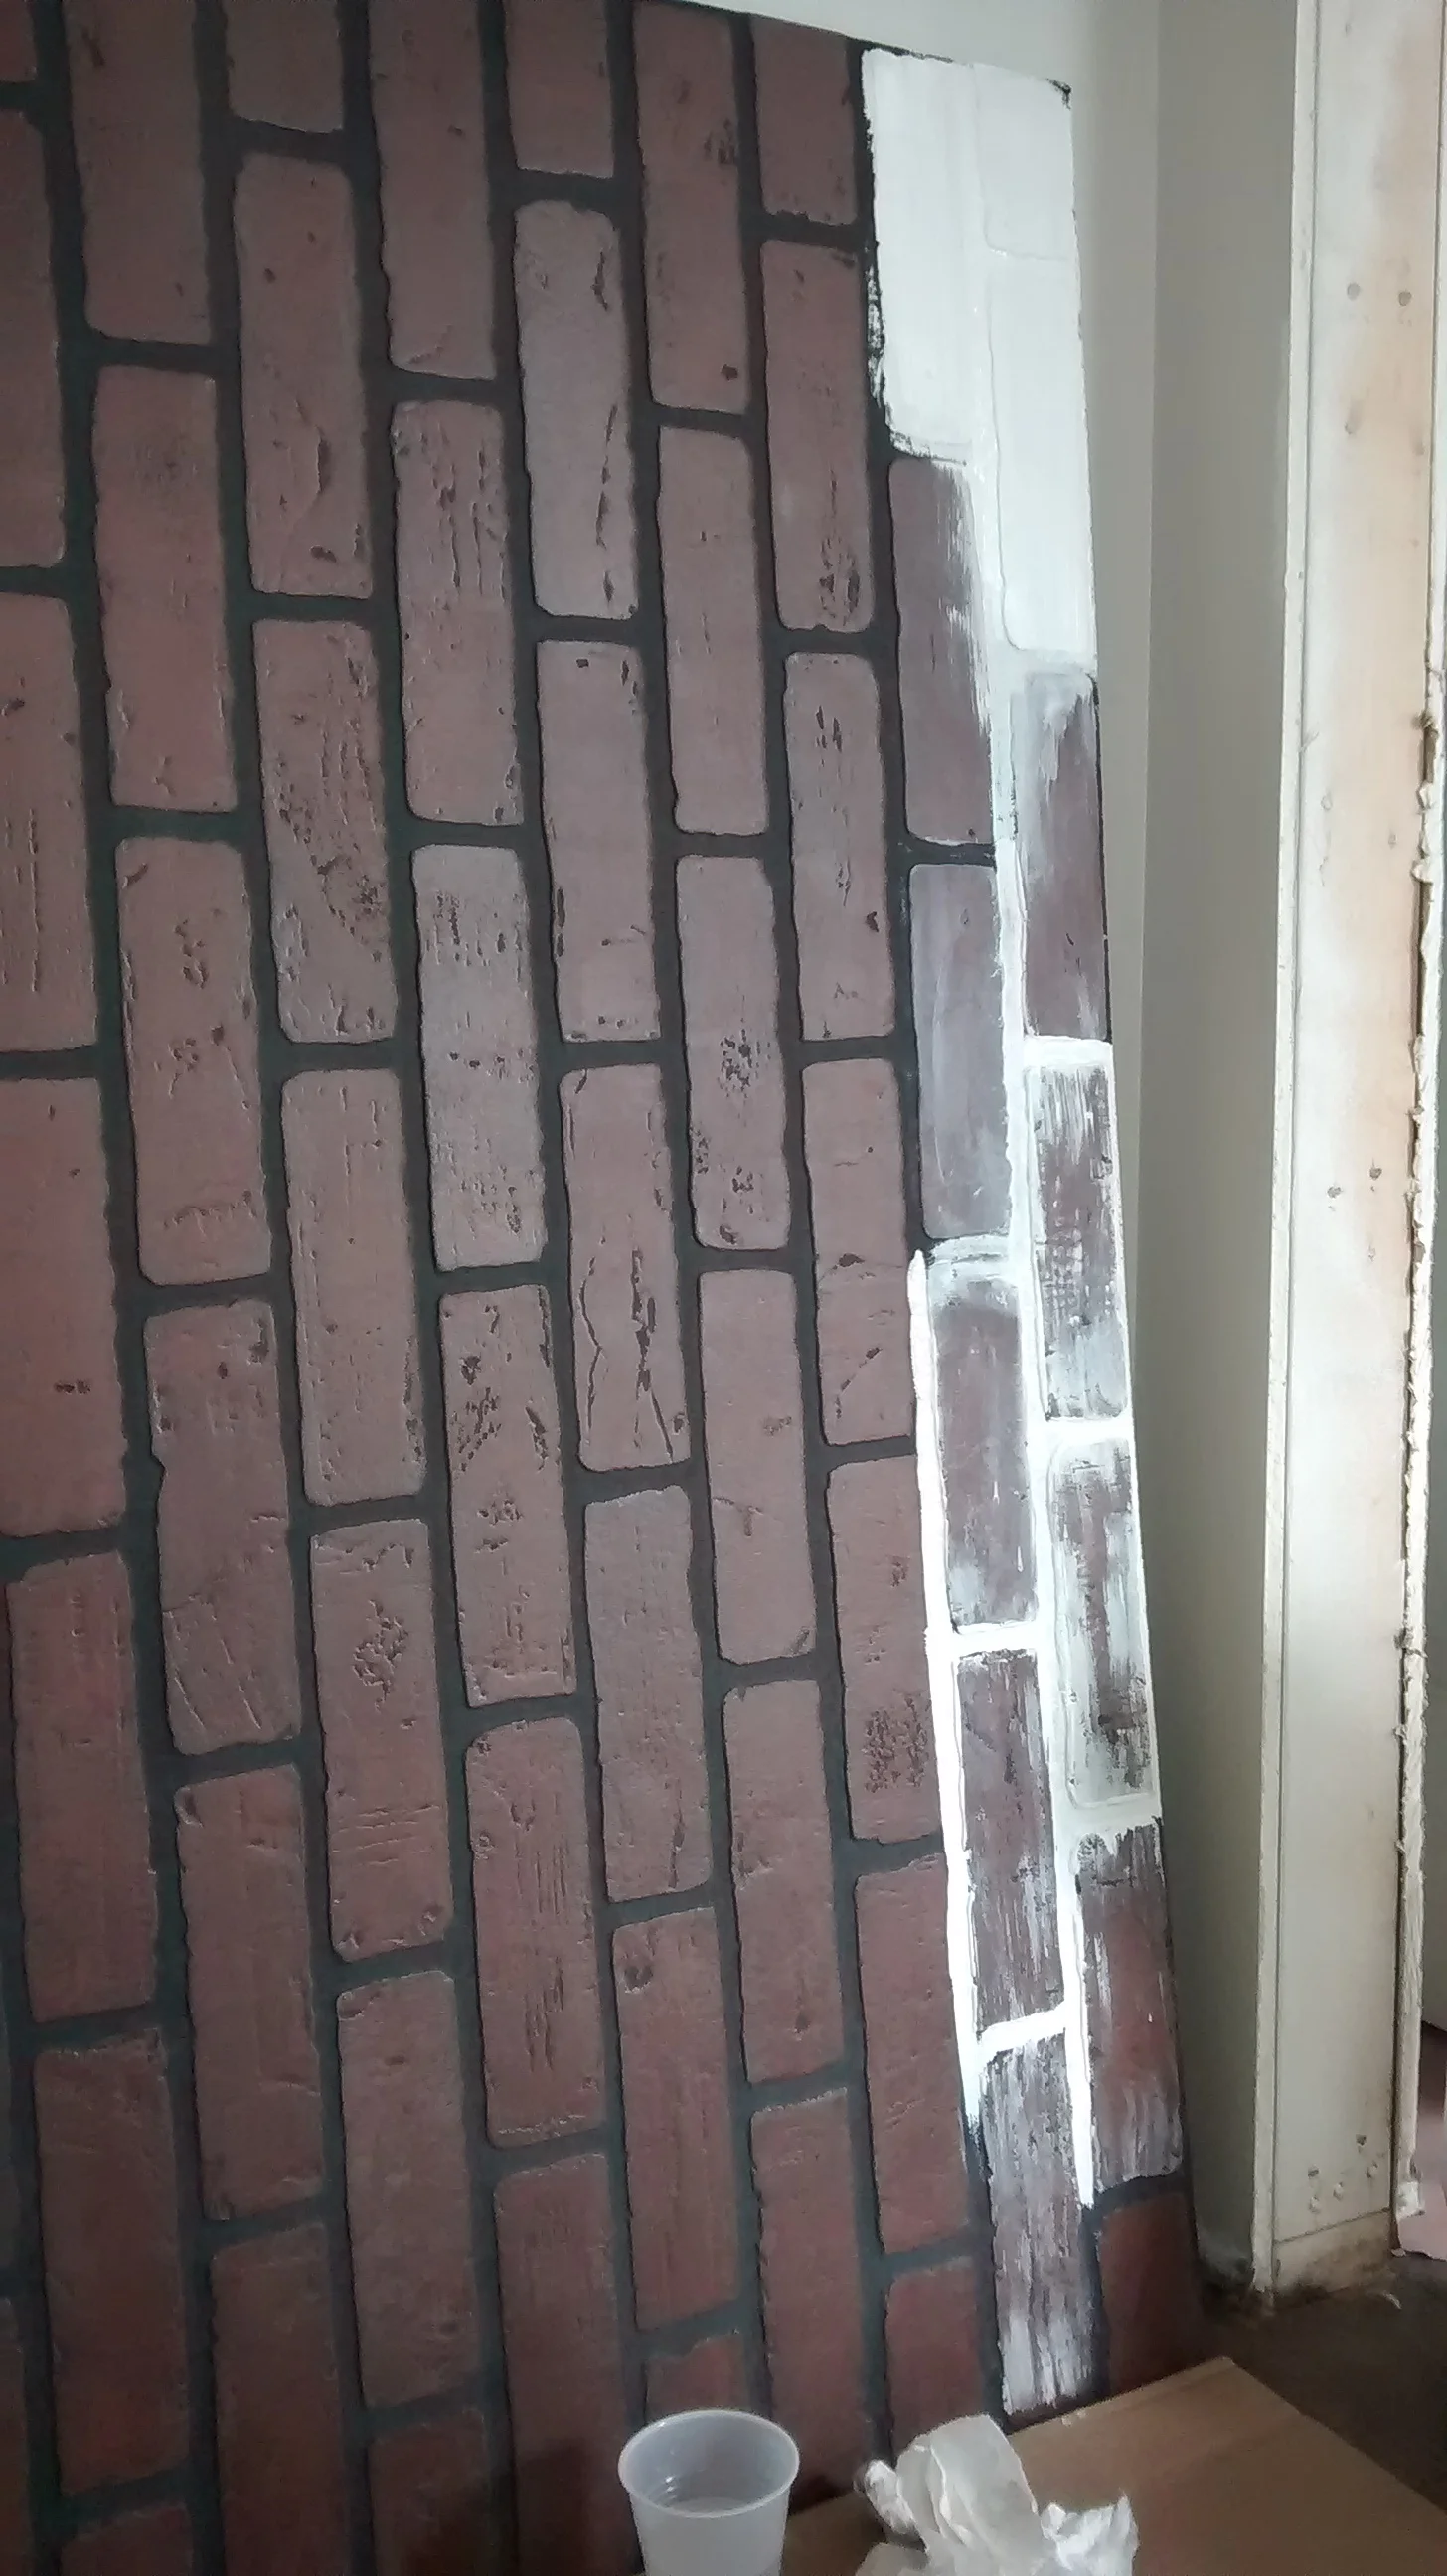
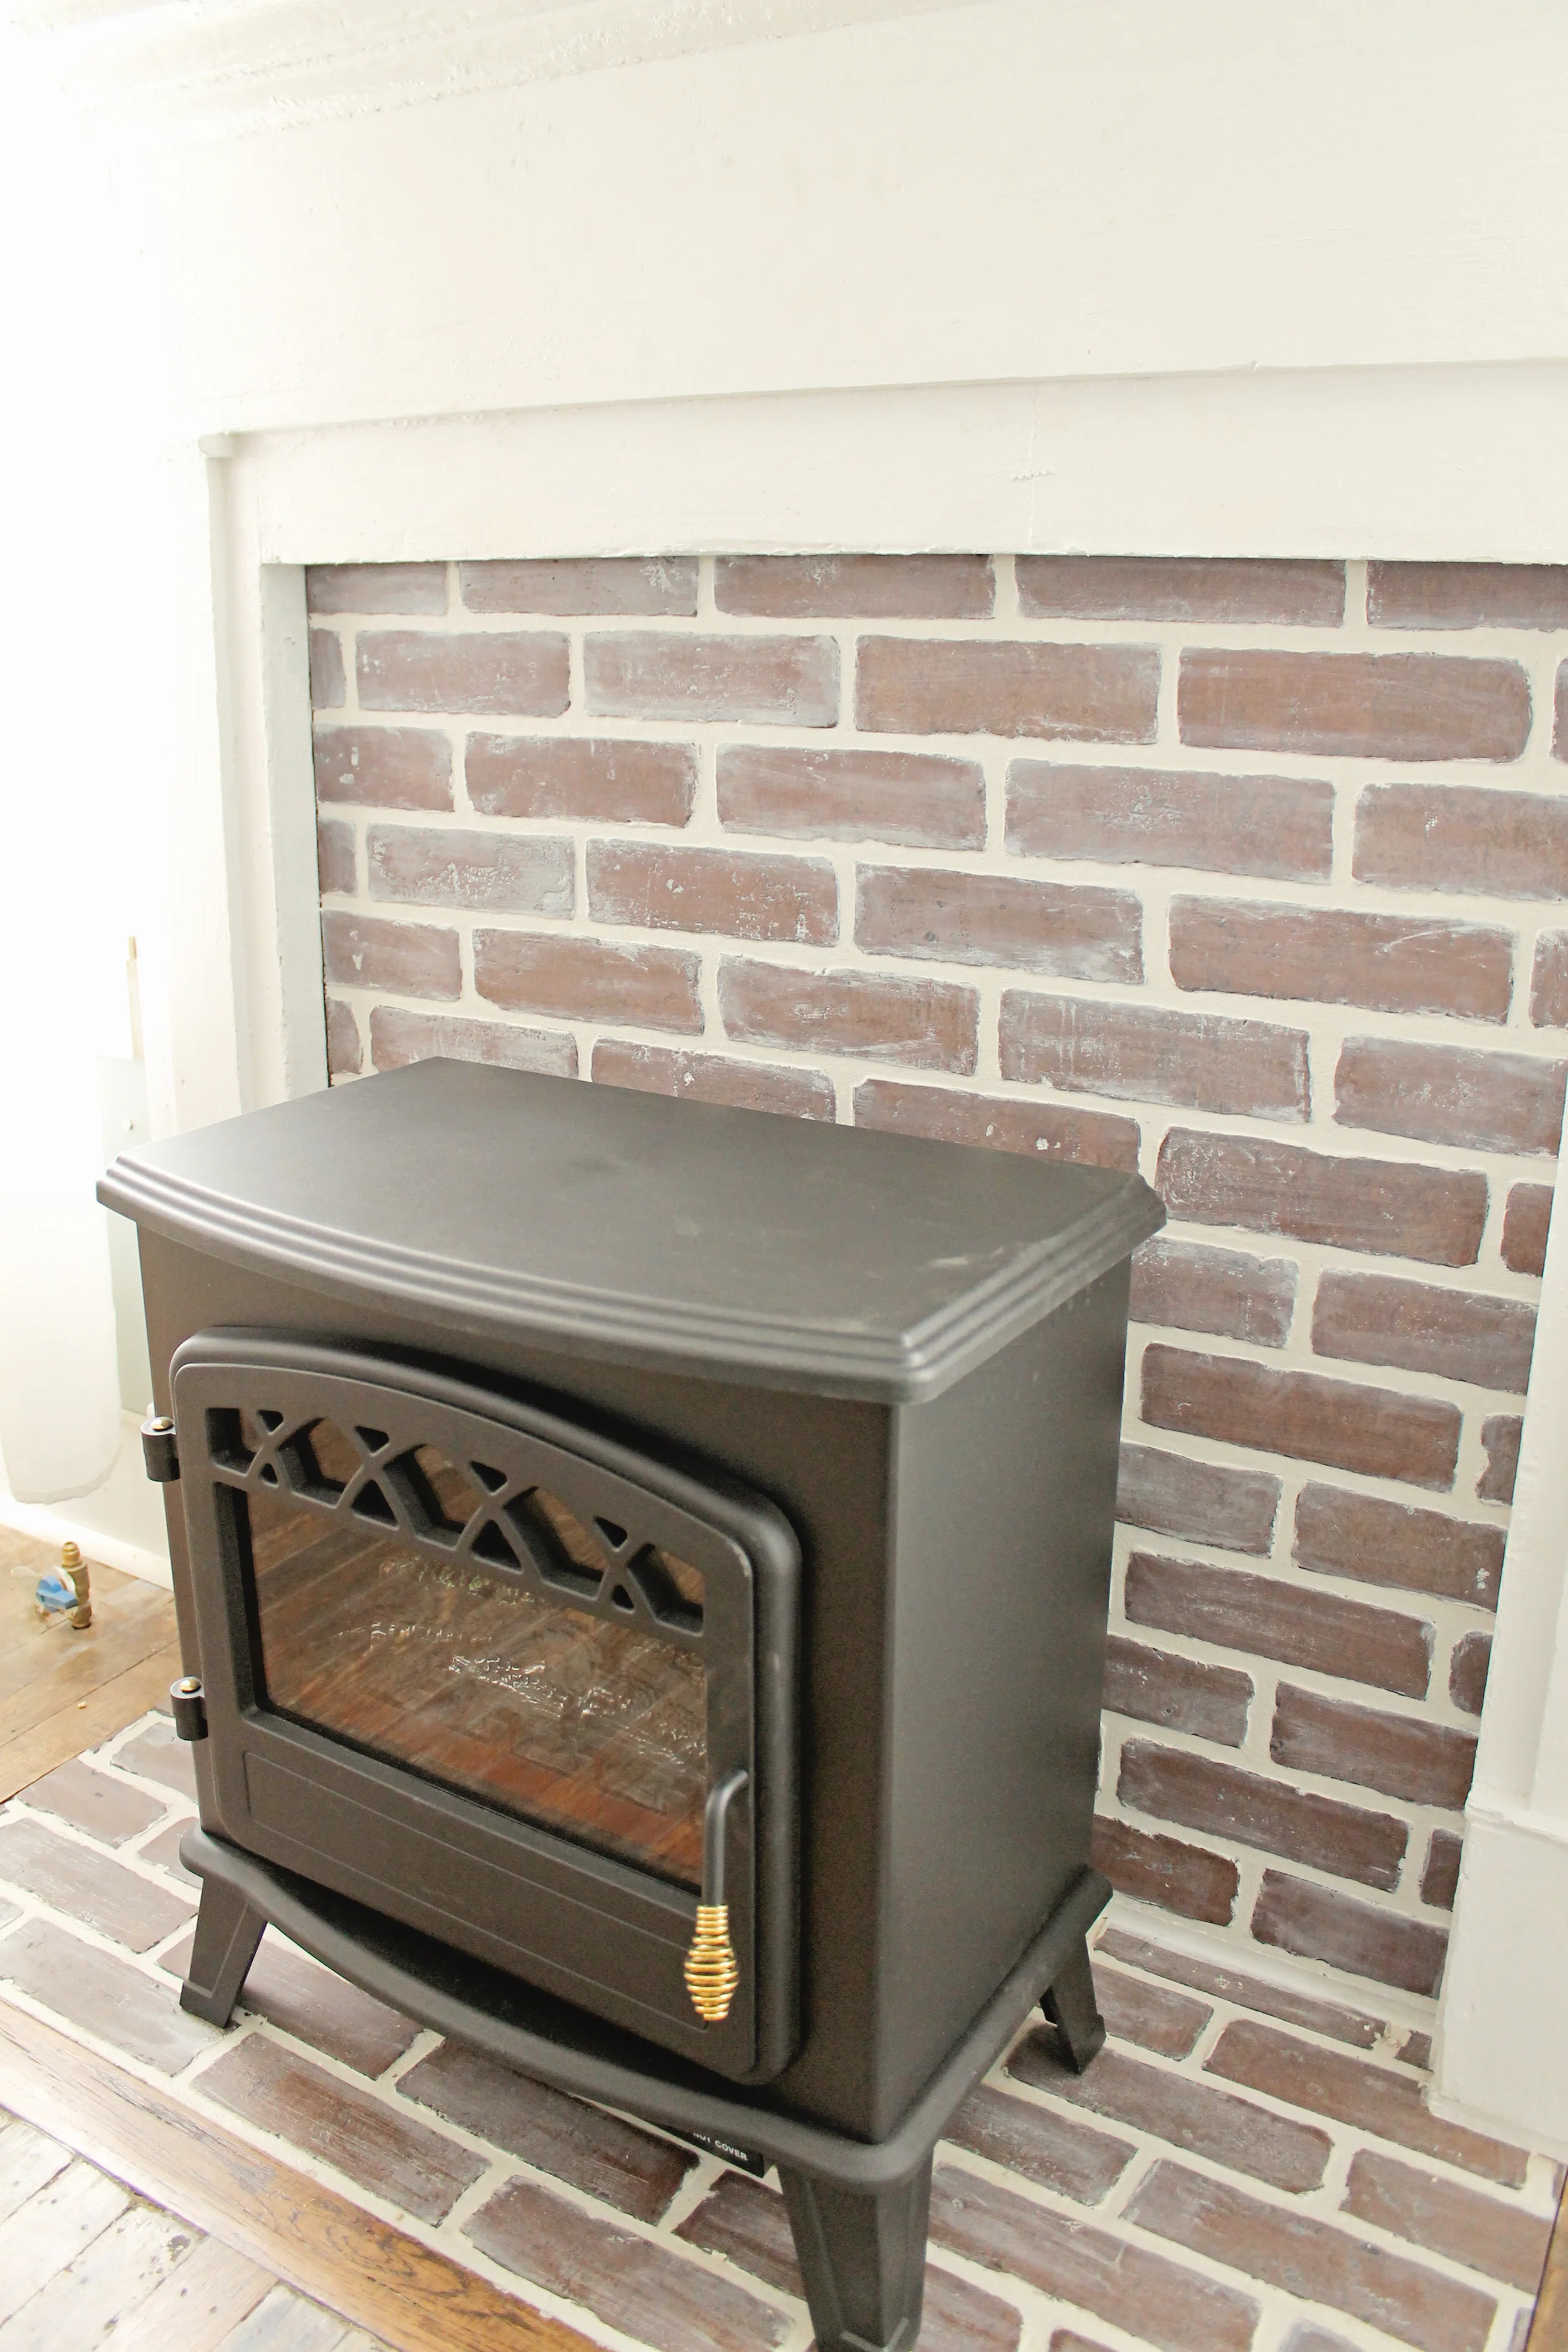
It was a pain in the rear to get this mantle in somewhat decent shape. Once the old, chipped paint was blasted off, I focused on the hearth and surround. Originally we were going to pay our contractor to fill the hearth with concrete to match the double-sided fireplace, but I stumbled upon this brick paneling at Lowes that I thought would do just the trick. For $27/panel, this DIY project was way cheaper than paying a contractor and would add some interest to the wall.
I wasn't crazy about the super dark red brick color and black grout, so I tested some painting options on the panel before cutting the sections down to size. Bright white paint seemed too stark and unrealistic, so I grabbed leftover wall paint tinted Agreeable Gray and that did the trick. The gray paint looked more like grout and gave a softer contrast. I paint the grout lines first and made sure to follow the uneven edges of the brick so it didn't look super fake. I then dry brushed the paint onto each brick making sure to get paint into the nooks and crannies. I used a paper towel dipped in water to remove excess paint and give the brick a white washed effect. I tried to vary the amount of paint each brick received for a less perfect finish.


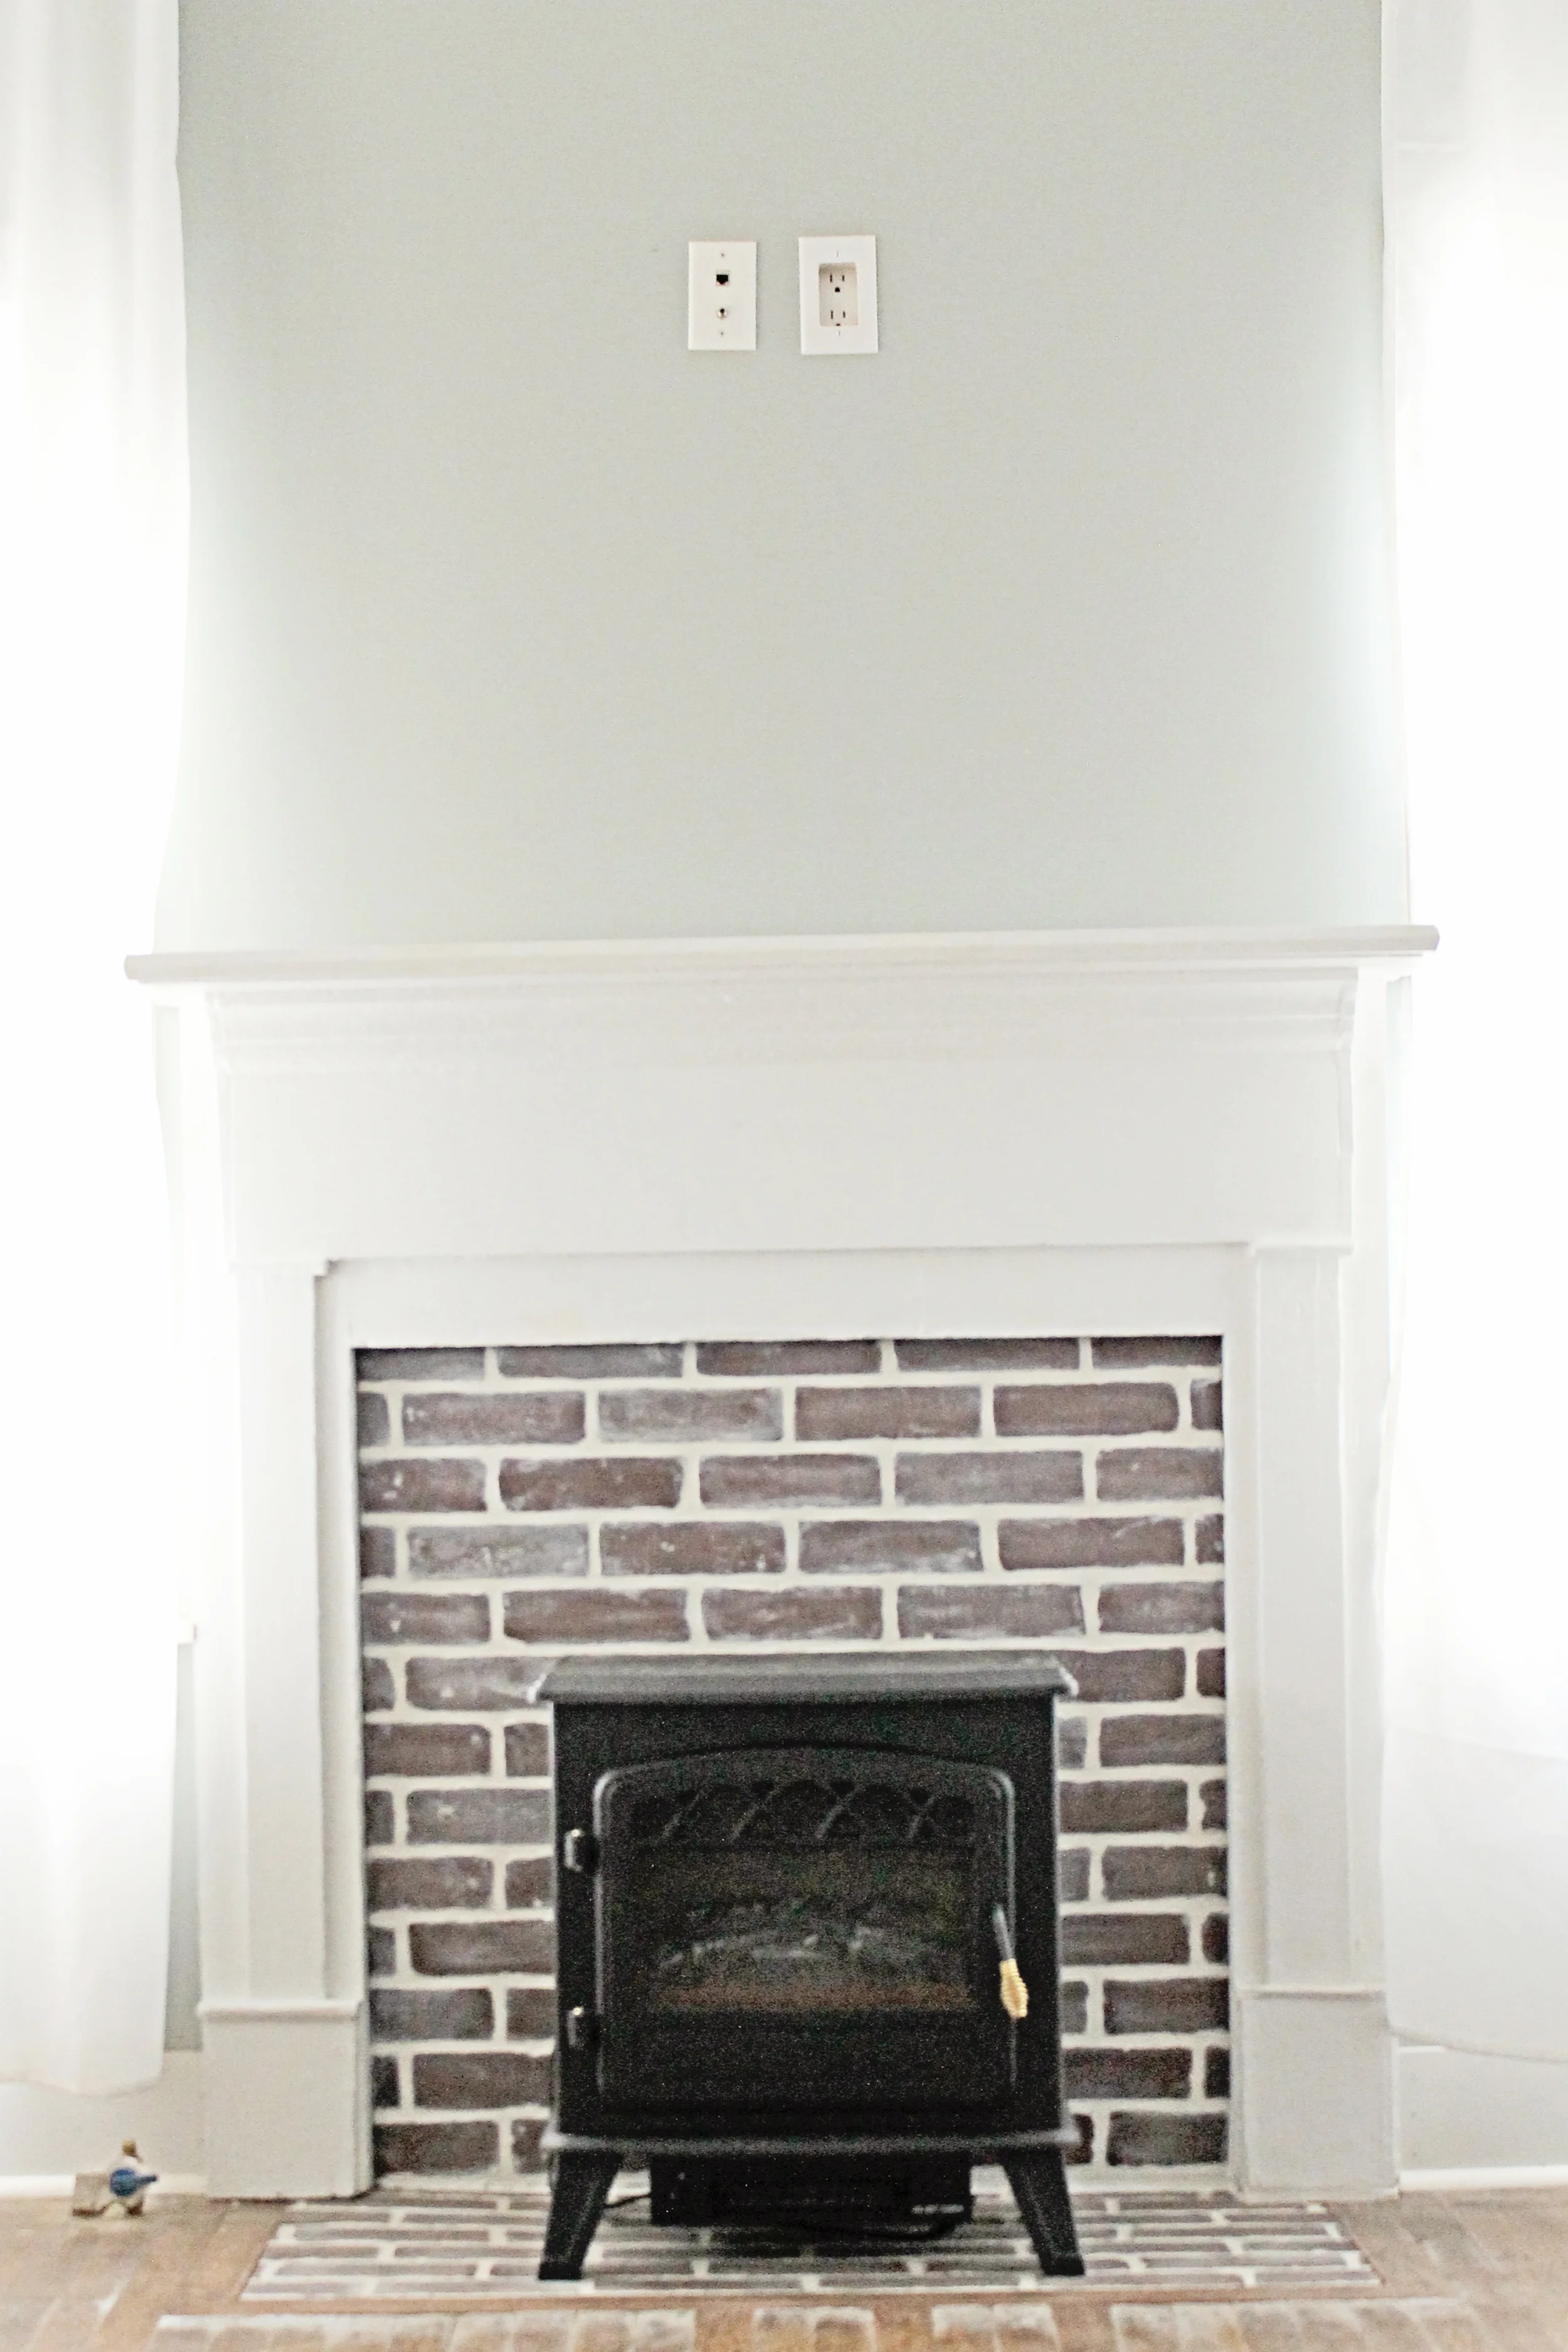
Once the faux brick was painted and all of the pieces were installed, I found this cutie-patootie heater for $100 to complete our little faux fireplace. Since the Myrtle House is 115 years old, it can be a bit drafty and this electric stove makes the open space feel warm and toasty. For a grand total of $127, we have a new focal point in the room and some extra heat to boot! I'll take that over six grand any day. :)

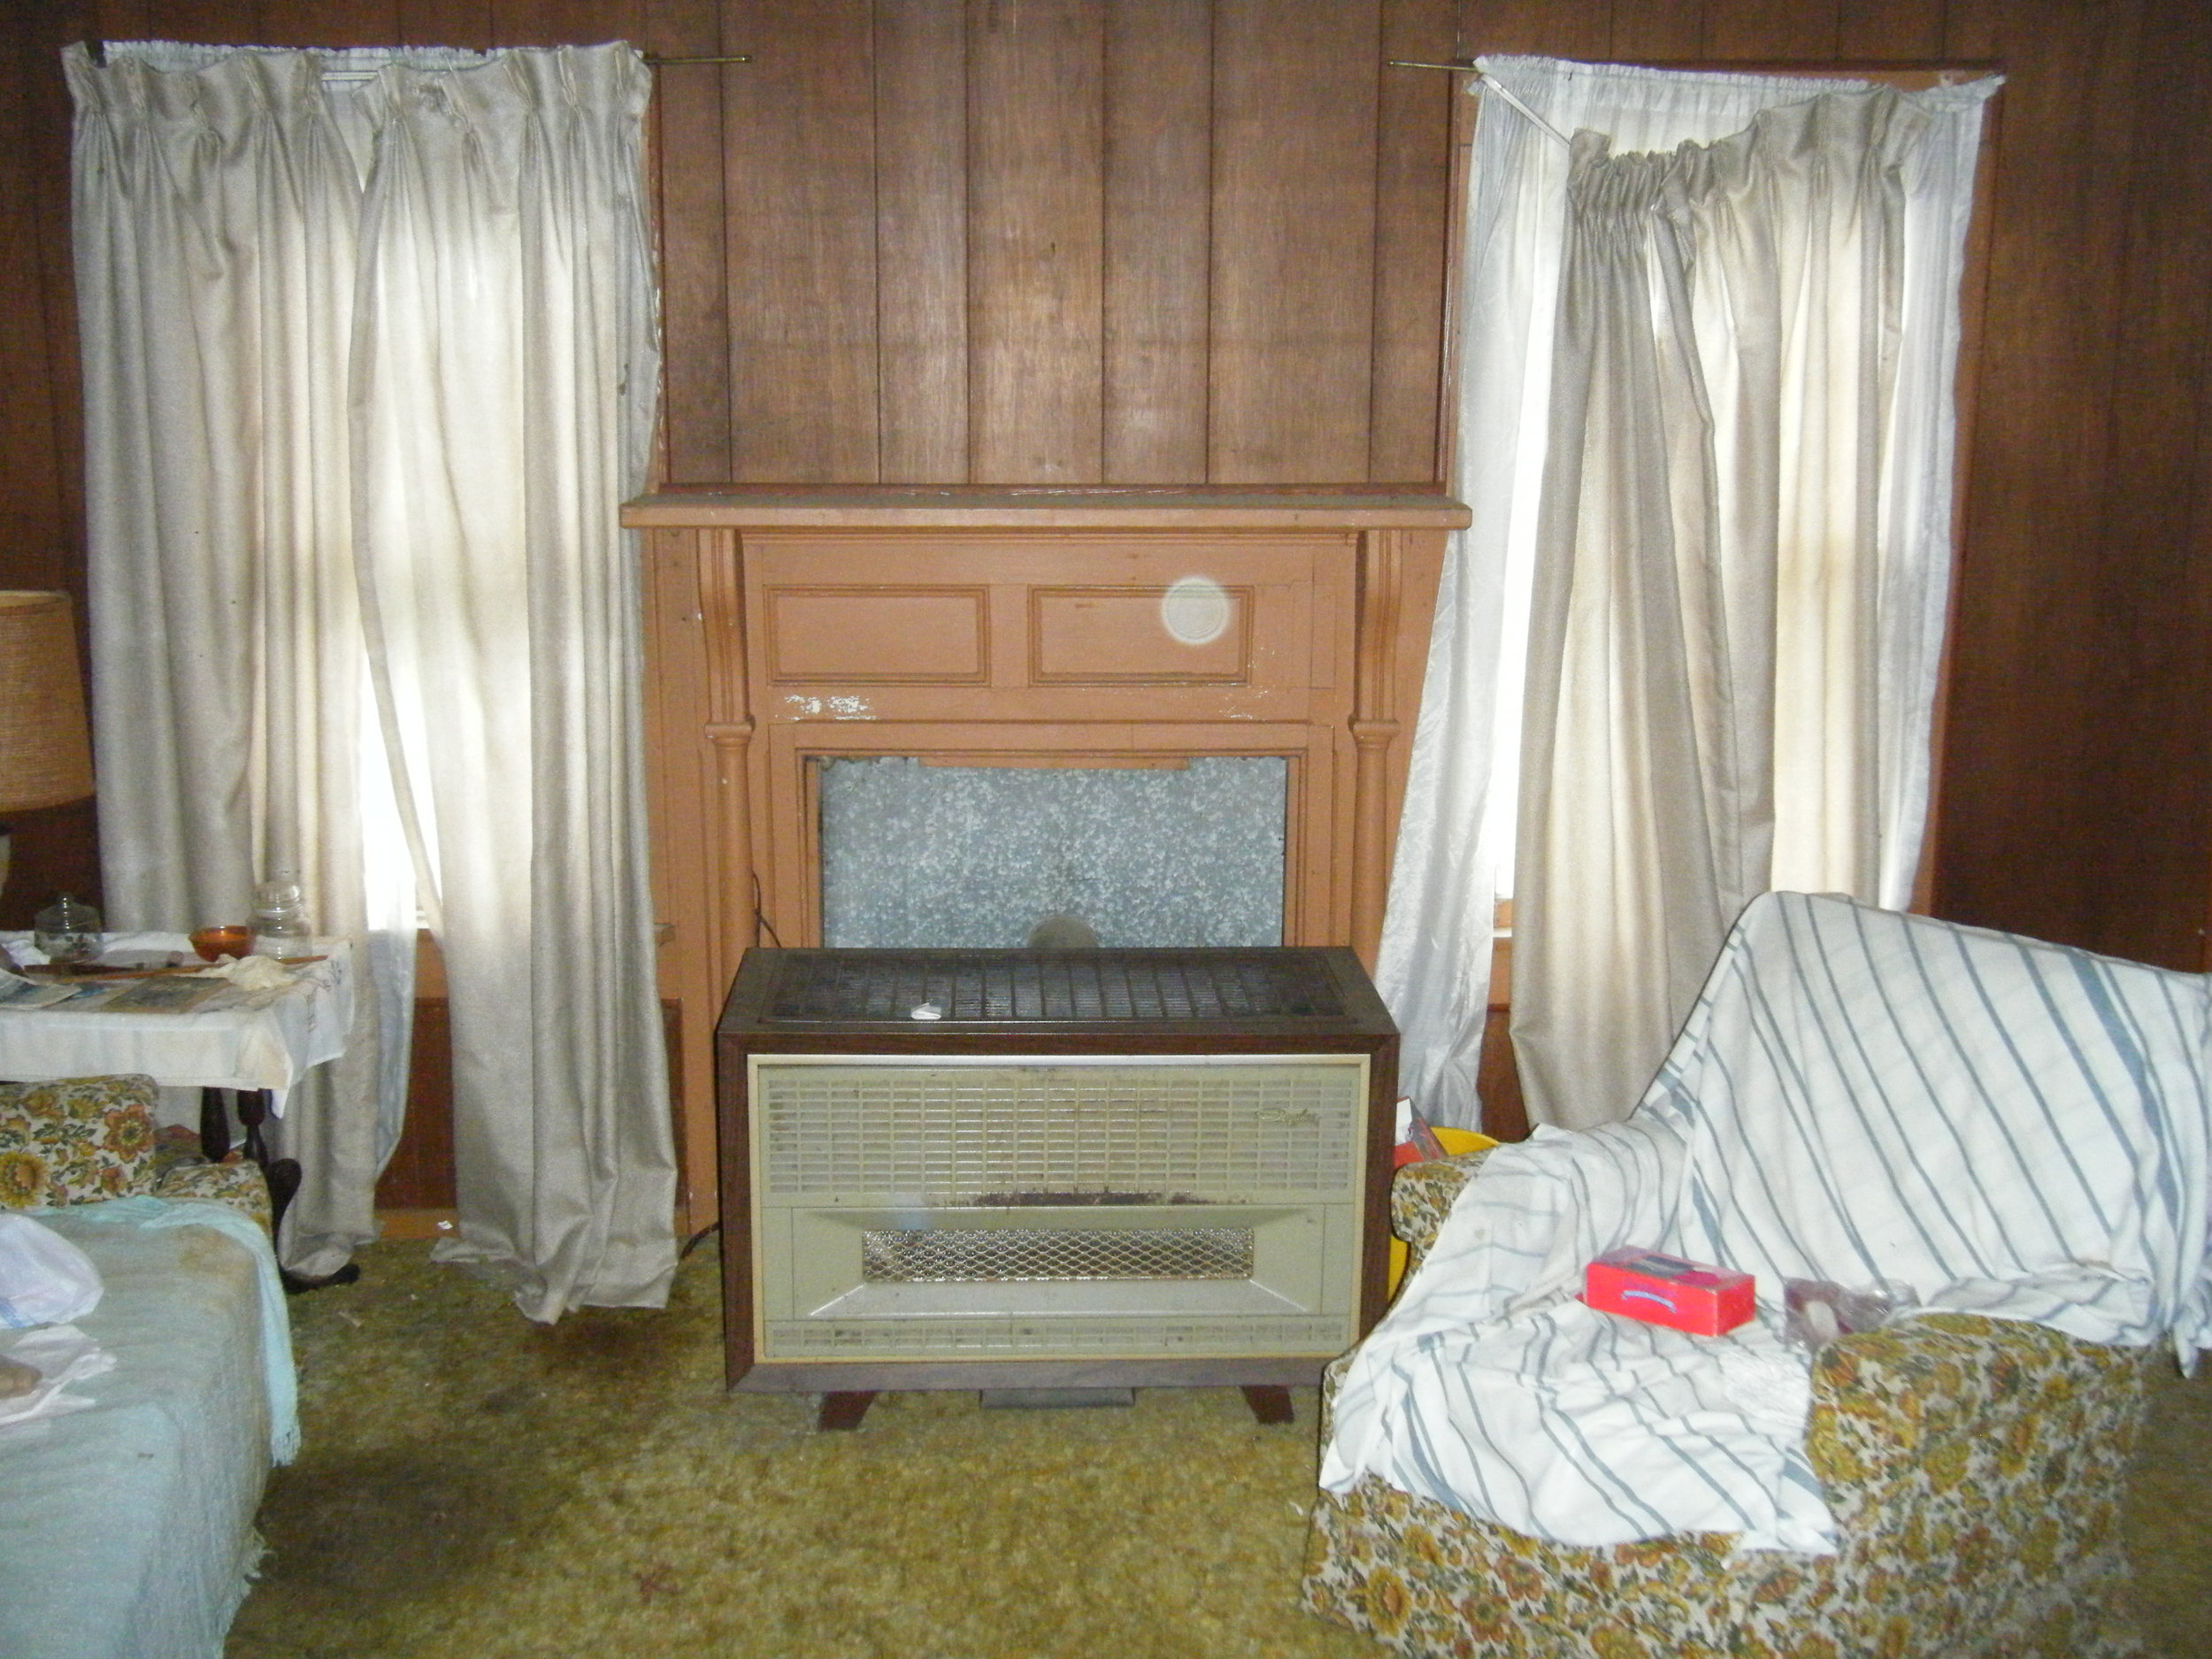
Here is the before and the current state of the living room. The ceiling used to end at the top of the windows, but we removed the dropped ceiling to expose the original 9' ceilings. There is still touch up to do, but the finish line is in sight!