DIY Outdoor Cabana with Curtains | Brooklyn House

This project is one of the most pinned posts from my previous blog. Unfortunately, all of my photos were lost (thanks, Blogger) and therefore I had shut down my old blog. I know when I am on Pinterest and I find a DIY project I really want to try, I am always devastated when it leads to no-mans-land on the internet. Since this project is pinned so often, I wanted to create a new post (that links somewhere!) showing how we created this outdoor living space on a budget.

EB Loves Old Houses | DIY Outdoor Cabana with Curtains

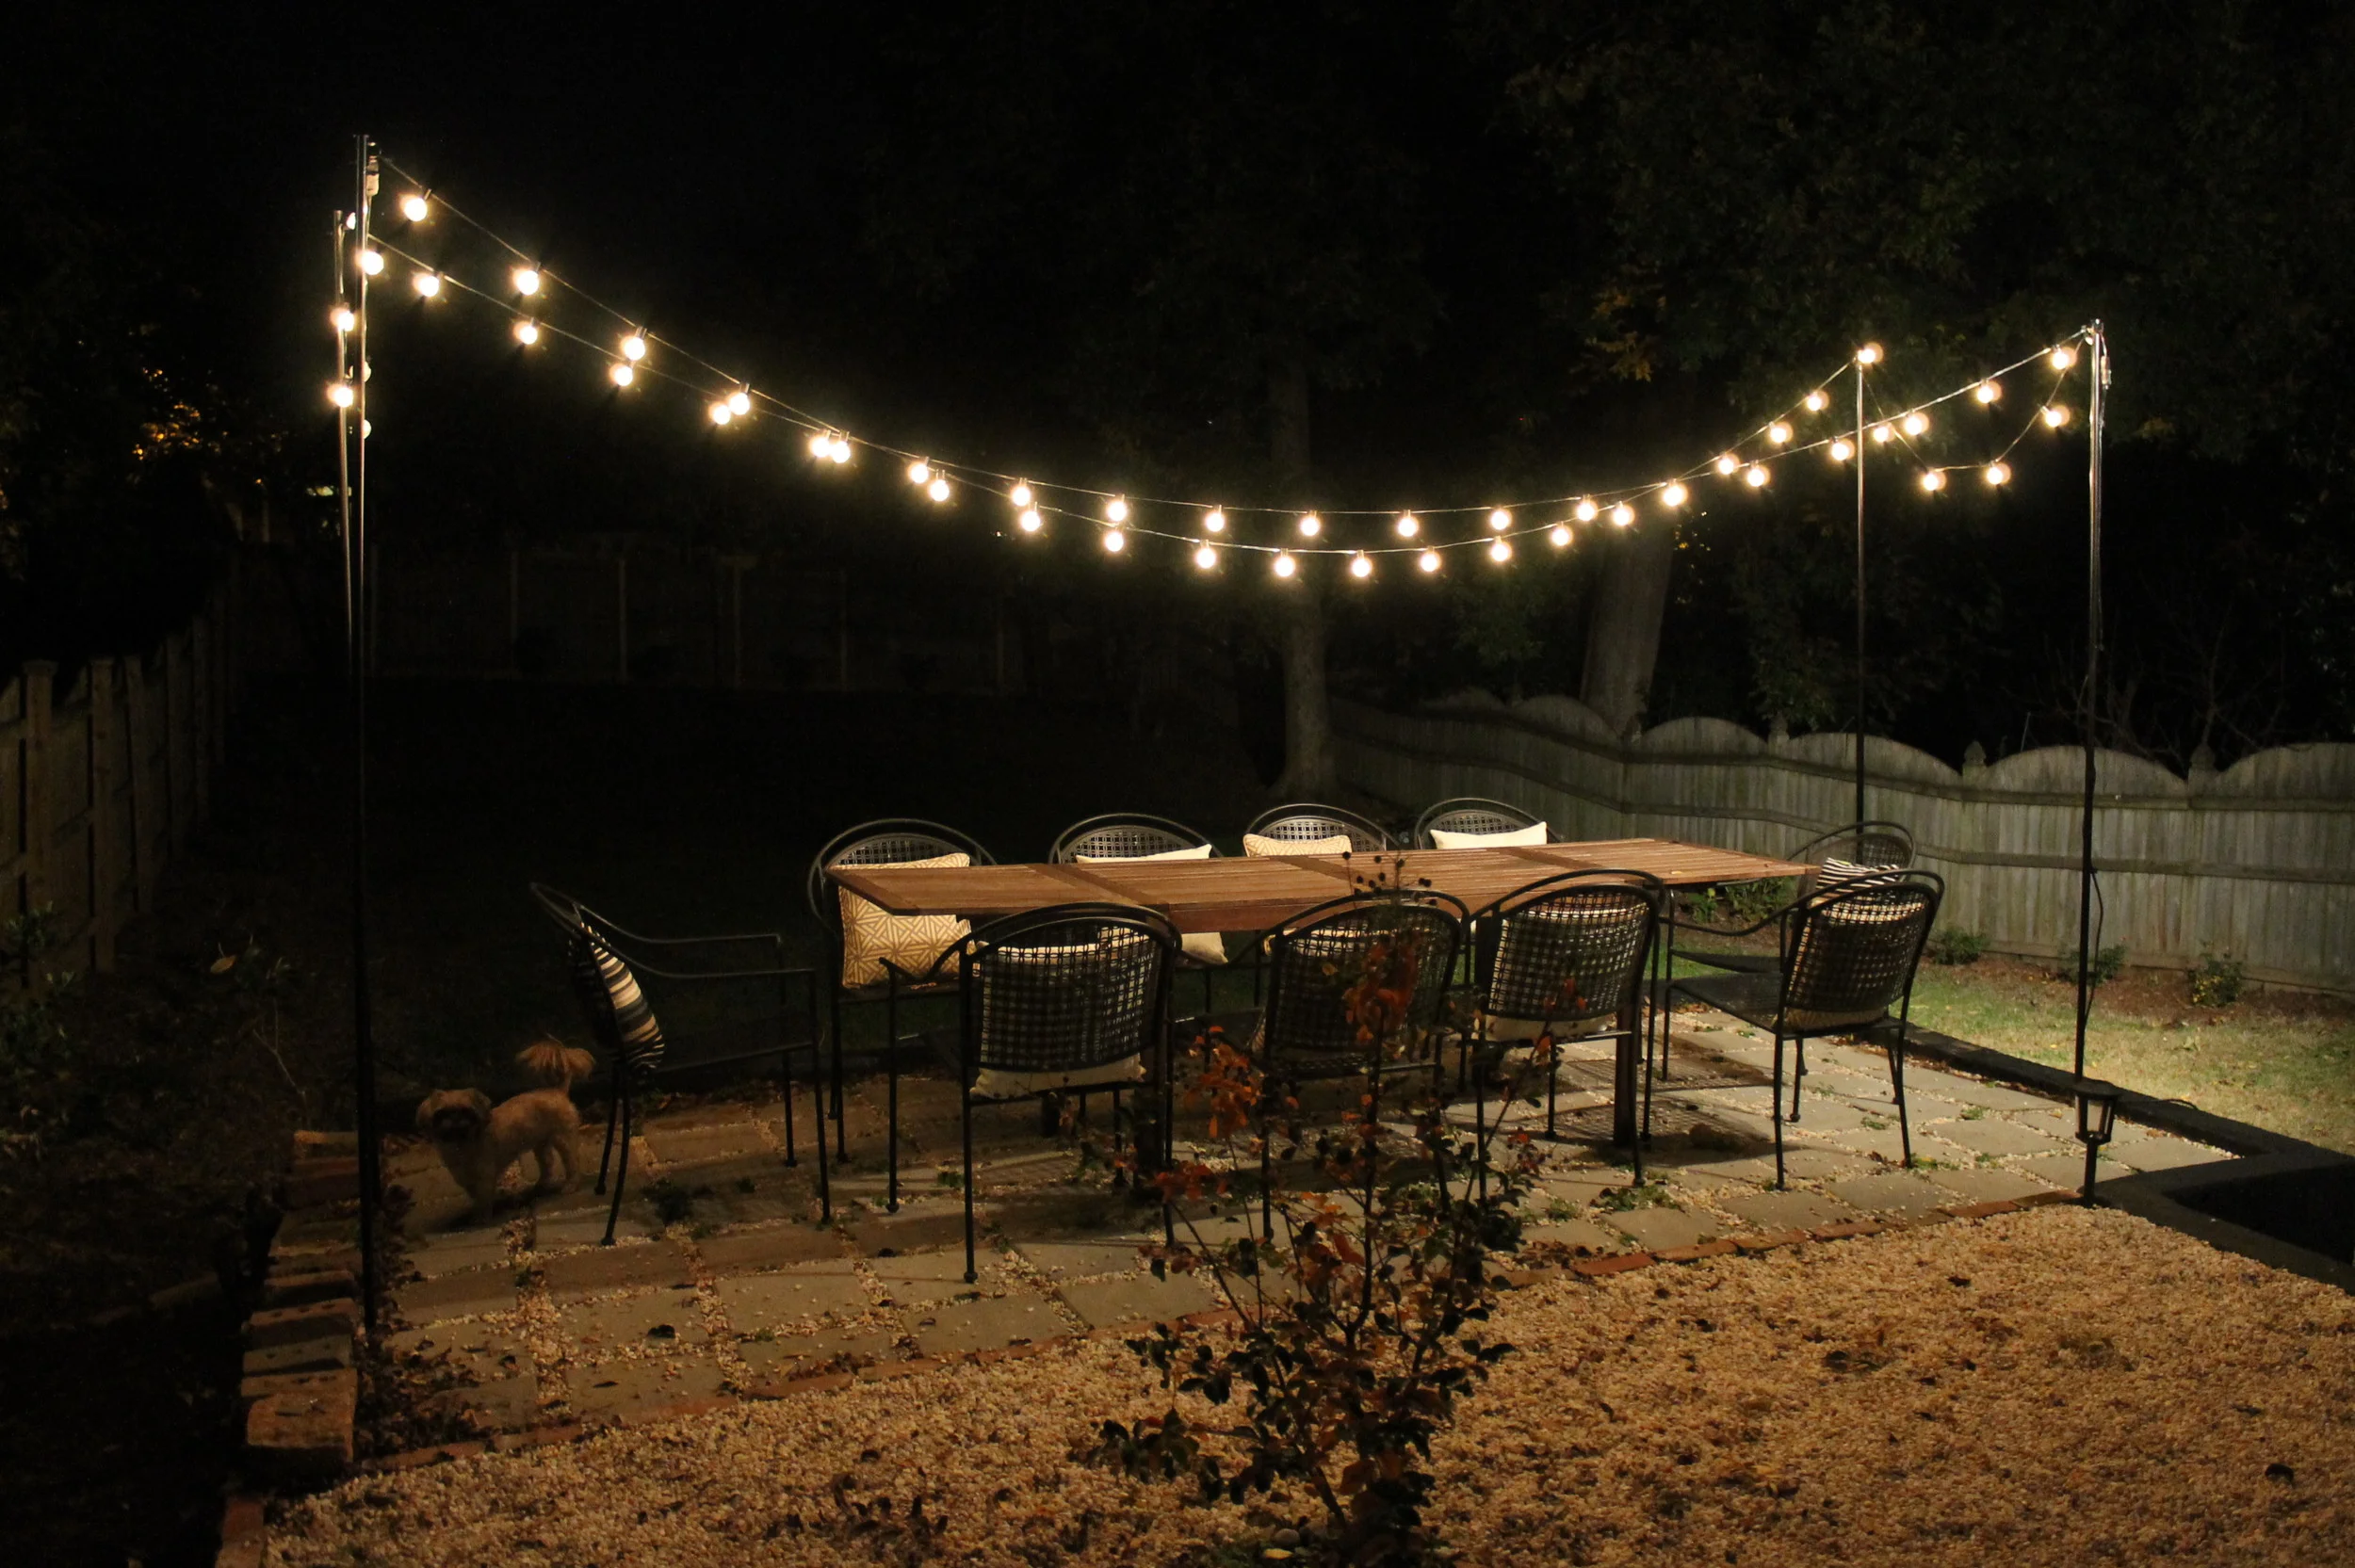
When we bought our house, we could see tons of potential in our backyard. It is an odd space: long and narrow with multiple levels and a retaining wall. Since we had very little entertaining space outside, we wanted to create an outdoor living/dining area for entertaining that could hold our rather large family. There was also this hideous exhaust pipe on the right that was really quite an eye sore.

EB Loves Old Houses | DIY Outdoor Cabana with Curtains

To start, we removed the grass/weeds to create a dirt bed that still sloped away from the house. Brian then created a brick foundation where the four corners of the deck would be. We had purchased rustic treated wood planks at the Habitat Restore for a steal (75% off!) and used these for the frame as well as the boards on top. Brian made a basic frame and then nailed the boards on top. Once all of the boards were laid and nailed, he cut them down to size to create an even lip around the perimeter. Major kudos to him for this work - he only had a hand saw and hammer to work with!

EB Loves Old Houses | DIY Outdoor Cabana with Curtains

After the deck was built and stained, we moved onto to Phase II - the cabana. Brian dug a few holes with a post hole digger at two corners of the deck. After spray painting everything in Rustoleum Black Flat Paint, we made a simple frame out of treated 10' posts, heavy-duty brackets, and a handful of 2 x 4s. I added the decorative scroll brackets to match the ones we used on the window boxes. A bit of a splurge, but worth it in my books.

EB Loves Old Houses | DIY Outdoor Cabana with Curtains

Lastly, we added the curtains and rods. I used cheap cafe curtain rods and inexpensive 100% polyester sheer panels. I looked at outdoor curtains, but they were a bit too pricey. I knew that by going with the Polyester version, they would hold up and I could bleach any mildew off when necessary. Over a year later, they are holding up pretty well! I can't find the exact product anymore, but they would be similar to these in white. One thing I wish I had done is spray paint the curtain rods with a Rustoleum Clear Coat. These little guys have started to rust a little.

To cover that odd pipe, we purchased two sets of bi-fold doors for $10 (salvaged from the Re-Store) and attached them together to make a screen. I then painted them in the same color as the front door and distressed the finish to make it look a bit more weathered.

EB Loves Old Houses | DIY Outdoor Cabana with Curtains

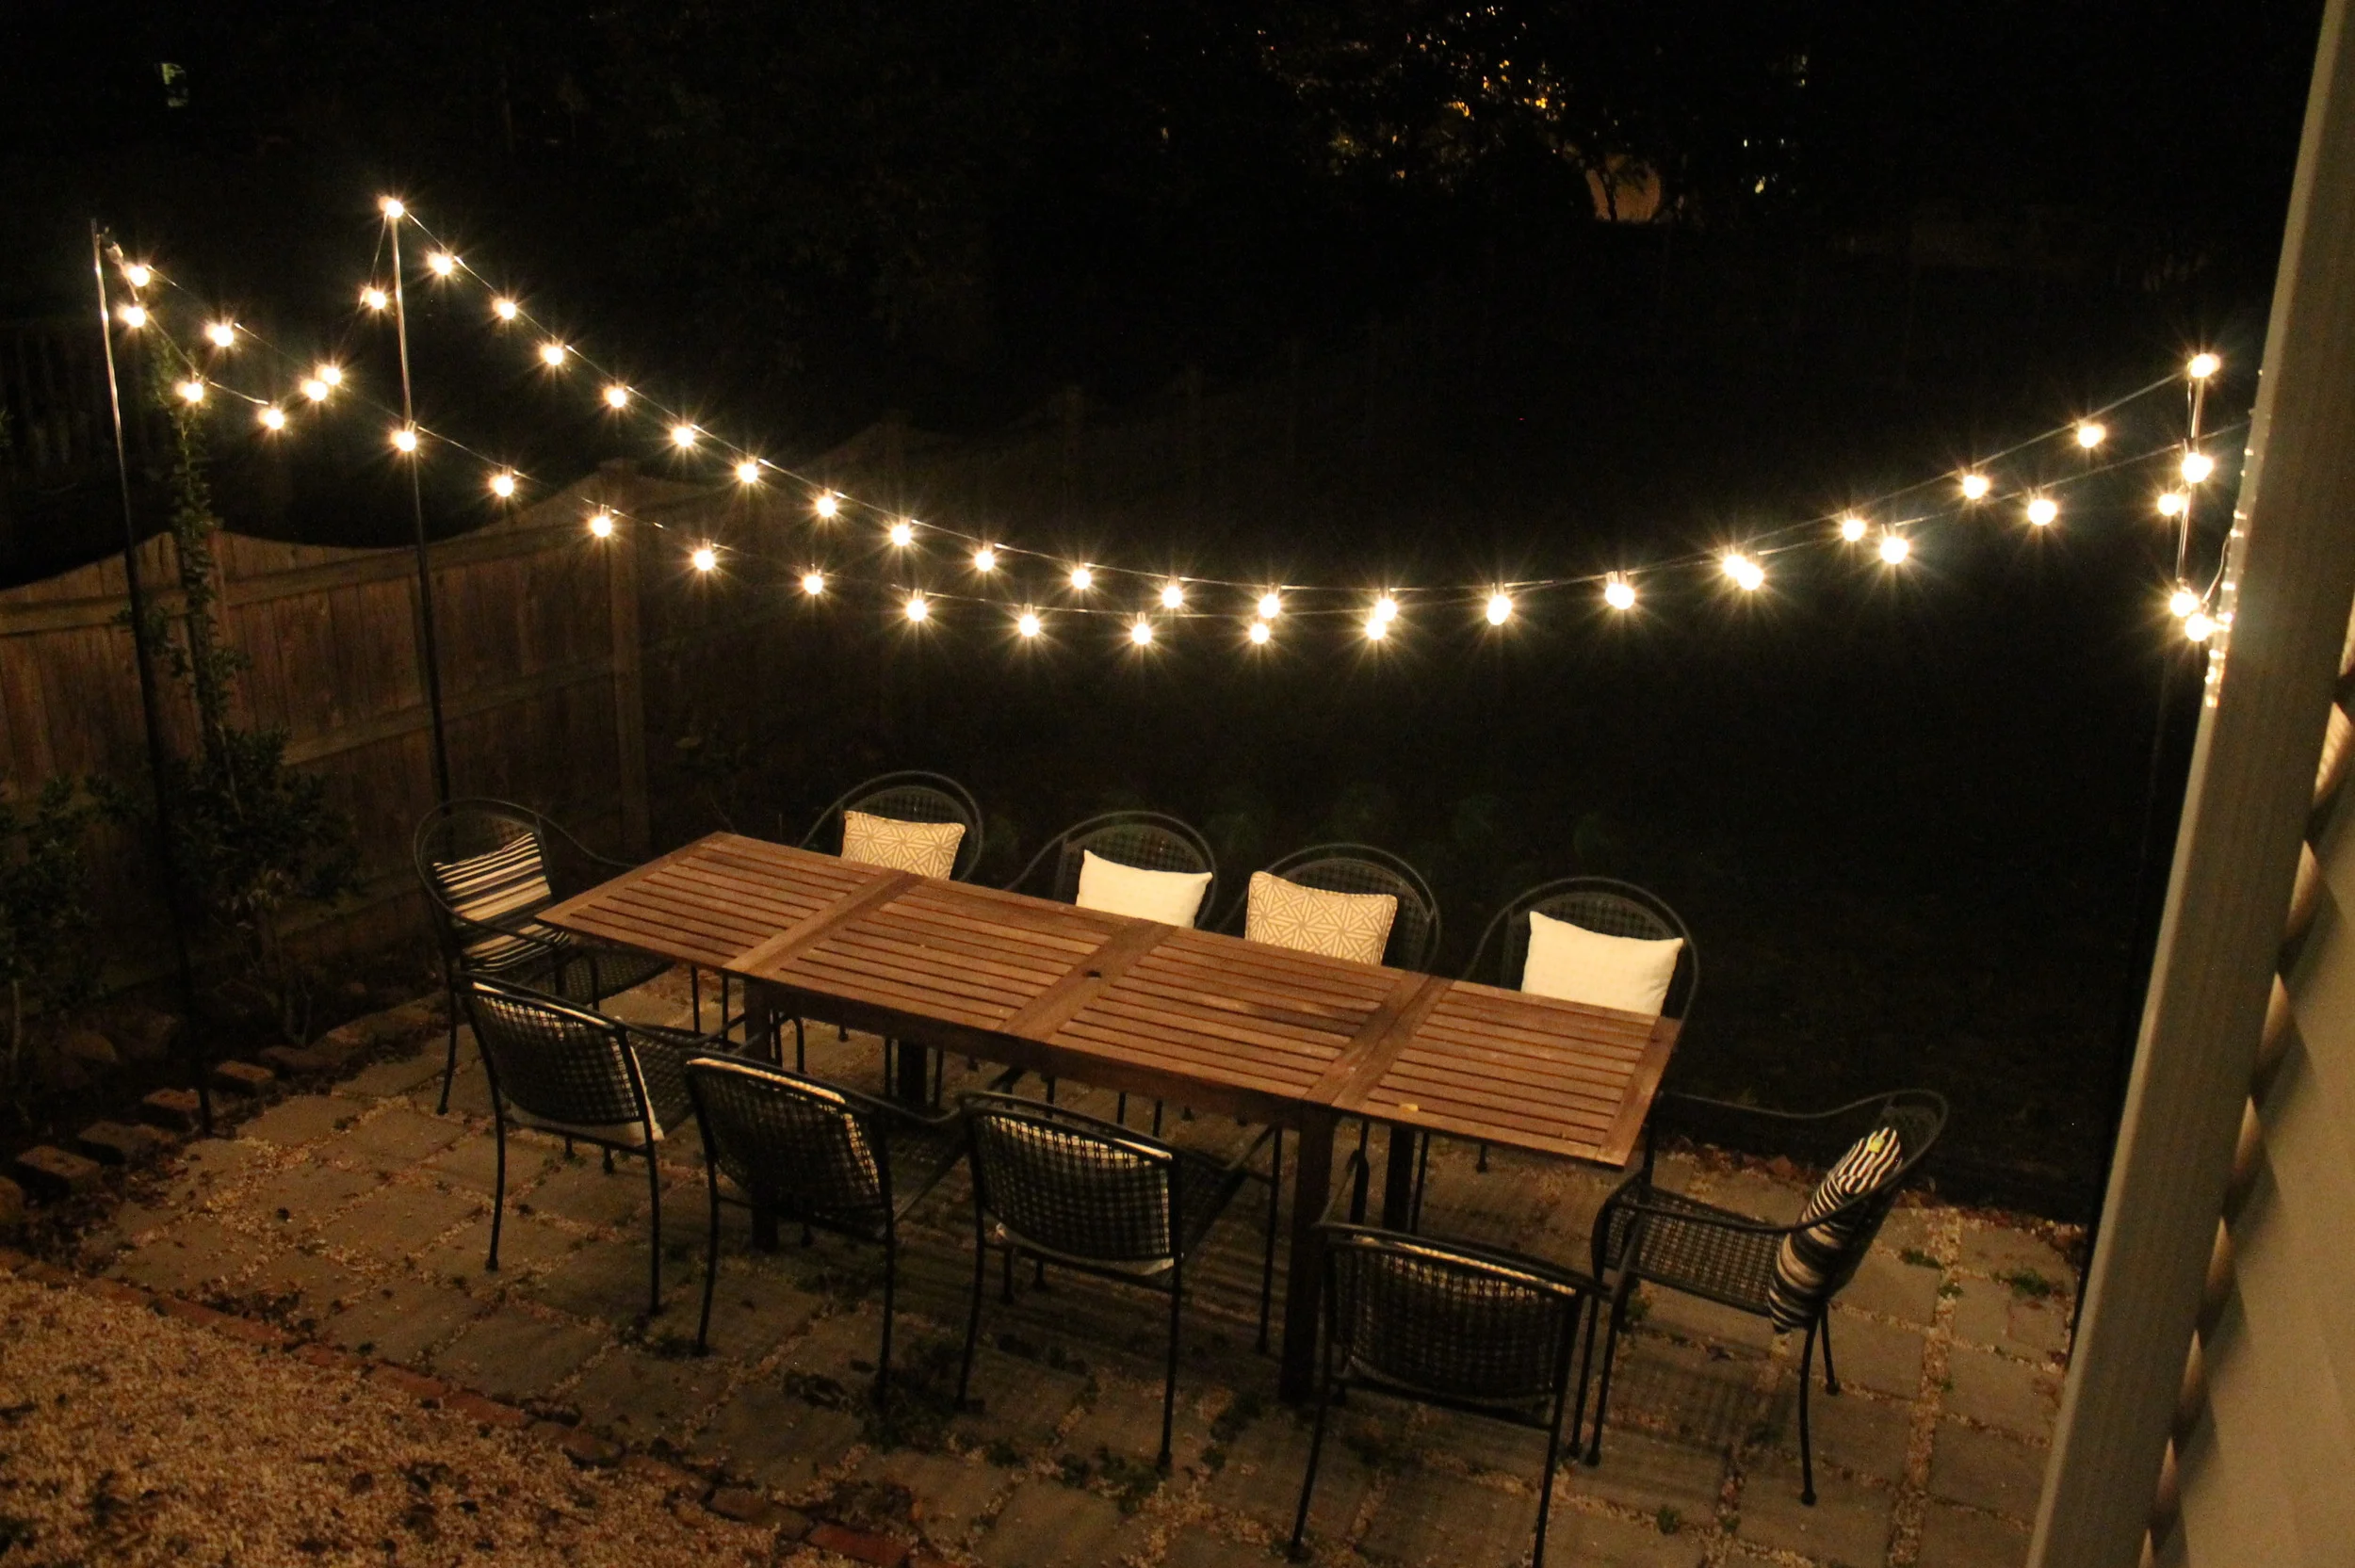
It was a while ago, so don't hold me to this estimation, but I am pretty sure we spent less than $200 on the entire project (we did score some major deals along the way). I always loved this little area. Whenever my parents came over, they always wanted to sit back there. Many a bottle of wine was consumed here over great conversation. :) Even when we rented our little house, the new tenants wanted to make sure we would leave the curtains for them. This is a labor-intensive project, but you will reap the benefits summer after summer! Feel free to email me if you have any questions or if I left something out. Has anyone attempted something similar? I would love to see photos!

Not Your Mother's Laminate | Design

Laminate countertops. I think Laminate is almost a four letter word to new home-buyers. While it is well known that granite, quartz, and the lovely marble are all components of a dream kitchen, don't cross off laminate quite yet. The new products out there for laminate are not what they used to be. So long are the days of Harvest Gold. Now we are onto products that make it almost impossible to tell without touching the material that is is not stone. Marble countertops have always been my absolute favorite. I had visions of an all-white kitchen smothered in giant slabs of creamy marble. However, we all know marble is one of the least practical options out there. It stains and scratches, and also costs an arm and a leg. I came across a blog post a while back that was titled "Kitchen Renovation on a Budget" and featured a gorgeous marble countertop. I thought - yeah, right... marble on a budget. That is an oxymoron. Upon further reading, I realized the blogger had used Formica Marble Countertops. What??!! What is this magical product? I literally had to do a double take at the photos. No way that is laminate.

Gorgeous, right? This is the Calacatta Marble from the Formica 180fx Collection. These patterns are different from traditional prints as they are actually blown-up versions of the real thing. It can be found at Lowes (make sure to check local stores for availability) and only costs around $100 for a 8' x 4' sheet. I have a feeling the price will rise as soon as this catches on!

EB Loves Old Houses | Formica Marble Countertops

Don't get me wrong, I love real stone as much as the next gal. However, there are certain scenarios where spending so much on a real slab just does not make sense. We are in that boat for the Myrtle House. While I would love to throw in sparkling stone, for the area and house, it does not make sense financially. We would never see that return on investment and would be over-spending for the area, We considered butcher block as another option, but the maintenance involved was less than appealing to me. Also, this house may one day be a rental property and I won't have to worry about them being damaged. These laminate countertops will last you a long time and give the grand look of marble without the high cost.

So what are your thoughts? Would you put these counters in your house or do you think I have lost my mind? ;)

Craigslist Chairs | Sea Spray Condo

My parents have this great little condo down at Atlantic Beach that originally belonged to my grandfather. It is one of my favorite places to visit and we have so many great family memories down there. Currently, my parents have it on the rental market and are looking to get some more weeks in the books. In order to do so, they are looking to freshen up the space and make it look a little more updated. They have already added a few great pieces, like a sea foam sleeper sofa and some other small upholstered pieces. Over the next few months they are looking to really transform the place and I am excited to help with and see the final outcome.

One thing that immediately dates the room are these dining chairs. They were purchased in the 1980's, and while very solid, do not scream "beach cottage" to me. :) These chairs are also very bulky and make the room seem small and heavy.

dsc4391_5rqcedasba.jpg

I found these cute little chairs on Craigslist for a steal - $75 for five. They are made by Universal Furniture, and I have always been impressed with their quality of furniture. I really liked the lines, scale, and wicker seats of these little side chairs. To me, they just oozed a sea side escape vibe like the Stanley Coastal Living Collection.

IMG_3047.jpg

However, the previous owners had three little boy and you could tell that these chairs were well-loved! Since I wasn't crazy about the peachy taupe color, we decided to paint the frames a sea spray green to match the new sleeper sofa. Luckily, the seats easily screwed off, so that saved us a ton of time.

IMG_3049.jpg
IMG_3050.jpg
IMG_3052.jpg

I used the Valspar Mellow Spring Spray Paint in Gloss and really liked it! The coverage could have been a little bit better (not sure I would use this to paint a black dresser white), but for a small color change like this, it was perfect. We ended up going through one can per chair (I tend to have a heavy hand) but I think it turned out pretty well! This line of spray paint has the best color selection I have seen by far and is worth checking out if you want to spray paint something a color other than white, black, or forest green. :)

IMG_3053.jpg
IMG_3055.jpg
IMG_3056.jpg
IMG_3057.jpg
IMG_3059.jpg

By the time these guys were dry and we had the seats actually attached, it was pitch black outside so I don't have a final photo! We are heading to the beach next weekend, so I will take a better one then. :)

DIY String Light Patio | Brooklyn House

Oh how I love string lights. They are so romantic. These classic lights can turn a blah backyard into bistro-like atmosphere in no time. I had my heart set on adding some string lights to the Brooklyn House backyard, but we had a few problems. First, there are no exterior outlets. Second, there are no structures to hang lights from. Womp-womp. My sleuth of a husband dug up this awesome post on how to rig up just the thing to create the perfect string light patio. I already miss summer dinners out there!

EB Loves Old Houses | DIY String Light Patio

We ended up using two sets of string lights and spray painted all of the hardware and the extension cord black to match the retaining wall. Brian followed the above mentioned blog post almost word for word and it was a super easy weekend project. The whole thing cost less than $50 and I guarantee you will LOVE having these in your backyard!

EB Loves Old Houses | DIY String Light Patio

Introduction | Myrtle House

Hello, friends! Thanks for stopping by. I am really excited to start this blog and ready to document the before and afters, DIY projects, and ups & downs of renovating a 1901 cottage!

Brian's Grandmother passed away in February of 2013. Granny was a true gem and lived to be 96. Her witty remarks, obvious disregard of what others thought, and overall sense of humor still keep Brian and I laughing when we think of her. When she passed, she left her home to Brian and his family. After sitting vacant for many years (she had moved in with family in 2007), Brian and I have decided to take on the project of renovating this home.

To be honest, we had a few options. We could sell the house. Given the small town city it is located in, the poor state of the house, and the current real estate market, the price we could sell it for would be dismal. After fees and such, it really would not even be worth it.

We walked through the house a few months after Granny died, and even though she was not my Grandmother, I felt an emotional attachment to the house. Her cute little aprons for making her famous Japanese fruit pies were still sitting in the kitchen. A chalkboard had scribbles from Brian when he was 10 years old that she never erased. This is the house that Brian's Mom grew up in. You could feel how much love there was in this home. We decided we didn't want to sell it.

This will be our second stab at fixing up a house. Our first house needed very minor cosmetic fixes. We replaced a few doors, painted every surface, and did some landscaping. The Myrtle house is a beast. Everything (and I mean everything) needs to be fixed. All new electrical. Part of the porch is caving in. The windows are busted. There is no central air. I am having a mild heart attack typing this. We know this is going to be a long, hard, expensive project and there are a lot of questions in my head. Will we go bankrupt trying to restore it? Will our marriage survive a renovation? Will it be worth it in the end? I really think it will be one of the most rewarding projects we will accomplish (when it is all said and done). :) I hope you will join us on this journey!

Shades of Blue | Paint Colors

If I had it my way, I would paint every wall in my house some shade of light gray-blue-green. I always end up recommending this color to people and have just about every shade offered by major paint companies memorized by name (true story). It creates such a soothing yet sophisticated look, you really can't go wrong with using this in any room. I want to share my favorite versions that I have found and hopefully take the guess work out of it for some of you on the hunt for the perfect shade.