
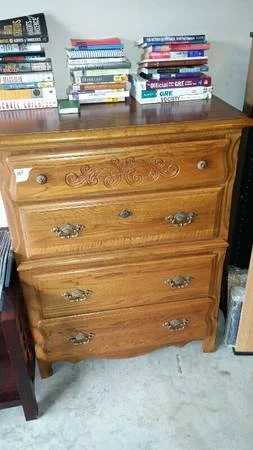
This chest... Such high hopes for this little Stanley piece, but alas, it ended up being one headache after another. Before I go into details (and warnings for other furniture refinishers), here is the before and after.

It started off well. We cleaned, primed, and painted as normal. I loved how the paint color looked. It was the perfect shade of off-white.

I sparyed the hardware an oil-rubbed bronze and then highlighted the features in gold dry-brushing.

Still smooth sailing at this point. The last thing to do was a clear coat for protection and this guy was ready for a new home. I painted the clear coat with polyeurothane (mistake #1) at night (mistake #2). When I looked at it the next day, I found that my clear coat was streaky, had turned the color of melted butter, and looked terrible.


Ugh. So we did some research and found out that ployeurothane is not the right finish to use on light paint colors; you should use polyacrylic. All of the other furniture projects I have attempted were darker colors, so this was never an issue. The only option is to sand down, re-prime, paint, and clear coat. Ain't nobody got time for that. So it will stay as is - an "aged/antiqued" finish. Lesson learned.
*UPDATE: Some nice lady bought the piece to create dog beds out of the drawers. All is well in the world.