Systems | Myrtle House

A quick unexpected trip to the Western part of the state allowed us a chance to swing by the Myrtle House and see how the plumbing and electrical are coming along. While the house still looks far from done, it is amazing how much progress has been made when you think about it. After these two systems are finalized, the only things left are insulation, drywall, window repairs, and masonry. Well, those things and making it livable with a kitchen, floors, and bathroom fixtures. ;)

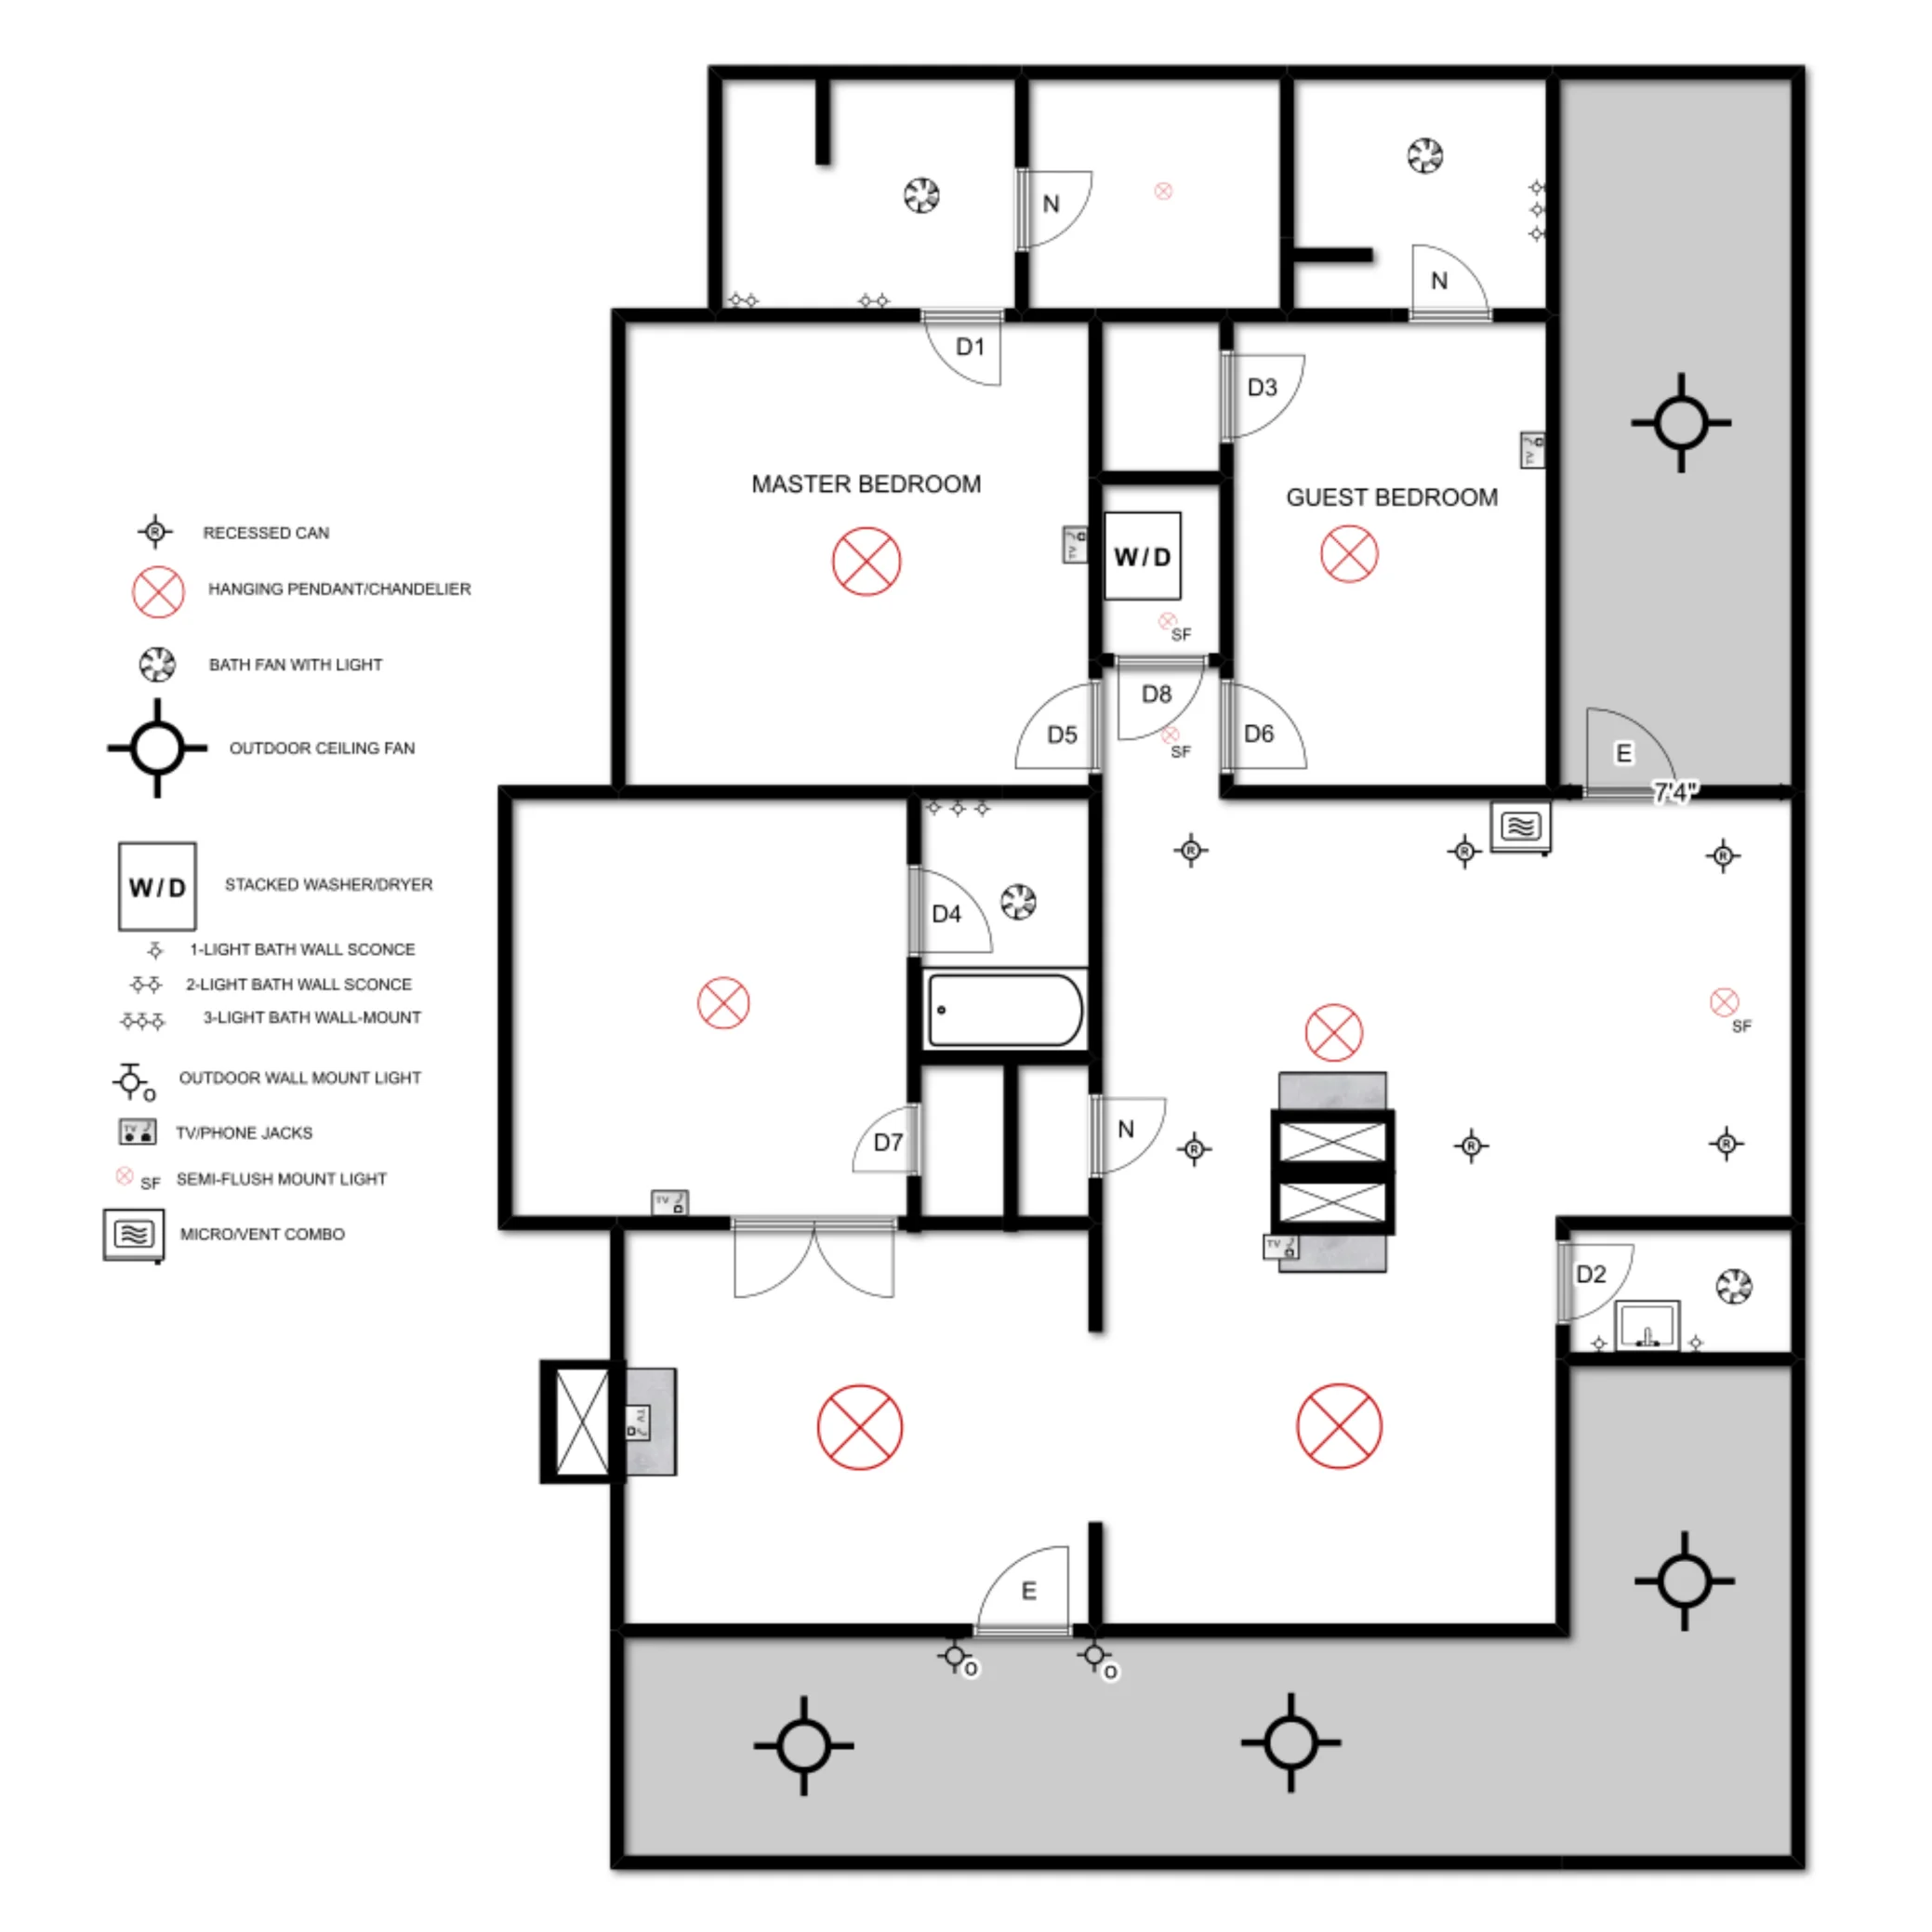
Below is the switch that controls the exterior lights and living room fixtures.

Elizabeth Burns Design | Old House Renovation

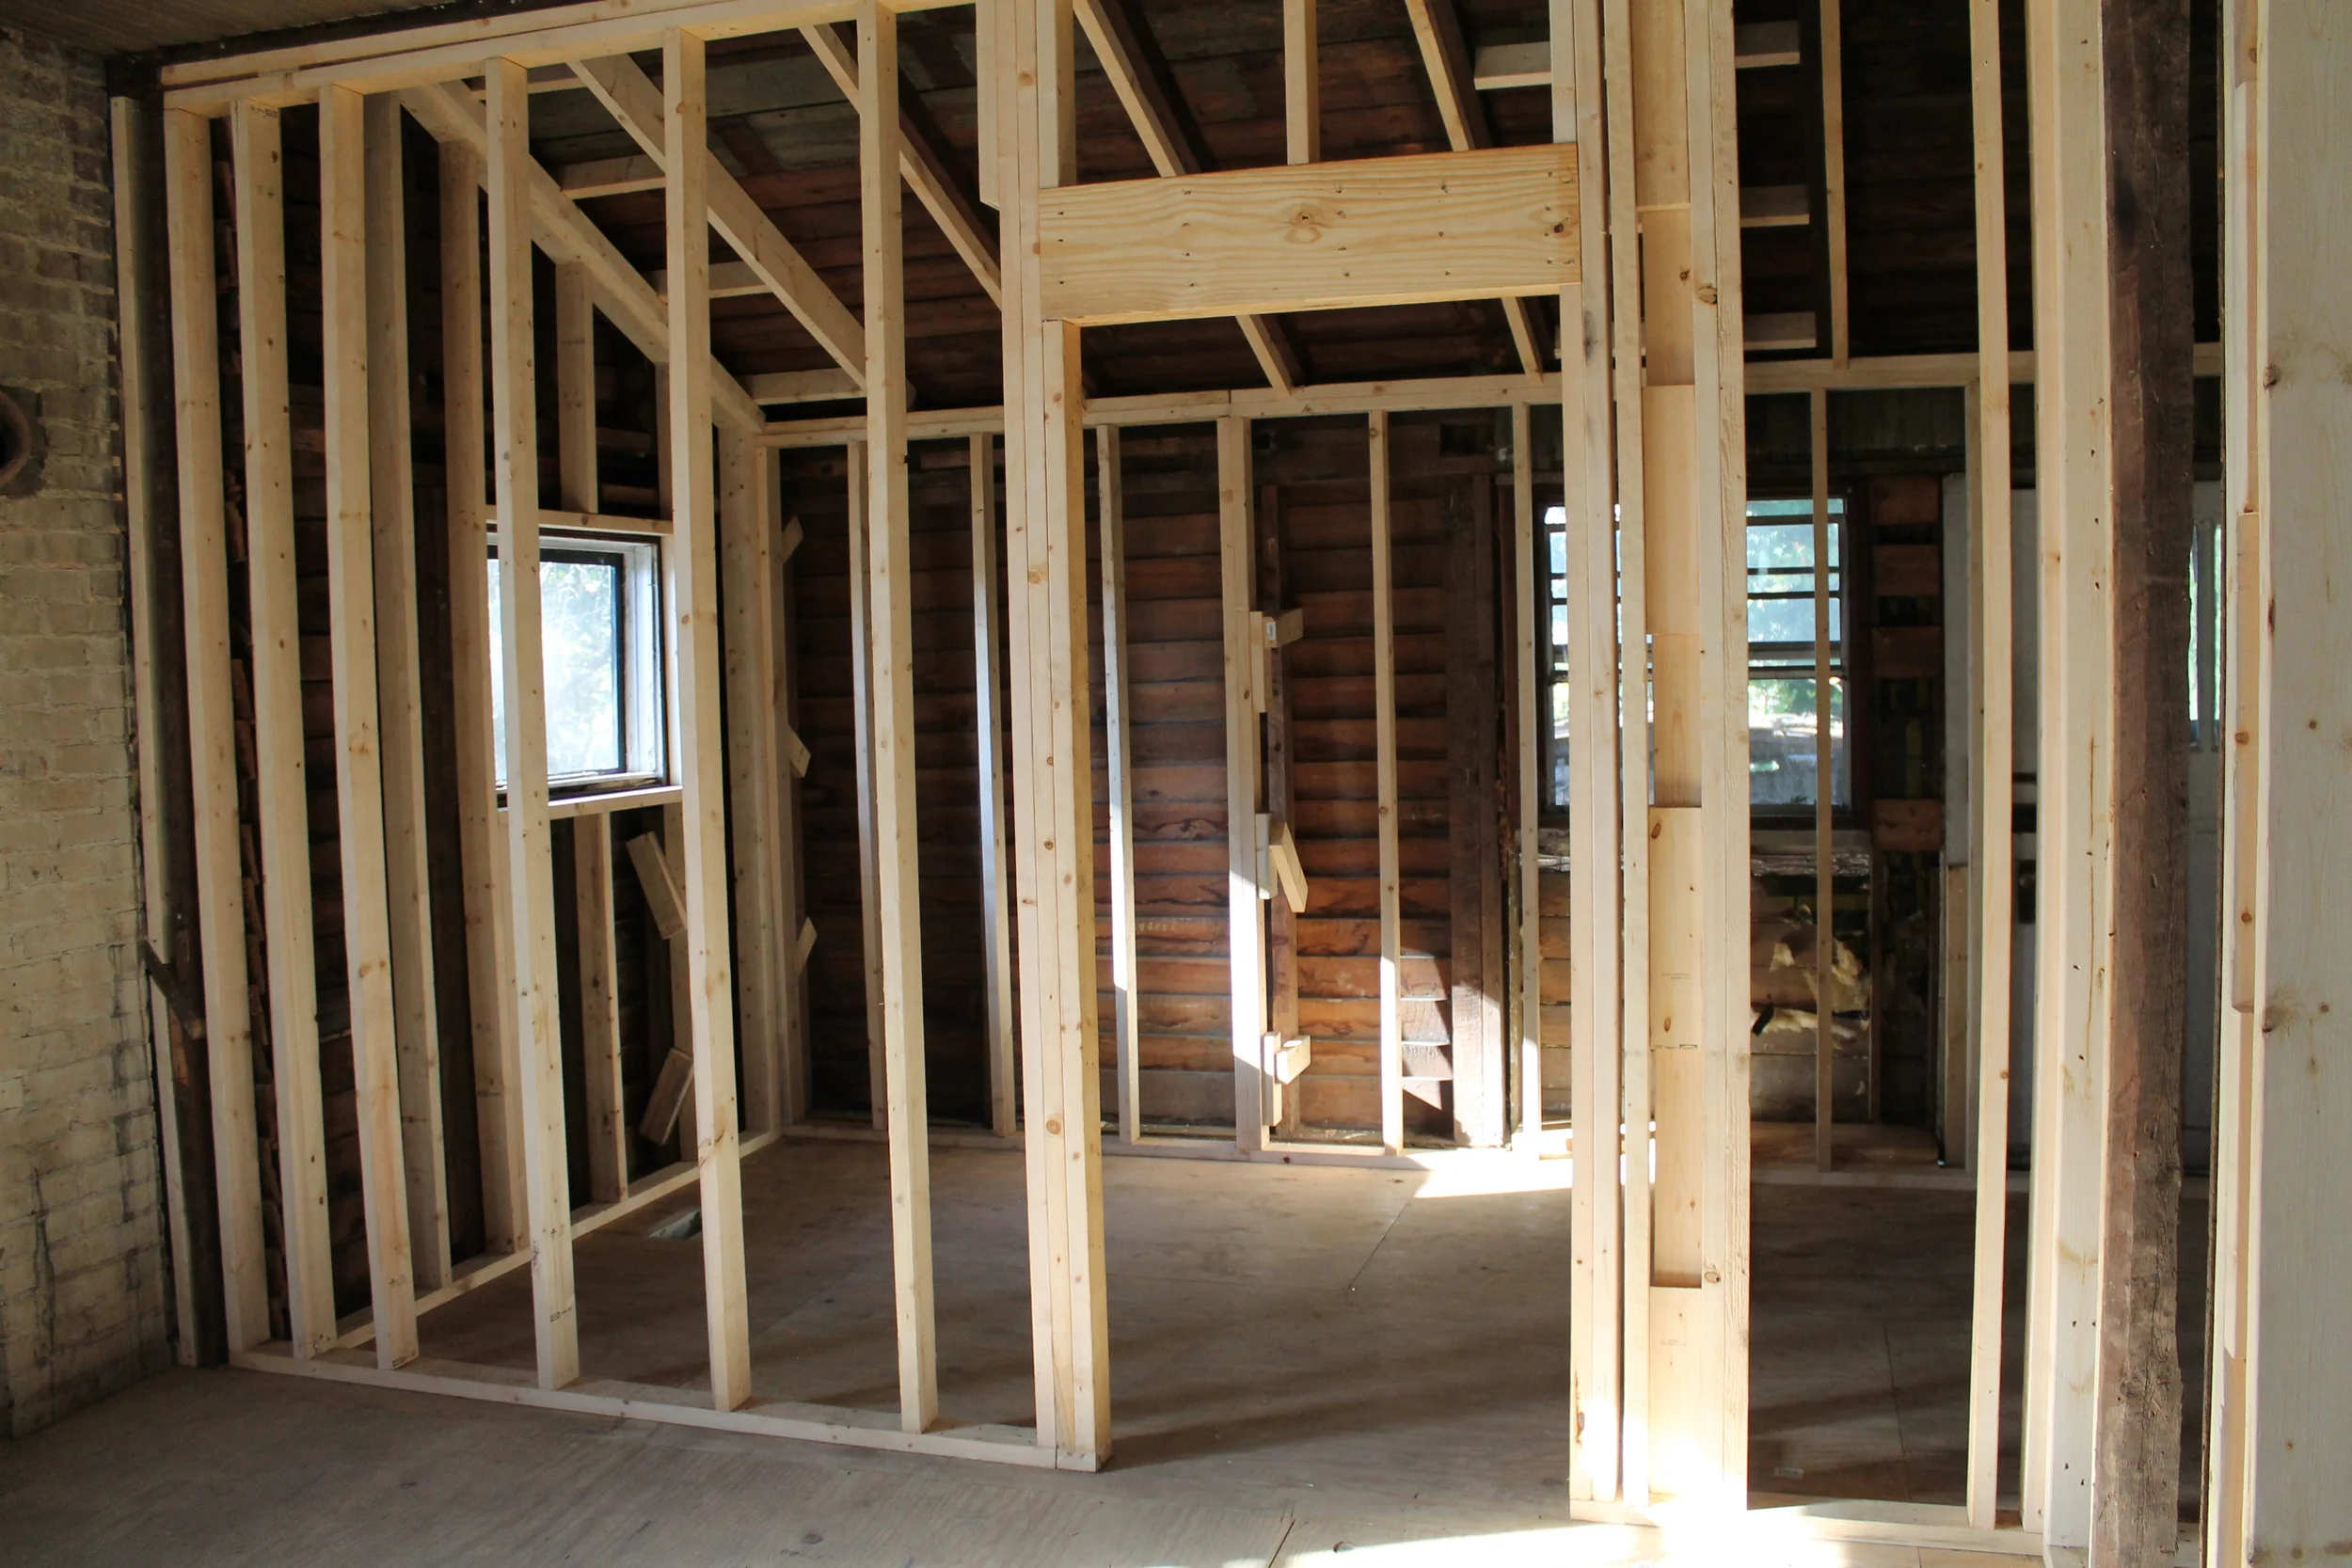
HVAC, plumbing, and new joists/subfloor. I never thought construction would look so pretty.

Elizabeth Burns Design | Old House Renovation

Soon to be half bath off of the living room.

Elizabeth Burns Design | Old House Renovation

Stacked laundry room!

Elizabeth Burns Design | Old House Renovation

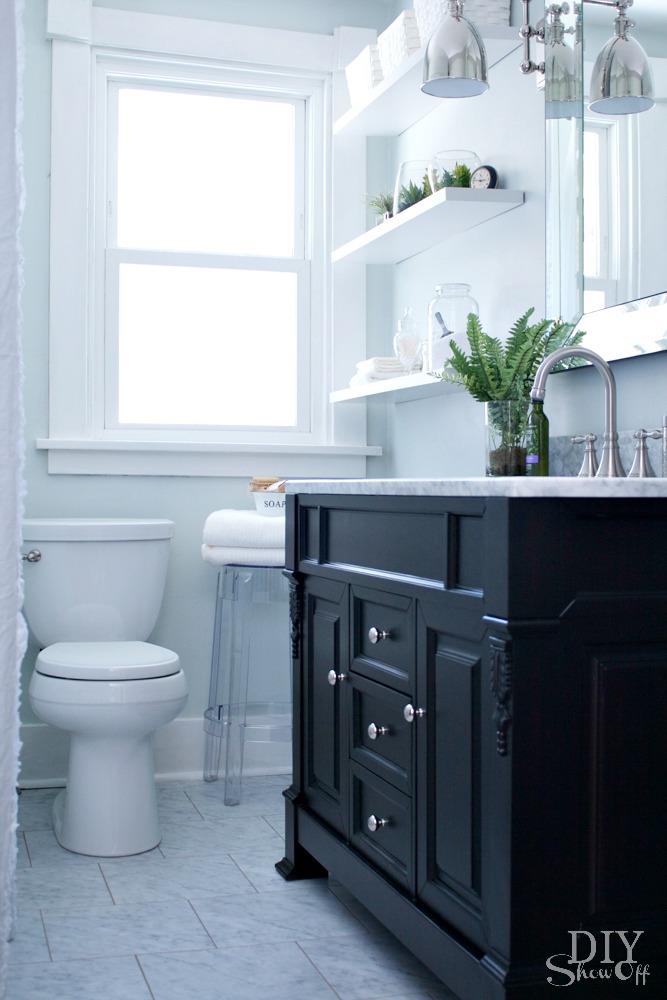
Master bath. Not too keen on the plumber's tub choice, so we are switching it out.

Elizabeth Burns Design | Old House Renovation

Kind of jealous of the guest bath. It has a very spacious layout.

Elizabeth Burns Design | Old House Renovation

Office/guest room bathroom progress.

Elizabeth Burns Design | Old House Renovation

Faux Marble Floors | Design

While the plumber and the electrician do their thang at the Myrtle House, Brian and I are staying put, saving up money, and plotting the next steps. After the major systems are finished, and insulation/drywall go up, the most important next project is getting at least one bathroom in working order. By working order, I mean having a toilet and possibly a tub. :) First thing to do in the bathroom is lay down flooring. If you know me, or have followed along on Pinterest or the blog, you may have picked up on the fact that I have a bit of a marble obsession. See the problem is, where the Myrtle House is located, marble floors just are not justified. It is too nice of a material for the area, and we would never see that money back. Plus, the Myrtle House will at some point be a rental property, and the idea of people slipping on the floor (hello lawsuit) or staining and chipping my beautiful marble floors makes my skin crawl.

I have been doing a lot of research on flooring and came across this product at Lowes. It is a vinyl peel and stick tile that is also groutable.

Elizabeth Burns Design | Faux Marble Vinyl Floor

No, it is not real marble and will never come close to it. However, if you want the look of marble at a fraction of the cost (this is $1.08 a square foot), this could be a great alternative. My dream Hex Marble floor is $9.97 a square foot so we are talking about nearly 1/10th of the cost of real marble. When you have 3.5 bathrooms and a laundry room to floor, these are big savings.

I was skeptical at first. I am one of those people that don't like fakes - I would rather save up for the real thing. But after seeing how lovely Roeshel's bathroom from DIY Show Off turned out using this vinyl tile, I was convinced.

I think the key that makes this tile superior to other peel and stick varieties is that it is groutable. So unless you touch it, it is hard to tell it is not real tile. Another thing I really like is how close the pattern resembles real marble. Some faux marbles look nothing like the real thing, but in the photo below, you can see how much the floor resembles the real marble vanity top.

Even though I LOVE real marble, it will be a decent amount more to put in, and it will take a lot longer to install. Since we are already over budget and timeline, I think on this one, I will go for the fake. At DIY Show Off, Roeshel does an amazing tutorial on installation if you are interested (this is the one we plan on following). If you are looking for more information on vinyl flooring, I found this article helpful as well.

What do you think? Too fake or passable?

Electrical Plan | Myrtle House

We are making some progress on the Myrtle House! Plumbing is underway (I hear there is a giant ditch in our driveway right now - sorry neighbors), and next up is the electrical. It is exciting and daunting to have all new wiring going into the house. On one hand it gives us free reign to put outlets, light fixtures, and cables exactly where we want them. On the other hand, I am terrified I am going to forget something important. Hopefully, it will be smooth sailing. :)

Elizabeth Burns Design | Electrical Plan

This is probably really boring to most of you (my apologies) but I am so excited to finally be to this stage!

November Goals

It is happening. The period of time after daylight savings time that seems like someone is pushing the fast forward button on life. It is gets darker so much earlier now, which makes the day zoom by, on top of what is already a busy month. I don't foresee us getting much done in November, but regardless, here is what we accomplished in October.

  • Go to the NC State Fair - Yes! So crowded, though. Never again will I go on "can" night...
  • Start plumbing @ Myrtle (not even going to kid myself it will get done this month) - Surprisingly, almost done!
  • Start electrical @ Myrtle - Not yet
  • Pick out a pumpkin at the pumpkin patch - No pumpkin this year. :( We went to the beach instead.
  • Determine if renters will renew lease... - Yes, they did! Hooray!
  • Refinish Restore lights - Not yet, but I do have a plan

Ok, November. You are already packed to the brim with birthday celebrations, anniversaries, trips to the ocean and mountains, as well as Thanksgiving. Let's do this.

  • Start electrical @ Myrtle
  • Run in the OBX half with my sister and Brian (his first!)
  • Meet my niece!
  • Celebrate my Grandfather's 90th birthday
  • Master a homemade Southern mac and cheese recipe (any suggestions?)
  • Complete Christmas shopping
Lunching in Boone, NC

Lunching in Boone, NC

The last of my roses this year

The last of my roses this year

Staying at my parents' condo in Atlantic Beach

Staying at my parents' condo in Atlantic Beach

Boat hopping in the VI! Brian and I are two of the ants in this photo.

Boat hopping in the VI! Brian and I are two of the ants in this photo.


Fall | Travels

October is almost over and what a crazy month it has been. Trips to the Caribbean, the mountains, High Point, and the beach this weekend. Even though it has been busy, it is hard to complain. :) Here are a few photos of our recent travels

The view from my sister and brother-in-law's home in Saint John. I have no idea why they want to live here. ;)

The view from my sister and brother-in-law's home in Saint John. I have no idea why they want to live here. ;)

Their fur baby, Oscar.

Their fur baby, Oscar.

Driving up the Blue Ridge en route to the Myrtle House

Driving up the Blue Ridge en route to the Myrtle House

Elizabeth Burns Design | Blue Ridge Parkway
A detour to the Lake James Cellars Winery. Their fruit-infused wines were amazing.

A detour to the Lake James Cellars Winery. Their fruit-infused wines were amazing.

The last of my David Austin Glamis Castle roses.

The last of my David Austin Glamis Castle roses.

And the Myrtle House... looking exactly the same on the outside. Luckily the inside is starting to improve!

And the Myrtle House... looking exactly the same on the outside. Luckily the inside is starting to improve!

Framing | Myrtle House

Throughout this process of revitalizing the Myrtle House, I am pretty sure I have gone through approximately five floor plans. This is not because I am an indecisive person (which I very much am), but our plans for this house have changed over the last year of renovations. Initially, we were going to keep the layout basically as is to keep costs low. With the abundance of termite damage, we ended up replacing most of the studs, so we had to spend money on new walls regardless. Over the past few months, I have given different plans to our contractor, but this last one was decided as the winner and over the weekend we were able to see the framing up. Here is a quick little tour of the house layout.

When you walk in, this will be our formal dining room/entry. A bit unconventional to walk right into the dining room, but we knew it would work for us. This room felt cramped for a living room and I didn't like the idea of people being able to see right from the glass front door if we are watching TV. The big opening will hold the original French doors and will lead to the office/guest room. In this room is also a full bath and closet (shown here towards the right).

Elizabeth Burns Design

Still in the dining room, but now we are looking into the living room. The original plan was to leave this wall completely open, but due to the length of the span, building codes would not allow it. We ended up having to frame in narrow walls on either side, but I actually now love them and think they look more in line with how the house would have looked when it was built.

Elizabeth Burns Design

To the right of the dining room and front door through the new opening is the living room. This room also connects to the kitchen. Since the existing fireplace acts as a support, we are able to leave this space open.

Elizabeth Burns Design

You can see the corner of the doorway at the right of the photo above, but right off of the living room will be a powder room. This was originally a closet.

Elizabeth Burns Design

This is the view from the living room looking back into the dining room and front entry.

Elizabeth Burns Design

Next up is the kitchen! This room was previously used as a storage room, but was closed off like a bedroom. Under the three windows will be our sink, dishwasher, and cabinets the length of the wall. Where the ladders are will be the exterior door to the side (eventual) screened in porch and backyard. The framing next to the ladders will be where the stove, fridge, and more counterpace will be.

Elizabeth Burns Design

From the kitchen is a short hallway where you can access the two back bedrooms as well as the laundry room. To the left is the master, directly in front is the laundry closet, and to the right is the guest bedroom.

Elizabeth Burns Design

Going left into the master bedroom, here is what used to be the kitchen. We may eventually get larger windows, but for now, we plan on putting the headboard under the window to fill in that awkward space. The old brick chimney will be patched (hopefully) and probably painted to add a bit of texture to the room.

Elizabeth Burns Design

Now onto the master bath! Not a huge room, but enough space for a double vanity, tub/shower combo, and toilet. I love the slanted roof line that the master bath, closet, and guest bath will have.

Elizabeth Burns Design

The master closet is actually only accessible through the master bath. Brian didn't love this idea, but it was the only way to gain the maximum space in the bathroom (creating a doorway from the master bedroom would have eaten up about three feet of wall space). I think it will work. Again, not huge by today's standards, but it will be three times bigger than any closet we have ever had!

Elizabeth Burns Design

So that is the master! Now let's go back to the hallway off of the kitchen and go right into the guest bedroom. This is a small room, but it fits a queen size bed and dressing chest. I love the original tall windows in this room. The doorway visible leads to the private guest bathroom.

Elizabeth Burns Design

The window to the right is remaining. The other is being removed to accommodate a tub/shower and replaced with siding.

Elizabeth Burns Design

And here is one last shot of the kitchen/living room. Here I am standing in the small hallway from the bedrooms looking towards the front of the house. There is not enough room for an island, so we are going to center a little bistro table in front of the fireplace with a chandelier hanging from above. The perfect spot for a glass of wine while cooking dinner. :)

IMG_4167.JPG

So that is it! What do you think of the layout? I think it will work really well for us right now, and if we decide to have children in the future (or just host fun sleepovers with my niece). :)